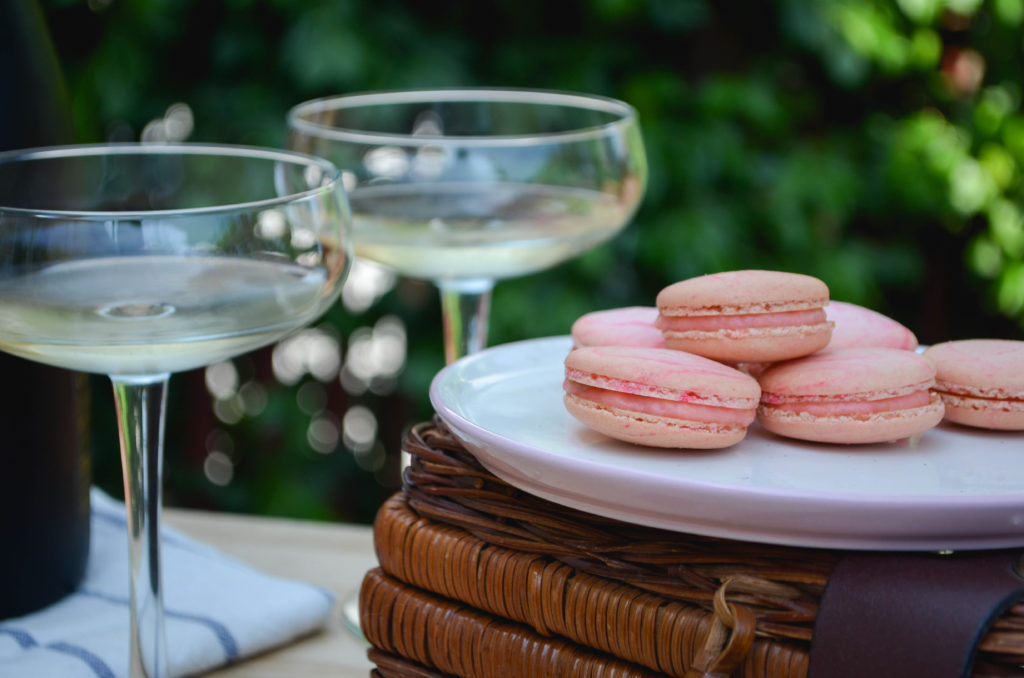
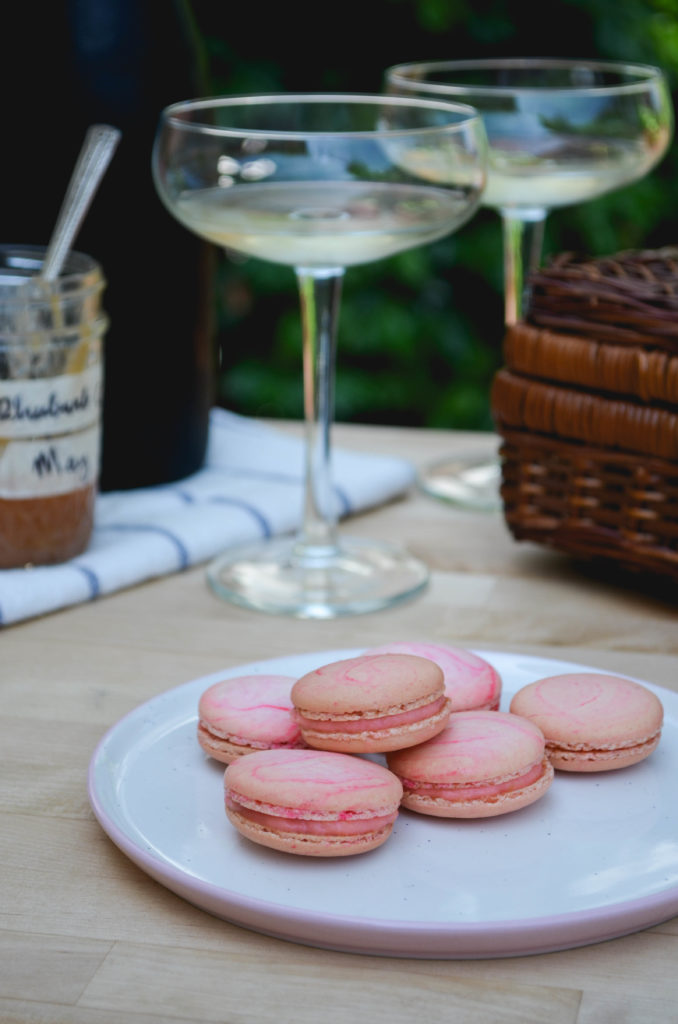
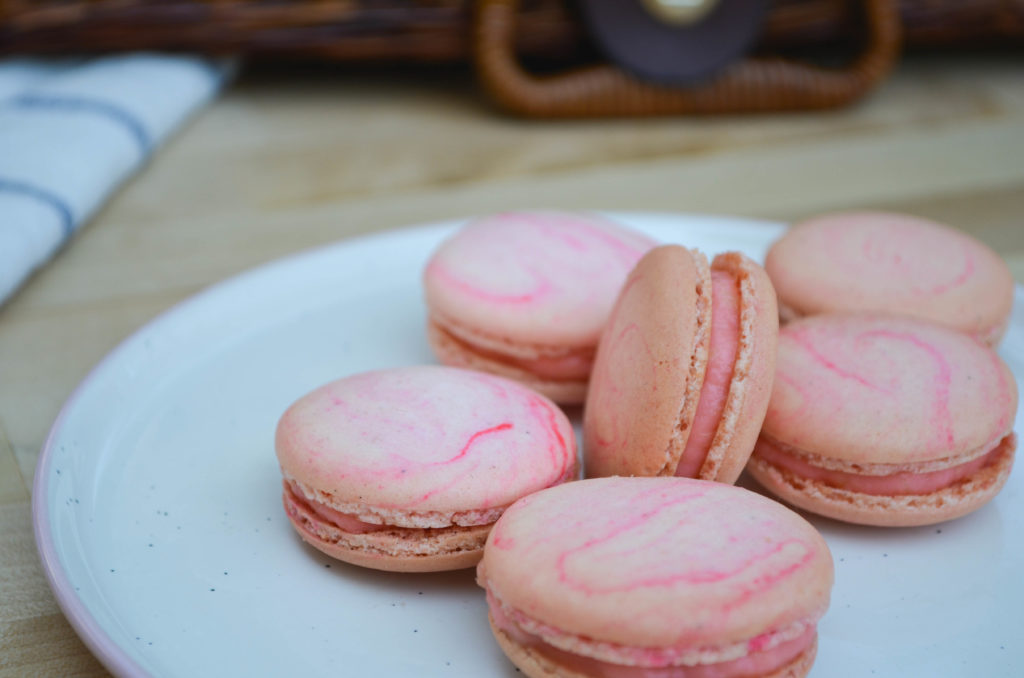
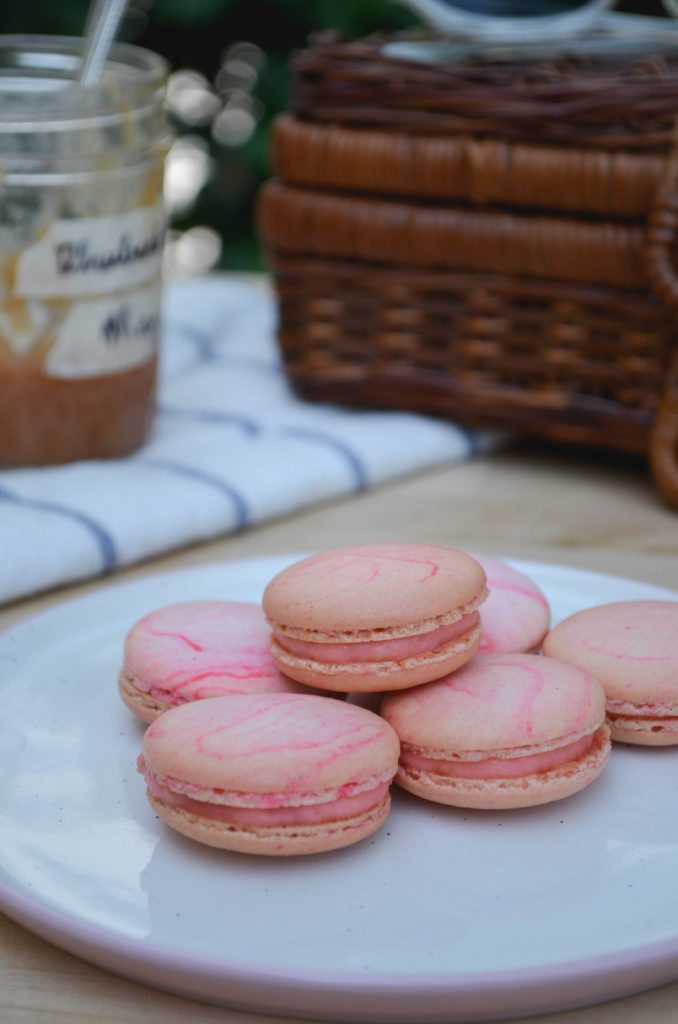
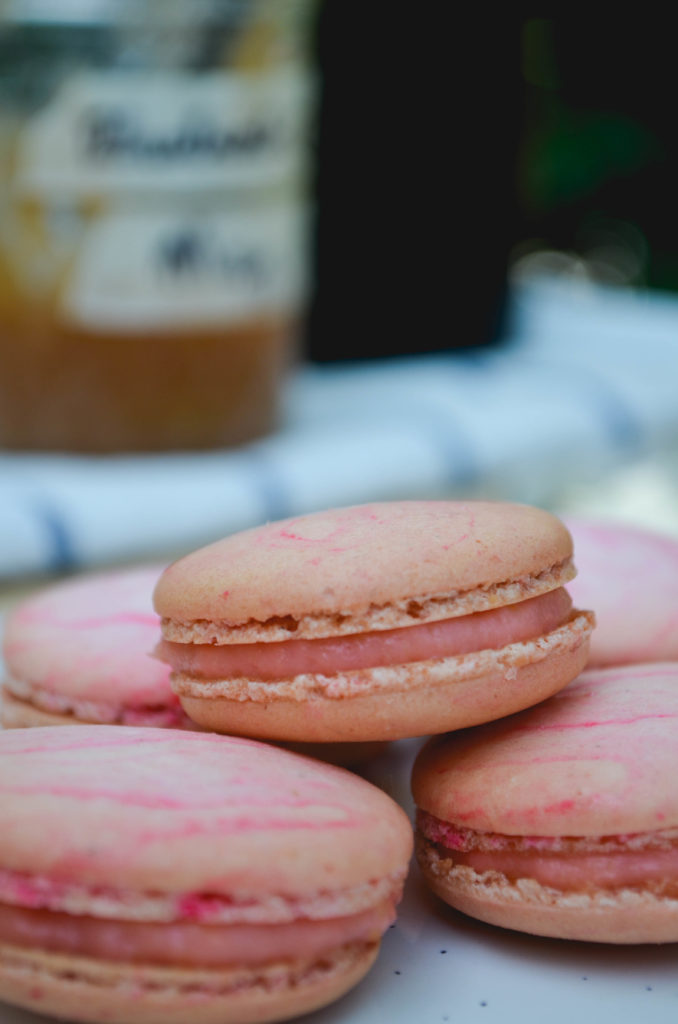
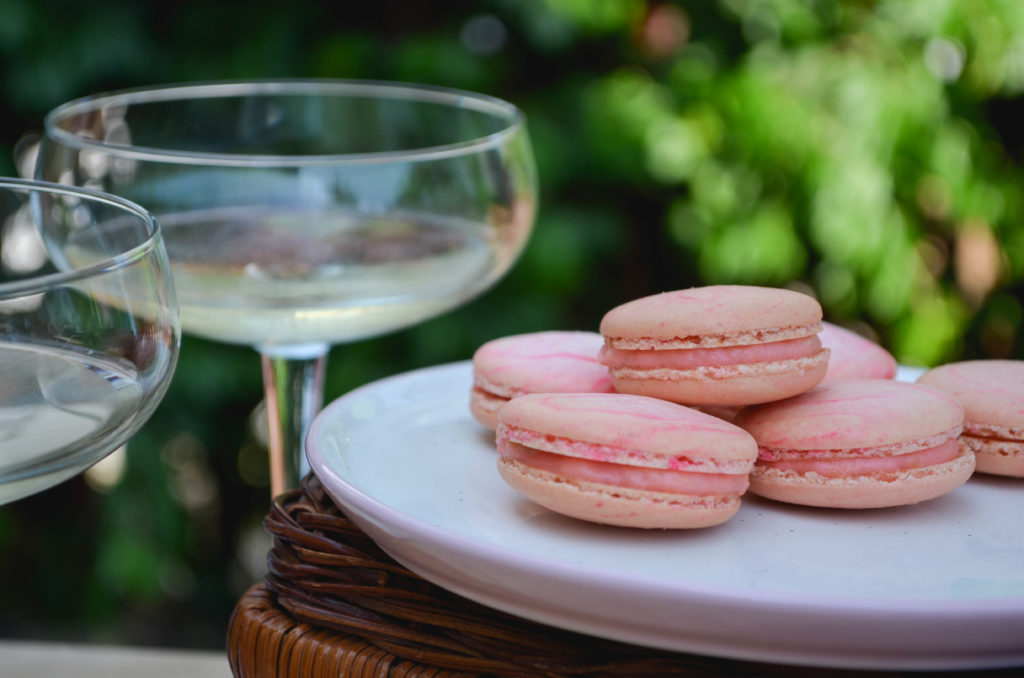
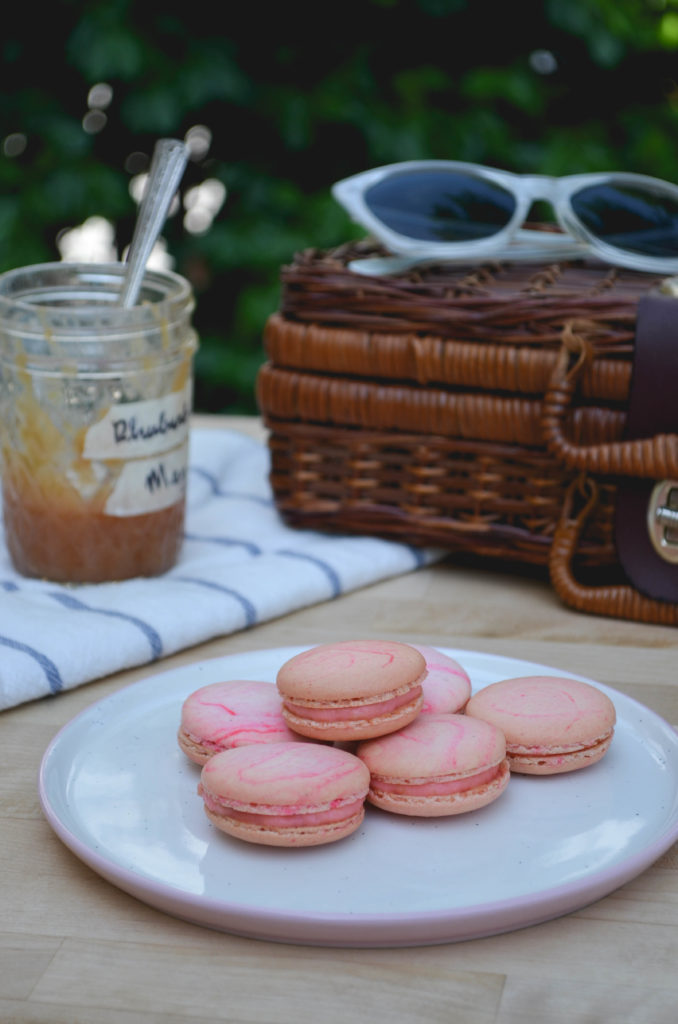
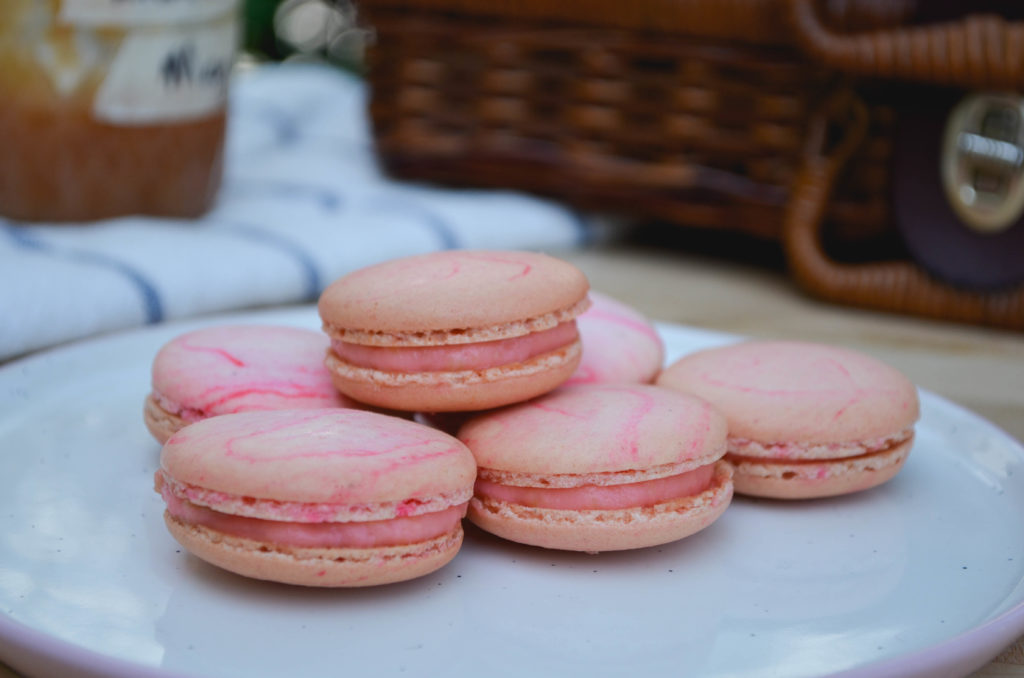
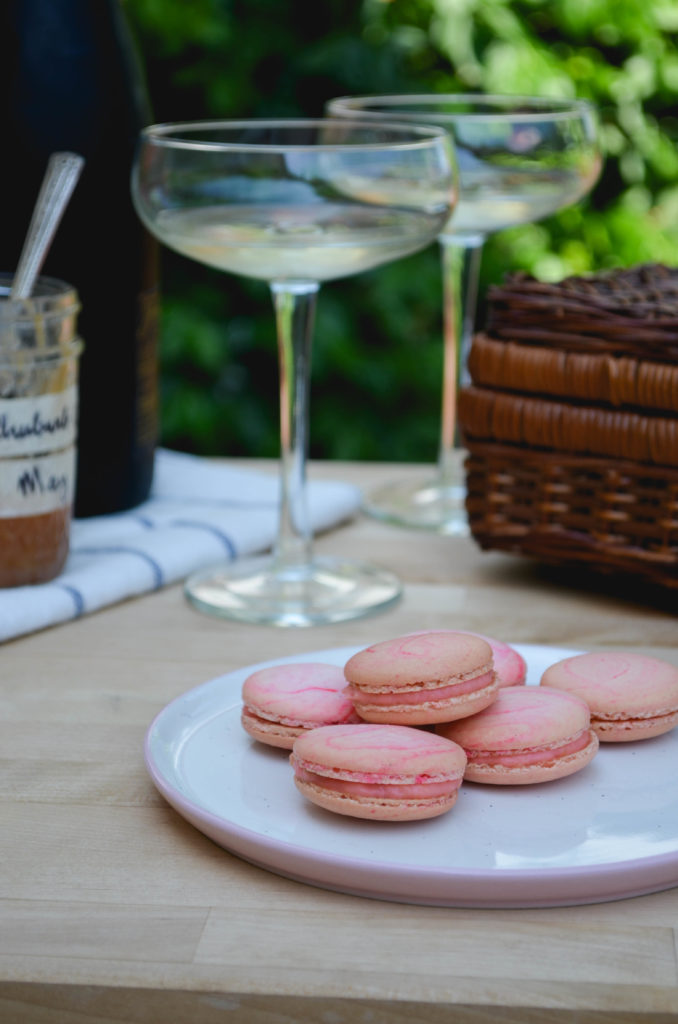
Matcha Macarons with White Chocolate Ganache

Matcha Macarons with White Chocolate Ganache | Sophster-Toaster

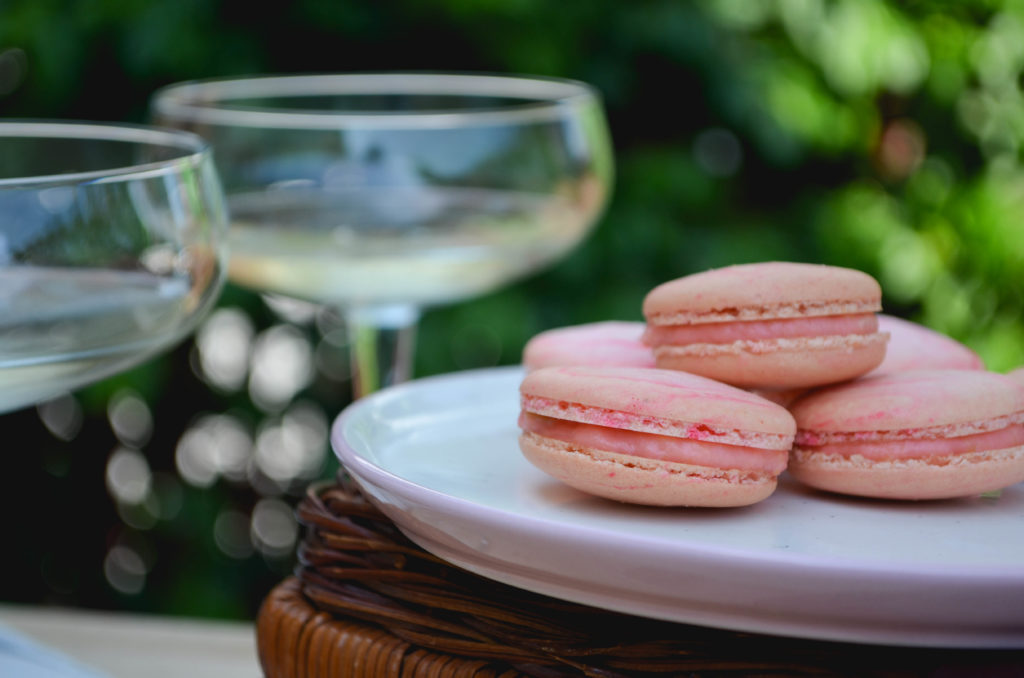
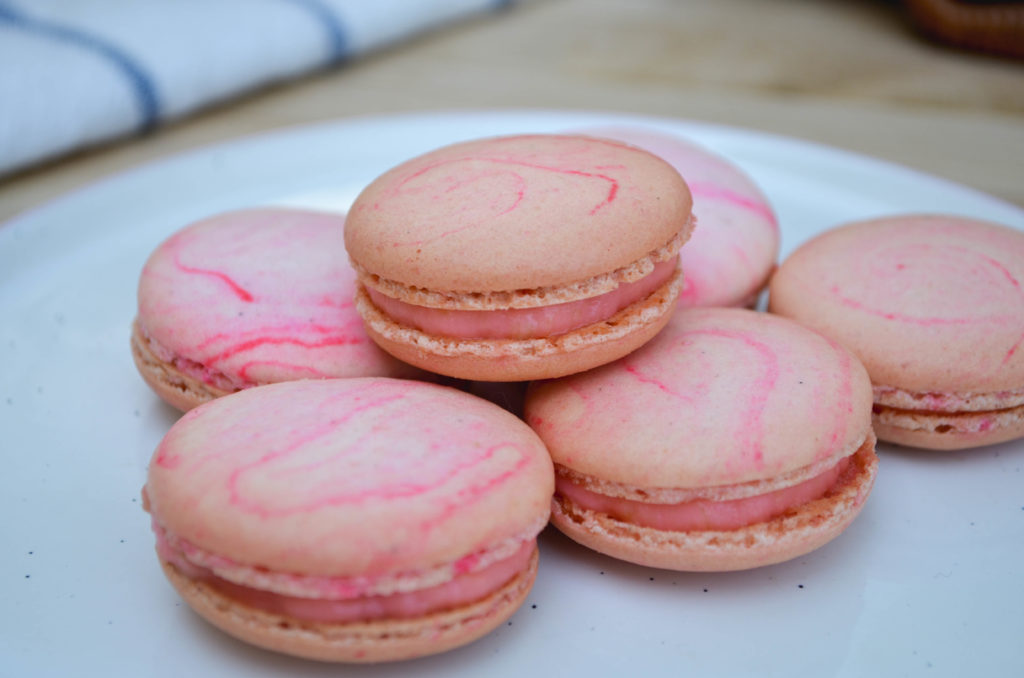
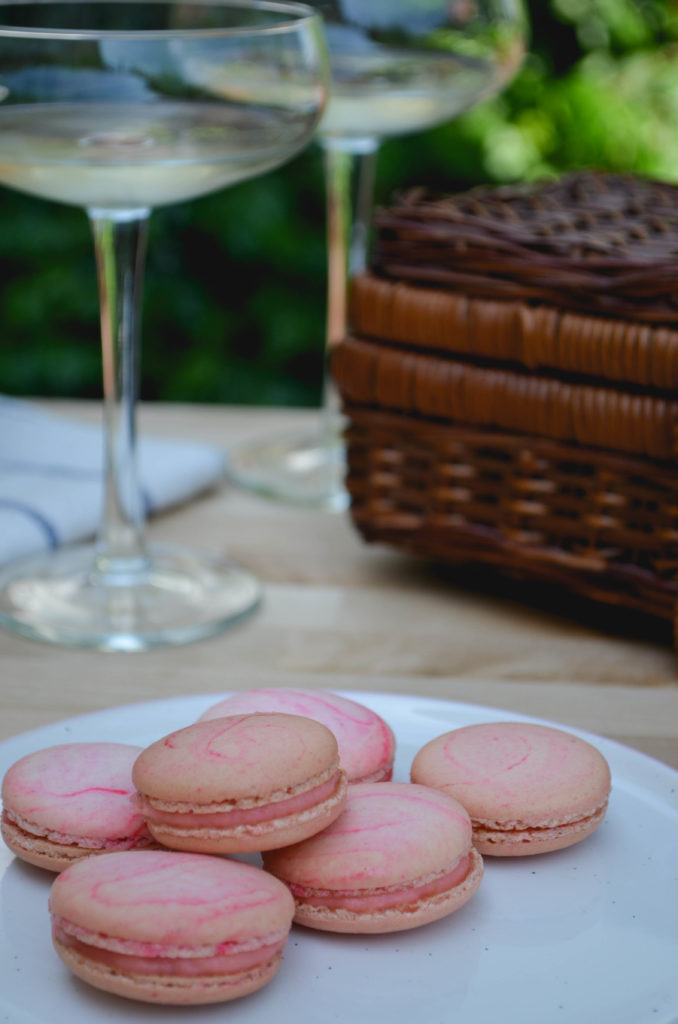
Where I live, in the Niagara Region of Ontario, Canada, we have very dry winters and incredibly humid summers. The dry winter months are great for making macaron, I’ve had them dried and ready to pop in the oven before I’ve had time to preheat, but even a clear, sunny summer day here can bring too much humidity for these finicky little cookies. After waiting 6+ hours and still getting cracked shells from a too wet batter the last time I made macarons, I endeavoured to develop a less moist version of my recipe for the summer months. Here it is in an exotic matcha green tea shell with a rich white chocolate ganache filling!

Matcha Macarons with White Chocolate Ganache | Sophster-Toaster Matcha Macarons with White Chocolate Ganache | Sophster-Toaster Matcha Macarons with White Chocolate Ganache | Sophster-Toaster Matcha Macarons with White Chocolate Ganache | Sophster-Toaster Matcha Macarons with White Chocolate Ganache | Sophster-Toaster Matcha Macarons with White Chocolate Ganache | Sophster-Toaster Matcha Macarons with White Chocolate Ganache | Sophster-Toaster Matcha Macarons with White Chocolate Ganache | Sophster-Toaster

Ingredients

for the macaron shells

  • ¾ cup ground almonds (as finely ground as you can find)
  • 1 cup icing sugar
  • 2 large egg whites, at room temperature
  • 3 tbsp + 1 tsp sugar
  • 1½ tsp matcha powder (I get mine here)

for the white chocolate ganache

  • 6 oz (one package) white baking chocolate
  • 2-4 tbsp whipping cream

Method

for the macaron shells

  1. Prepare your parchment sheets by drawing 1″ circles, ½” apart across the entire sheet (or using silicon baking mats with the circles already printed on them) and placing them on a large flat surface suitable for drying your batter, like a dining table. You will need 2-3 half sheet pan size pieces.
  2. Sift ground almonds, icing sugar and matcha powder together, twice. Set aside.
  3. In a large stainless steel mixing bowl, beat egg whites with a hand or stand mixer on high speed until you have a foam with no liquid remaining.
  4. Slowly add the sugar while continuing to beat the egg whites. Beat on high speed until the egg whites reach stiff peaks. You’ve made meringue!
  5. Fold your almond and icing sugar mixture into the meringue in two parts.
  6. Here’s the part that takes practice: it’s time for the macaronnage! With a spatula, spread the batter, with some force, against the side of the bowl. Then scoop it up by running the spatula along the side of the bowl again and try to flip it all over and sort-of lightly smack it back into the bottom of the bowl. Gather the batter up again and repeat 15 times. It takes some time to figure out the best way to do this, don’t be afraid to play around with it. When doing the macaronnage correctly, repeating more than 20 times can result in oily, blotchy macarons, but I’ve found that doing it incorrectly doesn’t count towards this limit. If you are doing it right, the batter will take on a noticeable and somewhat sudden change in consistency, this means you are about half-way to that limit. When finished, the batter should be thickened and drip slowly from the spatula. You will have to pipe it onto your baking sheets/mats and it won’t work if the batter is too runny. This is the technique that defines macarons, this is what makes mastery of them impressive.
  7. For perfectly round macarons, use a large, 0.4″ plain tip with a pastry bag, or do it the lazy way and cut a corner off a zip top bag for mostly round macarons. Twist (or don’t yet cut) the bag at the tip and place it, tip side down, in a tall glass. Fill with your batter and twist, close or clip the other end to help keep the messy batter moving in the right direction. Pipe the batter into the centre of the circles on your sheets/mats and stop before reaching the edges as the batter will spread out a bit.
  8. Once finished piping, carefully pick the sheets/mats up and drop them back on to the table from a height of a couple of inches. The theory is that this helps the cookies keep their round shape and form the little bubbles around the bottom (the pied) when you put them in the oven.
  9. Leave the cookies on the table, uncovered, for 15-30 minutes to dry (or more on a humid day). This is a good time to preheat your oven to 350°F. You will know the macarons are dry when they look smooth and are no longer sticky to the touch.
  10. Place an oven rack in the centre of your oven. Place a sheet of macarons on two stacked sheet pans (this will stop the bottoms from getting too hot, resulting in cracked macarons) and bake for about 15 minutes. Rotate the pan half way through baking. At this point, if you want to try to keep your cookies light in colour, place a second oven rack directly below the first and move your cookies down to it, then place a third sheet pan above the cookies on the higher rack to protect them from the heat above. It can be hard to tell when the macaron are done. I pull them out when the kitchen smells sweet and the cookies look crisp, have just started to brown, and don’t look blotchy in the middle.
  11. As soon as the parchment sheet/baking mat is cool enough to handle, take it out of the pan with all the cookies on top and place it on a cooling rack. The macarons will be too sticky to remove from the sheet/mat now; once cooled, they should peel off easily. I usually wait a few minutes for the pans to cool a bit and for the oven to come back to a steady temperature before moving the next sheet to the pans and baking the next round.

for the white chocolate ganache

  1. Fill your smallest saucepan with a couple inches of water and put it on the stove to simmer over medium-low heat.
  2. Chop up the white chocolate pieces and place them in a small stainless steal bowl that fits in the top of your saucepan but doesn’t touch the water.
  3. Warm 4 tbsp of cream up to a simmer. (I use a metal measuring cup on my gas stove top.)
  4. Place your bowl of chocolate in the top of the simmering saucepan and whisk until it just starts to melt. (This is called a double boiler and is used to gently melt the chocolate.) Be careful! The bowl can get hot and there will be steam coming from the saucepan.
  5. Remove the bowl from the saucepan and place on a heat-safe surface (a folded up tea towel does the trick). Pour the cream, starting with 2 tbsp and then 1 tablespoon at a time, into the chocolate and whisk to combine and melt the chocolate. White chocolate does not behave the same way as regular chocolate and can get too runny to work with if too much cream is added. You want it just loose enough to be able to whisk it for the next step. If your chocolate doesn’t seem to be melting enough, you can pop it back on the double boiler for a few seconds between cream additions.
  6. Whisk your ganache about 100 times until it’s smooth and shiny.
  7. Let cool slightly then pour into a zip top bag and continue cooling to room temperature. Once cooled, the ganache can be stored in the refrigerator and warmed back up to room temperature in a double boiler for use.

Once everything has cooled, snip the corner off your bag of ganache and pipe it onto half of your shells. Then place another similarly sized shell on top and gently press them together. Best stored in the refrigerator to keep the ganache firm.

Matcha Macarons with White Chocolate Ganache | Sophster-Toaster

All photos by me.

The Cat’s Meow Dress

The Cat's Meow Dress | Sophster-Toaster

I was half way through making the sample for the new Cat’s Meow Dress when I realized I was deigning my first could-be wedding dress. I had it in mind all along as a dress the could be dressed up and go more formal, giving it a longer hemline and adding delicate lace trim and topstitching details to the bodice, but didn’t clue in to its potential until I was holding a quirky, yet elegant white dress in my hands. The funny thing is, this is almost exactly the type of dress I had in mind when I was dreaming of a small, courthouse wedding before my husband and I ultimately decided to go with an intimate garden ceremony instead. I think it’s quite charming paired with the same shoes, gloves and earrings I wore to my own wedding!

The Cat's Meow Dress | Sophster-Toaster The Cat's Meow Dress | Sophster-Toaster The Cat's Meow Dress | Sophster-Toaster The Cat's Meow Dress | Sophster-Toaster The Cat's Meow Dress | Sophster-Toaster The Cat's Meow Dress | Sophster-Toaster

Dress Sophster-Toaster
Petticoat ModCloth (in white)
Shoes ModCloth
Gloves Antique Warehouse
Earrings & Necklace old

The Cat's Meow Dress | Sophster-Toaster The Cat's Meow Dress | Sophster-Toaster The Cat's Meow Dress | Sophster-Toaster The Cat's Meow Dress | Sophster-Toaster The Cat's Meow Dress | Sophster-Toaster

All photos by me.

Keeping Cool

Keeping Cool | Sophster-Toaster

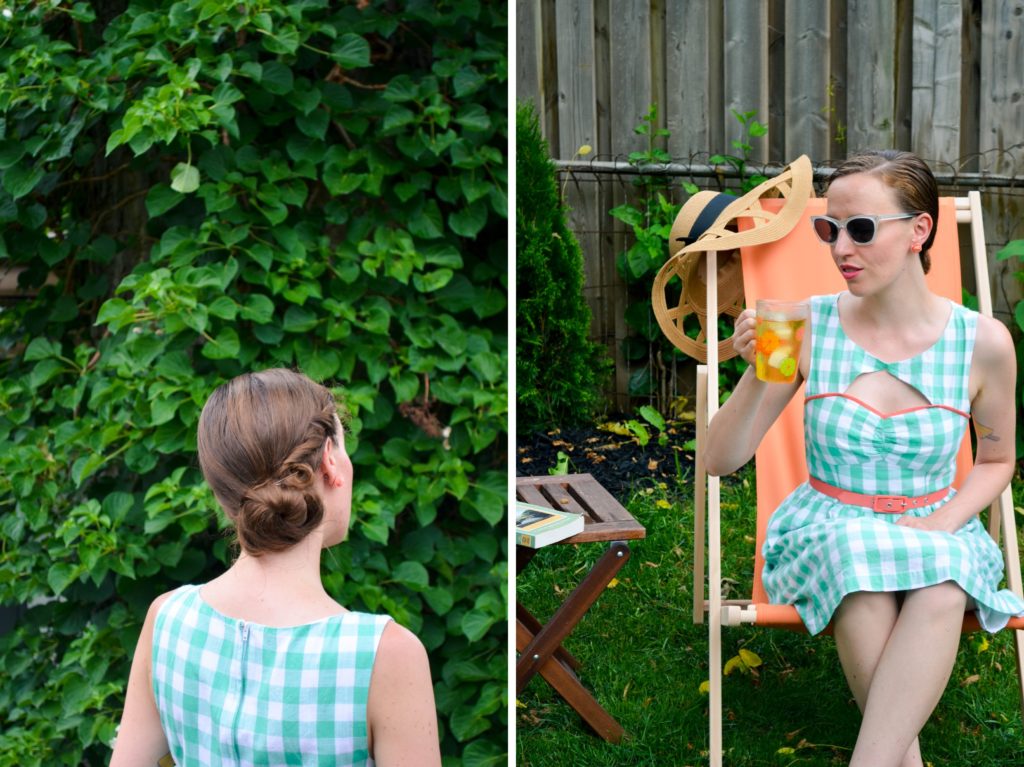
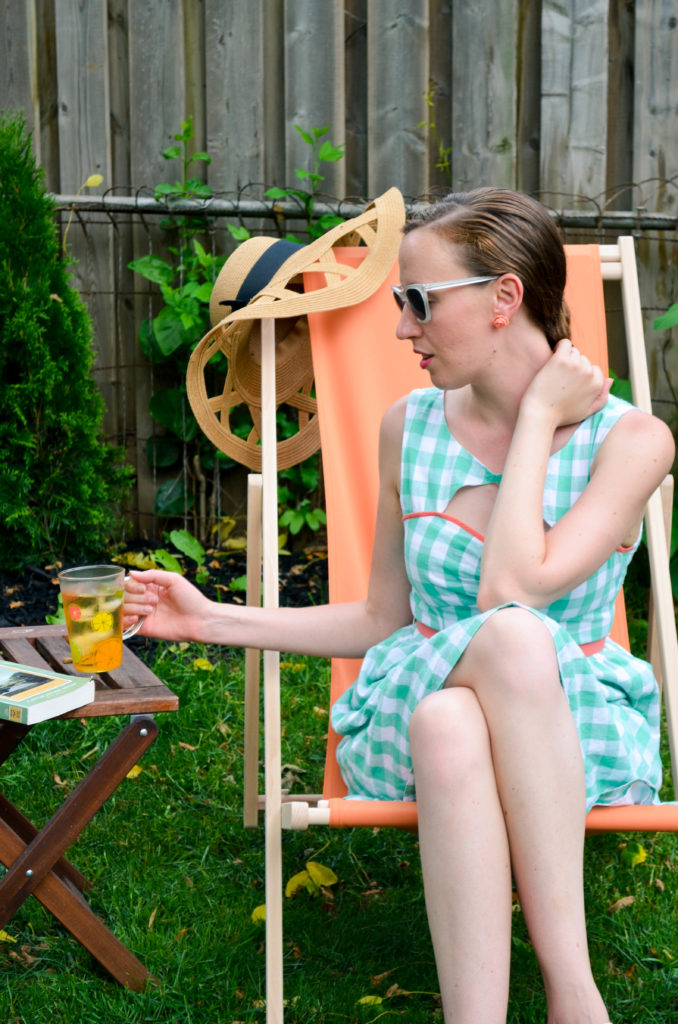
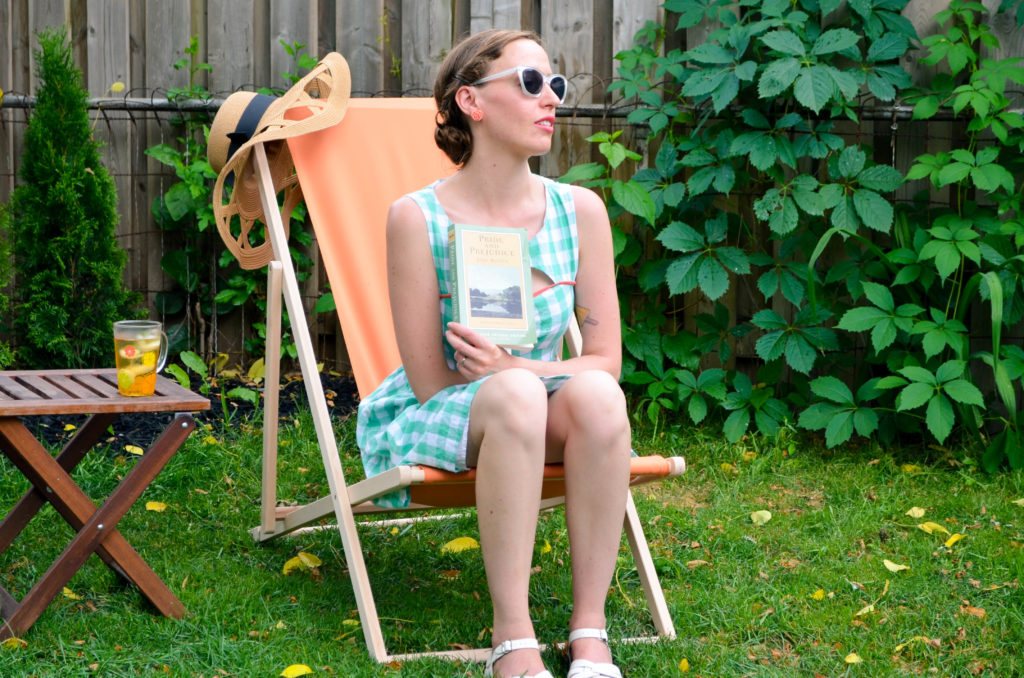
Two summer’s ago, we bought an old house without air conditioning. Our last apartment had central air but all our previous ones, and the house I grew up in did not, so this is nothing new to me. Most days are fine: I dress lightly, the dog finds a shady spot to sleep outside, the cat retreats to the basement and we all stay fairly comfortable throughout the day. I’ve gotten pretty good at keeping the house cool the old fashioned way, without air conditioning, even during this recent heat wave.

Keeping Cool | Sophster-Toaster

The main part of the trick, is to resist the urge and instinct to open the windows when it gets hot out. This won’t cool the house during the day, it’s only going to let more heat and humidity in. What you do is open the house up in the evening, when the sun is low and the air starts cooling off, but you don’t just fling every window and door open and hope the cool breeze will find its way in. If your house is a two story, like mine, you start by opening all the lower level windows on side of the house with the coolest breeze coming in – for me this often tends to be the back/north side of my house – and all the upper windows on the opposite side. If you’ve done it right, and the wind is in your favour, you should soon feel the cooler air coming in, rushing up the stairs and pushing all the hot air out of the upper rooms. I let this convection current do it’s thing until the house has come down a few degrees and then open all the windows and let each floor establish it’s own cross breeze. I leave all the windows it’s safe to leave open over night and return the house to the convection until after breakfast in the morning. Then I close up tight! On really hot days, when the house starts getting stuffy, I’ll run the furnace fan a little bit to circulate some of the cold, dehumidified basement air upstairs. During heat waves, like the one we just had, when it doesn’t get cold enough at night to return the house to a starting temp of 21-22°, I’ll be very careful not to create any unnecessary heat or humidity inside the house. That means showers are short and cool, laundry and dish washing machines are run overnight or not at all and the oven isn’t turned on. We do have a small, old window air conditioner unit in the bedroom – a relic from our tiny one-bedroom apartment days – for when the nights are absolutely unbearable, but as environmentally and budget conscious people, we try to run it as little as possible.

Keeping Cool | Sophster-Toaster

I maintain a comfortable temperature in my house during the summer months just by living the way our grandparents did before air conditioning was invented. All the time, I have friends walk in and say, as I quickly shut the door behind them, “hey! I thought you said you didn’t have air conditioning.” I just smile slyly and say I don’t.

Keeping Cool | Sophster-Toaster Keeping Cool | Sophster-Toaster Keeping Cool | Sophster-Toaster Keeping Cool | Sophster-Toaster Keeping Cool | Sophster-Toaster Keeping Cool | Sophster-Toaster Keeping Cool | Sophster-Toaster Keeping Cool | Sophster-Toaster Keeping Cool | Sophster-Toaster

Head to toe ModCloth
(Find my sandals in all colours here)

All photos by me.

Pepper’s 1st Birthday

Pepper's 1st Birthday | Sophster-Toaster

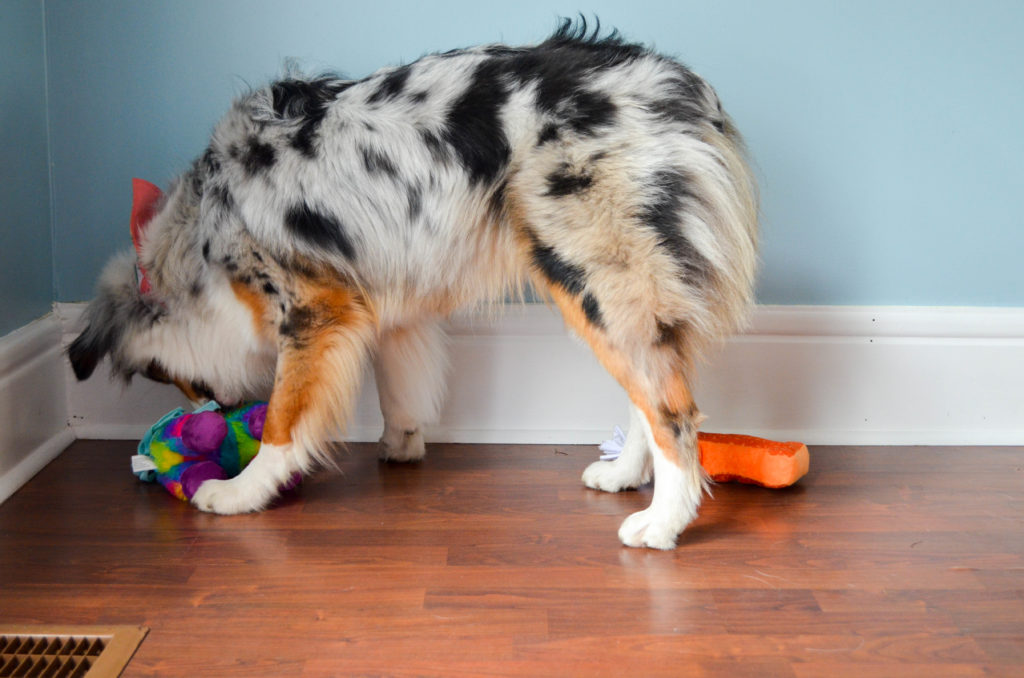
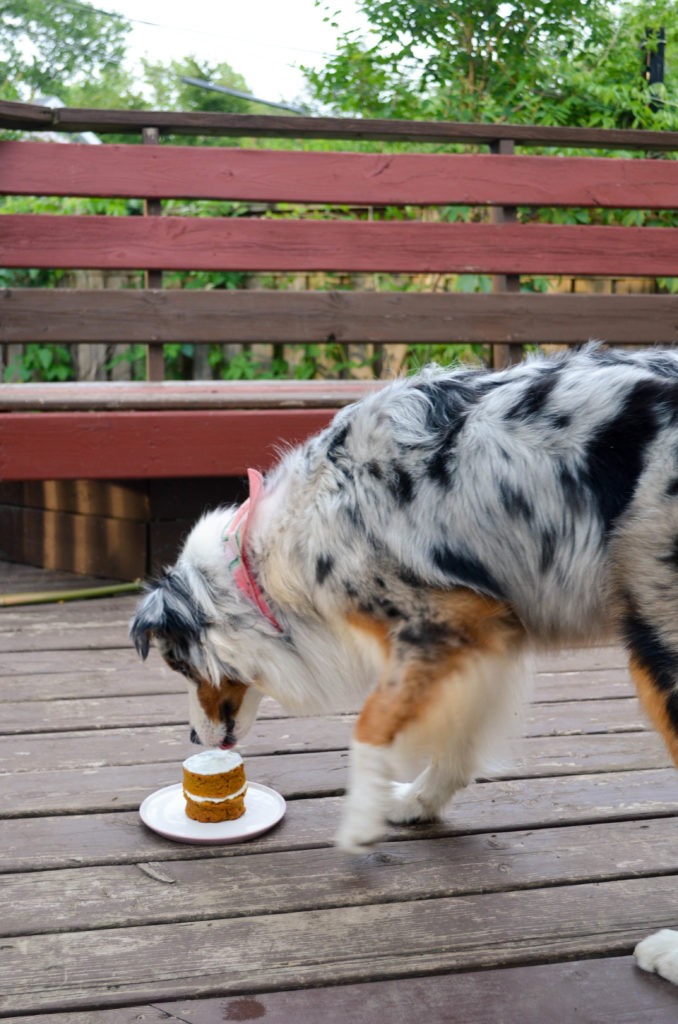
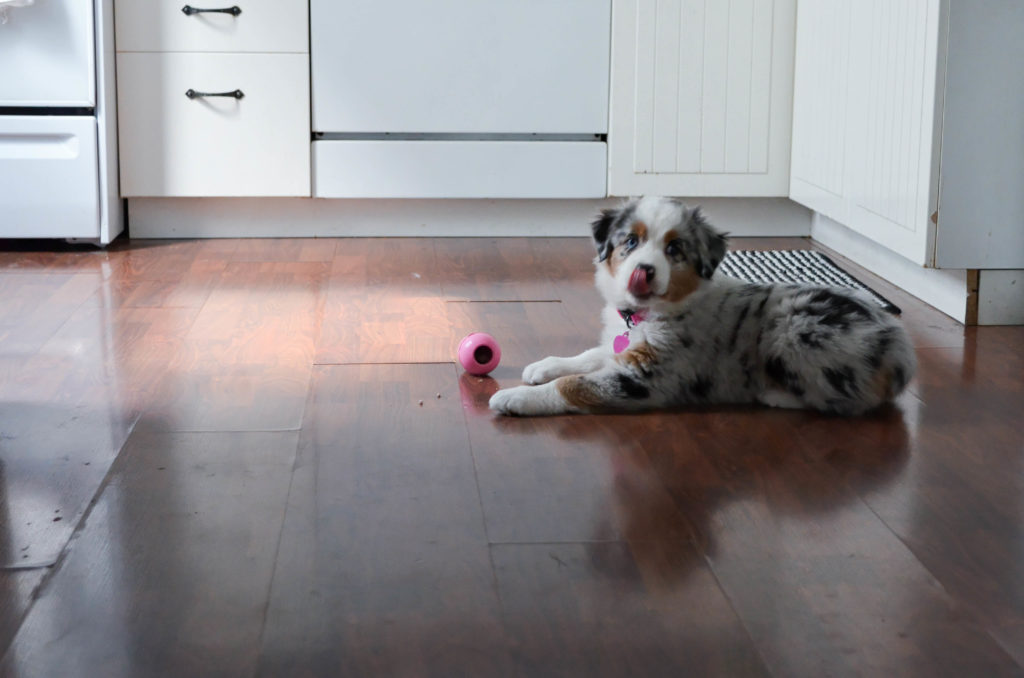
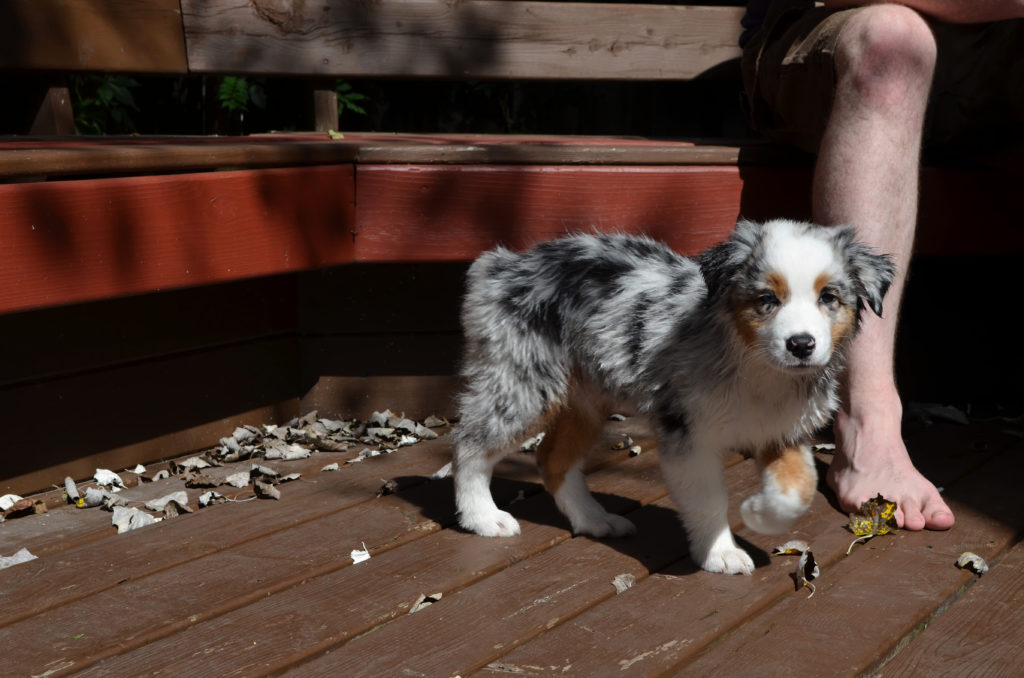
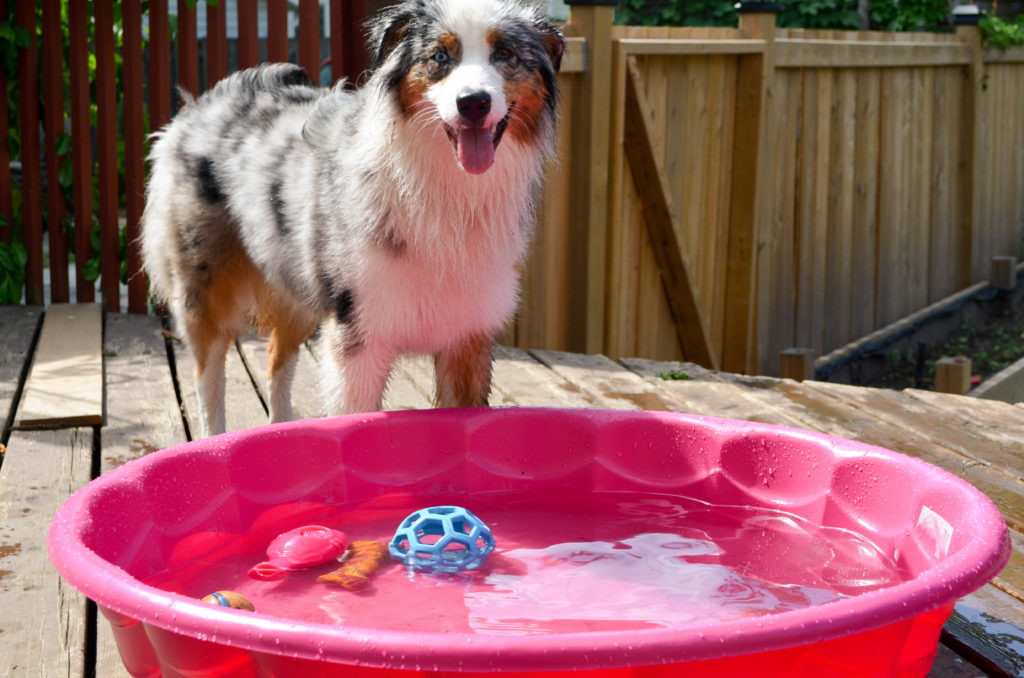
Pepper turned one year old this week! It’s been quite the year with this crazy pup. She’s learned, grown and matured a lot over the past months and now those early, difficult days of puppy teeth nipping, crate training, teething and housebreaking are almost forgotten. She’s changed our lives for the better in so many ways and even though there are still some frustrations with this energetic, adolescent pup, waking up to her smiling face every morning makes me happier than anything in the world.

Pepper's 1st Birthday | Sophster-Toaster Pepper's 1st Birthday | Sophster-Toaster Pepper's 1st Birthday | Sophster-Toaster Pepper's 1st Birthday | Sophster-Toaster Pepper's 1st Birthday | Sophster-Toaster Pepper's 1st Birthday | Sophster-Toaster Pepper's 1st Birthday | Sophster-Toaster Pepper's 1st Birthday | Sophster-Toaster Pepper's 1st Birthday | Sophster-Toaster Pepper's 1st Birthday | Sophster-Toaster Pepper's 1st Birthday | Sophster-Toaster Pepper's 1st Birthday | Sophster-Toaster Pepper's 1st Birthday | Sophster-Toaster Pepper's 1st Birthday | Sophster-Toaster Pepper's 1st Birthday | Sophster-Toaster Pepper's 1st Birthday | Sophster-Toaster Pepper's 1st Birthday | Sophster-Toaster Pepper's 1st Birthday | Sophster-Toaster

Photos by me and Matt Harrison.