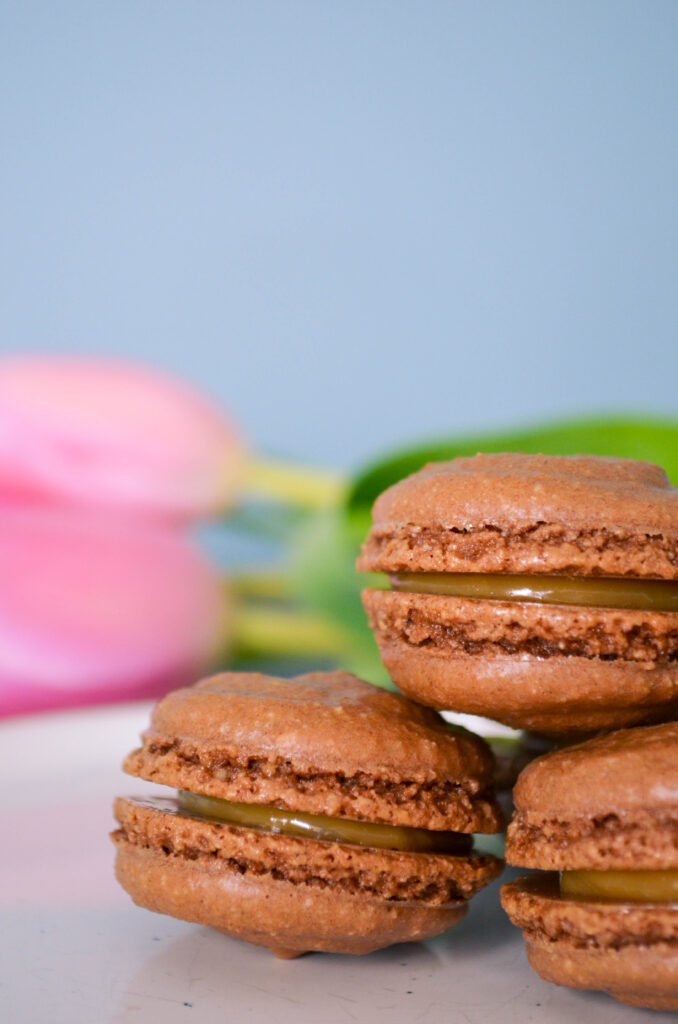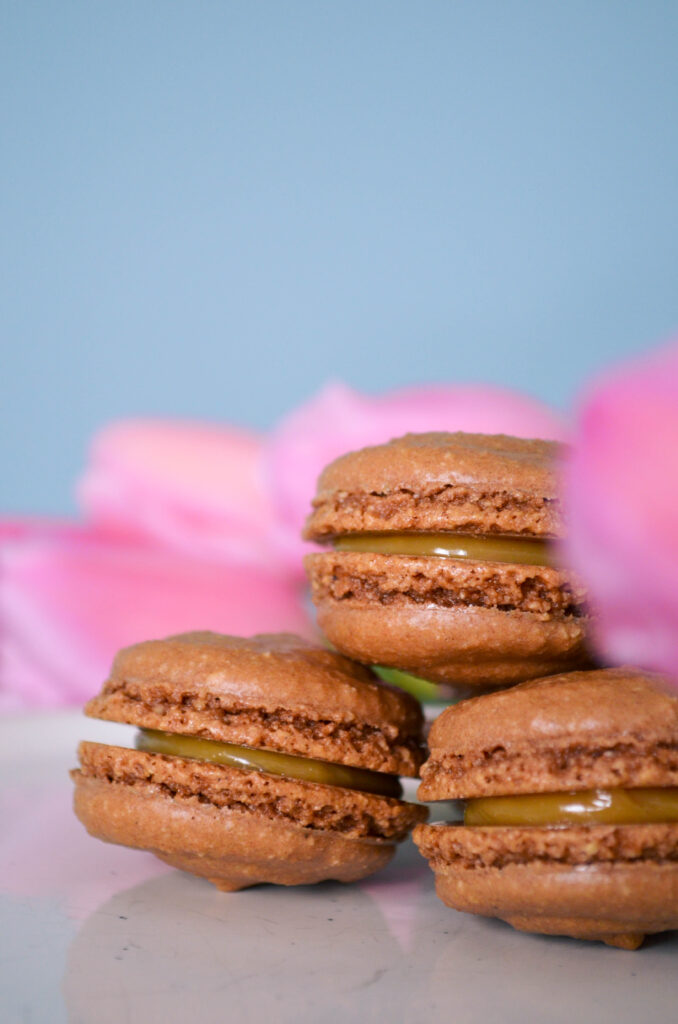
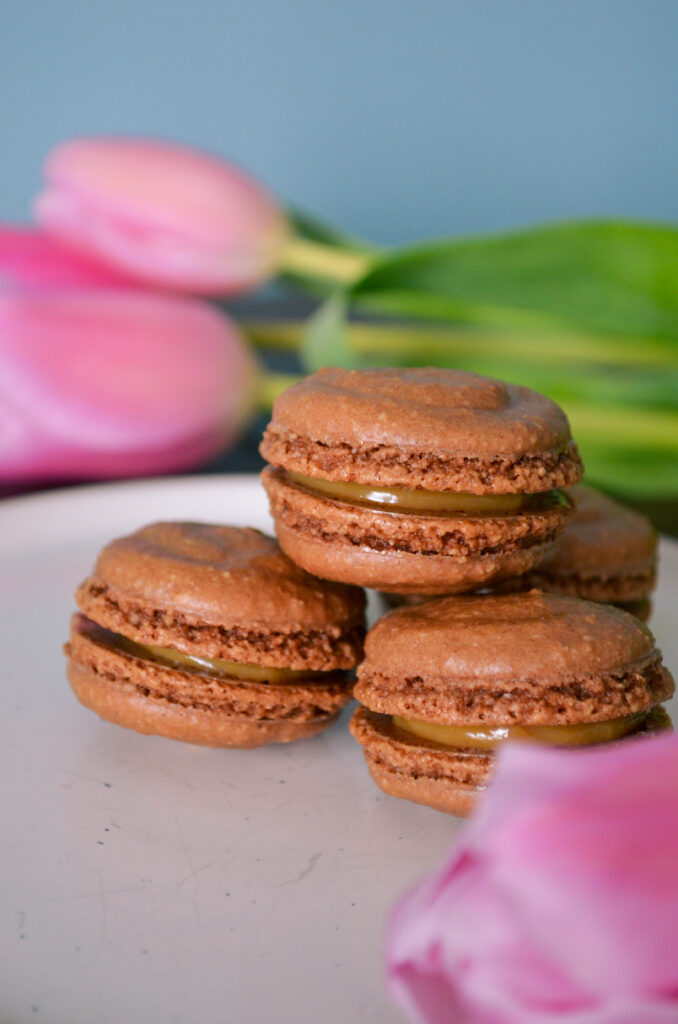
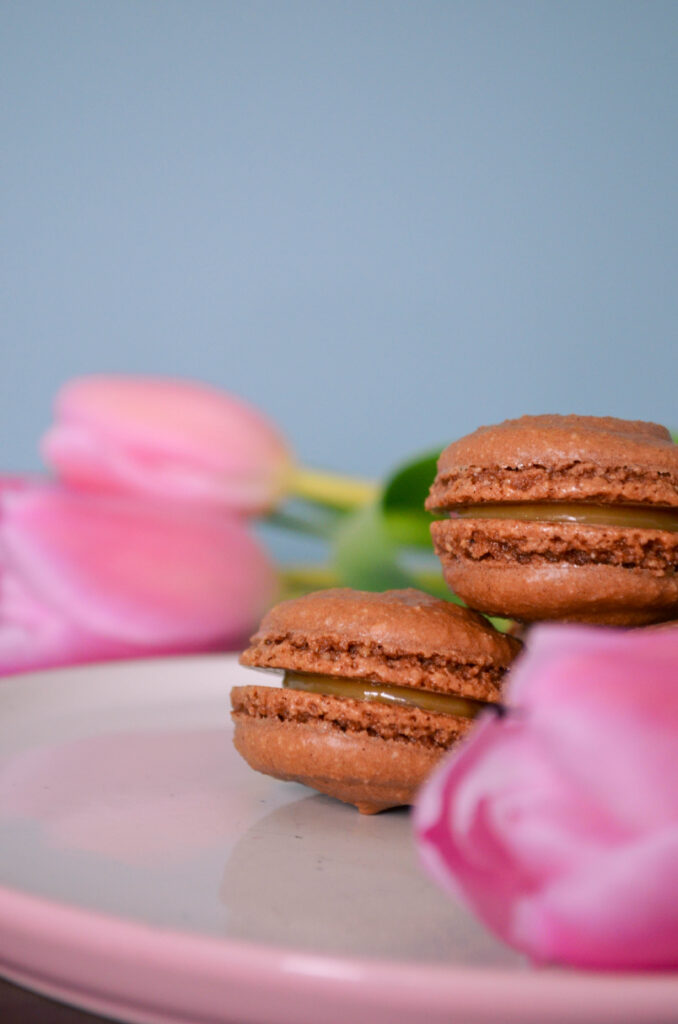
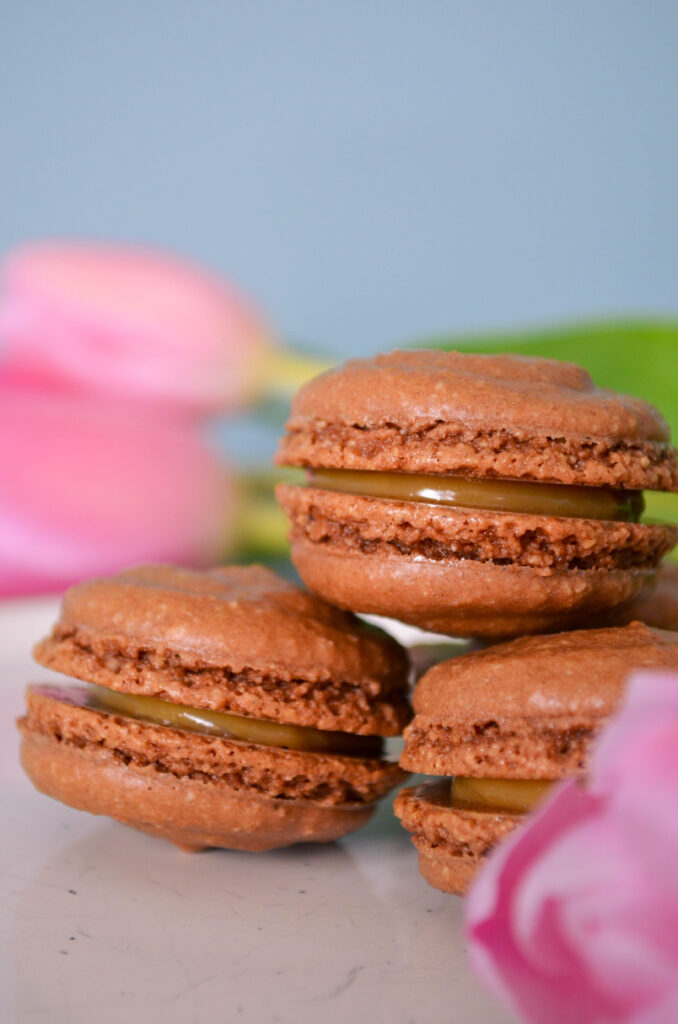
Inspired by the spring flavours of Easter chocolates, this recipe pairs chocolate macaron shells with creamy dulce de leche spread. They’re like a Caramilk Creme Egg in cookie form.
Ingredients
for the macaron shells
- 1 cup/ 110g ground almonds (as finely ground as you can find)
- 1⅛ cup/ 135g icing sugar
- 2 tbsp/ 10g cocoa powder
- 2 large egg whites
- 3 tbsp + 1 tsp/ 41.5g sugar
for the filling
- ¼-½ cup/ 80-160g dulce de leche
Method
for the macaron shells
- Prepare your parchment paper sheets (or use silicon baking mats with printed circles).
- You will need 2-3 half-sheet pan size pieces.
- Draw 1″ circles, ½” apart, across the entire sheet.
- Place them on a large, flat surface suitable for drying your batter, like a dining table.
- Sift the ground almond and icing sugar together, twice.
- Add cocoa powder.
- Set aside.
- In a large stainless steel mixing bowl, beat egg whites with a hand mixer on medium-to-high speed until frothy.
- Slowly, add the sugar while continuing to beat the egg whites.
- Beat on high speed until the egg whites reach stiff peaks.
- Fold your dry ingredient mixture into the meringue in two parts.
- Here’s the part that takes practice: it’s time for the macaronnage!
- With a spatula, spread the batter against the side of the bowl.
- Then scoop it up by running the spatula along the side of the bowl again and try to flip all of it over and sort-of lightly smack it back into the bottom of the bowl.
- Gather the batter up again and repeat 12-15 times.
- It takes some time to figure out the best way to do this, don’t be afraid to play around with it. When doing the macaronnage correctly, repeating more than 20 times can result in oily, blotchy macarons, but I’ve found that doing it incorrectly doesn’t count towards this limit.
- If you are doing it right, the batter will take on a noticeable and somewhat sudden change in consistency, this means you are about half-way to that limit. When finished, the batter should be thickened and drip slowly and smoothly from the spatula. You will have to pipe it onto your baking sheets/mats and it won’t work if the batter is too runny.
- This is the technique that defines macarons, this is what takes practice and what makes mastery of them impressive.
- Fill a pastry bag (or zip-top bag) with your batter and pipe onto your waiting sheets/mats.
- For perfectly round macarons, use a large 0.4″ plain tip with a pastry bag (or do it the lazy way and cut a corner off of a zip-top bag for mostly round macarons).
- Twist (or don’t yet cut) the bag at the tip and place it – tip side down – in a tall glass.
- Fill with your batter and twist, close, or clip the other end to keep the messy batter moving in the right direction.
- Pipe the batter into the centre of the circles on your sheets/mats and stop before reaching the edges, as the batter will spread out a bit.
- Once finished piping, carefully pick the sheets/mats up and drop them back on to the table from a height of a couple of inches.
- The theory is that this helps the cookies keep their round shape and form the little bubbles around the bottom – called the pied – when you put them in the oven.
- Leave the cookies on the table, uncovered, to dry.
- This could take as little as 15-30 minutes on a dry day, or as mush as a couple of hours on a humid day.
- You will know the macarons are dry when they look smooth, less glossy, and are no longer sticky to the touch.
- Preheat your oven to 350°F.
- Place an oven rack in the centre of your oven.
- Place a sheet of macarons on two stacked sheet pans (this will stop the bottoms from getting too hot, resulting in cracked macarons).
- Bake for 15-18 minutes.
- If your oven heats unevenly, rotate the pan half way through baking.
- It can be hard to tell when the macaron are done, I pull them out when the kitchen smells sweet and the cookies look crisp, have just started to brown, and don’t look blotchy in the middle.
- As soon as the parchment sheet/baking mat is cool enough to handle, take it out of the pan with all the cookies on top and place it on a cooling rack.
- The macarons will be too sticky to remove from the sheet/mat now; once cooled, they should peel off easily.
- I usually wait a few minutes for the pans to cool a bit and for the oven to come back to a steady temperature before moving the next sheet to the pans and baking the next round.
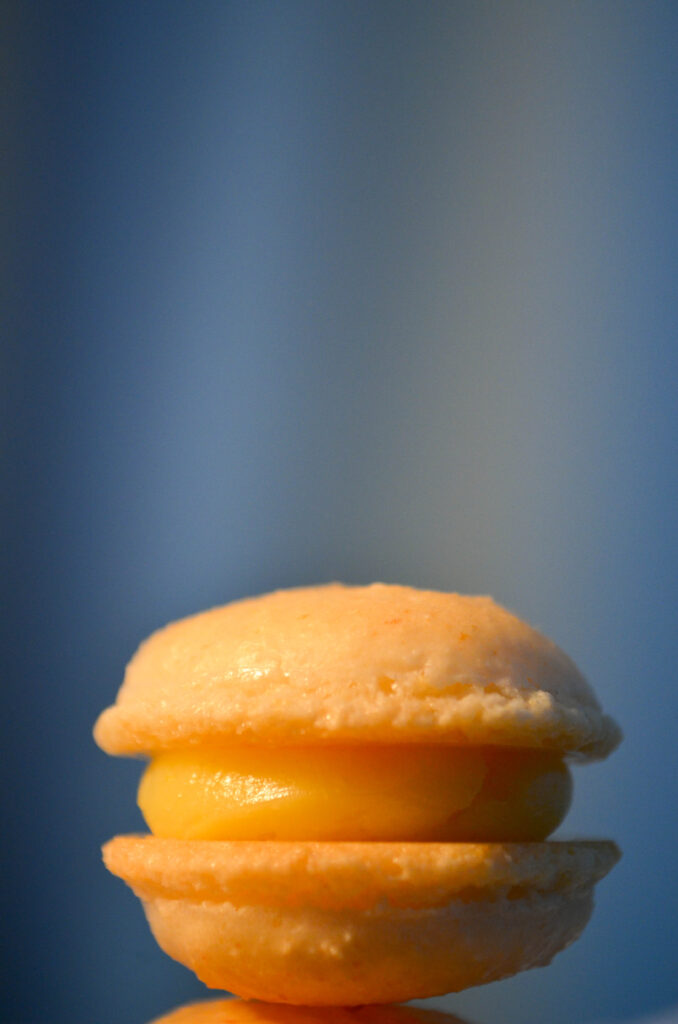
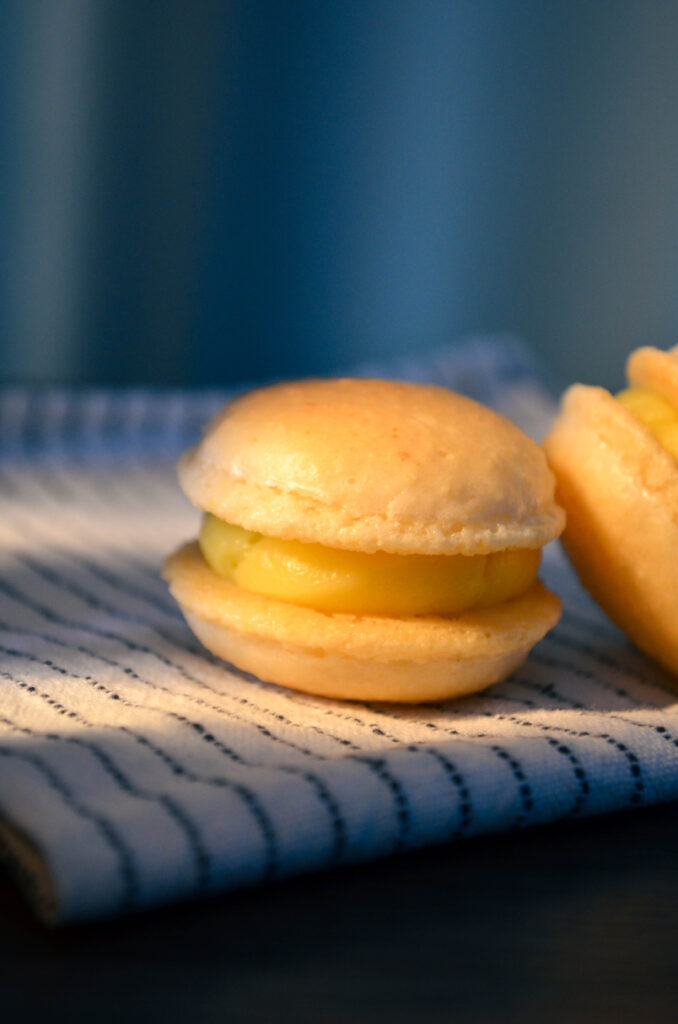
Once everything has cooled, spread dulce de leche onto half of your shells. Then place another similarly sized shell on top and gently press them together.
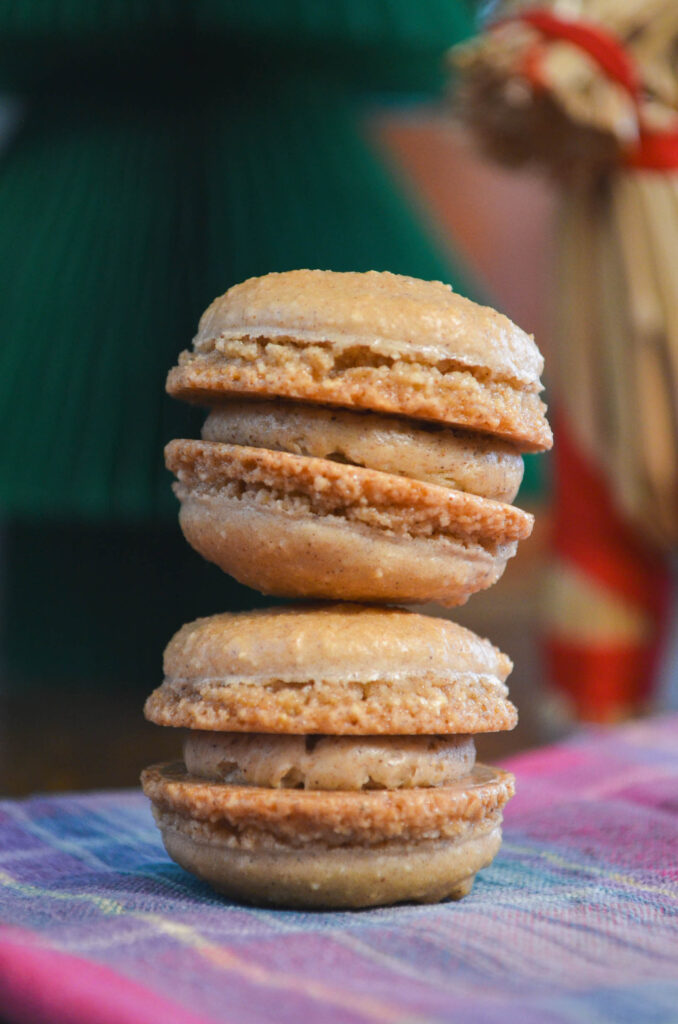
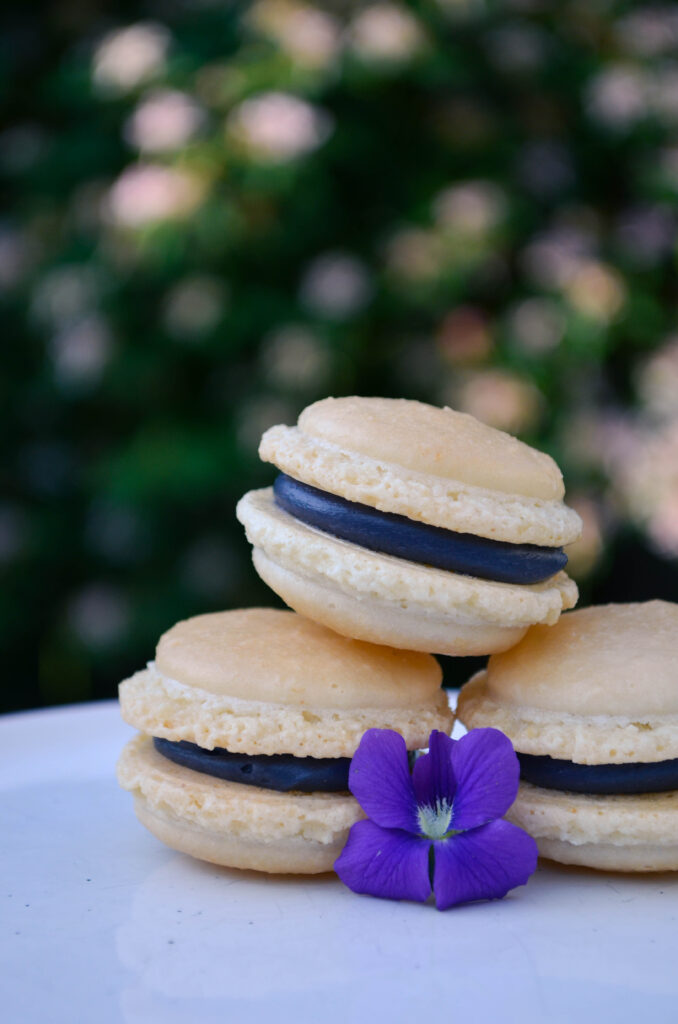
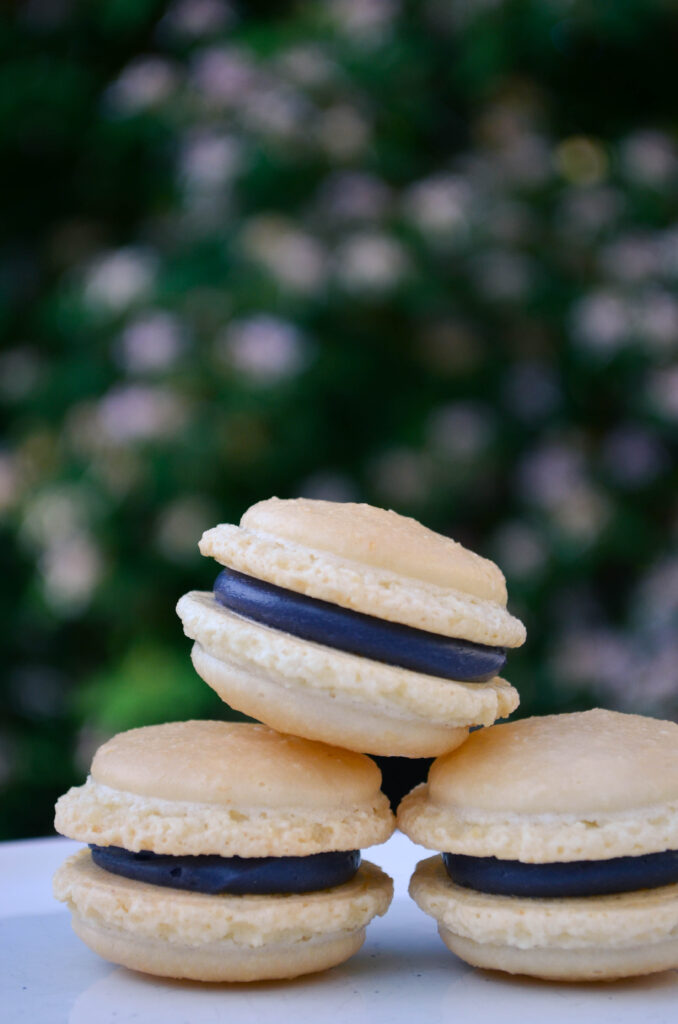
You’ve made macarons!