Spooky Pinup

Spooky Pinup | Sophster-Toaster

My brother and I shared a laugh early this week over how one would think that my skills and hobbies would make me good at making Halloween costumes, but they don’t: I’m actually kind of bad at it.

For about a decade, I didn’t even dress up. I spent Halloween at home watching scary movies in the dark, so there wasn’t really any reason to dress up. Then we bought a house with a front door that kids could actually come trick-or-treating to. We bought pumpkins, decorations and candy! We developed a tradition of making a festive meal, putting on the early episodes of The Simpsons Treehouse of Horror, drinking pumpkin beer, giving out candy… and dressing up.

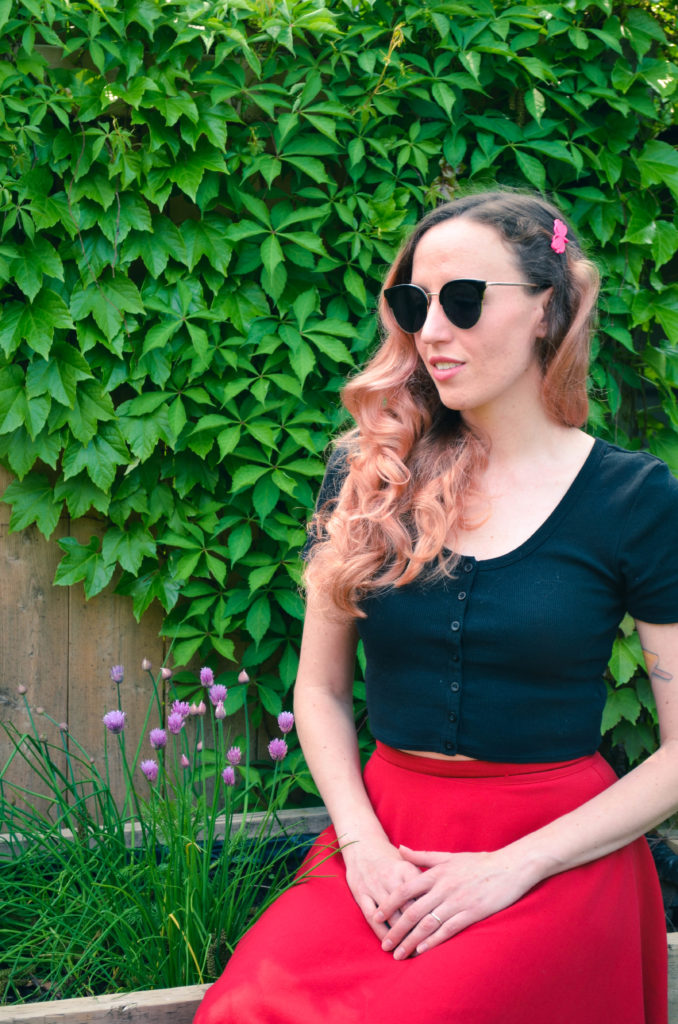
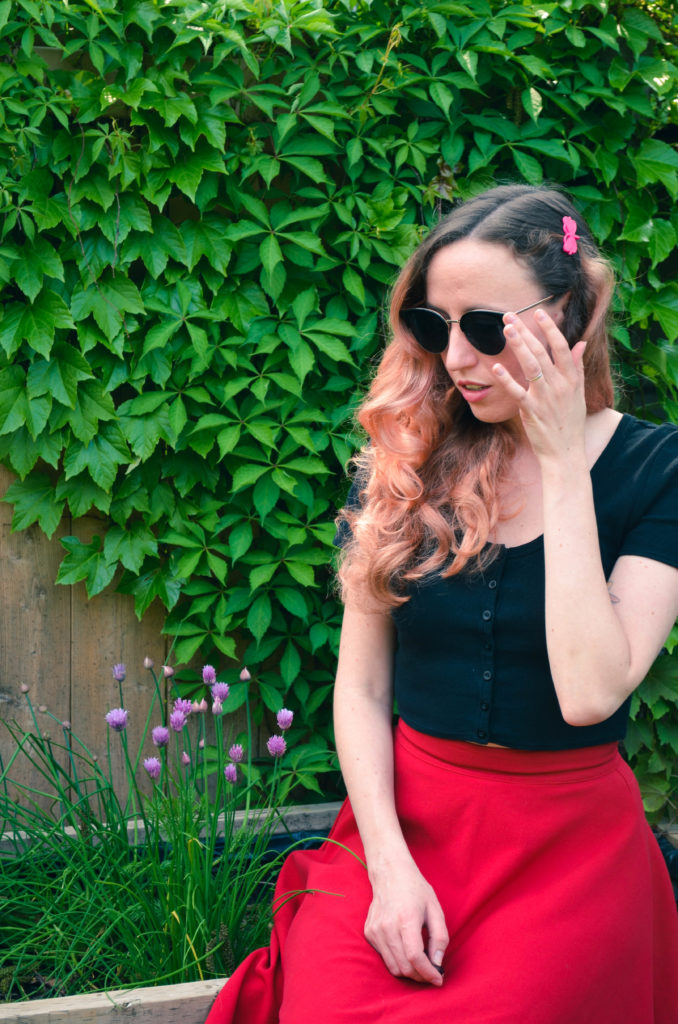
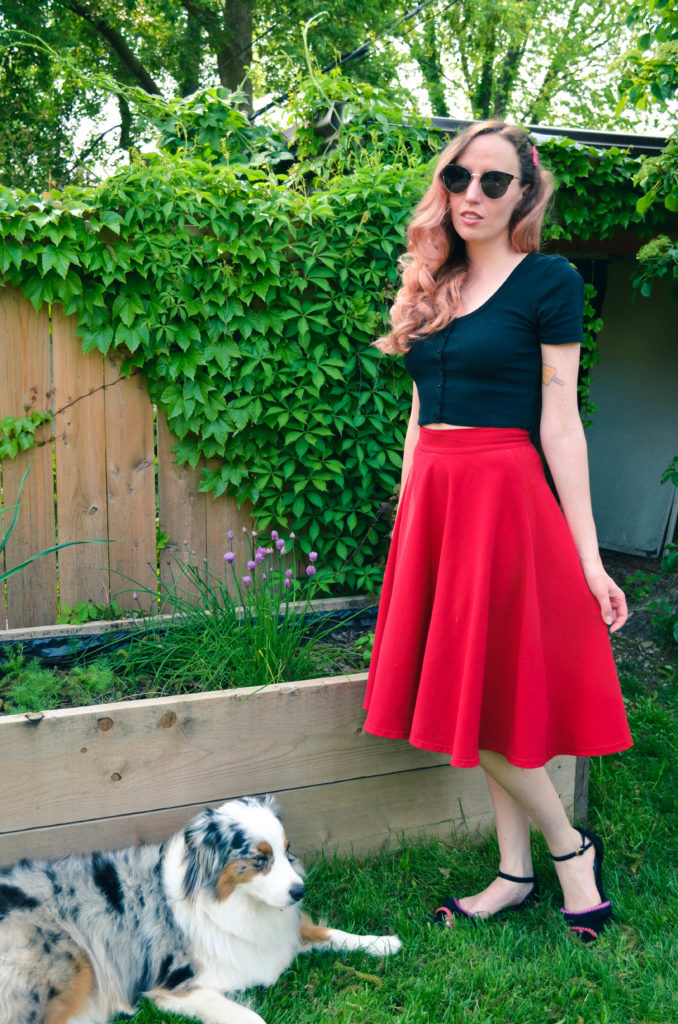
This year, I decided to abuse the freedom Halloween provides and dress up – in my own clothes – as who I wish I were brave enough to be everyday: a spooky pinup.

Spooky Pinup | Sophster-Toaster Spooky Pinup | Sophster-Toaster Spooky Pinup | Sophster-Toaster

Dress Capsule Vintage
Stockings What Katie Did

Spooky Pinup | Sophster-Toaster Spooky Pinup | Sophster-Toaster Spooky Pinup | Sophster-Toaster

Photos by me & Matt Harrison.

Pumpkin Spice Macarons

Pumpkin Spice Macarons | Sophster-Toaster

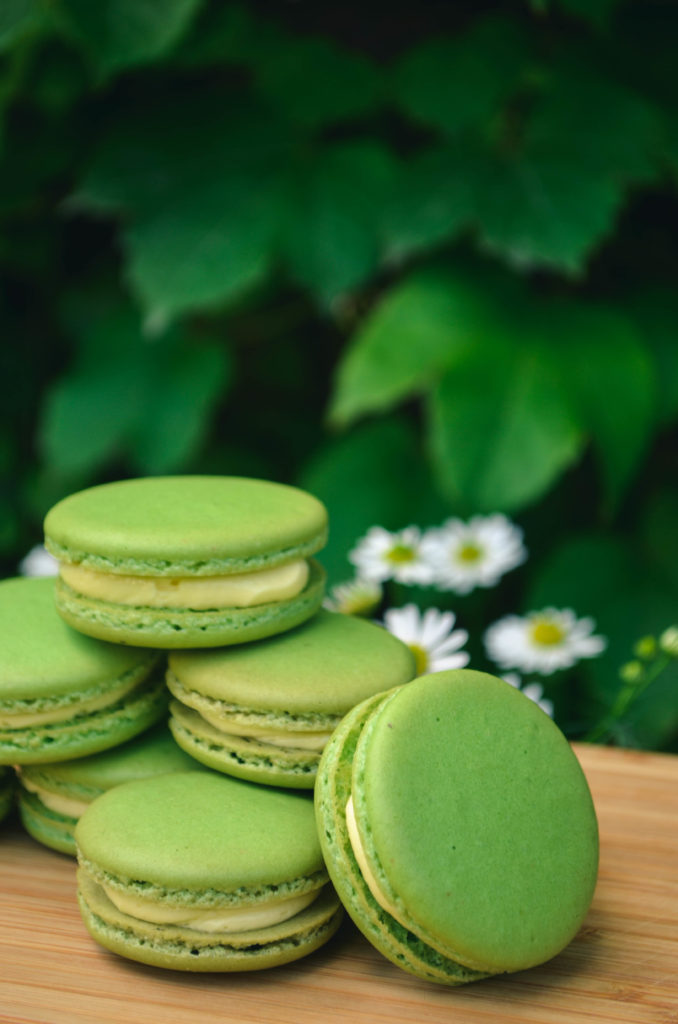
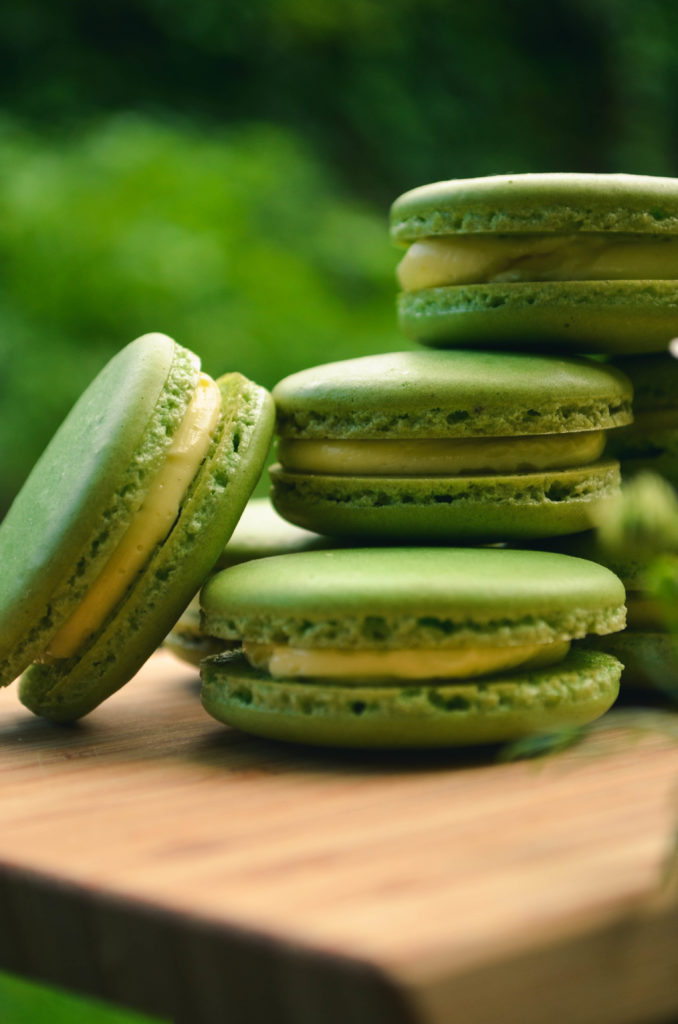
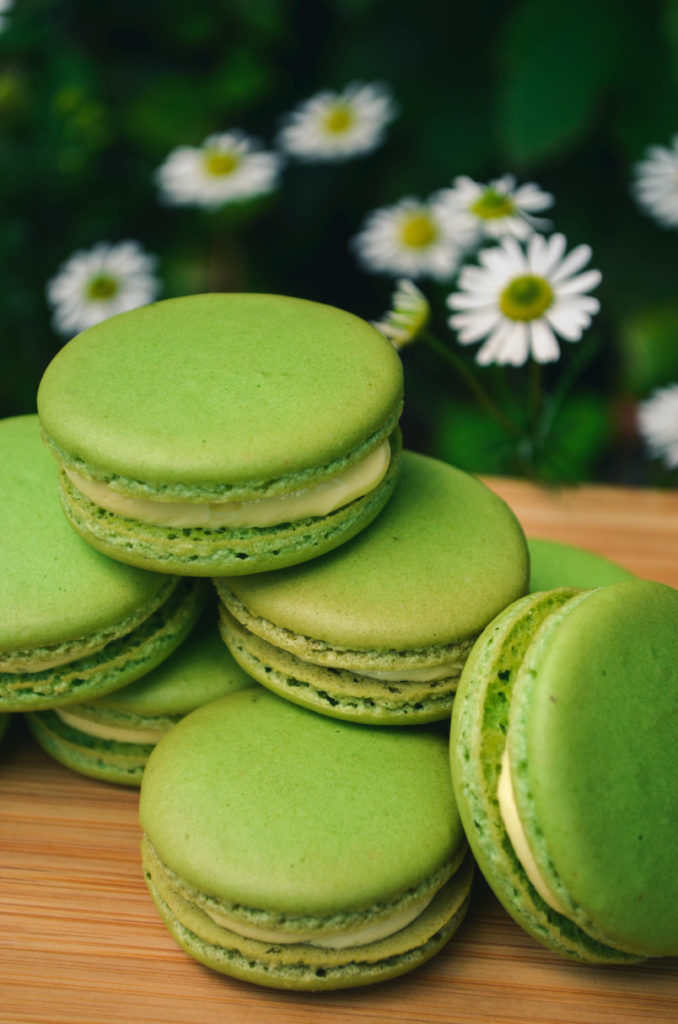
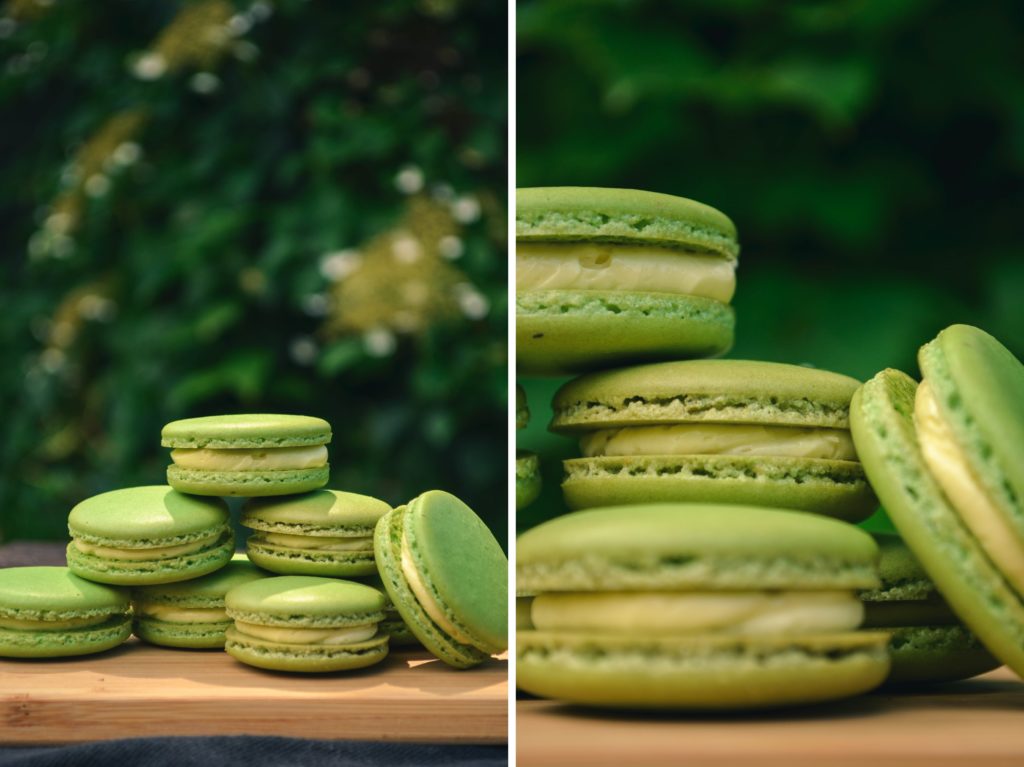
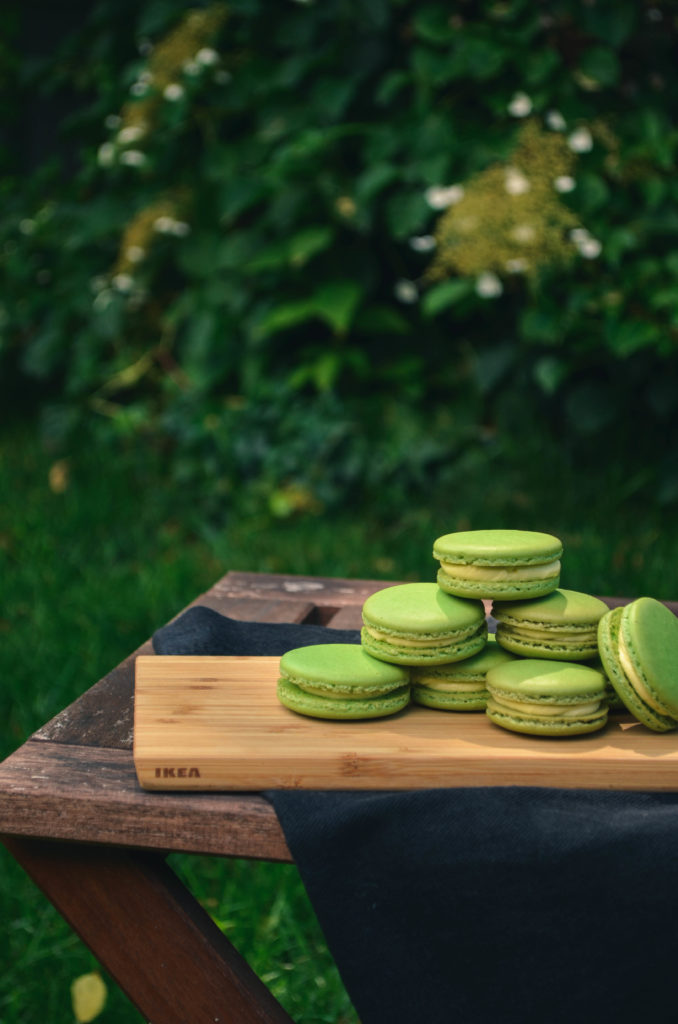
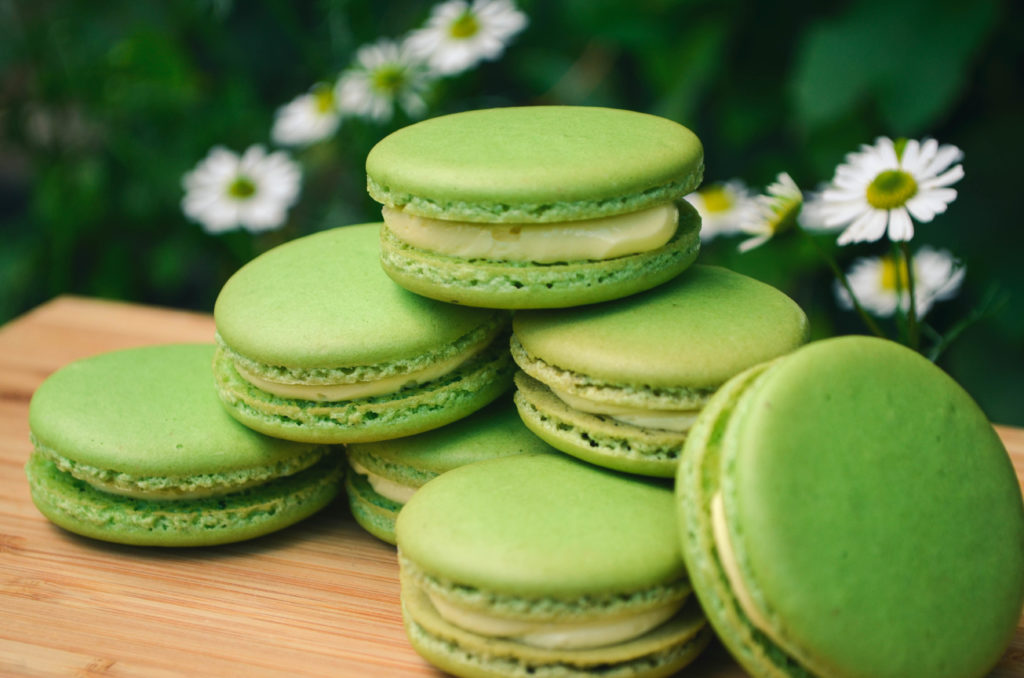
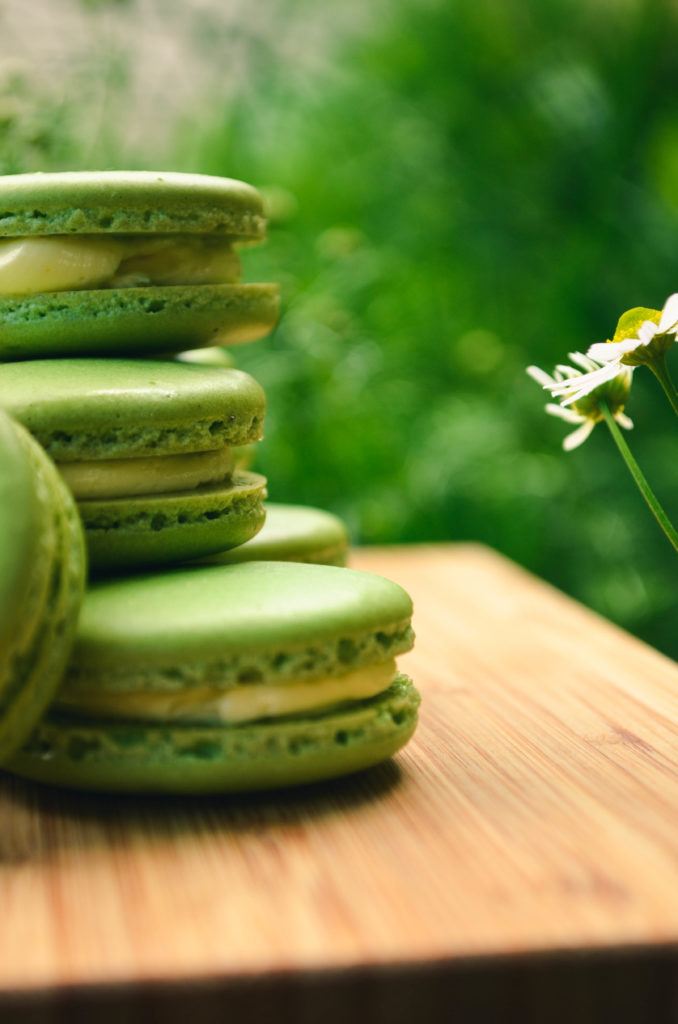
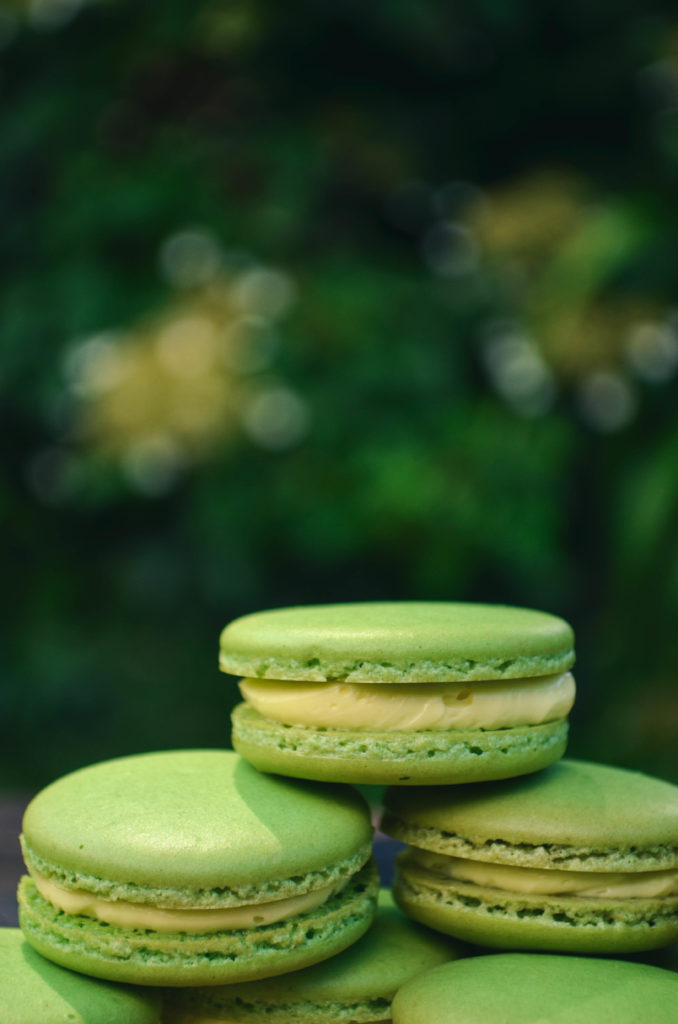
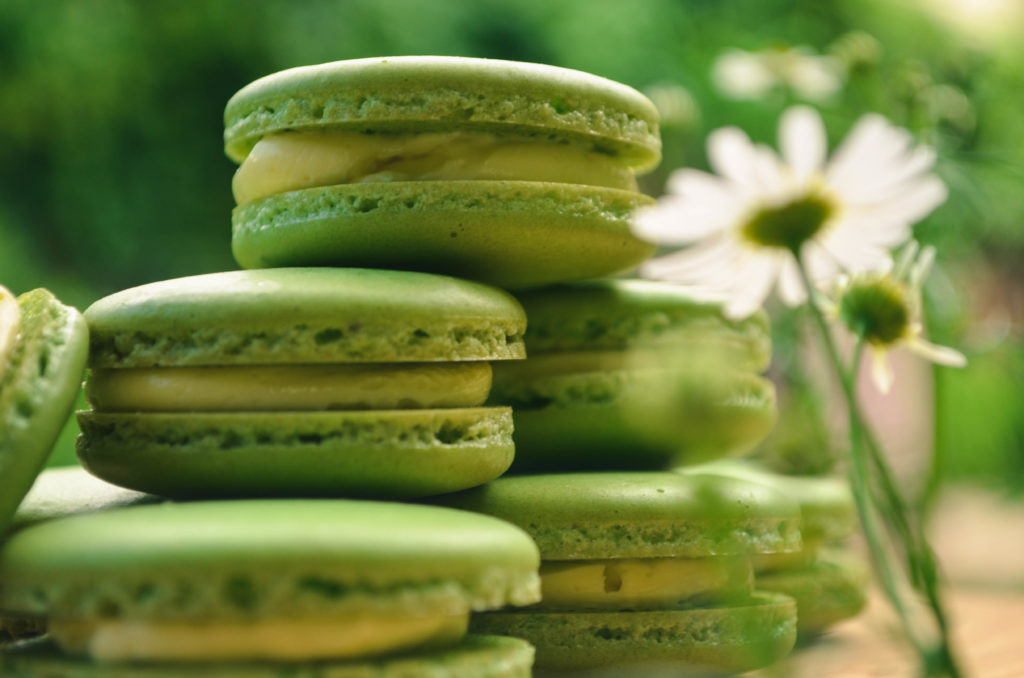
I fell behind on my macaron recipes over the summer but I knew I just had to get my mats and mixer back out when I had the idea for Pumpkin Spice Macarons. With their fall spice cookie shell and pumpkin buttercream filling, these macarons taste just like pumpkin pie! Be sure not to fill these bad boys until you are ready to serve them as pumpkin contains quite a lot of moisture and you don’t want the cookies getting too soggy.

Pumpkin Spice Macarons | Sophster-Toaster Pumpkin Spice Macarons | Sophster-Toaster Pumpkin Spice Macarons | Sophster-Toaster Pumpkin Spice Macarons | Sophster-Toaster

Ingredients

for the macaron shells

(dryer version for the humid months)

  • ¾ cup ground almonds (as finely ground as you can find)
  • 1 cup icing sugar
  • 1 tsp ground cinnamon
  • ½ tsp ground nutmeg
  • ½ tsp ground ginger
  • ¼ tsp ground cloves
  • ¼ tsp ground allspice
  • 2 large egg whites, at room temperature
  • 3 tbsp + 1 tsp sugar
  • ½ tsp vanilla
  • orange gel food colouring

for the filling

  • 7 tbsp unsalted butter, softened
  • 3 tbsp water
  • 3 tbsp sugar
  • 1 egg, at room temperature
  • 4 tbsp pumpkin puree
  • 2 drops vanilla

Method

for the macaron shells

  1. Prepare your parchment sheets by drawing 1″ circles, ½” apart across the entire sheet (or using silicon baking mats with the circles already printed on them) and placing them on a large flat surface suitable for drying your batter, like a dining table. You will need 2-3 half sheet pan size pieces.
  2. Sift ground almond, icing sugar and spices together, twice. Set aside.
  3. In a large stainless steel mixing bowl, beat egg whites with a hand or stand mixer on high speed until you have a foam with no liquid remaining.
  4. Slowly add the sugar while continuing to beat the egg whites. Beat on high speed until the egg whites reach stiff peaks. You’ve made meringue!
  5. Add vanilla and gently beat in.
  6. Add your food colouring now and gently beat in.
  7. Fold your almond, icing sugar and spice mixture into the meringue in two parts.
  8. Here’s the part that takes practice: it’s time for the macaronnage! With a spatula, spread the batter, with some force, against the side of the bowl. Then scoop it up by running the spatula along the side of the bowl again and try to flip it all over and sort-of lightly smack it back into the bottom of the bowl. Gather the batter up again and repeat 12-15 times. It takes some time to figure out the best way to do this, don’t be afraid to play around with it. When doing the macaronnage correctly, repeating more than 20 times can result in oily, blotchy macarons, but I’ve found that doing it incorrectly doesn’t count towards this limit. If you are doing it right, the batter will take on a noticeable and somewhat sudden change in consistency, this means you are about half-way to that limit. When finished, the batter should be thickened and drip slowly and smoothly from the spatula. You will have to pipe it onto your baking sheets/mats and it won’t work if the batter is too runny. This is the technique that defines macarons, this is what makes mastery of them impressive.
  9. For perfectly round macarons, use a large, 0.4″ plain tip with a pastry bag, or do it the lazy way and cut a corner off a zip top bag for mostly round macarons. Twist (or don’t yet cut) the bag at the tip and place it, tip side down, in a tall glass. Fill with your batter and twist, close or clip the other end to help keep the messy batter moving in the right direction. Pipe the batter into the centre of the circles on your sheets/mats and stop before reaching the edges as the batter will spread out a bit.
  10. Once finished piping, carefully pick the sheets/mats up and drop them back on to the table from a height of a couple of inches. The theory is that this helps the cookies keep their round shape and form the little bubbles around the bottom (the pied) when you put them in the oven.
  11. Leave the cookies on the table, uncovered, for 15-30 minutes to dry (or more on a humid day). This is a good time to preheat your oven to 350°F. You will know the macarons are dry when they look smooth and are no longer sticky to the touch.
  12. Place an oven rack in the centre of your oven. Place a sheet of macarons on two stacked sheet pans (this will stop the bottoms from getting too hot, resulting in cracked macarons) and bake for about 15 minutes. Rotate the pan half way through baking. It can be hard to tell when the macaron are done. I pull them out when the kitchen smells sweet and the cookies look crisp, have just started to brown, and don’t look blotchy in the middle.
  13. As soon as the parchment sheet/baking mat is cool enough to handle, take it out of the pan with all the cookies on top and place it on a cooling rack. The macarons will be too sticky to remove from the sheet/mat now; once cooled, they should peel off easily. I usually wait a few minutes for the pans to cool a bit and for the oven to come back to a steady temperature before moving the next sheet to the pans and baking the next round.

for the buttercream

  1. Warm the butter in a double boiler or in the microwave until it is soft but not melted and beat until creamy.
  2. Break an egg into a large heat-resistant mixing bowl and beat lightly with a hand mixer. Set aside.
  3. Add water and sugar to a small saucepan and place over medium-low heat. Bring to a simmer and stir until you can draw a line of bare pan without the liquid immediately covering it back up, about 7 minutes. You’ve made simple syrup!
  4. Slowly pour your simple syrup into the beaten egg while beating with a hand mixer on as high a speed as you can without flinging syrup everywhere, remember it is very hot and sticky. Once all the syrup is in, beat the mixture on high speed, slowly reducing speed until it is thick, light in colour and the bowl is no longer hot.
  5. Add the butter to this mixture in two or three parts and beat on medium speed until fully incorporated and creamy. If the buttercream splits and continuing to beat doesn’t bring it back together, it has likely become too cold. Pop it in the warm oven or over a double boiler for 10 seconds and try beating it again. Continue doing this until it comes together.
  6. Add the pumpkin puree and beat in.

Once everything has cooled, place your buttercream in a piping (or zip-top) bag and pipe onto half of your shells. Then place another similarly sized shell on top and gently press them together. You’ve made macarons!

Pumpkin Spice Macarons | Sophster-Toaster

All photos by me.

The Timeline of a Roller Girl: How to Join Niagara Roller Derby

Towards the end of 2018, I took a big leap and signed up to join Niagara Roller Derby. I was looking for friendship, a winter fitness routine and a way to expand the limits of my comfort zone. What I got was a community, muscles I’ve never seen before and a sense that I can take on the world.

I came to every practice but one, practised in my basement, cleaned the house in my skates more than once, was out skating on the streets the day they were clean and dry enough and this was the timeline that unfolded before me. Going from not having worn skates since they were made by Fisher Price to skating in my first bout took me six months. This doesn’t mean everyone will do it this quickly, or take this long, but here’s how the journey broke down for me.

Signing Up: Weeks -4 to -1

  • Sign up for the learn to skate training program online or in person at a meet and greet event.
  • Buy insurance. You can pay for the full year upfront or purchase a 90 day apprenticeship version and pay the rest once you’ve decided to stick around.
  • Order your equipment! The best way to get everything you need is to purchase a fresh meat package from RollerGirl.ca or Bruised Boutique. Orders from Canadian shops take about one week to arrive and orders from US skate shops take 2-3 weeks.
    You will need:

    1. Helmet (multi-impact)
    2. Mouth guard
    3. Knee pads
    4. Wrist guards
    5. Elbow pads
    6. Skates (quads only)

The First Day: Week 0

  • Your first day with us will be an introduction to the sport, and your fellow freshies, followed by a light workout to give you a taste of what you can expect when you put your skates on next week. Nothing but a pen and notebook are needed this week.
  • When you arrive at the arena, you will be greeted at the door and delivered to your fresh meat group, so there’s nothing to fear!

Learning to Skate: Weeks 1 to 9

  • You will spend the next nine weeks (or more if you need) learning and building the basic skills you will need to be able to skate with the team without hurting yourself or anyone else.
  • You will also have opportunities to help out – off skates – at our home games. I highly recommend taking any opportunities to volunteer as it really helps you learn how everything works, plus you get free snacks for helping out.
  • This is also a good time to start reading through the rules of our game.

The First Test: Week 10

  • This is when, if you are ready, you take your first minimum skills test and graduate to skating with the league. You can see what’s on the test here. It is stressful, but not difficult.

Learning to Play: Weeks 11 to 26+

  • You join the league!
  • You practice with the team and learn how to play the game while continuing to build on the skills you’ve already learned.
  • You read through and sign the league’s code of conduct.
  • You go to league meetings, get a vote on upcoming initiatives and start to help out with the league any way you can.
  • You get to choose your name and number!

The Second Test: Week ~27

  • When you are ready, you take your second minimum skills test. This clears you for full contact and says you have the skills and endurance required to play safely. This test is easier than the first and just feels like a normal day at practice. You can see what’s on it here.

The First Bout: Week 28+

  • You get your jersey, and it means everything.

Joining roller derby was one of the hardest things I’ve done in a long time. It was also one of the most rewarding. There were days where my stomach was in knots and I would think about how much easier my life would be if I just gave up now; but I didn’t. I pushed through and kept going because that feeling of coming out of practice every week feeling stronger and braver than you went in is one of the best feelings in the world.


California, 1982

California, 1982 | Sophster-Toaster

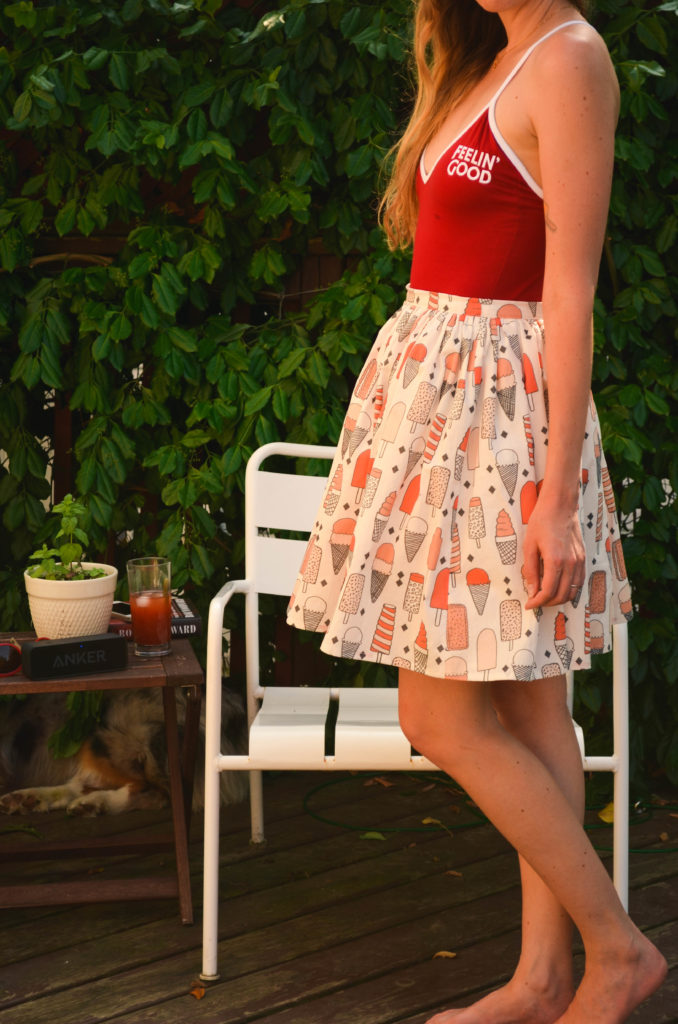
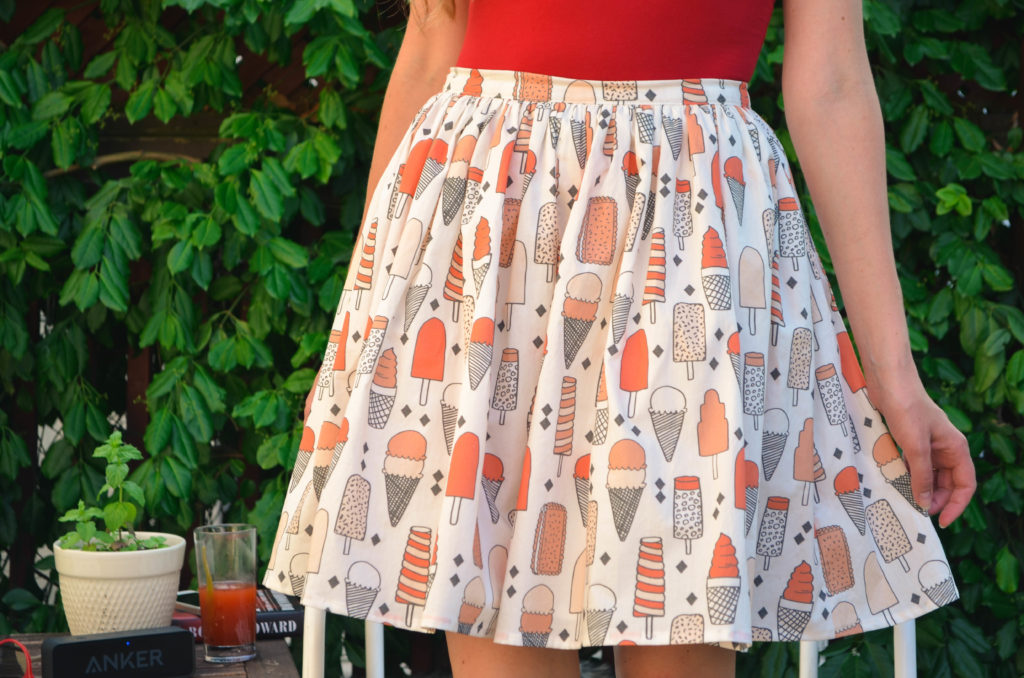
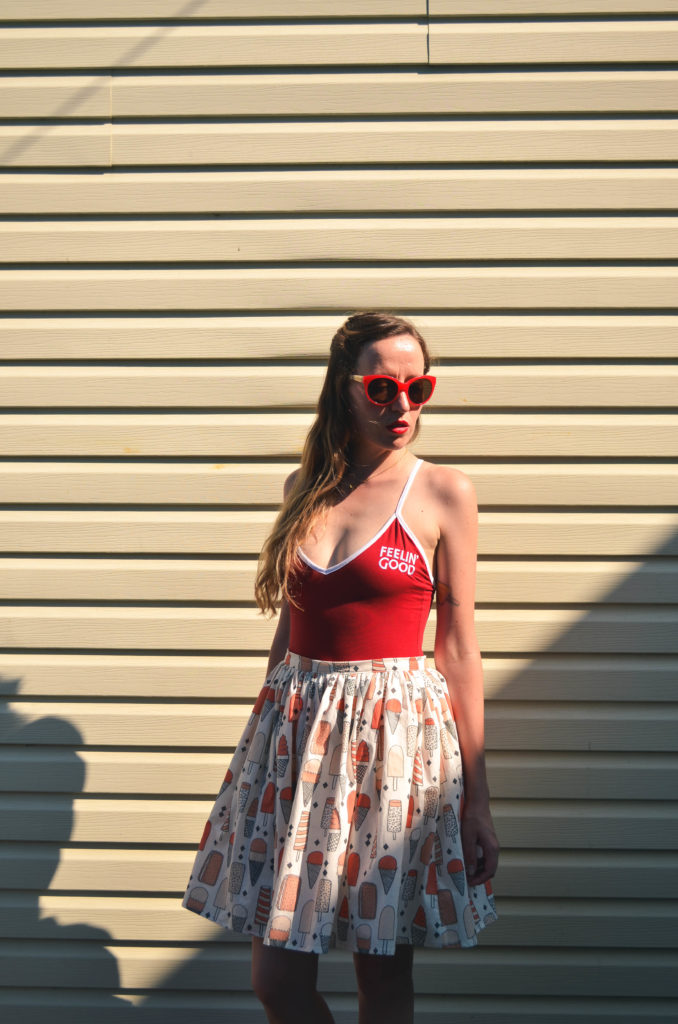
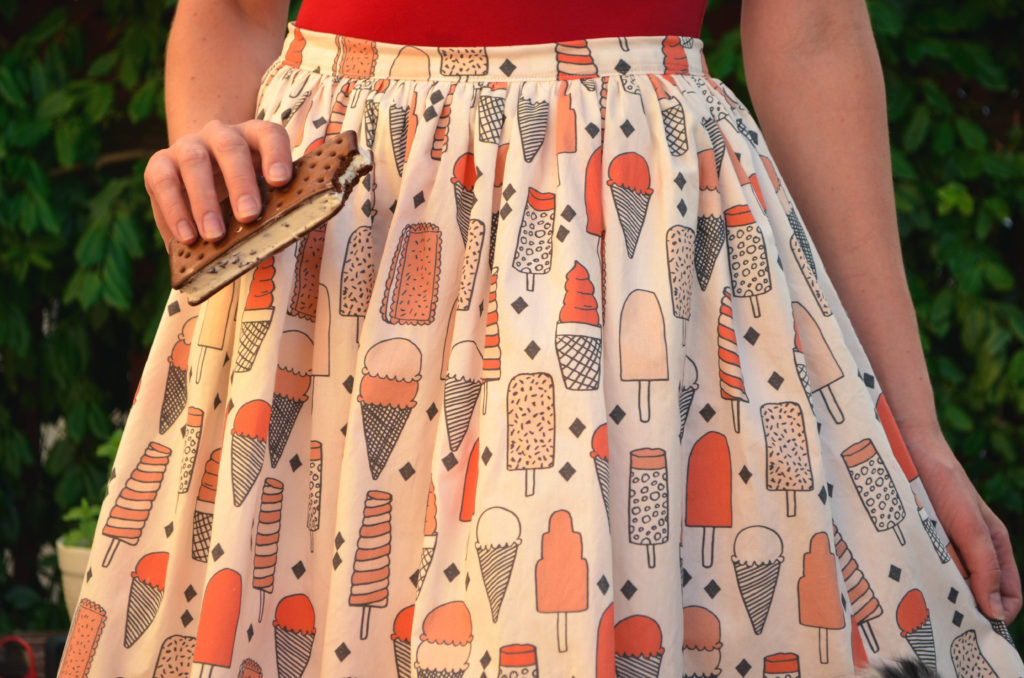
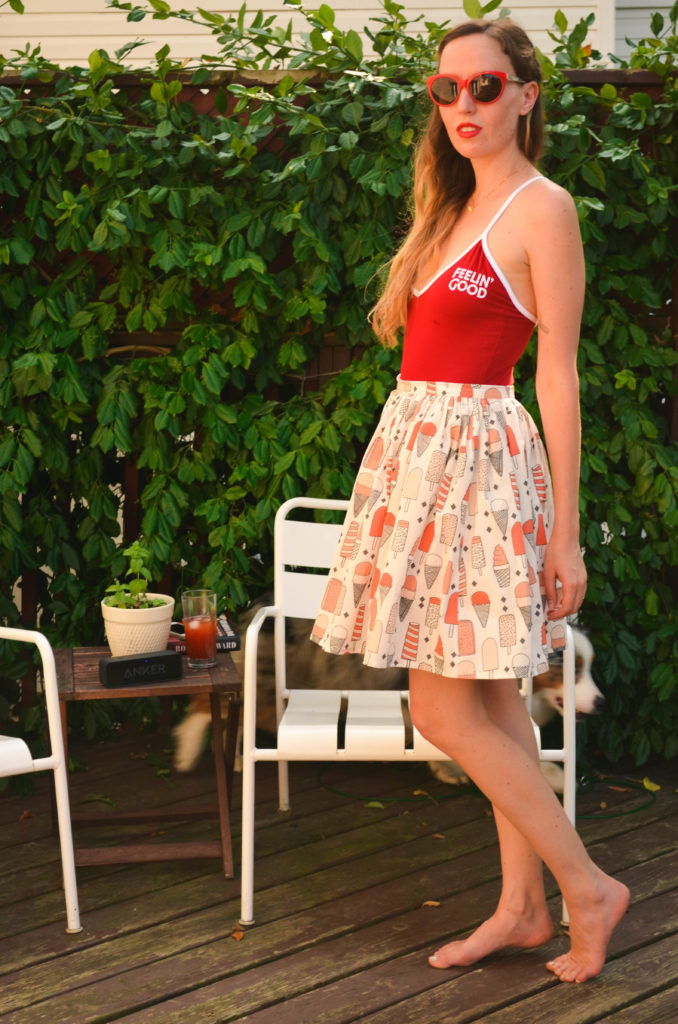
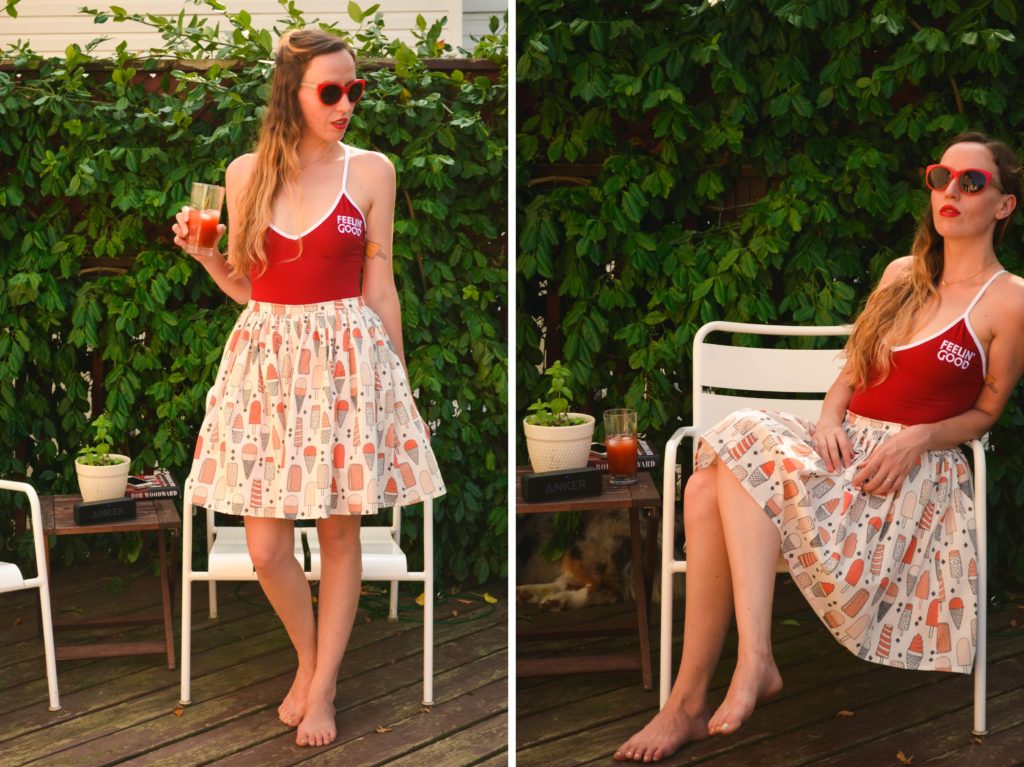
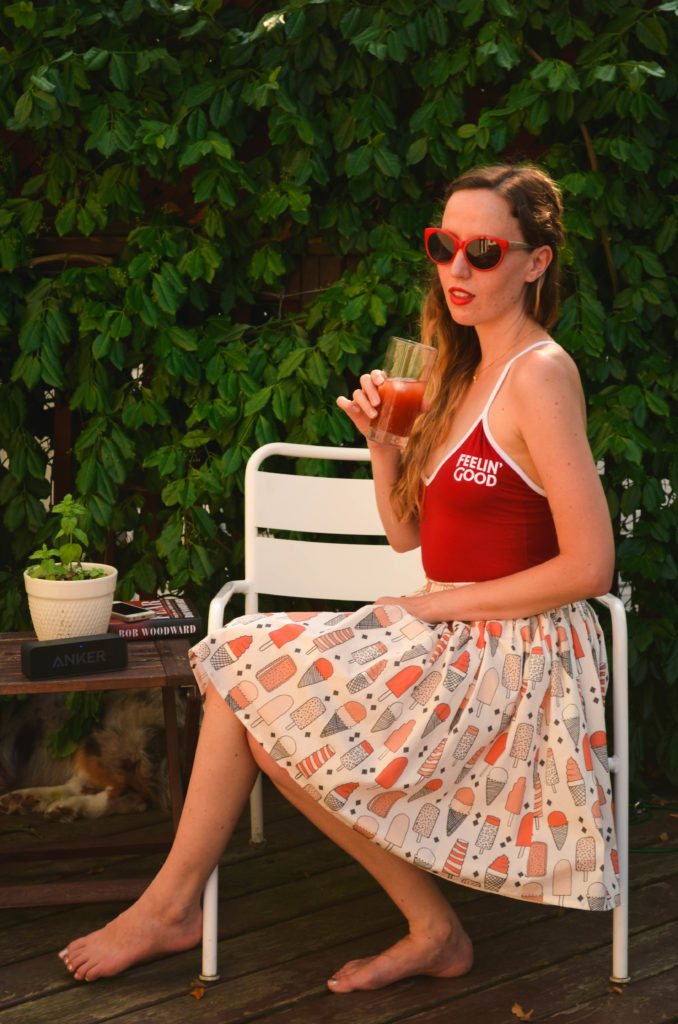
I’m finding, more and more, that my personal style is evolving into a fairly specific aesthetic that I’ve been internally referring to as California, 1982. I love anything with this vibe and snap up everything that possesses it, even when it doesn’t exactly jive with my earlier mid century obsession.

California, 1982 | Sophster-Toaster

Living, as I do, in Canada, 2019, I don’t get many opportunities to explore this new fascination. It’s made for an even murkier transition from vintage pin-up to retro boardwalk babe. It’s hard to find effortlessly aloof clothes with that sunny, summertime feel that can stand up to a Canadian winter, so summer is when I really get to shine. I feel most myself when I’m skating – on my quads or on my little banana board – to the 7-11 for a Popsicle in tube socks and a ringer tee.

California, 1982 | Sophster-Toaster California, 1982 | Sophster-Toaster California, 1982 | Sophster-Toaster California, 1982 | Sophster-Toaster California, 1982 | Sophster-Toaster California, 1982 | Sophster-Toaster

Bodysuit Camp Collection
Skirt Sophster-Toaster
Necklace Emery & Opal

California, 1982 | Sophster-Toaster California, 1982 | Sophster-Toaster

All photos by me.