Category Archives: DIY & How To

The Timeline of a Roller Girl: How to Join Niagara Roller Derby

Towards the end of 2018, I took a big leap and signed up to join Niagara Roller Derby. I was looking for friendship, a winter fitness routine and a way to expand the limits of my comfort zone. What I got was a community, muscles I’ve never seen before and a sense that I can take on the world.

I came to every practice but one, practised in my basement, cleaned the house in my skates more than once, was out skating on the streets the day they were clean and dry enough and this was the timeline that unfolded before me. Going from not having worn skates since they were made by Fisher Price to skating in my first bout took me six months. This doesn’t mean everyone will do it this quickly, or take this long, but here’s how the journey broke down for me.

Signing Up: Weeks -4 to -1

  • Sign up for the learn to skate training program online or in person at a meet and greet event.
  • Buy insurance. You can pay for the full year upfront or purchase a 90 day apprenticeship version and pay the rest once you’ve decided to stick around.
  • Order your equipment! The best way to get everything you need is to purchase a fresh meat package from RollerGirl.ca or Bruised Boutique. Orders from Canadian shops take about one week to arrive and orders from US skate shops take 2-3 weeks.
    You will need:

    1. Helmet (multi-impact)
    2. Mouth guard
    3. Knee pads
    4. Wrist guards
    5. Elbow pads
    6. Skates (quads only)

The First Day: Week 0

  • Your first day with us will be an introduction to the sport, and your fellow freshies, followed by a light workout to give you a taste of what you can expect when you put your skates on next week. Nothing but a pen and notebook are needed this week.
  • When you arrive at the arena, you will be greeted at the door and delivered to your fresh meat group, so there’s nothing to fear!

Learning to Skate: Weeks 1 to 9

  • You will spend the next nine weeks (or more if you need) learning and building the basic skills you will need to be able to skate with the team without hurting yourself or anyone else.
  • You will also have opportunities to help out – off skates – at our home games. I highly recommend taking any opportunities to volunteer as it really helps you learn how everything works, plus you get free snacks for helping out.
  • This is also a good time to start reading through the rules of our game.

The First Test: Week 10

  • This is when, if you are ready, you take your first minimum skills test and graduate to skating with the league. You can see what’s on the test here. It is stressful, but not difficult.

Learning to Play: Weeks 11 to 26+

  • You join the league!
  • You practice with the team and learn how to play the game while continuing to build on the skills you’ve already learned.
  • You read through and sign the league’s code of conduct.
  • You go to league meetings, get a vote on upcoming initiatives and start to help out with the league any way you can.
  • You get to choose your name and number!

The Second Test: Week ~27

  • When you are ready, you take your second minimum skills test. This clears you for full contact and says you have the skills and endurance required to play safely. This test is easier than the first and just feels like a normal day at practice. You can see what’s on it here.

The First Bout: Week 28+

  • You get your jersey, and it means everything.

Joining roller derby was one of the hardest things I’ve done in a long time. It was also one of the most rewarding. There were days where my stomach was in knots and I would think about how much easier my life would be if I just gave up now; but I didn’t. I pushed through and kept going because that feeling of coming out of practice every week feeling stronger and braver than you went in is one of the best feelings in the world.

How I Roll: 1940s Waves

How I Roll: 1940s Waves | Sophster-Toaster Blog

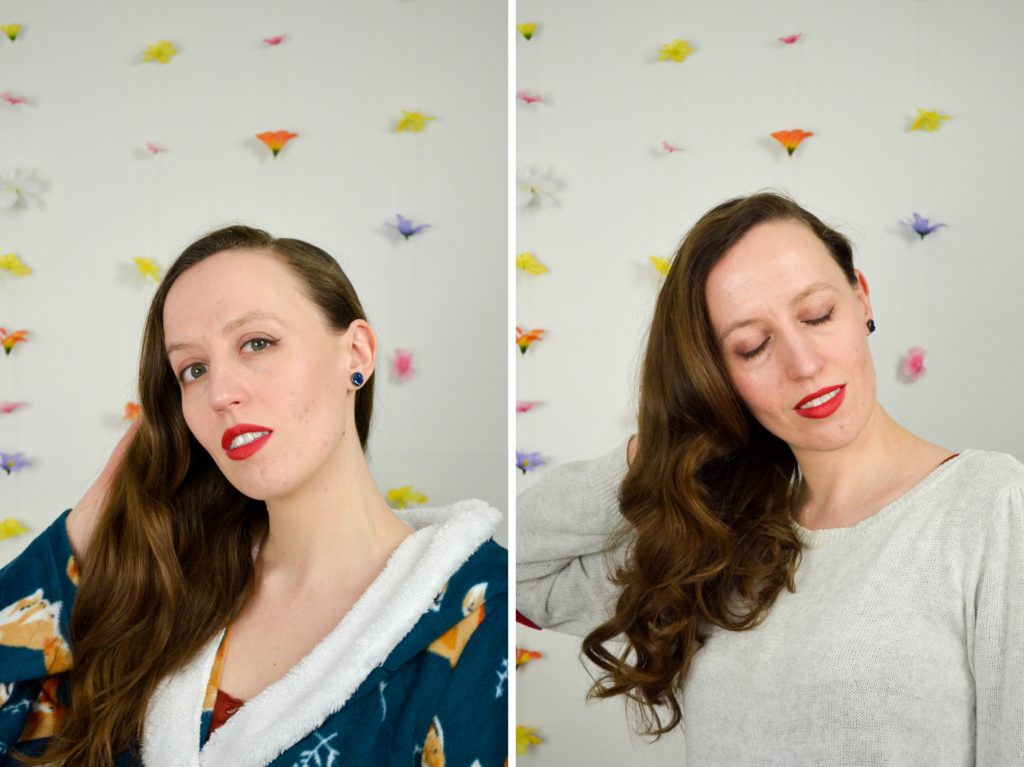
My hair is naturally not quite straight, not quite curly. I let it air dry 99% of the time after applying some moisturizing oil. If I don’t brush it out after drying, and let the curls do their thing, I sometimes get a nice bunch of neat and tidy loose curls, but more often than not, what I get is some lovely toddler curls underneath with a frizzy mess on top. So I usually end up brushing them out into waves with a boar hair paddle brush and applying more moisture oil to keep everything in check. I’ve been growing my hair out, recently, into a sort-of Veronica Lake inspired style. To keep it healthy, I’ve cut back to only two washes a week and I’ve been saving heat styling for special occasions. To get my hair from mind-of-its-own waves to movie-star glamour waves without the damaging heat, I’ve been letting my hair dry in pin curls after most washes. Here’s the rolling pattern I use:

How I Roll: 1940s Waves | Sophster-Toaster Blog

I usually use this same roll pattern with pin-curl clips on damp, lightly moussed hair. Today I’m using hot rollers on second day hair that was simply combed and air dried for the sake of speed (aka tutorial magic).

Step one: brush out hair and part far to the side.

Step two: section hair on side without part from behind your ear to the part. Divide into 2-3 horizontal sections, depending on length and thickness, and roll hair inwards.

Step three: repeat on other side, dividing into 1-2 sections.

Step four: section hair, vertically, into four equal parts, parting down the centre and dividing each half in half again. On side with part, roll hair in 2-3 sections. I like to roll the bottom sections from here-on-out outwards instead of inwards for a bit of a flip at the bottom of my waves.

Step five: roll the back section of this side in 2-3 sections as well.

Step six: repeat on other side, using 3-4 sections for the front section, as you will have more hair gathered on this side, and 2-3 for the back.

Step seven: let hair dry/cool. Remove clips/rollers and give hair a gentle tousle to loosen up some volume at the roots. Brush curls out softly with a boar hair brush, trying to only pass each area once. Set with hair spray, if you like.

How I Roll: 1940s Waves | Sophster-Toaster Blog

This roll pattern also sets a nice foundation for half up, half down throw-back styles like a Zooey Deschanel beehive.

All photos by me.

How to Make a Cushion Cover

How to Make a Cushion Cover | Sophster-Toaster Blog

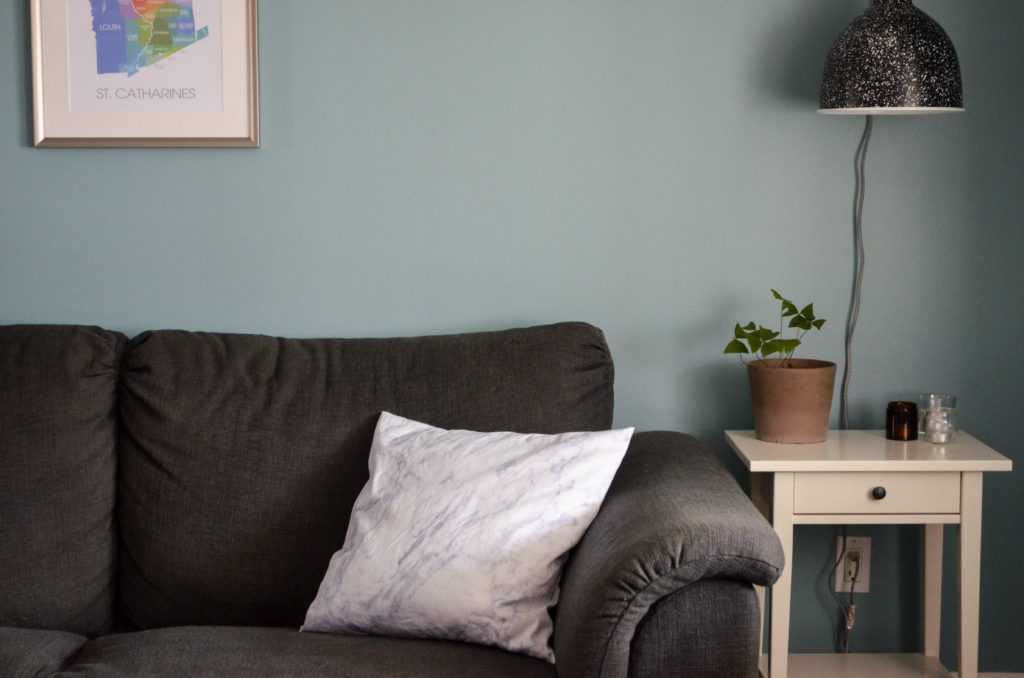
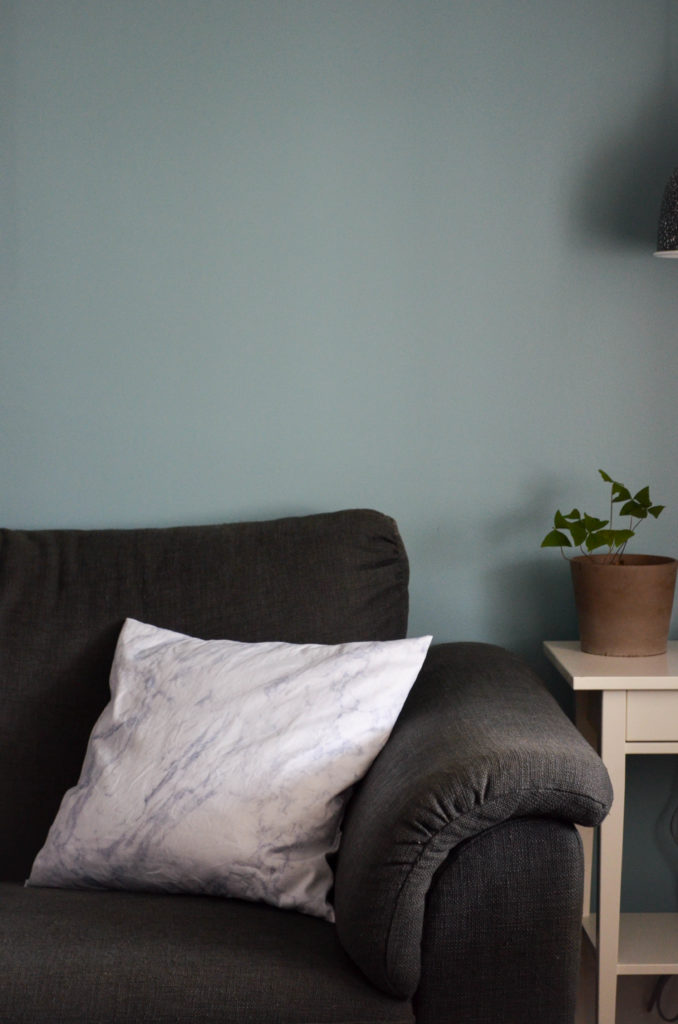
A cushion cover takes a lot of fabric but not a lot of tools, practice or patience. It takes less than half an hour to complete and doesn’t require much skill, so it’s a good introductory project for anyone just learning how to sew. With an envelope style cushion cover like this, there are no zippers, buttons or button holes to sew in, making it a nice, relaxing project with a nap-ready result.

Fits snugly on a 20 x 20 Ikea cushion.

Tools Needed

  • fabric scissors
  • chalk pencil (or something for marking)
  • long ruler
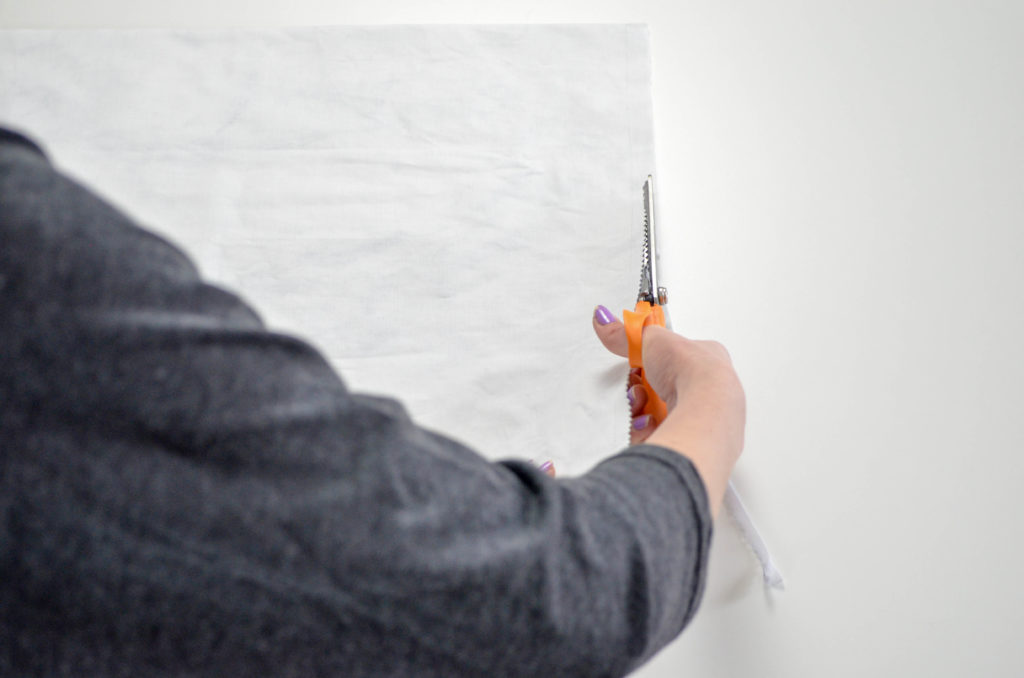
  • pinking shears (or serger)
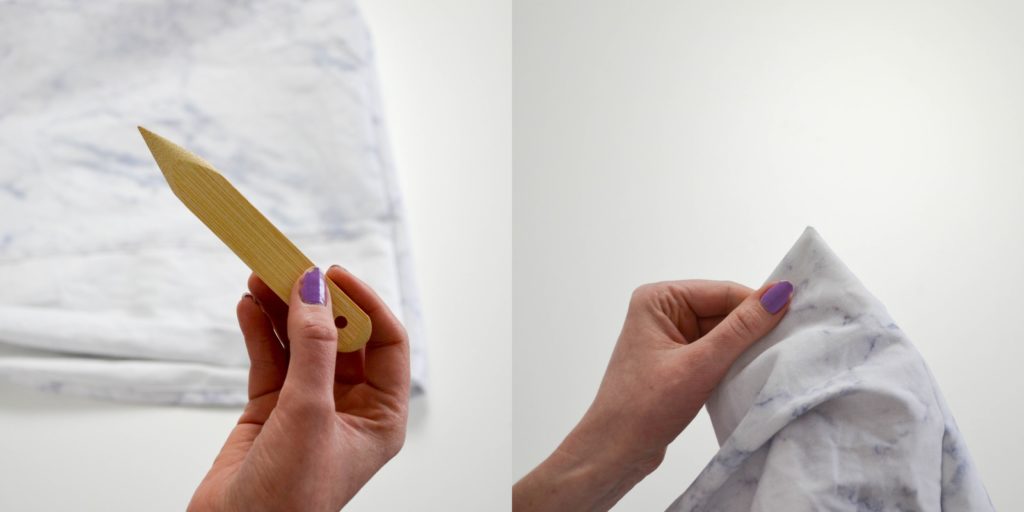
  • point turner (or similarly shaped object)
  • 1 yard or metre of a sturdy, woven fabric like twill or canvas for one pillow (1.5 yards for two). I will be using lightweight cotton twill from Spoonflower.

How to

Step 1

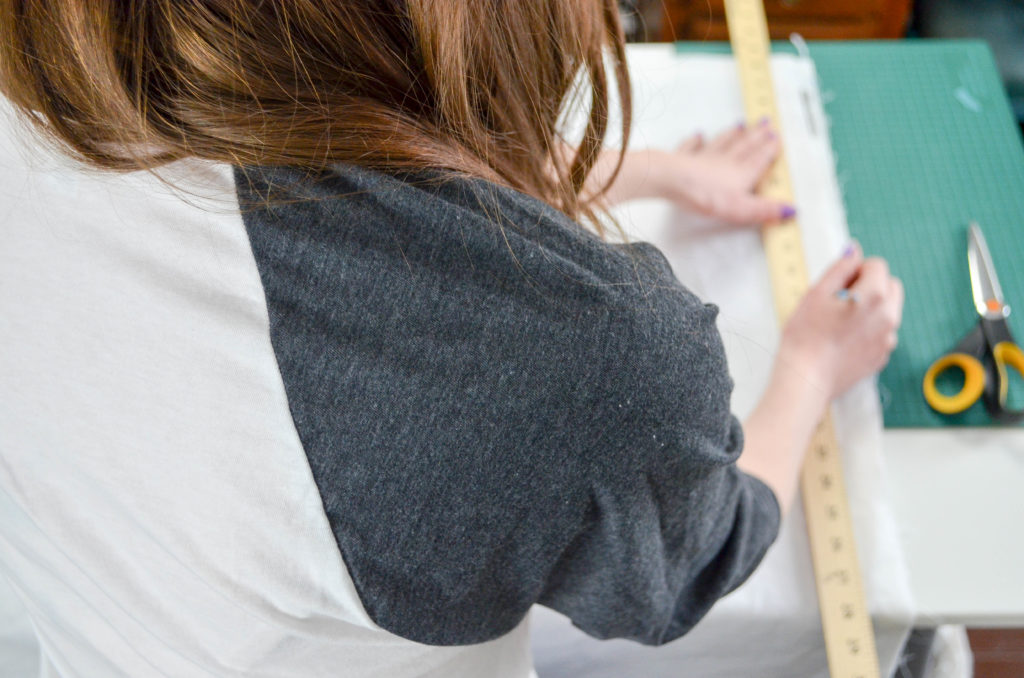
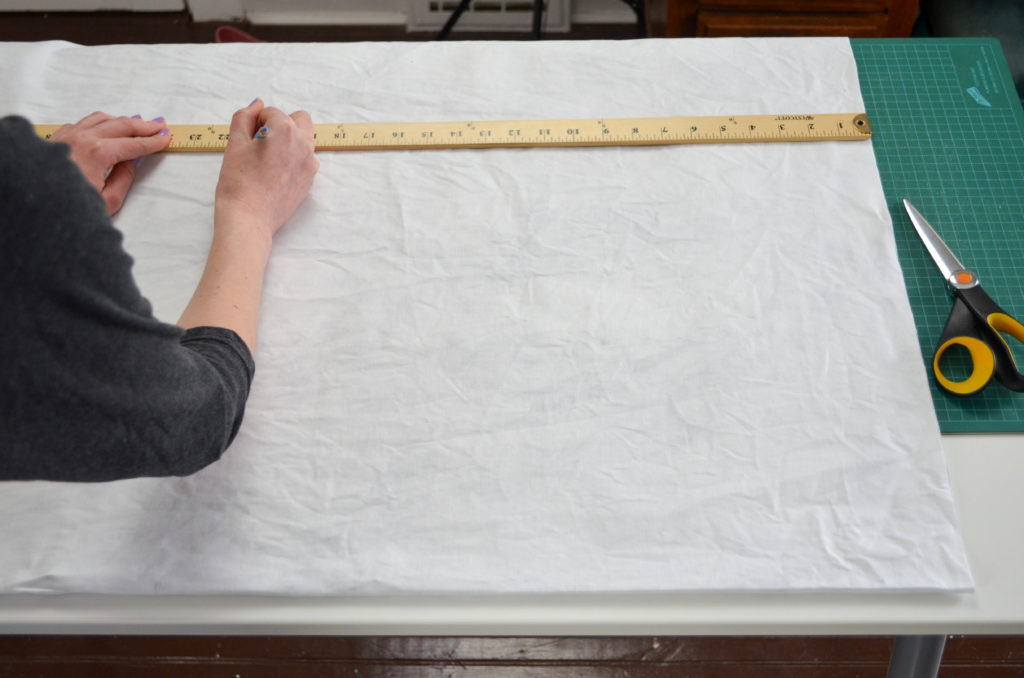
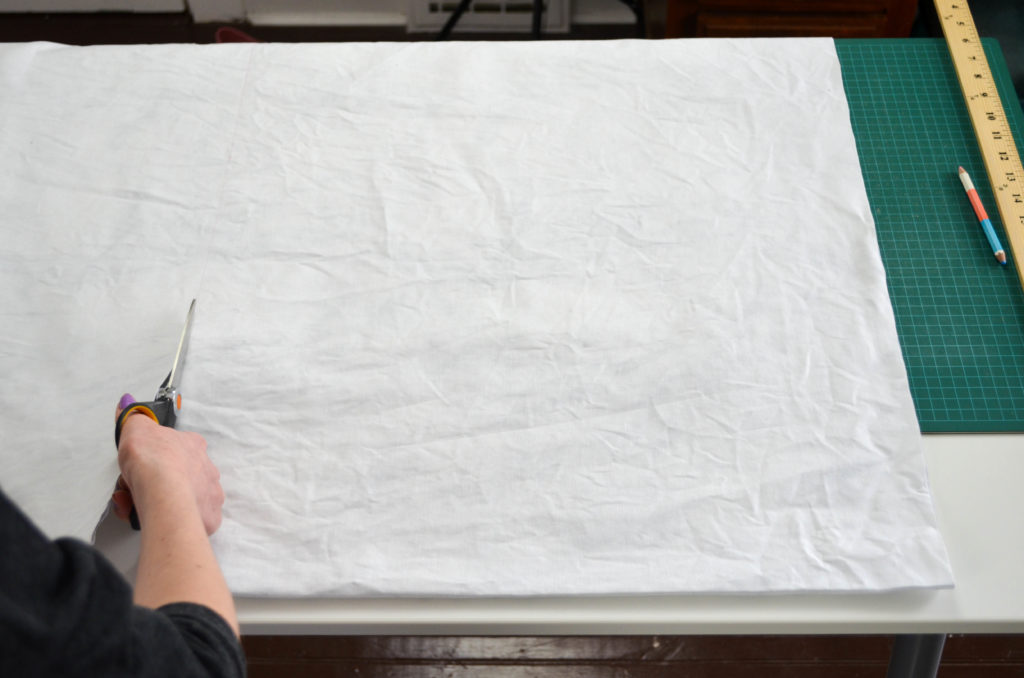
  • With fabric running lengthwise and folded in half so selvage sides are together, use a ruler and chalk pencil to draw a straight line to trim up the cut end of your fabric.

How to Make a Cushion Cover | Sophster-Toaster Blog

Step 2

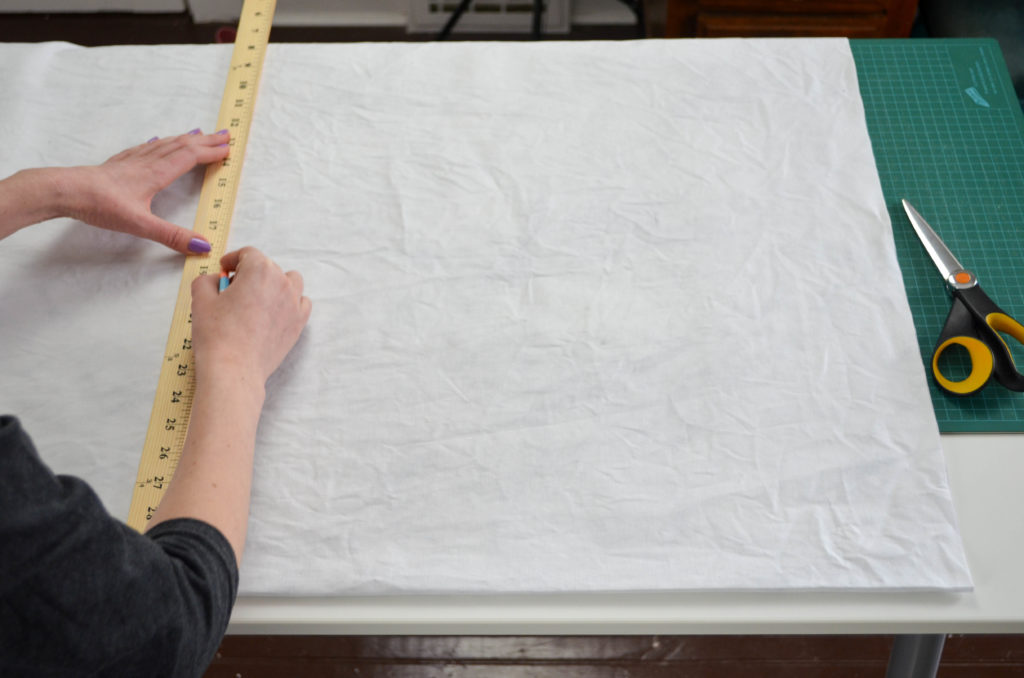
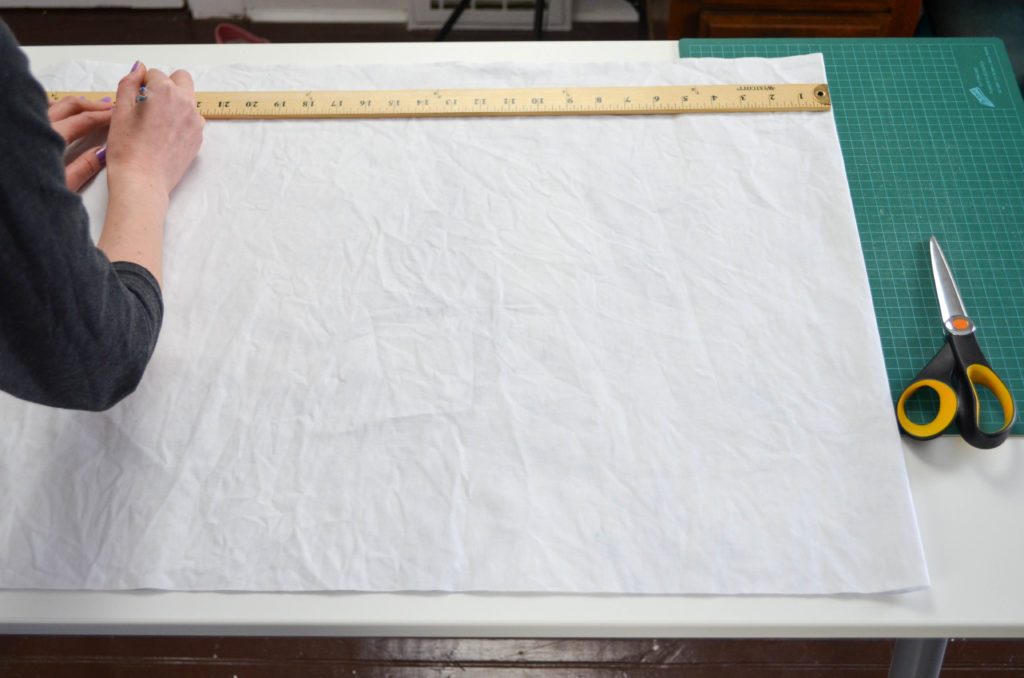
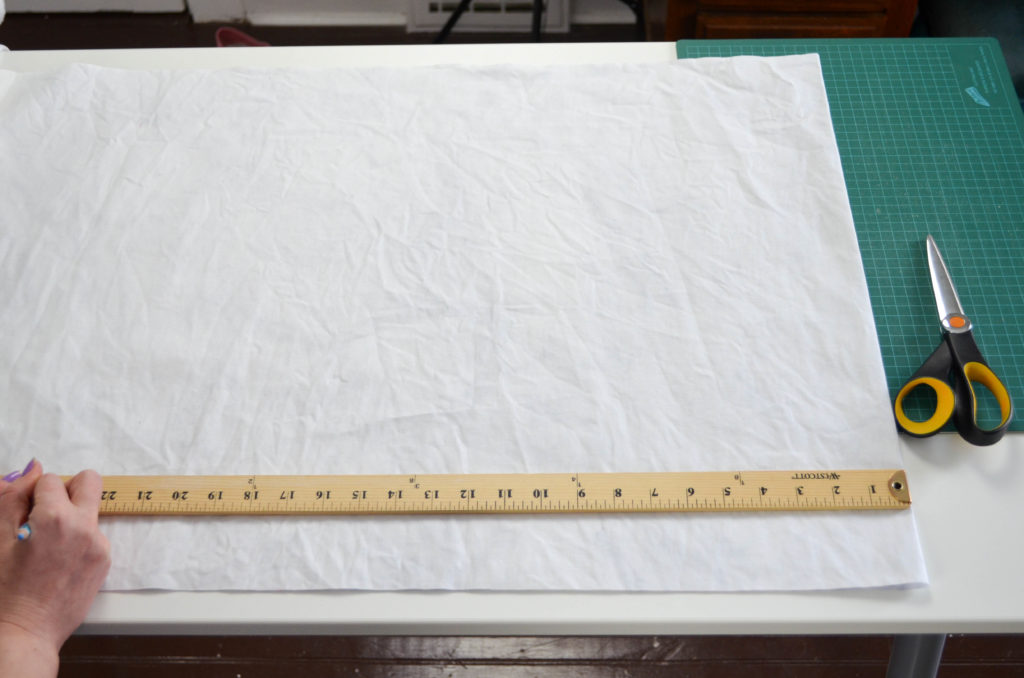
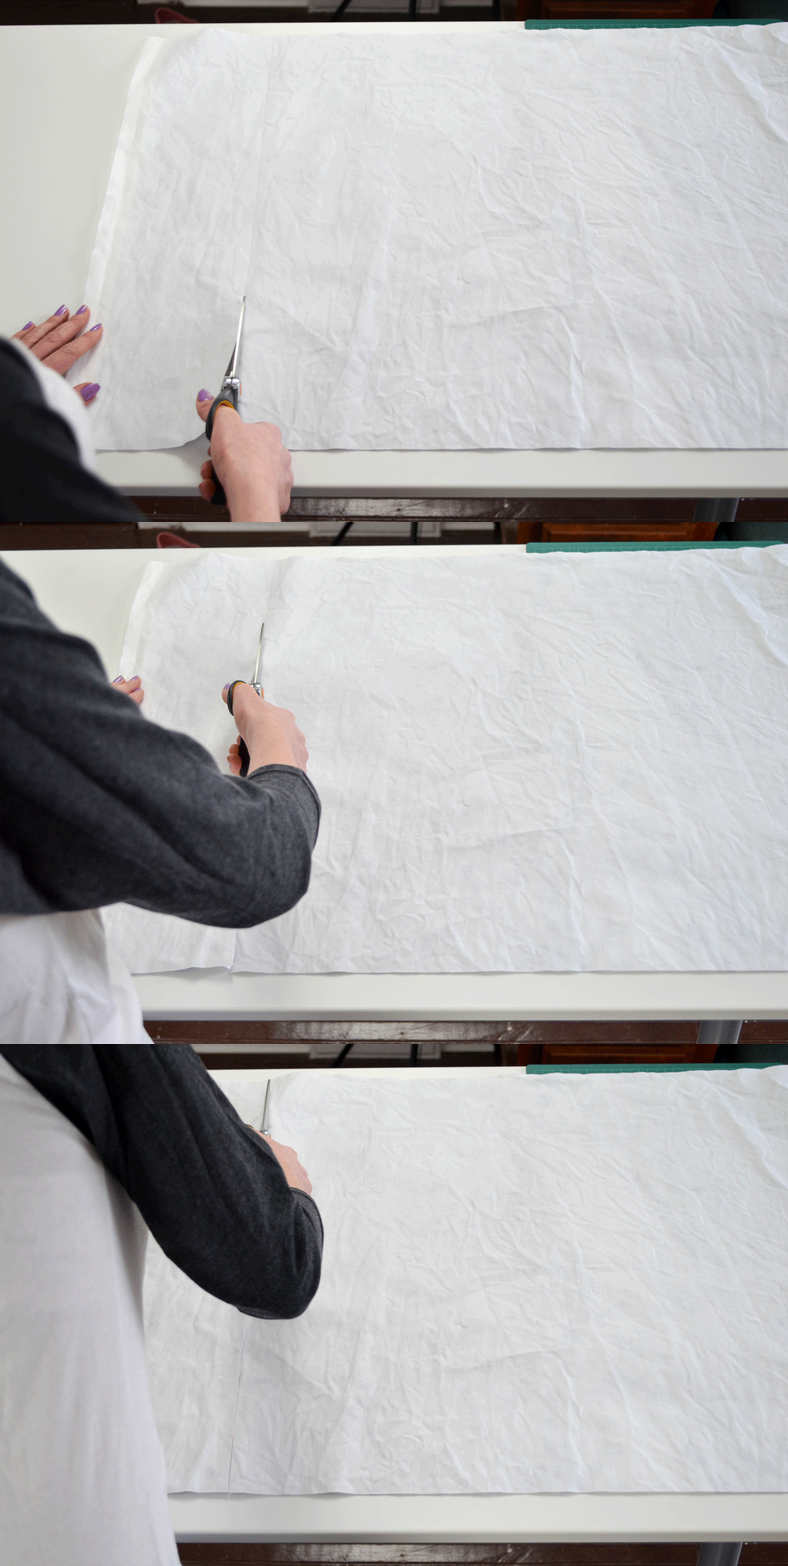
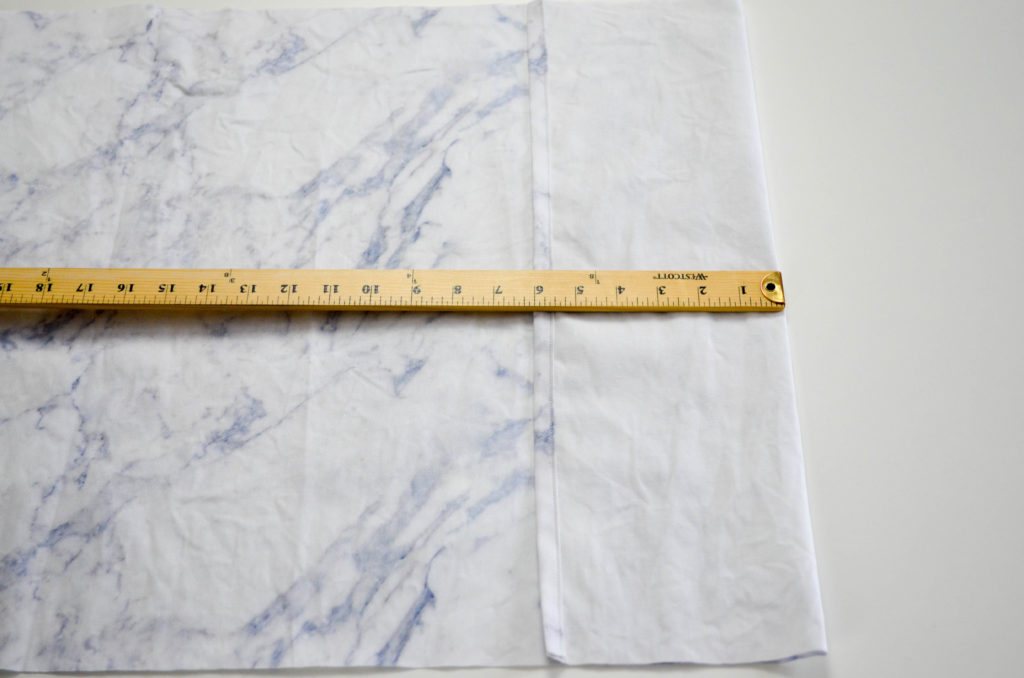
  • Measure 21¼” from your first cut and draw a straight line. Cut.

How to Make a Cushion Cover | Sophster-Toaster Blog How to Make a Cushion Cover | Sophster-Toaster Blog How to Make a Cushion Cover | Sophster-Toaster Blog

Step 3

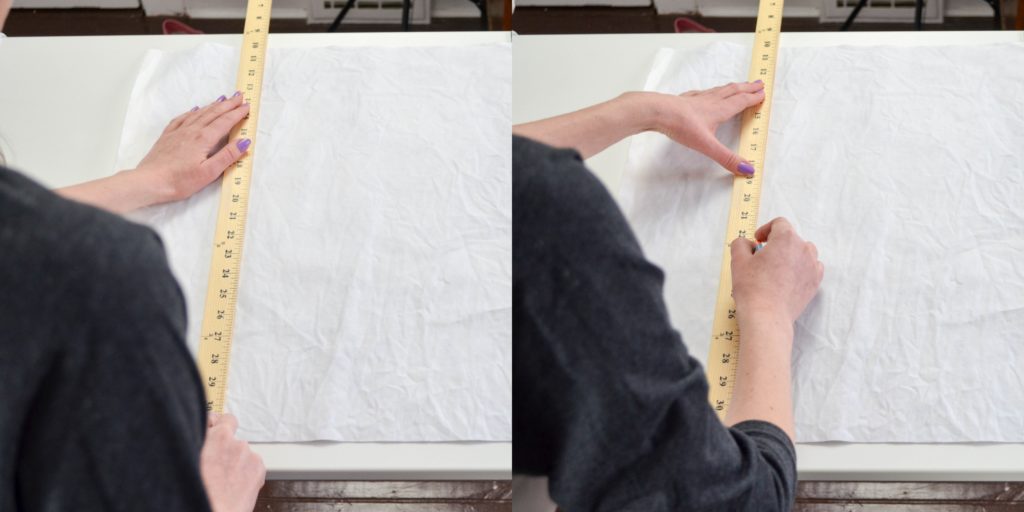
  • Rotate the fabric so you are measuring from the one folded side. Measure 24″, draw a straight line and cut. (Save the cut away piece for your next quilt.) You should now have a long rectangle.

How to Make a Cushion Cover | Sophster-Toaster Blog How to Make a Cushion Cover | Sophster-Toaster Blog How to Make a Cushion Cover | Sophster-Toaster Blog How to Make a Cushion Cover | Sophster-Toaster Blog

Step 4

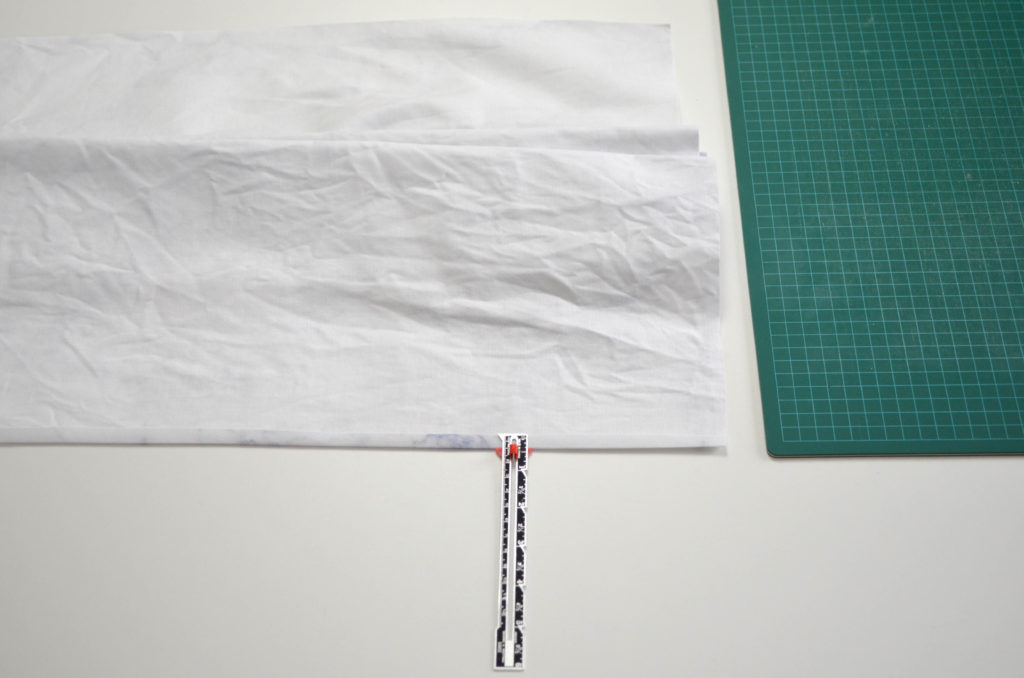
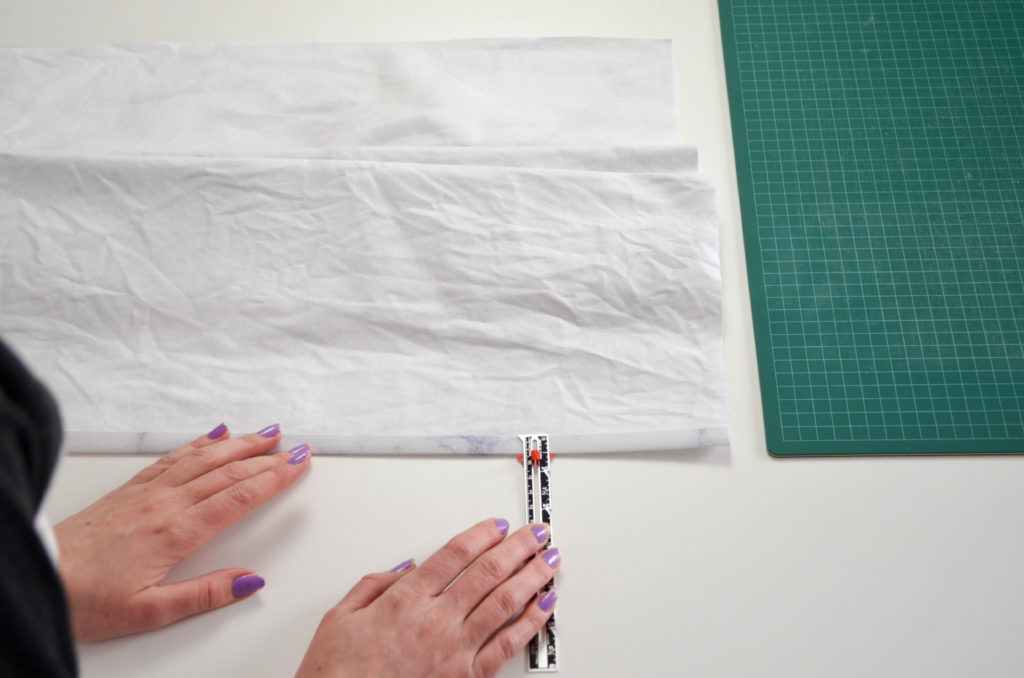
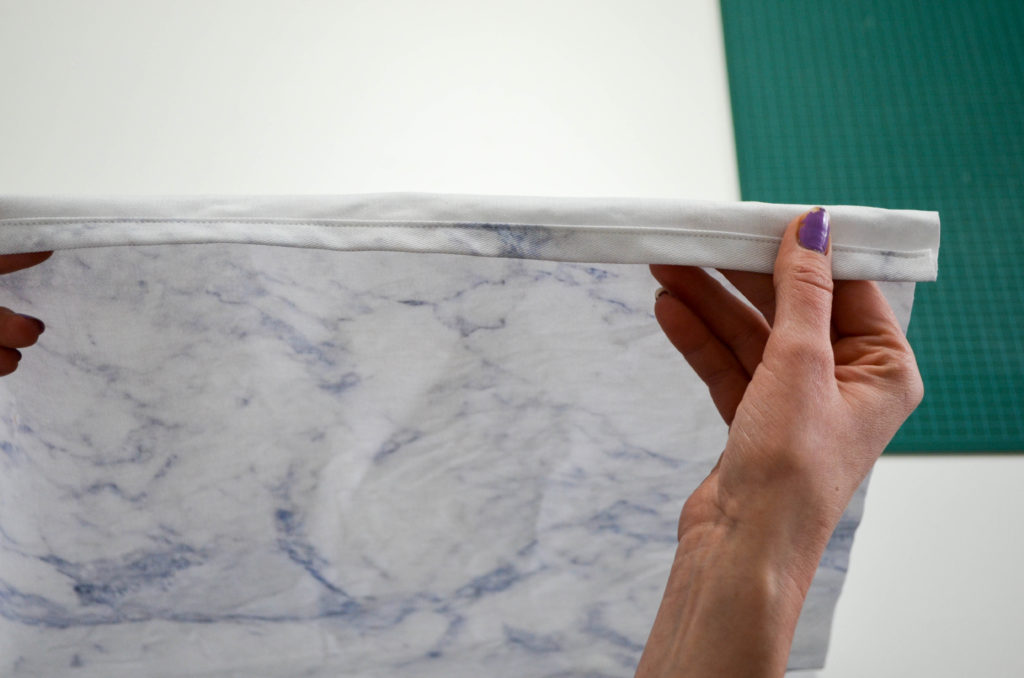
  • Hem the two shorter sides of your lovely new rectangle by folding the edge over 3/8″, pressing with your iron, folding over again ½”, pressing again and sewing at the 3/8″ guideline on your sewing machine.

How to Make a Cushion Cover | Sophster-Toaster Blog How to Make a Cushion Cover | Sophster-Toaster Blog How to Make a Cushion Cover | Sophster-Toaster Blog

Step 5

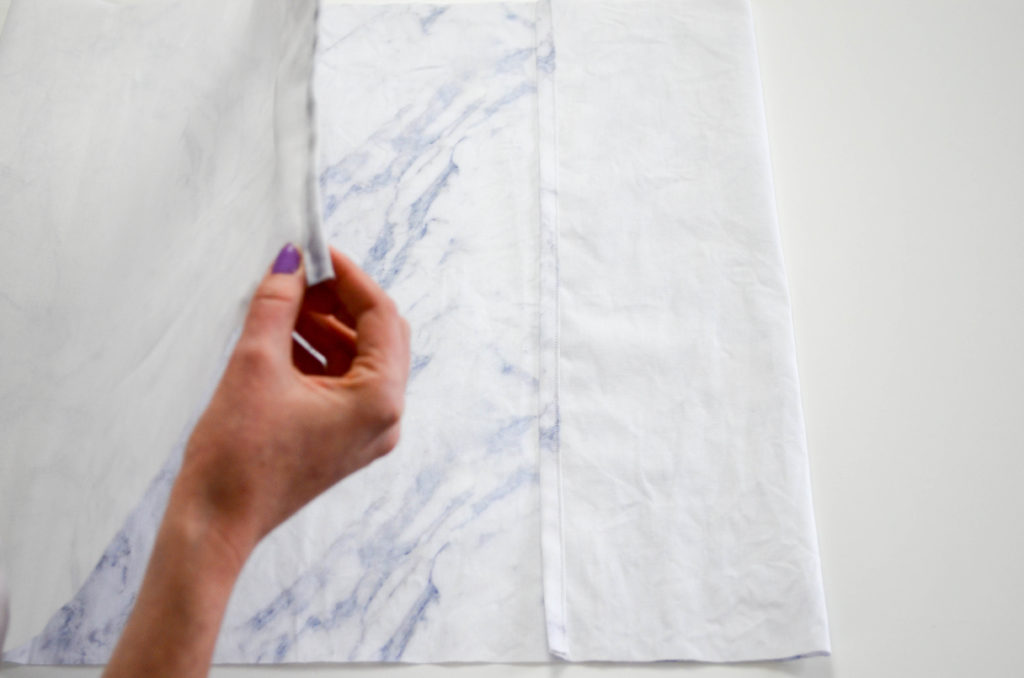
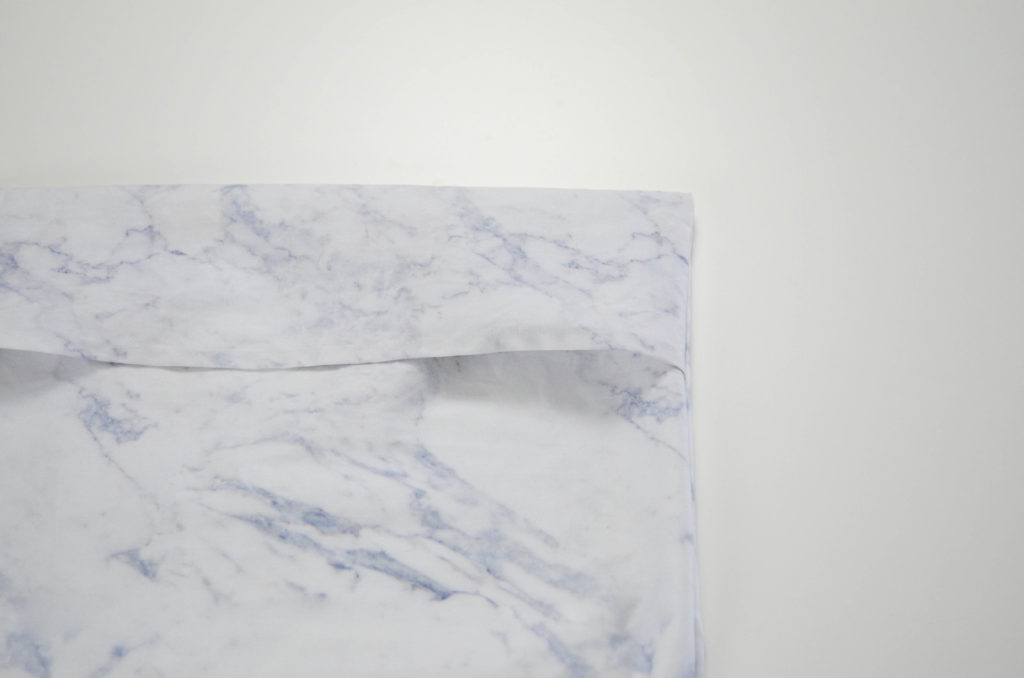
  • Fold one of the hemmed short sides over by 6″ with wrong (printed) sides together.

How to Make a Cushion Cover | Sophster-Toaster Blog

Step 6

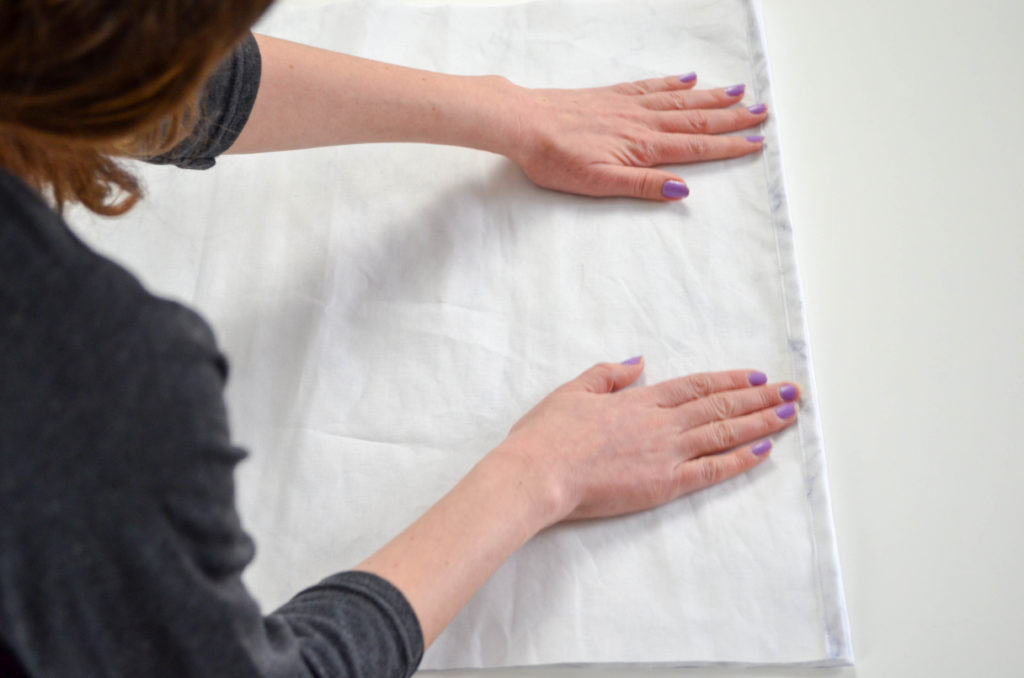
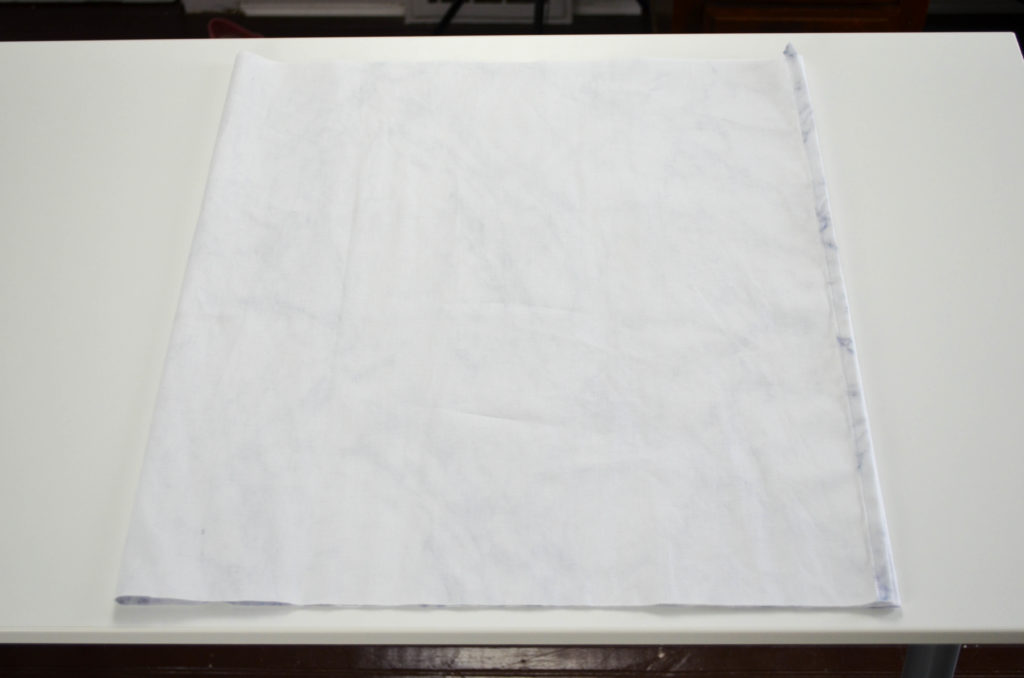
  • Fold the other side over to meet the folded edge. Press folds to hold them in place while you sew.

How to Make a Cushion Cover | Sophster-Toaster Blog How to Make a Cushion Cover | Sophster-Toaster Blog How to Make a Cushion Cover | Sophster-Toaster Blog

Step 7

  • Sew along entire open side with 5/8″ seam allowance. Finish the seams with pinking shears or a serger, if you have one. Trim the corners close to the stitching so they will turn out neatly.

How to Make a Cushion Cover | Sophster-Toaster Blog

Step 8

  • Turn your new cushion cover right side out. Using a point turner (or similarly shaped object) work the fabric into the right places for a nice, crisp corner. Press to remove any wrinkles.

How to Make a Cushion Cover | Sophster-Toaster Blog How to Make a Cushion Cover | Sophster-Toaster Blog

Don’t forget to wash and line-dry fabric before starting to prevent your finished project from shrinking. Give it a quick ironing, on reverse side of print, for more accurate measuring and straighter cuts.

How to Make a Cushion Cover | Sophster-Toaster Blog

All photos by me.

The Pantry Project

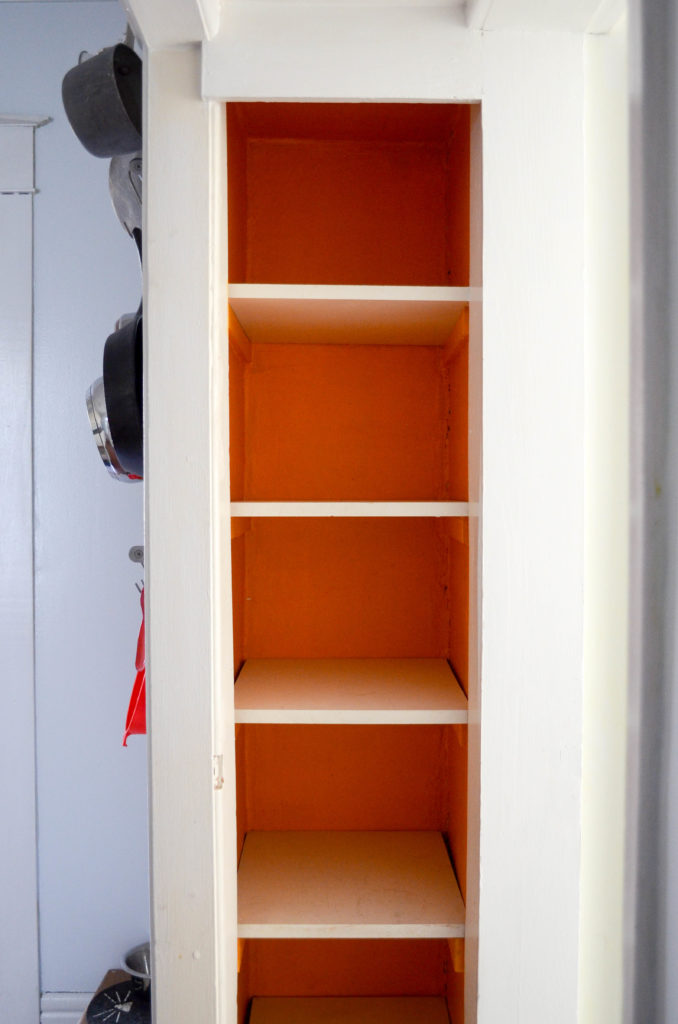
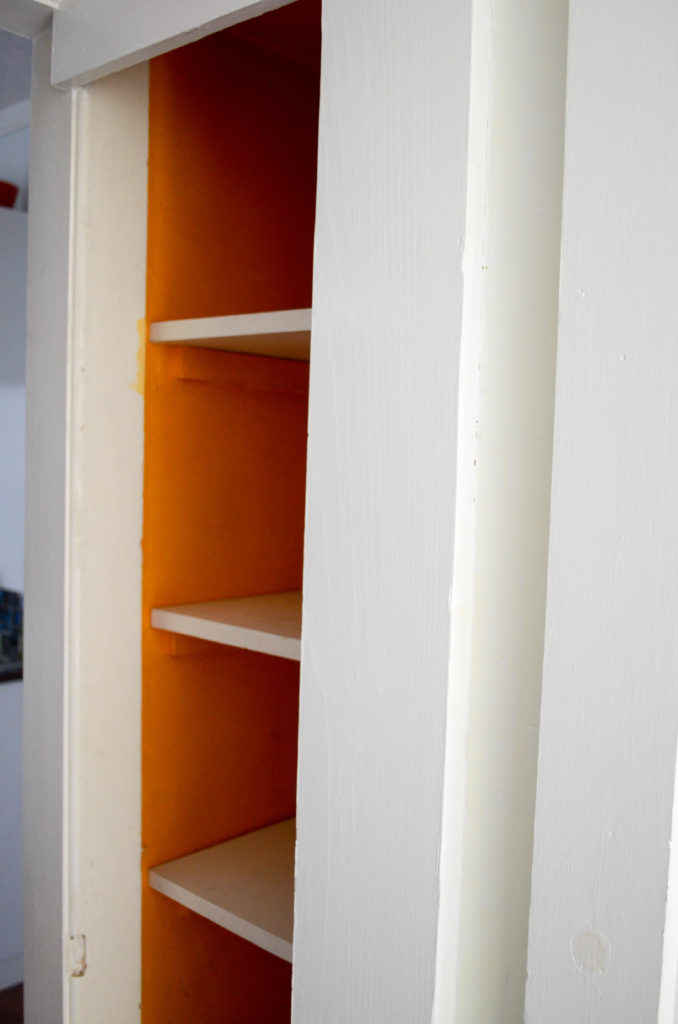
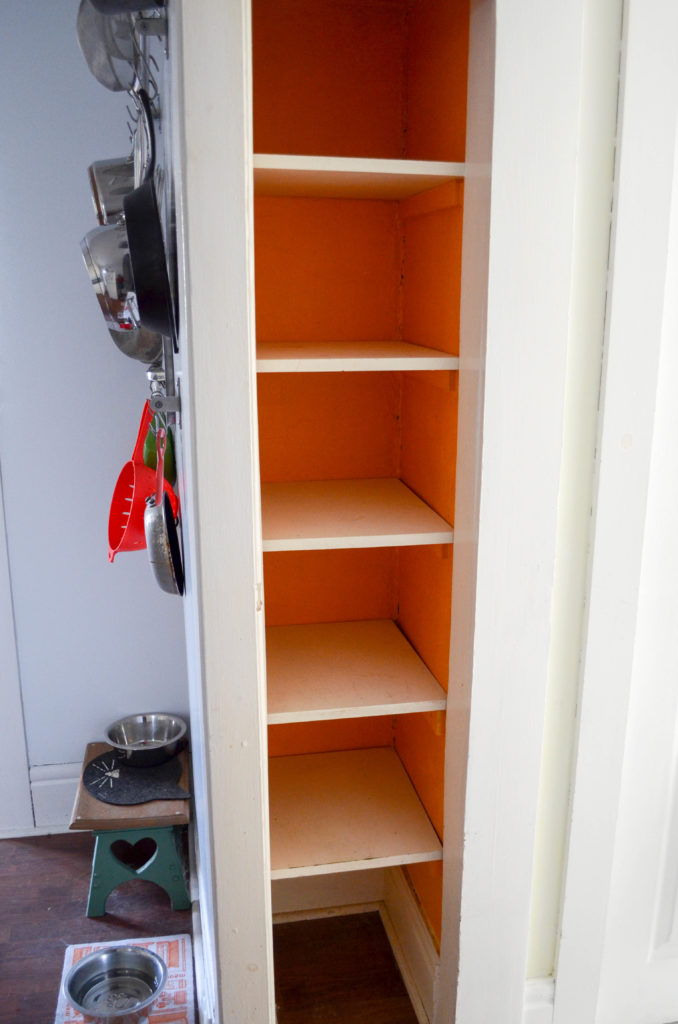
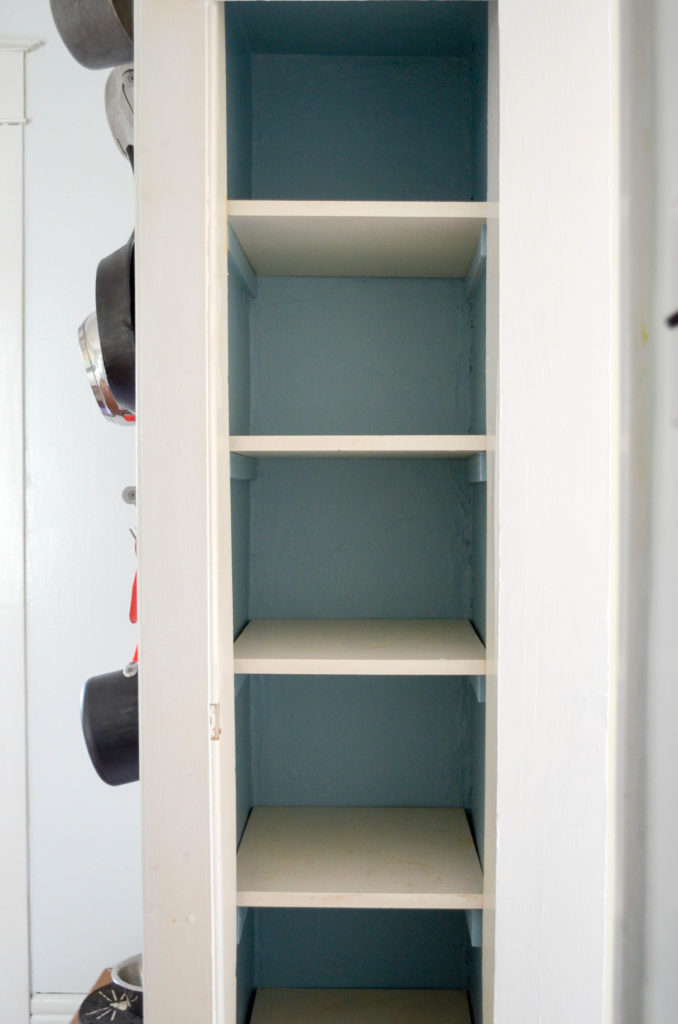
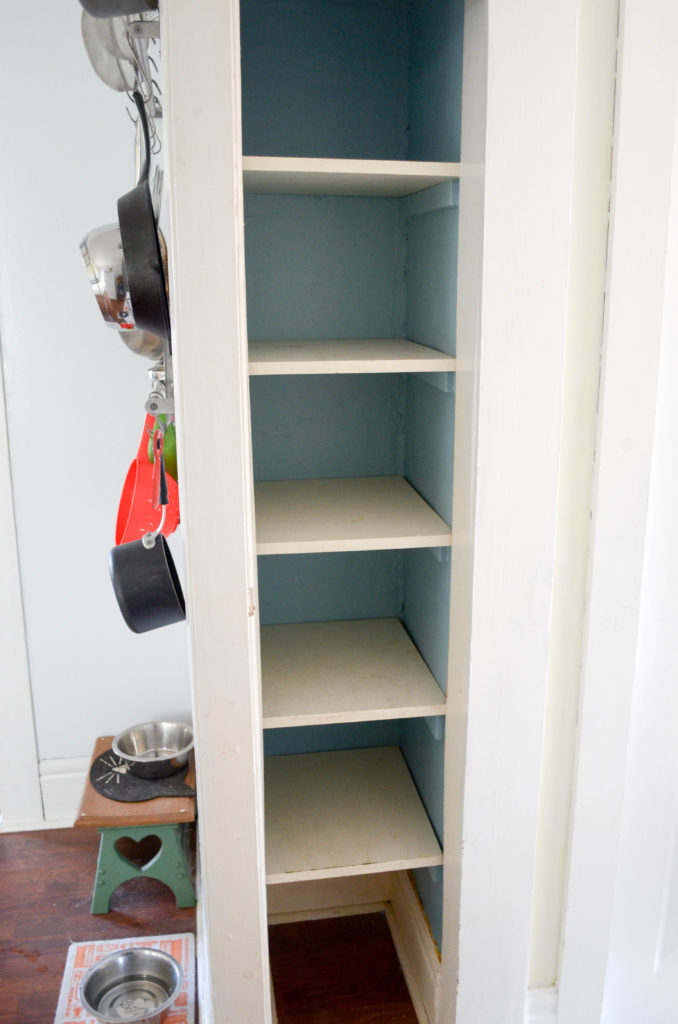
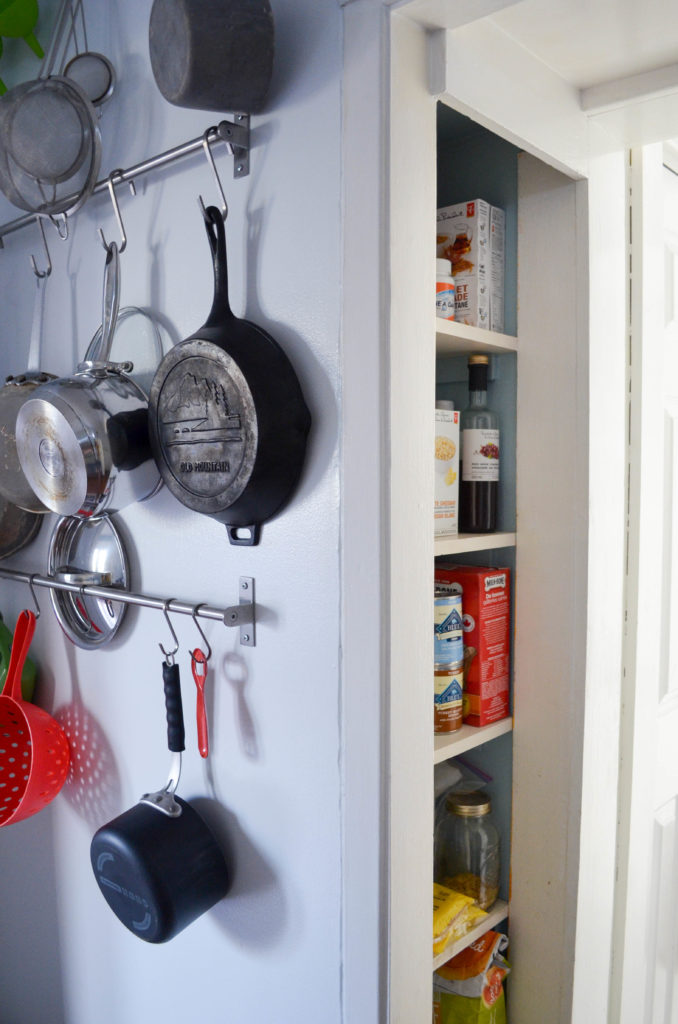
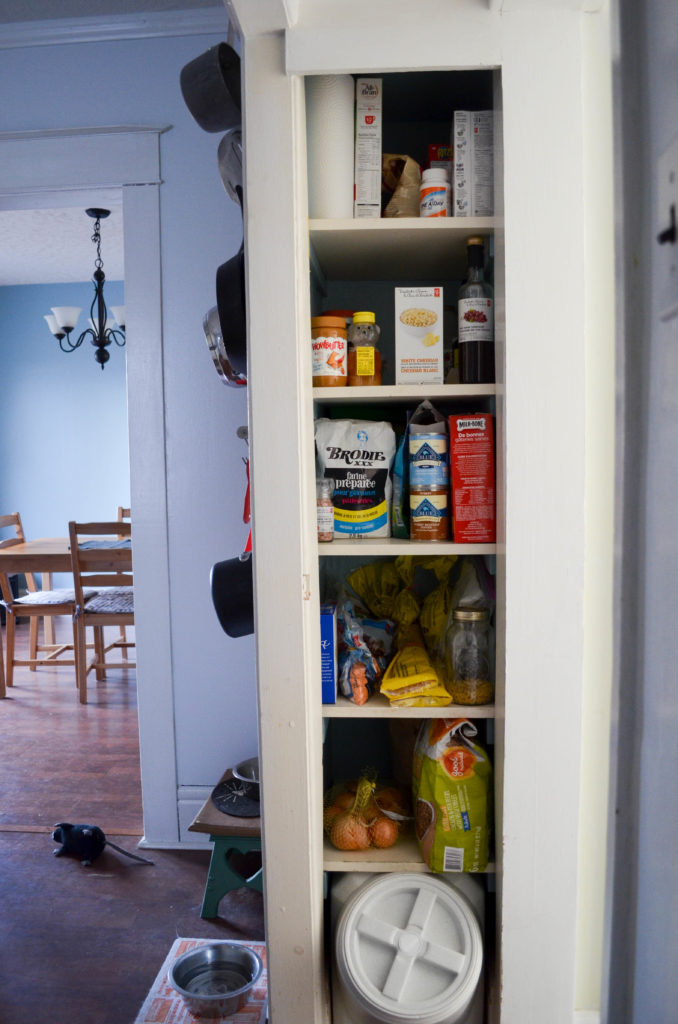
When we moved into our first house last fall, it was painted some creative colours. The bathroom was bright aqua, the dining room electric celery, the living room bright mustard yellow, and the kitchen lime green with the same bright mustard in the pantry. Before we moved our things in, we took a week to paint every room in more soothing tones. The whole house looked bigger and more cohesive but it was a lot of work and some things, like the colour in the pantry, fell by the wayside while we eagerly moved in.

The Pantry Project | Sophster-Toaster Blog The Pantry Project | Sophster-Toaster BlogThe Pantry Project | Sophster-Toaster Blog

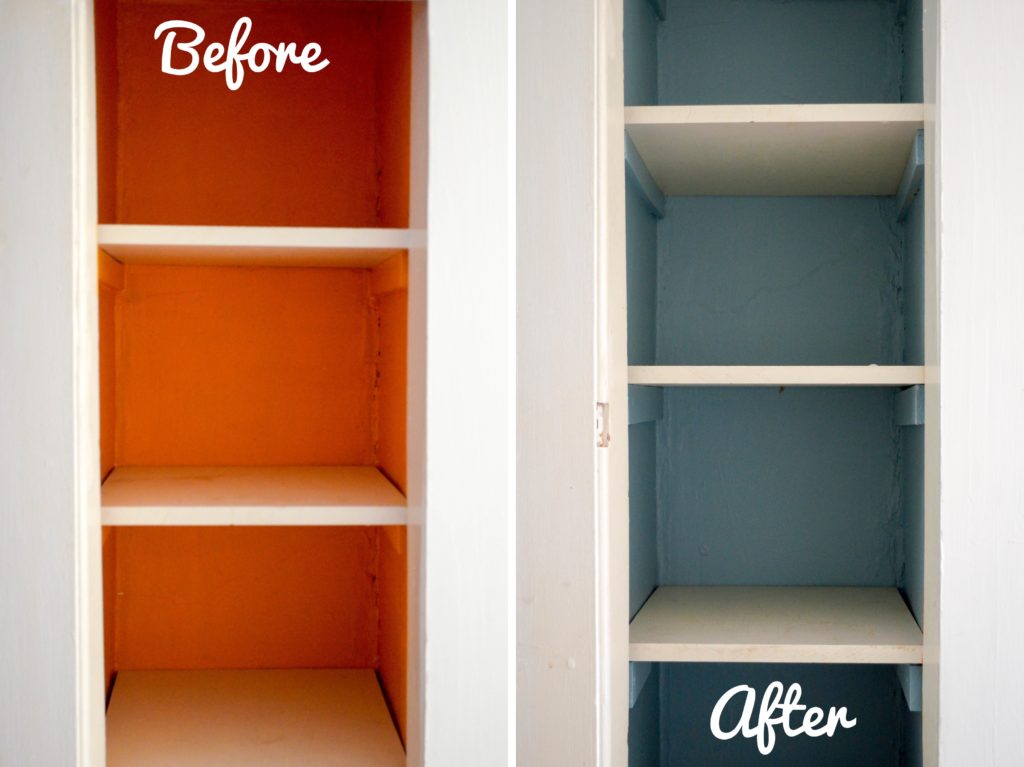
I had been holding on to a plan in the back of my mind to use the two close blue colours I put in the living and dining rooms to paint the pantry cubbies with an ombre vibe to link them with the rest of the main floor, like the previous owners had tried to do. (I had more faith in my attempt with my all blues and whites colour scheme.) This week, I decided to finally try my idea!

The Pantry Project | Sophster-Toaster BlogThe Pantry Project | Sophster-Toaster Blog

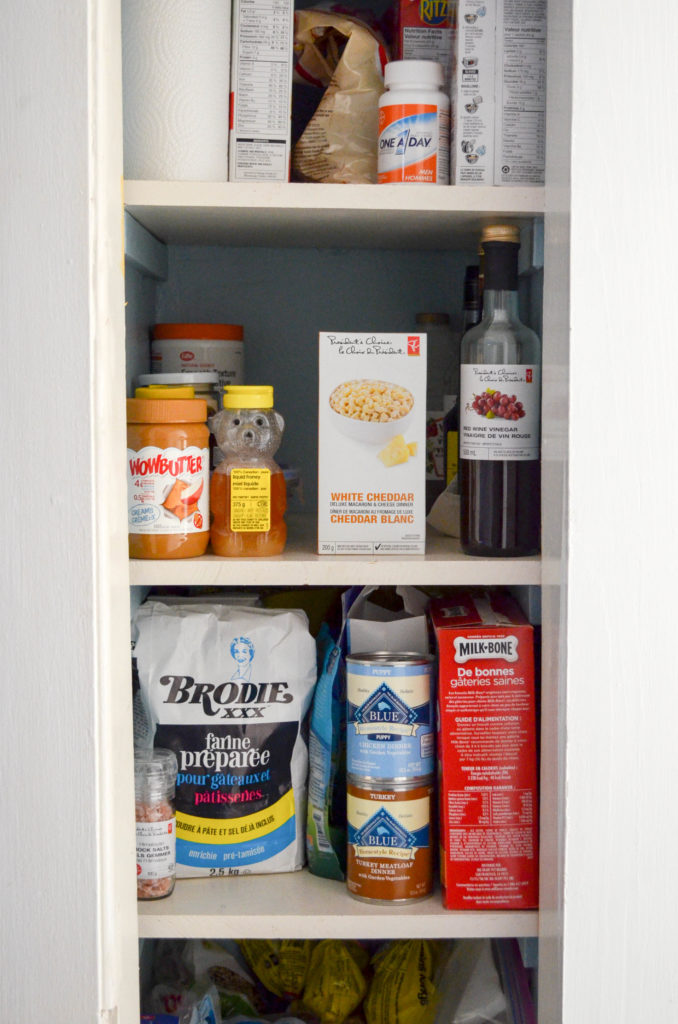
I took the shelves out, painted the bottom two cubbies with the darker, living room blue, the top two with the lighter, dining room blue, and mixed the two 50/50 for the middle two. The effect was worryingly stark before I put the shelves back in, but after, almost disappointingly delicate. Still, every time I walk through the narrow doorway to the kitchen that contains the pantry, I feel quite content to not be assaulted by that colour anymore. It was definitely worth the quick four hours it took to prep and paint this small pantry project!

The Pantry Project | Sophster-Toaster Blog The Pantry Project | Sophster-Toaster Blog The Pantry Project | Sophster-Toaster Blog The Pantry Project | Sophster-Toaster Blog

All photos by me.