Changing Seasons

Changing Seasons | Sophster-Toaster

I used to be a typical Canadian who lived for summer and hibernated all winter, dreading the snow and waiting impatiently for the season of outdoor activity to return. I resented being born in a country where I could only enjoy the weather for a few months out of the year. I always wished I could love the colder seasons and not get so down during the long winters but just couldn’t make it work.

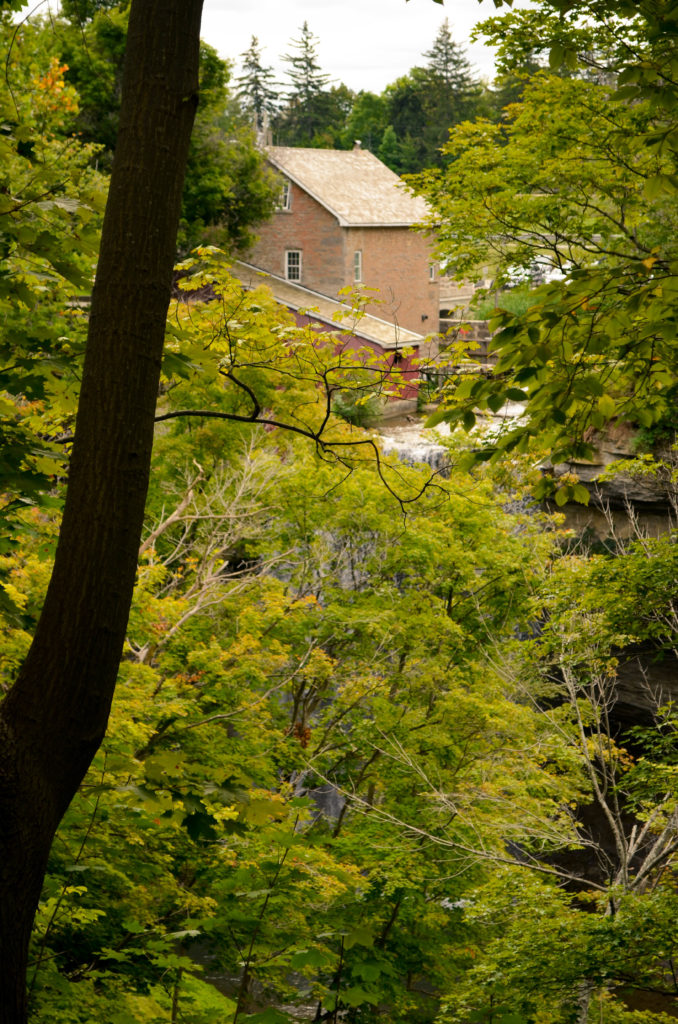
Then, one year, I decided there was really no point to putting life on hold just because there is a cold wind blowing and snow on the ground. I bought wool socks, some decent boots, a cute scarf and made a goal to enjoy time outside as far out of summer as I could. I got to about the end of October and slipped back into old habits but I got out again early in the spring and enjoyed that first soft spring sunlight on my face for the first time. Every year, I got a little further into the fall, always commenting to my husband how beautiful our favourite hiking spots must be in the winter where there aren’t any leaves on the trees to obstruct the views.

Changing Seasons | Sophster-Toaster

I would enjoy late fall hikes and walks around town on mild and sunny winter days but never seemed to make it back out for a hike. That was until last year, when we brought our puppy home. She needed to walk everyday, no matter the season. She loved the snow, the dog park and long nature walks. We bought thermal clothing; I got even thicker socks and better boots to keep up with her. Soon, I was taking her to the dog park and playing with her in the snow in January. We were taking her on long hikes in February, when the winter storms let up and the sun started coming out again. In March, we got into a habit of taking her on the hour long round trip walk along a river-side path that leads from our home to a Starbucks, where we would all get a Saturday morning treat.

Last winter was one of the longest I think I’ve ever experienced. It started with big snowstorms at the end of the fall and snowed right up until the last days of April. It was long, and wet, and cold and most people were miserable but the hubs and I couldn’t stop remarking to each other how short winter had felt and how early the first signs of spring seemed to have come this year. We would say things like, “remember when it was -25°C every day? That was weeks ago. It’s so much nicer out now”. We realized that going outside e-v-e-r-y-d-a-y for a bit of exercise with the dog had made the season seem so much shorter and more enjoyable.

Now I find myself looking forward to the leaves changing and falling, the sun growing dim and the forest being quiet and calm under a heavy blanket of snow during every one of our weekend hikes. The season I used to dread has become one of my favourites.
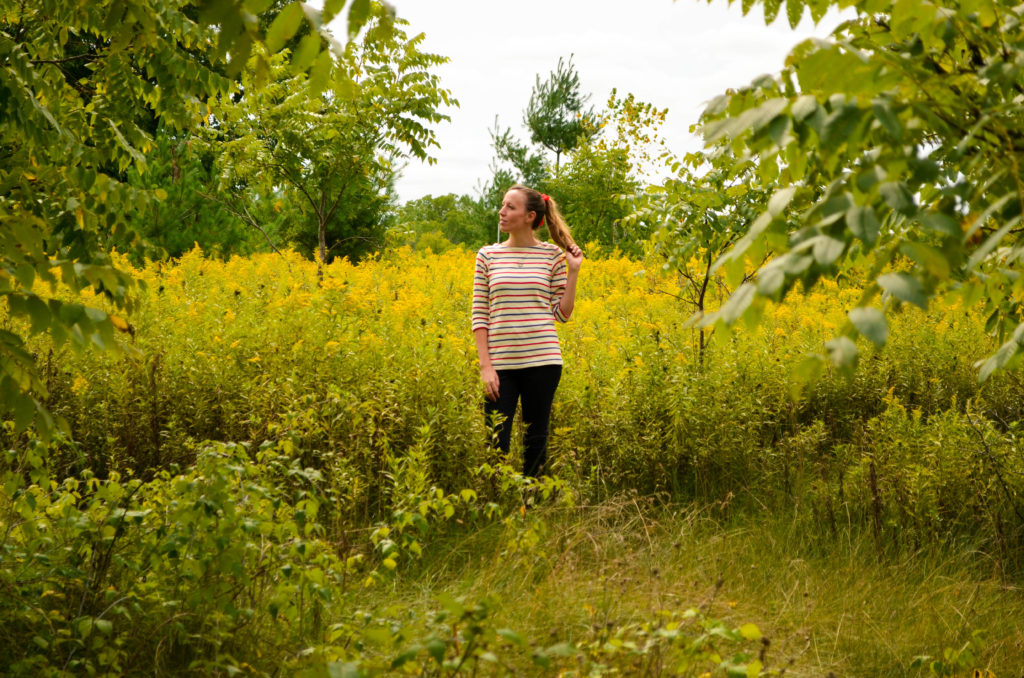
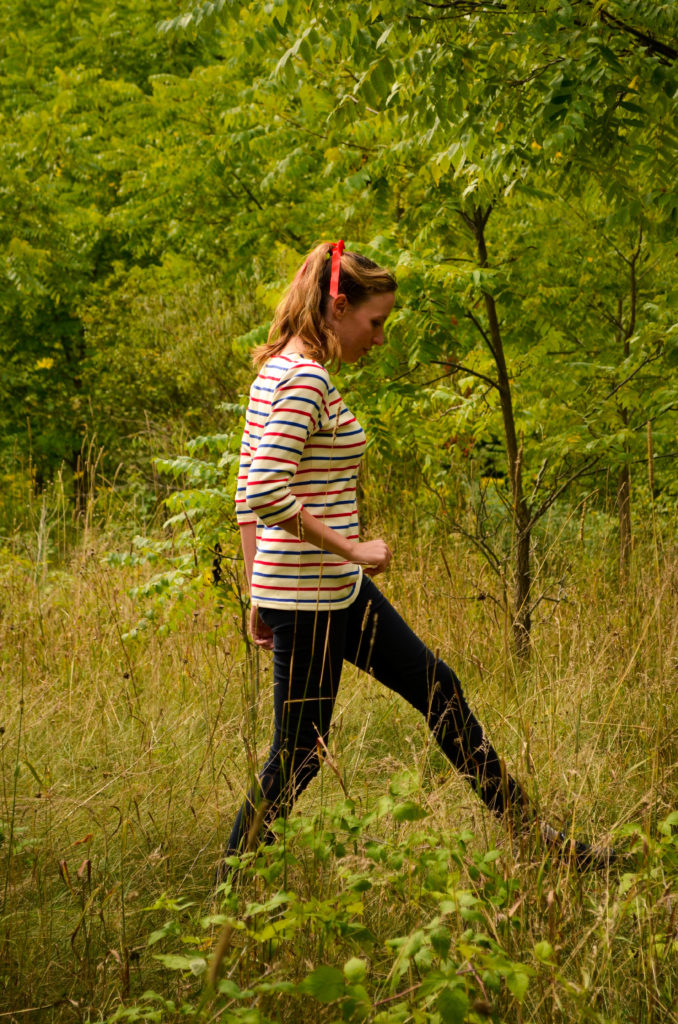
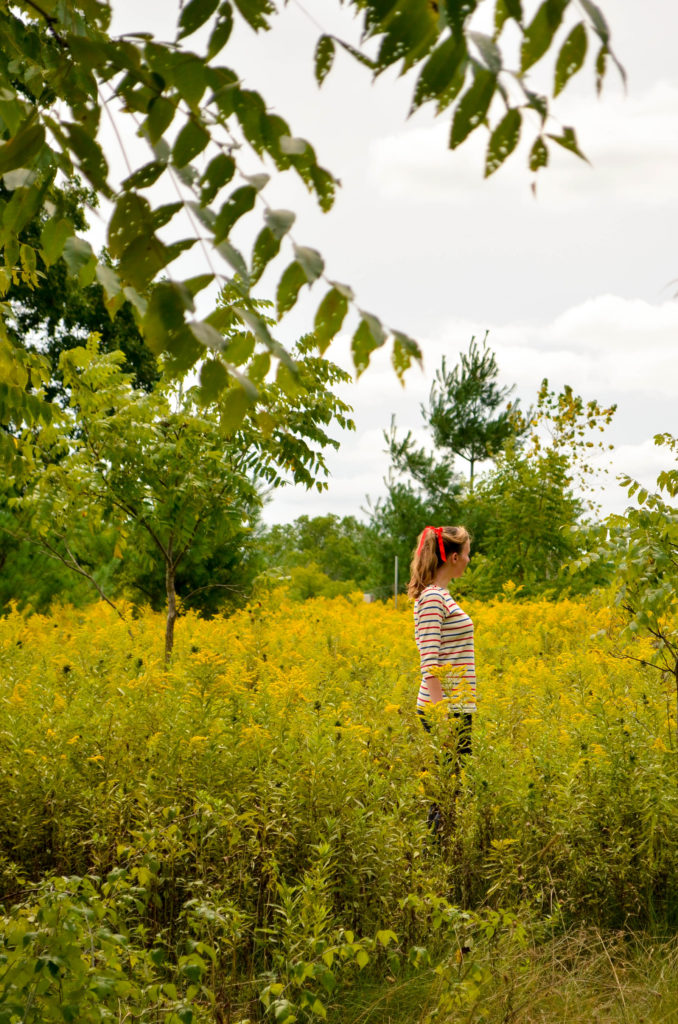
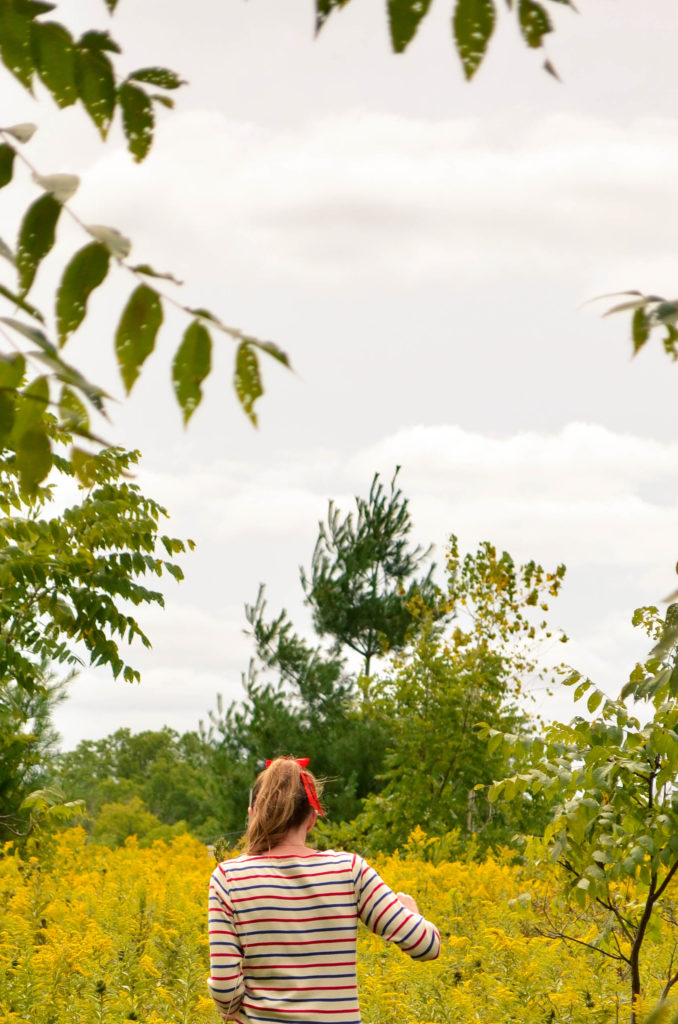
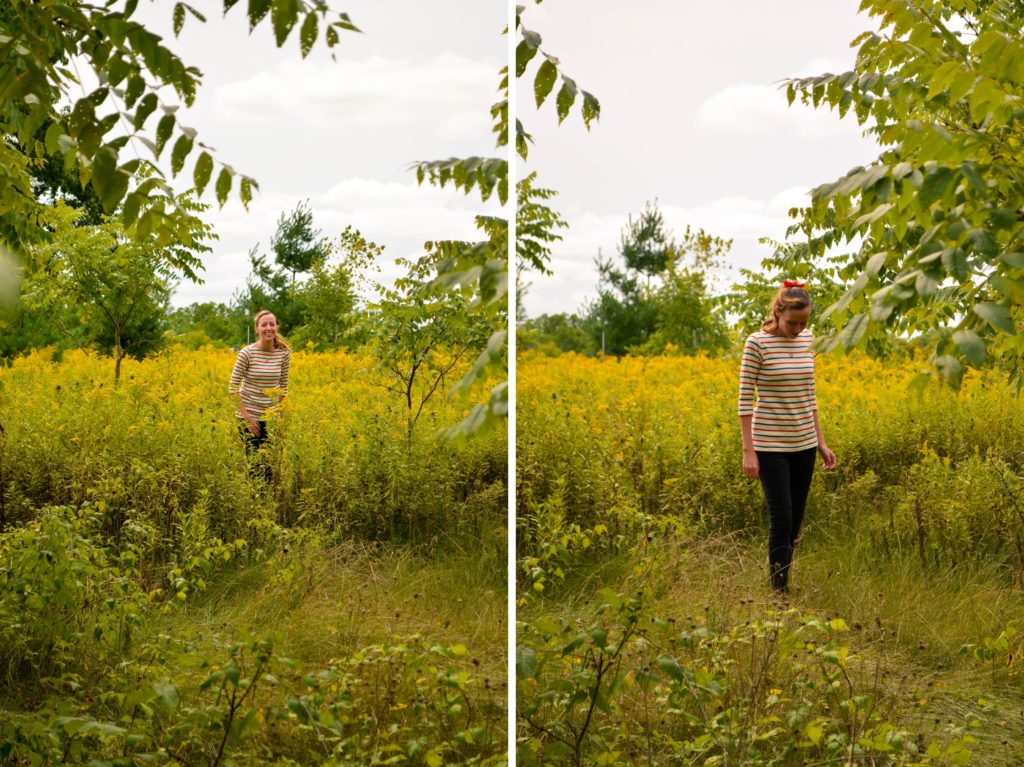
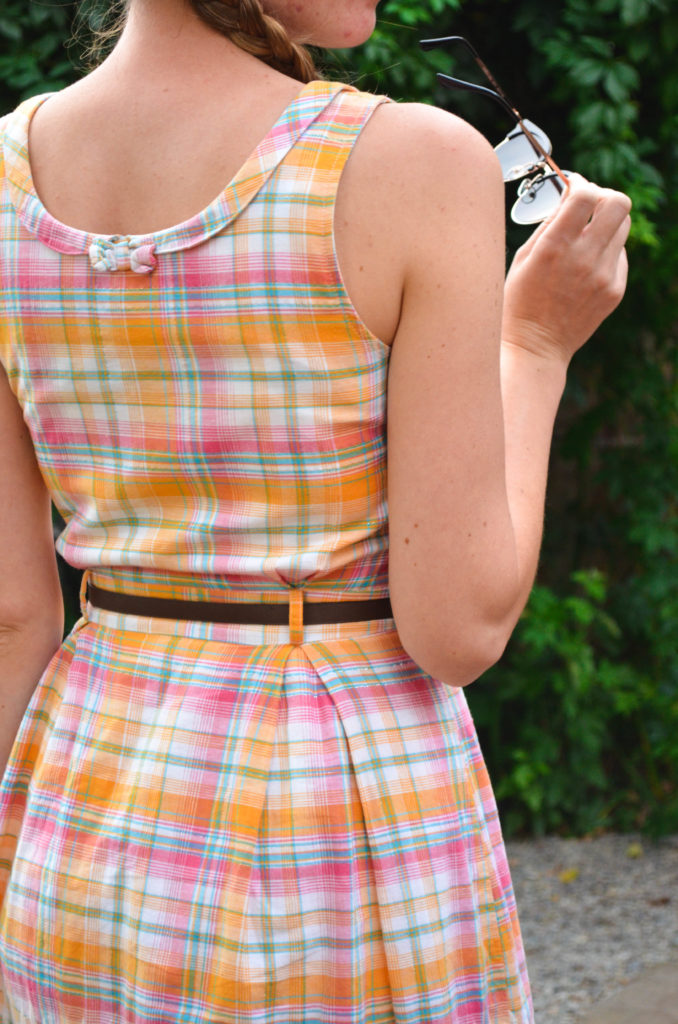
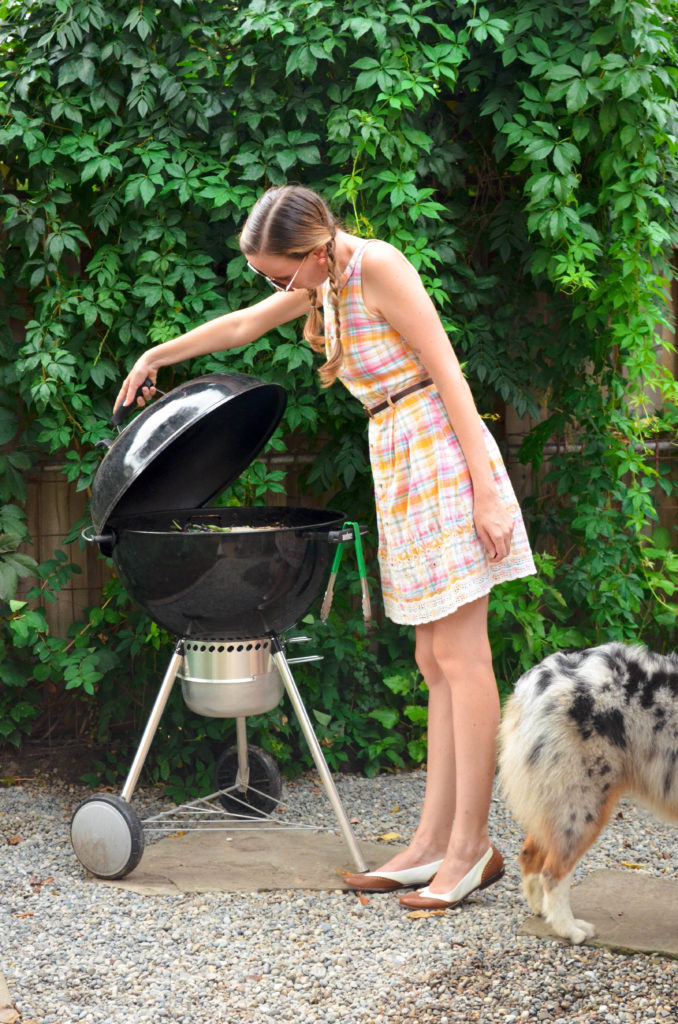
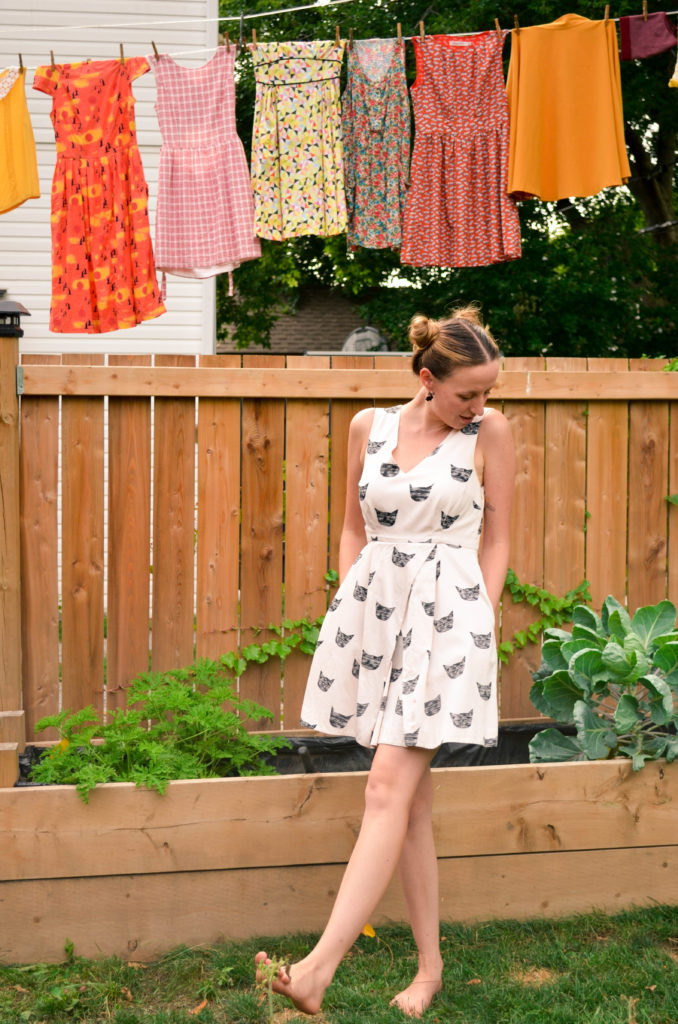
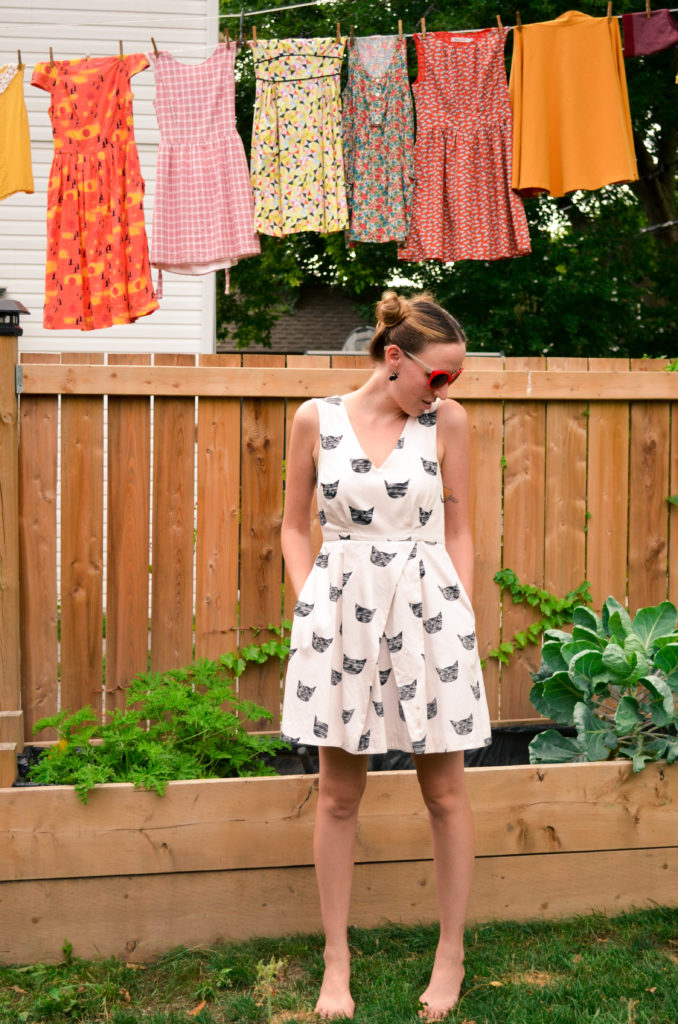
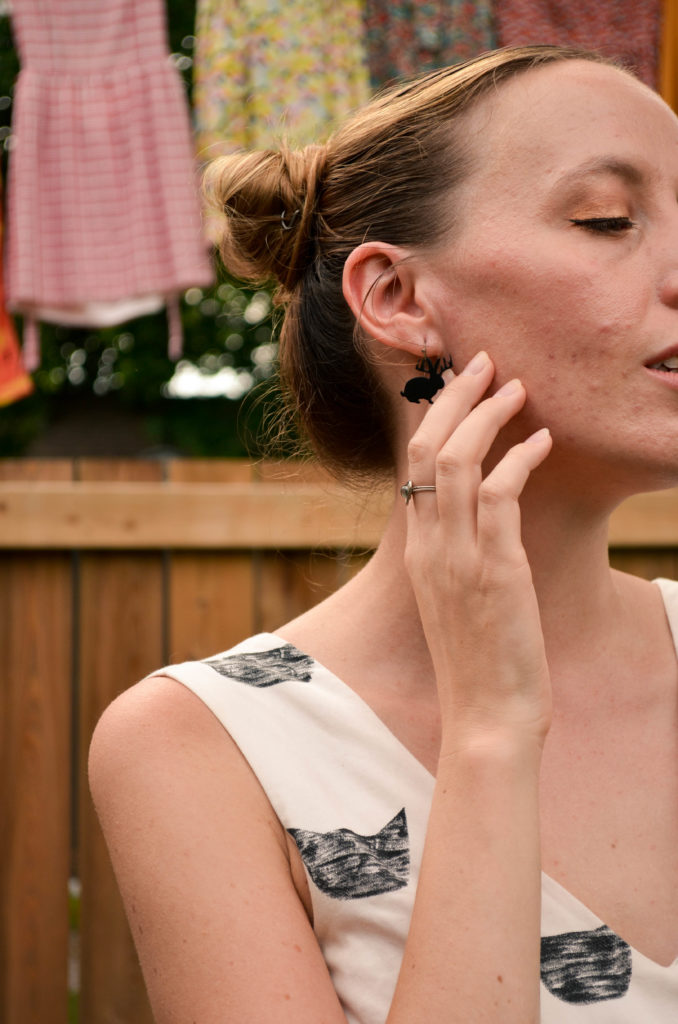
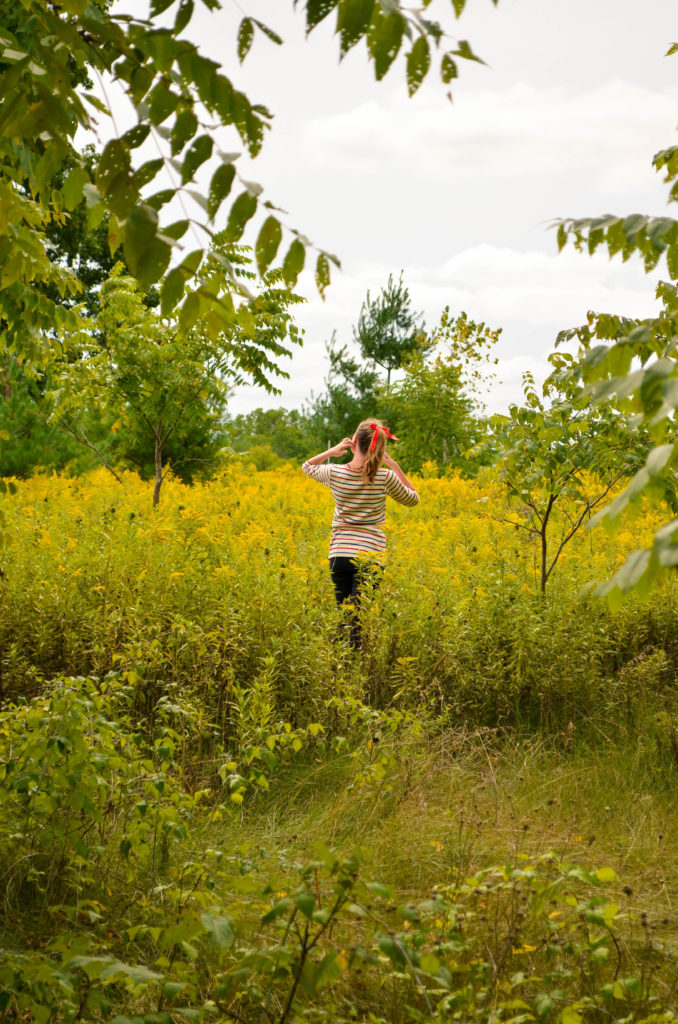
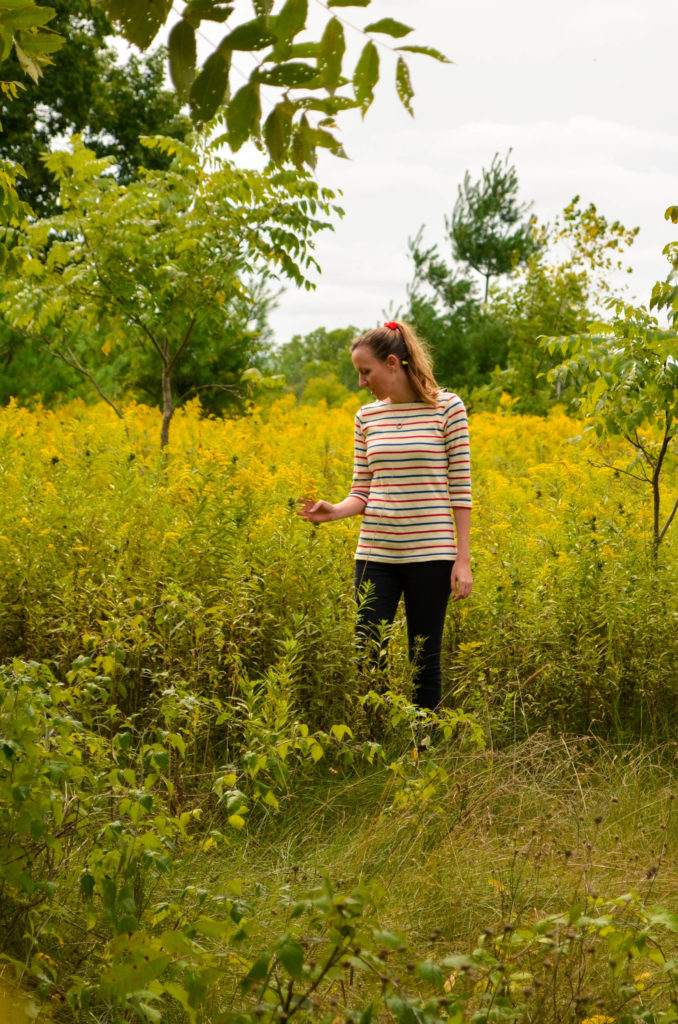
Changing Seasons | Sophster-Toaster Changing Seasons | Sophster-Toaster Changing Seasons | Sophster-Toaster Changing Seasons | Sophster-Toaster Changing Seasons | Sophster-Toaster Changing Seasons | Sophster-Toaster Changing Seasons | Sophster-Toaster

Top L.L.Bean
Pants ModCloth
Necklace gift
Shoes Keds

All photos by me and Matt Harrison.

End of Summer

End of Summer | Sophster-Toaster

We spent all summer working on our new barbecue patio. It took every free weekend from Victoria Day weekend to Labour Day weekend, the entire Canadian summer, to dig out the dirt, sift out all the plastic, broken glass and rusty nails so we could put it back into our gardens, refill it with gravel, and place the flagstone and brick border on the garden side. It’s so nice to now have use of this awkward and uncared for corner of our small backyard for the first time since moving in. Even Pepper likes lounging on the cool gravel on hot afternoons.

The weather turned cold this past weekend, finally ending this year’s summer weather that felt like one long heatwave. We used and enjoyed out new patio as much as we could while the 30 degree days stretched into September and look forward to spending more time outside in our finally fully rehabilitated backyard when the more seasonable early fall weather returns. I know I’m going to spend all winter waiting for the snow to melt and reveal our beautiful pea gravel and flagstones again.

End of Summer | Sophster-Toaster End of Summer | Sophster-Toaster End of Summer | Sophster-Toaster

Dress ModCloth
Belt hand-me-down
Shoes thrifted
Sunglasses ModCloth
Earrings ModCloth

End of Summer | Sophster-Toaster End of Summer | Sophster-Toaster End of Summer | Sophster-Toaster End of Summer | Sophster-Toaster End of Summer | Sophster-Toaster

All photos by me.

Peaches & Cream Macarons

Peaches & Cream Macarons | Sophster-Toaster

Here in the Niagara Region, late summer is peach season. I never really liked peaches until I moved here, now I can’t get enough of them once August rolls around. You can’t take a drive through the country without observing signs for fresh, local peaches or walk around residential streets without noticing all the trees brimming with plump, blushing peaches. It’s not hard to see what inspired me to make this month’s macaron flavour a sweet and subtle peaches & cream.

Still using the dryer version of my recipe for baking in the summer humidity, today I paired a classic vanilla shell with a peach buttercream and had some fun with two-tone batter. See my recipe and colouring instructions below!

Peaches & Cream Macarons | Sophster-Toaster Peaches & Cream Macarons | Sophster-Toaster Peaches & Cream Macarons | Sophster-Toaster Peaches & Cream Macarons | Sophster-Toaster Peaches & Cream Macarons | Sophster-Toaster Peaches & Cream Macarons | Sophster-Toaster

Ingredients

for the macaron shells

  • ¾ cup ground almonds (as finely ground as you can find)
  • 1 cup icing sugar
  • 2 large egg whites, at room temperature
  • 3 tbsp + 1 tsp sugar
  • 1 tsp vanilla
  • peach and red gel food colouring

for the buttercream

  • 7 tbsp unsalted butter, softened
  • 1 egg, at room temperature
  • 3 tbsp water
  • 3 tbsp sugar
  • 5 tbsp peach jam
  • peach gel food colouring

Method

for the macaron shells

  1. Prepare your parchment sheets by drawing 1″ circles, ½” apart across the entire sheet (or using silicon baking mats with the circles already printed on them) and placing them on a large flat surface suitable for drying your batter, like a dining table. You will need 2-3 half sheet pan size pieces.
  2. Sift ground almonds and icing sugar together, twice. Set aside.
  3. In a large stainless steel mixing bowl, beat egg whites with a hand or stand mixer on high speed until you have a foam with no liquid remaining.
  4. Slowly add the sugar while continuing to beat the egg whites. Beat on high speed until the egg whites reach stiff peaks. You’ve made meringue!
  5. Add vanilla and gently beat in.
  6. Fold your almond and icing sugar mixture into the meringue in two parts.
  7. Here’s the part that takes practice: it’s time for the macaronnage! With a spatula, spread the batter, with some force, against the side of the bowl. Then scoop it up by running the spatula along the side of the bowl again and try to flip it all over and sort-of lightly smack it back into the bottom of the bowl. Gather the batter up again and repeat 10 times. It takes some time to figure out the best way to do this, don’t be afraid to play around with it. When doing the macaronnage correctly, repeating more than 20 times can result in oily, blotchy macarons, but I’ve found that doing it incorrectly doesn’t count towards this limit. If you are doing it right, the batter will take on a noticeable and somewhat sudden change in consistency, this means you are about half-way to that limit. When finished, the batter should be thickened and drip slowly from the spatula. You will have to pipe it onto your baking sheets/mats and it won’t work if the batter is too runny. This is the technique that defines macarons, this is what makes mastery of them impressive.
  8. Before completing the macaronnage, divide batter into about half and place in two bowls, with a little more in one bowl. Colour the larger portion peach and the smaller red. Don’t be afraid to perfect your colours, we stopped the macaronnage short to give you more mixing time now.
  9. For perfectly round macarons, use a large, 0.4″ plain tip with a pastry bag, or do it the lazy way and cut a corner off a zip top bag for mostly round macarons. Twist (or don’t yet cut) the bag at the tip and place it, tip side down, in a tall glass. Fill with your batter, placing peach coloured batter down one side and red down the other, and twist, close or clip the other end to help keep the messy batter moving in the right direction. Pipe the batter into the centre of the circles on your sheets/mats and stop before reaching the edges as the batter will spread out a bit.
  10. Once finished piping, carefully pick the sheets/mats up and drop them back on to the table from a height of a couple of inches. The theory is that this helps the cookies keep their round shape and form the little bubbles around the bottom (the pied) when you put them in the oven.
  11. Leave the cookies on the table, uncovered, for 15-30 minutes to dry (or more on a humid day). This is a good time to preheat your oven to 350°F. You will know the macarons are dry when they look smooth and are no longer sticky to the touch.
  12. Place an oven rack in the centre of your oven. Place a sheet of macarons on two stacked sheet pans (this will stop the bottoms from getting too hot, resulting in cracked macarons) and bake for about 15 minutes. Rotate the pan half way through baking. (Tip: At this point, if you want to try to keep your cookies light in colour, place a second oven rack directly below the first and move your cookies down to it, then place a third sheet pan above the cookies on the higher rack to protect them from the heat above.) It can be hard to tell when the macaron are done. I pull them out when the kitchen smells sweet and the cookies look crisp, have just started to brown, and don’t look blotchy in the middle.
  13. As soon as the parchment sheet/baking mat is cool enough to handle, take it out of the pan with all the cookies on top and place it on a cooling rack. The macarons will be too sticky to remove from the sheet/mat now; once cooled, they should peel off easily. I usually wait a few minutes for the pans to cool a bit and for the oven to come back to a steady temperature before moving the next sheet to the pans and baking the next round.

for the buttercream

  1. Make sure the butter is soft enough for you to press your finger into. On a summer day, room temperature usually does the trick. Cream the butter in a medium sized bowl. Set aside.
  2. Break the egg into a large heat-resistant mixing bowl and beat lightly with a hand mixer. Set aside.
  3. Add water and sugar to a small saucepan and place over medium-low heat. Bring to a simmer and stir until thick and syrupy, about 7 minutes. You’ve made simple syrup!
  4. Slowly pour your simple syrup into the beaten egg while beating with a hand mixer on as high a speed as you can without flinging syrup everywhere, remember it is hot and sticky. Once all the syrup is in, beat the mixture on high speed, slowly reducing speed until it is light in colour, thick, and the bowl is no longer hot.
  5. Add the butter to this mixture in two or three parts and beat on medium speed until fully incorporated and creamy. If you are like me, the buttercream will split now. If continuing to beat doesn’t bring it back together, it’s probably too warm. Pop it in the fridge for a few minutes and try beating it again. Continue doing this until it comes together.
  6. Add the peach jam and lightly beat in.
  7. Add the gel food colouring and whisk through.

Once everything has cooled, snip the corner off your bag of buttercream and pipe it onto half of your shells. Then place another similarly sized shell on top and gently press them together.

Peaches & Cream Macarons | Sophster-Toaster

All photos be me.

Beyonce Beat Me to It

Beyonce Beat Me to It | Sophster-Toaster

I love my clothesline. We knew putting one up would be the first improvement we made to any house, years before we even started looking for one, so I we were very excited when the house we ended up buying already had one. I grew up in a small town, on a deep lot with a magnificent clothesline able to hold two full loads of laundry and be pulled up high to dry quickly. I missed it every summer during our decade of apartment living. Now that I’m living the dream, I use my clothesline, exclusively, from when the air is dry enough in mid-spring until the days are too short at the end of fall. If it’s a wet and rainy day, I don’t do laundry. I don’t turn my dryer on for six months. Using the clothesline is better for the clothes, the environment and the budget – and because I take special care when washing my clothes and avoid putting most of them in the dryer anyway, hanging them all up outside takes about as much as time as sorting and then hanging half up in the basement would. I just love everything about it.

That’s probably why every time I hang up a lovely load of dedicates (mostly my personal collection of dresses) I think about how fun it would be to use my clothesline as a backdrop for pictures. I’ve had the idea in the back of my mind for more than a year but couldn’t really imagine how it would work with the angles, since my clothes line hangs high, outside of my yard and over our parking spot.

Then I saw some of the beautifully simple and minimal photos from Beyonce’s appearance in the September 2018 edition of Vogue where she and the creative team use some clothesline backdrops and was inspired to finally make a move and explore my idea.

Beyonce Beat Me to It | Sophster-Toaster Beyonce Beat Me to It | Sophster-Toaster Beyonce Beat Me to It | Sophster-Toaster Beyonce Beat Me to It | Sophster-Toaster Beyonce Beat Me to It | Sophster-Toaster Beyonce Beat Me to It | Sophster-Toaster Beyonce Beat Me to It | Sophster-Toaster Beyonce Beat Me to It | Sophster-Toaster Beyonce Beat Me to It | Sophster-Toaster

Dress Anthropologie
Sunglasses The Bay
Earrings gift
Ring was given to me as a child by a friend as a spontaneous thank you gift, she probably got it from a gumball machine

All photos by me.