
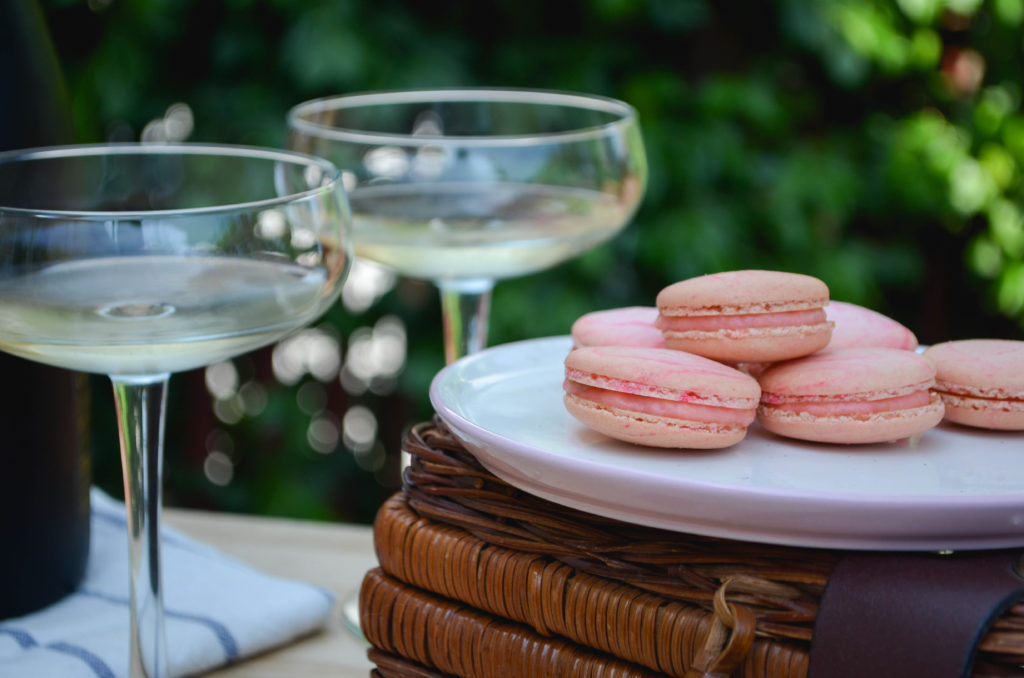
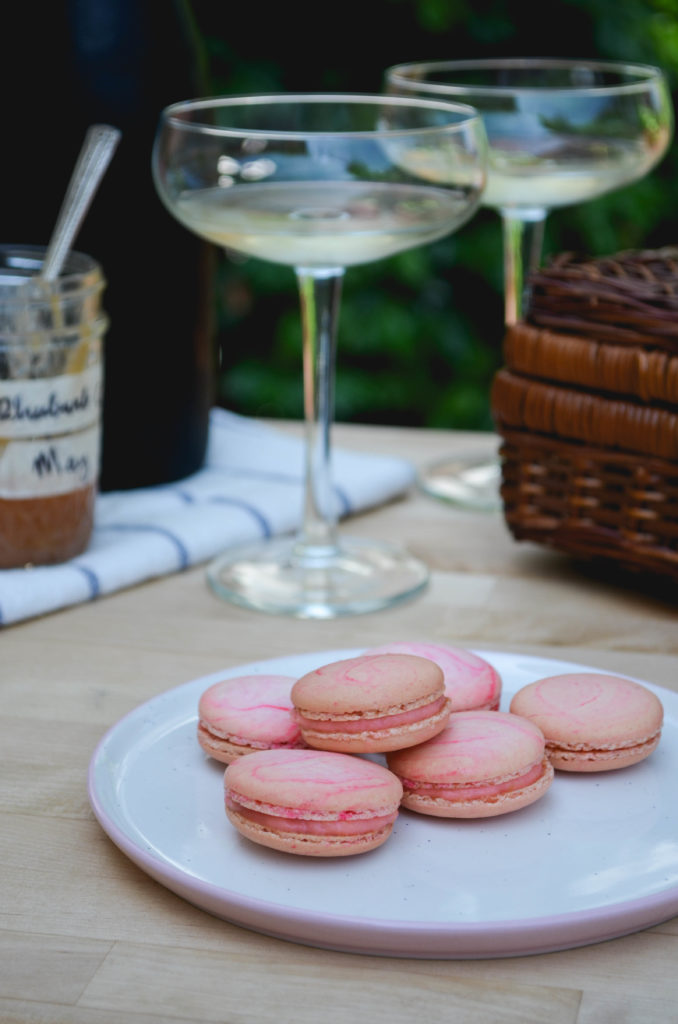
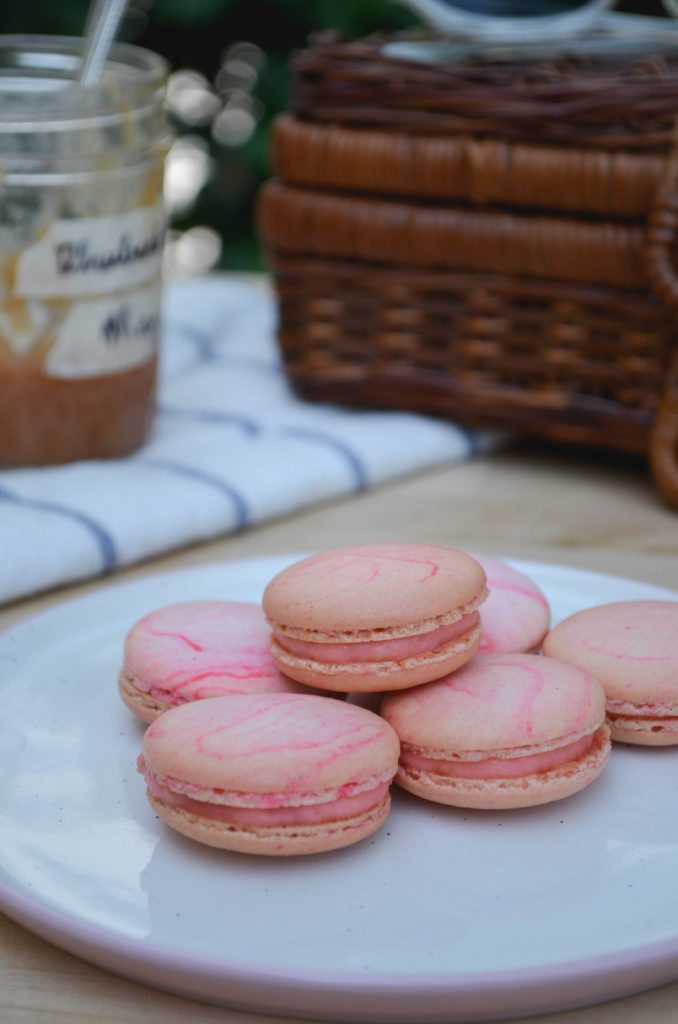
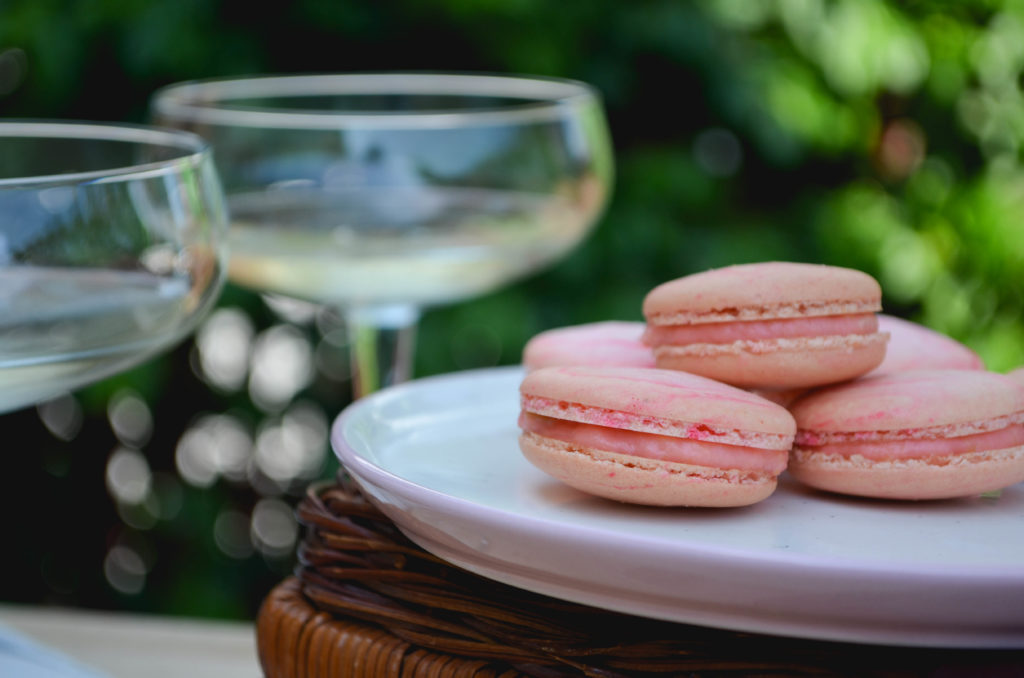
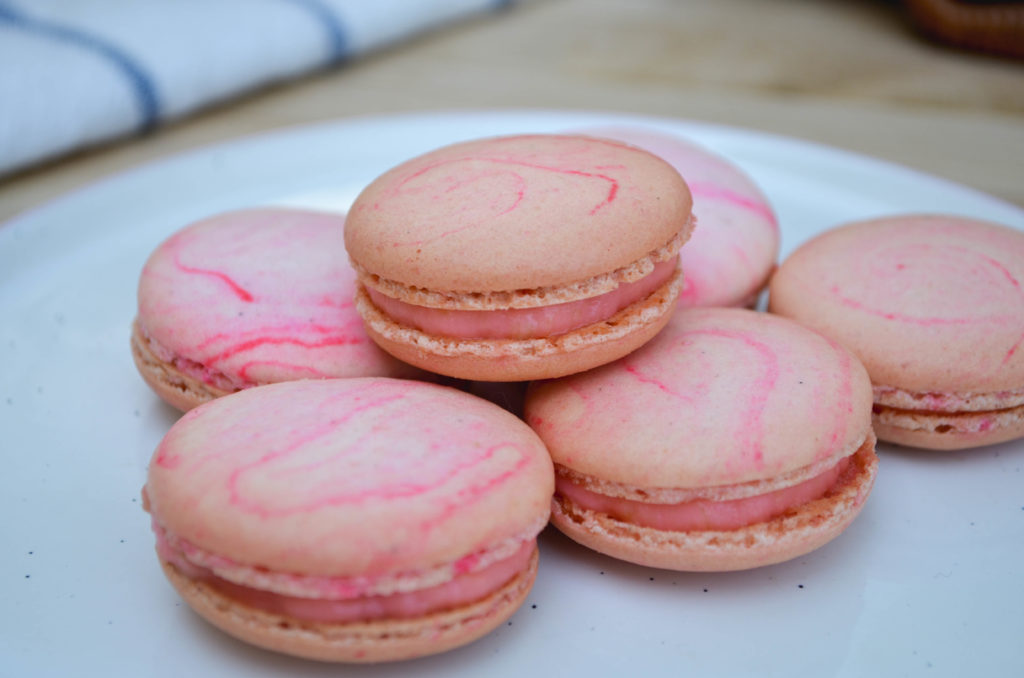
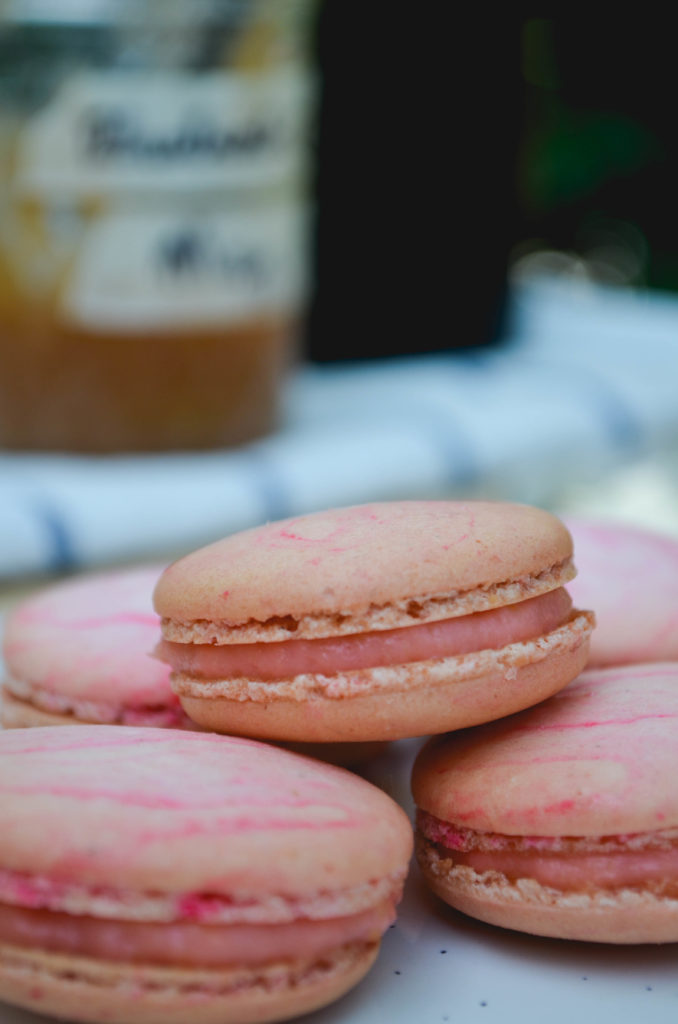
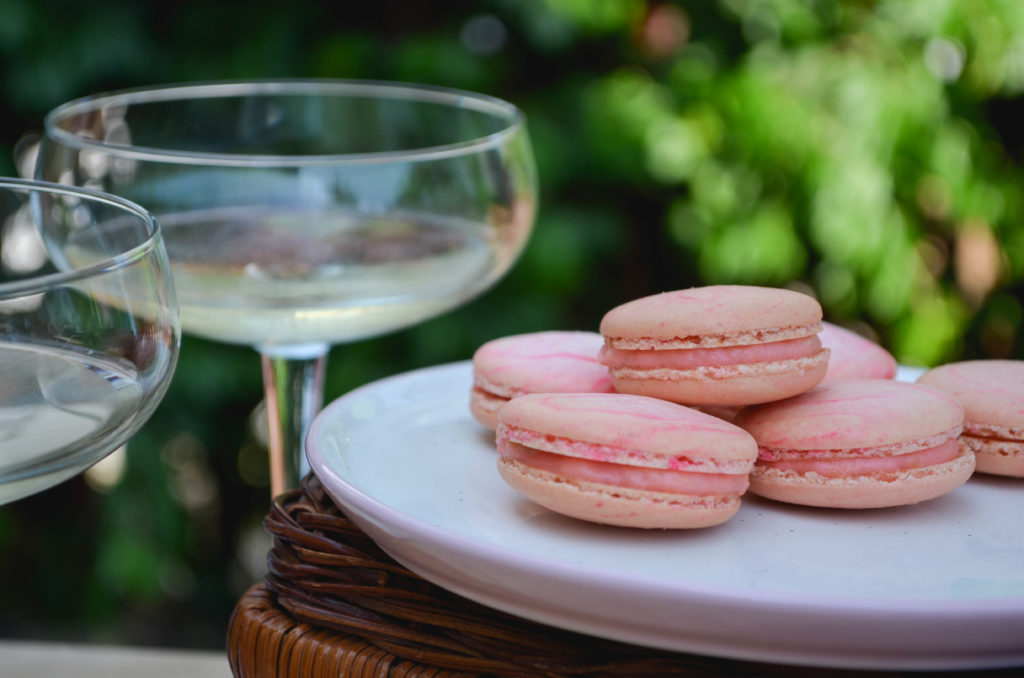
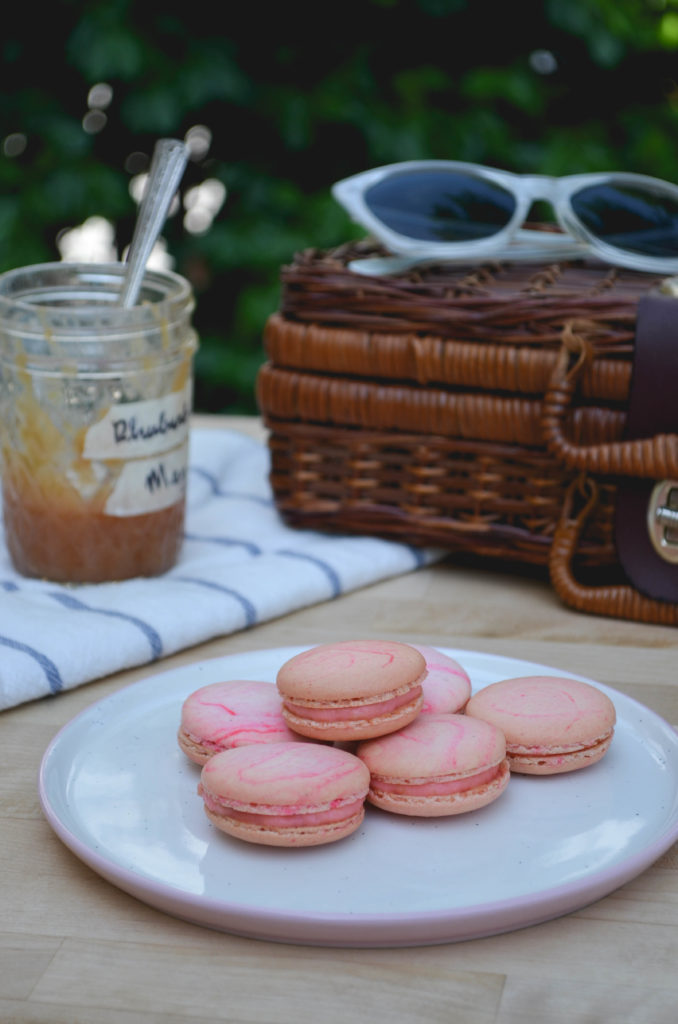
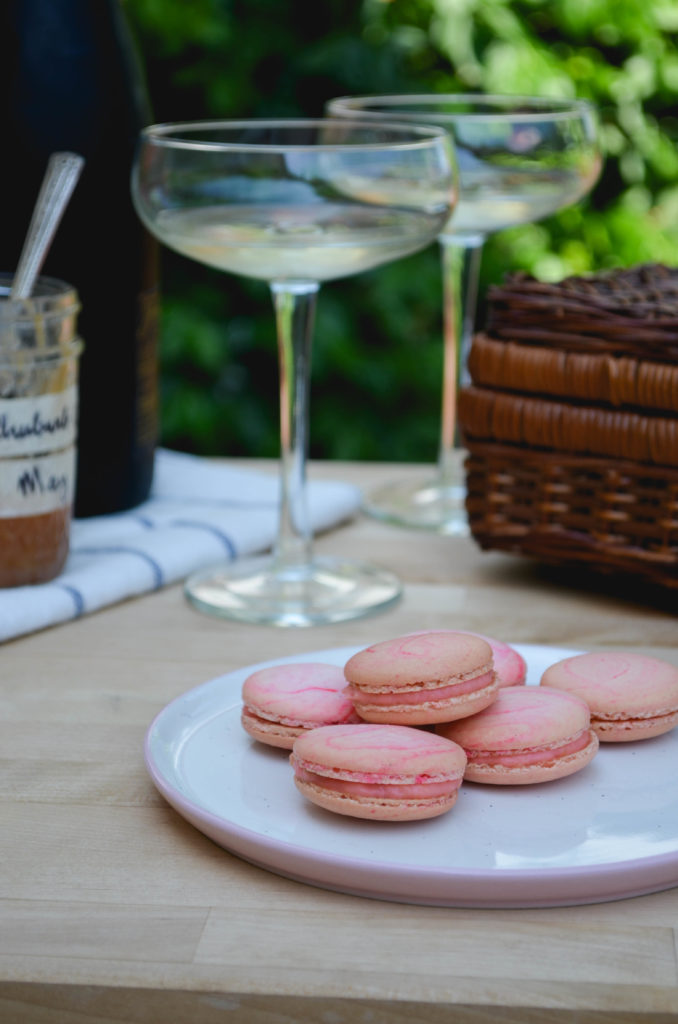
I decided to keep it simple with this month’s new macaron recipe. I made simple vanilla/almond flavour shells and used rhubarb, cut from my garden, to make a quick coulis to flavour a luxurious pastry cream filling. The result is a decadent looking cookie with a subtle sweet rhubarb flavour that tastes just like springtime.
Ingredients
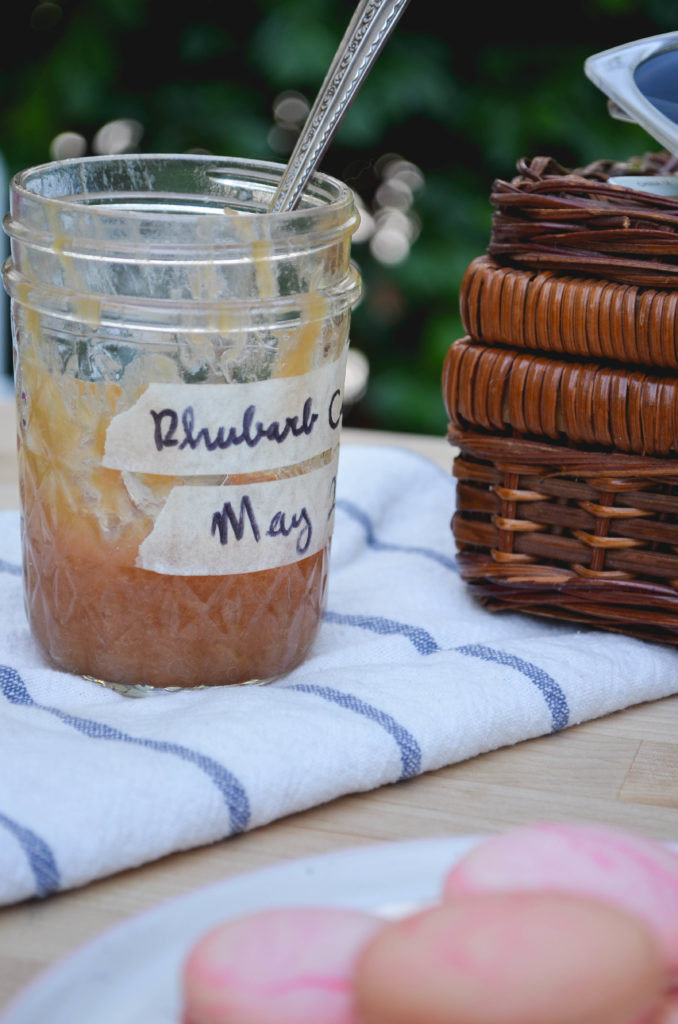
for the rhubarb coulis
- 1 cup fresh rhubarb, chopped (about three stalks)
- ¼ cup sugar
- 3 tbsp water
for the macaron shells
- 1 cup ground almonds (as finely ground as you can find)
- 1½ cups icing sugar
- 3 large egg whites, at room temperature
- 1/3 cup sugar
- 1 tsp high quality vanilla extract
- pink gel food colouring
for the rhubarb pastry cream
(adapted from Joy of Cooking)
- 1/3 cup sugar
- 2 tbsp flour
- 2 tbsp cornstarch
- 4 large egg yolks
- 1 1/3 cups milk
- ¾ tsp vanilla
- 5 tbsp rhubarb coulis
- pink gel food colouring
Method
for the rhubarb coulis
- Wash the rhubarb and chop into 1 cm pieces.
- Add to a small saucepan with the sugar and water and bring to a simmer over medium heat, stirring to dissolve the sugar and coat the rhubarb.
- Reduce the heat to low and simmer for 20 minutes, stirring occasionally and pushing the rhubarb pieces against the side of the saucepan to break them up.
- Move to a small bowl and set aside.
for the macaron shells
- Prepare your parchment sheets by drawing 1″ circles, ½” apart across the entire sheet (or using silicon baking mats with the circles already printed on them) and placing them on a large flat surface suitable for drying your batter, like a dining table. You will need 2-3 half sheet pan size pieces.
- Sift ground almonds and icing sugar, together, twice. Set aside.
- In a large stainless steel mixing bowl, beat egg whites with a hand or stand mixer on high speed until you have a foam with no liquid remaining.
- Slowly add the sugar while continuing to beat the egg whites. Beat on high speed until the egg whites reach stiff peaks. You’ve made meringue!
- Add vanilla and beat in.
- Fold your almond and icing sugar mixture into the meringue in two parts.
- Here’s the part that takes practice: it’s time for the macaronnage. With a spatula, spread the batter, with some force, against the side of the bowl. Then scoop it up by running the spatula along the side of the bowl again and try to flip it all over and sort-of lightly smack it back into the bottom of the bowl. Gather the batter up again and repeat 15-20 times. It takes some time to figure out the best way to do this, don’t be afraid to play around with it. When doing the macaronnage correctly, repeating more than 20 times can result in oily, blotchy macarons, but I’ve found that doing it incorrectly doesn’t count towards this limit. If you are doing it right, the batter will take on a noticeable and somewhat sudden change in consistency, this means you are about half-way to that limit. When finished, the batter should be thickened and drip slowly from the spatula. You will have to pipe it onto your baking sheets/mats and it won’t work if the batter is too runny. This is the technique that defines macarons, this is what makes mastery of them impressive.
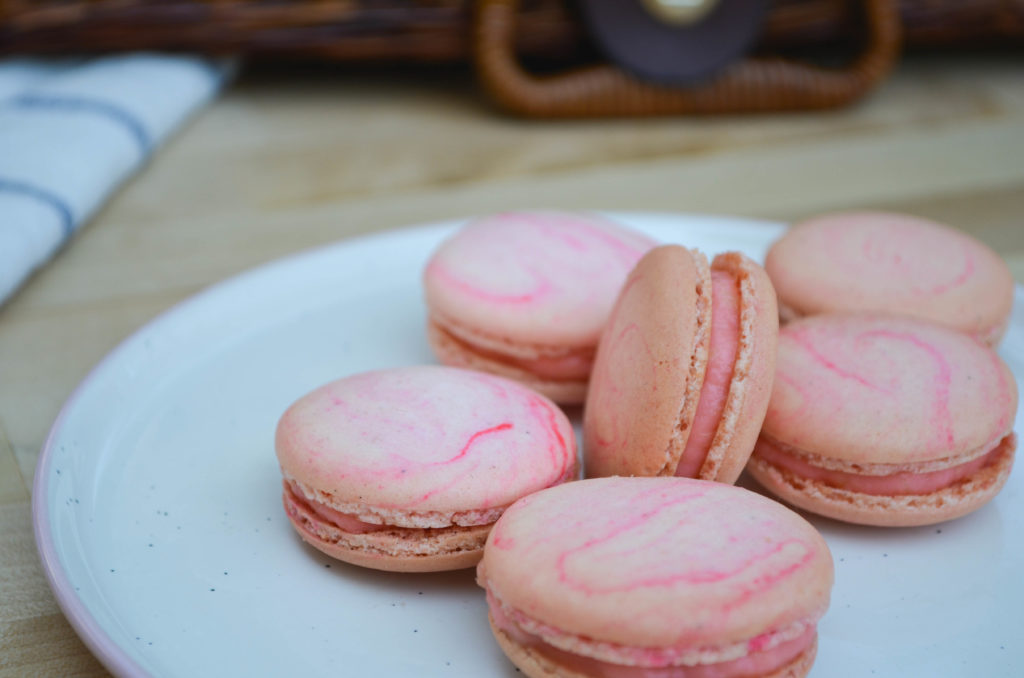
- Add a small amount of the gel food colouring and lightly marble it through the batter.
- For perfectly round macarons, use a large, 0.4″ plain tip with a pastry bag, or do it the lazy way and cut a corner off a zip top bag for mostly round macarons. Twist (or don’t yet cut) the bag at the tip and place it, tip side down, in a tall glass. Fill with your batter and twist, close or clip the other end to help keep the messy batter moving in the right direction. Pipe the batter into the centre of the circles on your sheets/mats and stop before reaching the edges as the batter will spread out a bit.
- Once finished piping, carefully pick the sheets/mats up and drop them back on to the table from a high of a couple of inches. The theory is that this helps the cookies keep their round shape and form the little bubbles (the pied) when you put them in the oven.
- Leave the cookies on the table, uncovered, for 15-30 minutes to dry. This is a good time to preheat your oven to 350°F. You will know the macarons are dry when they look smooth and are no longer sticky to the touch.
- Place an oven rack in the centre of your oven. Place a sheet of macarons on two doubled up sheet pans (this will stop the bottoms from getting too hot, resulting in cracked macarons) and bake for about 15 minutes. Rotate the pan half way through baking. At this point, if you want to try to keep your cookies light in colour, place a second oven rack directly below the first and move your cookies down to it, then place a third sheet pan above the cookies on the higher rack to protect them from the heat above. It can be hard to tell when the macaron are done. I pull them out when the kitchen smells sweet and the cookies look crisp, have just started to brown and don’t look splotchy in the middle.
- As soon as the parchment sheet/baking mat is cool enough to handle, take it out of the pan with all the cookies on top and place it on a cooling rack. The macarons will be too sticky to remove from the sheet/mat now; once cooled, they should peel off easily. I usually wait a few minutes for the pans to cool a bit and for the oven to come back to a steady temperature before moving the next sheet to the pans and baking the next round.
for the rhubarb pastry cream
- Vigorously whisk together the sugar, flour, cornstarch and egg yolks until they are thick and pale yellow.
- Bring the milk to a simmer over medium-low heat in a medium saucepan.
- Temper the egg mixture by slowly pouring abut 1/3 of the hot milk into the mixture, whisking constantly.
- Add this new mixture back into the saucepan and cook over medium-low heat until it has thickened and any liquid is just about worked in. It will get quite thick, quite quickly so whisk constantly and be sure to scrape the bottom and sides often to keep it from burning.
- Remove from heat and whisk in the vanilla. Whisk in the rhubarb coulis, a tbsp at a time. Add a small amount of the gel food colouring and whisk in. Transfer to a bowl and cover with cling film to prevent a skin from forming on the surface. Cool on the counter and then refrigerate until cold before piping into the macarons.
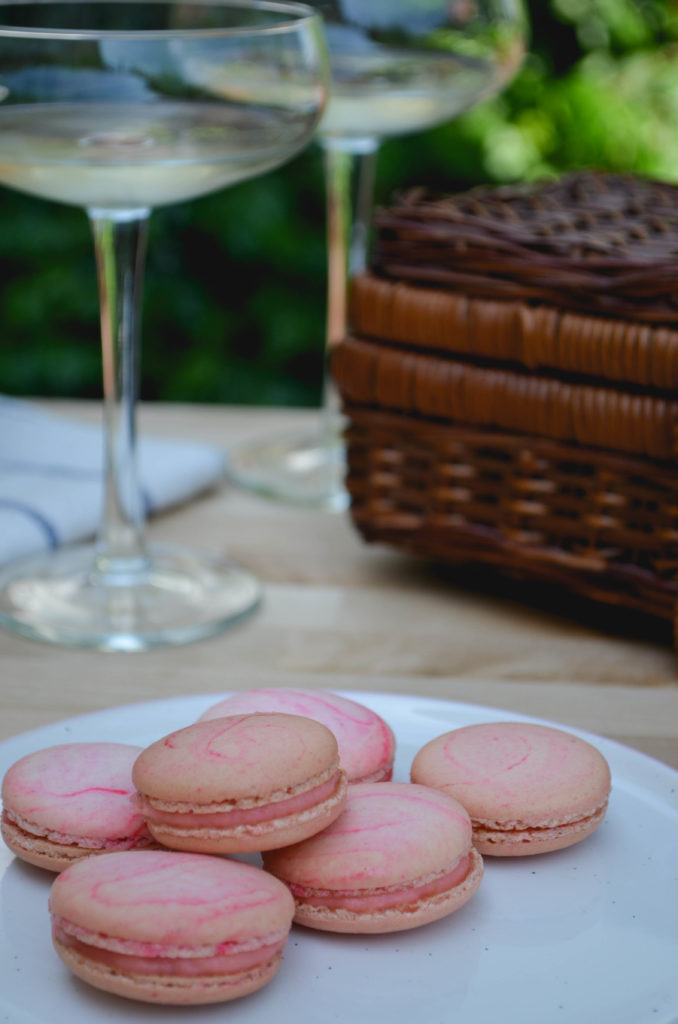
Pastry cream doesn’t keep as well as other fillings so don’t fill these cookies until you are ready to serve and be sure to promptly store them in the refrigerator afterwards.

You will have coulis and pastry cream leftover. The coulis will keep for a few weeks and is quite a treat on pancakes. The pastry cream will only a keep a few days and can be used to make several lovely things, notably rhubarb & custard tarts. It can also be eaten with a spoon.
All photos by me.