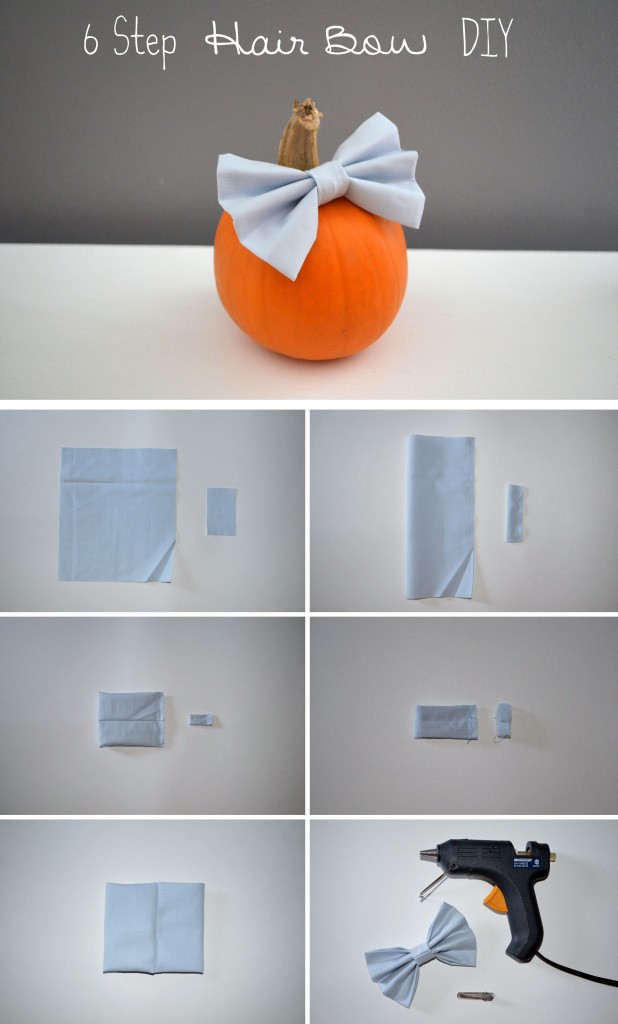
Hair bows are a good beginner project, with straight lines both cut and sewn, the hardest part is not gluing the bow to your hand at the end!
Supplies Needed
- Stiff, sturdy, medium – lightweight fabrics work best; 100% cotton fabrics in quilting/apparel weight or poly-cotton broadcloths are ideal. I used a 100% cotton poplin for the tutorial with great results. (A fat quarter makes approximately four bows.)
- thread in matching colour
- hair clip
- hot glue gun (and glue)
- paper/cardboard for making pattern
Step 1
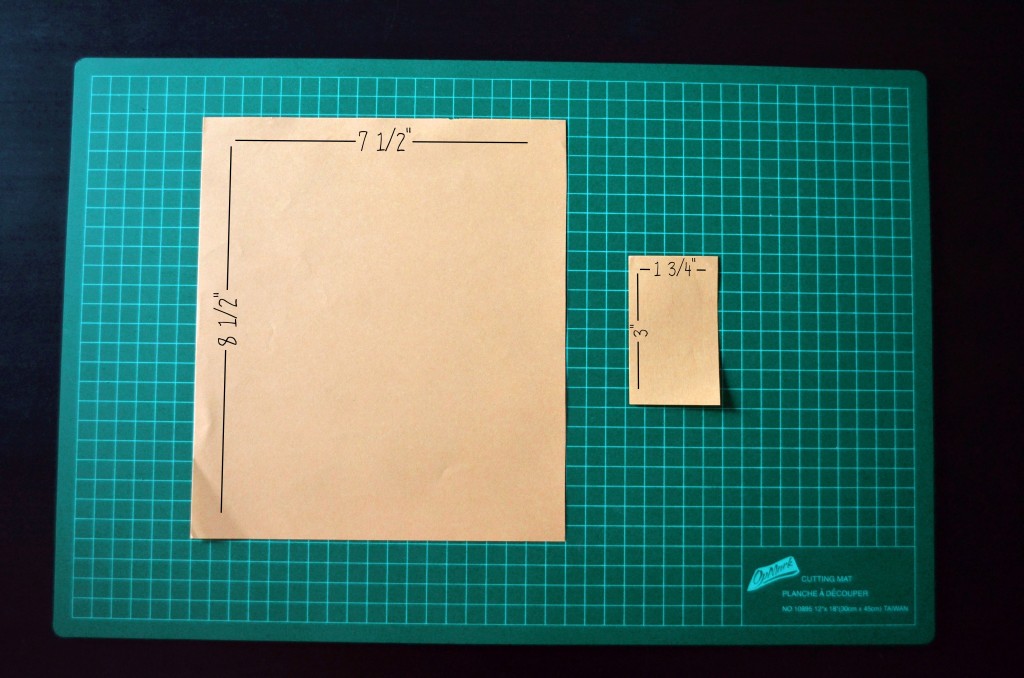
Make your pattern by cutting a 7½” x 8½” rectangle and a 1¾” x 3″ rectangle out of cardboard or scrap paper. These rectangles will become the bow and the loop that holds everything in place.
Step 2
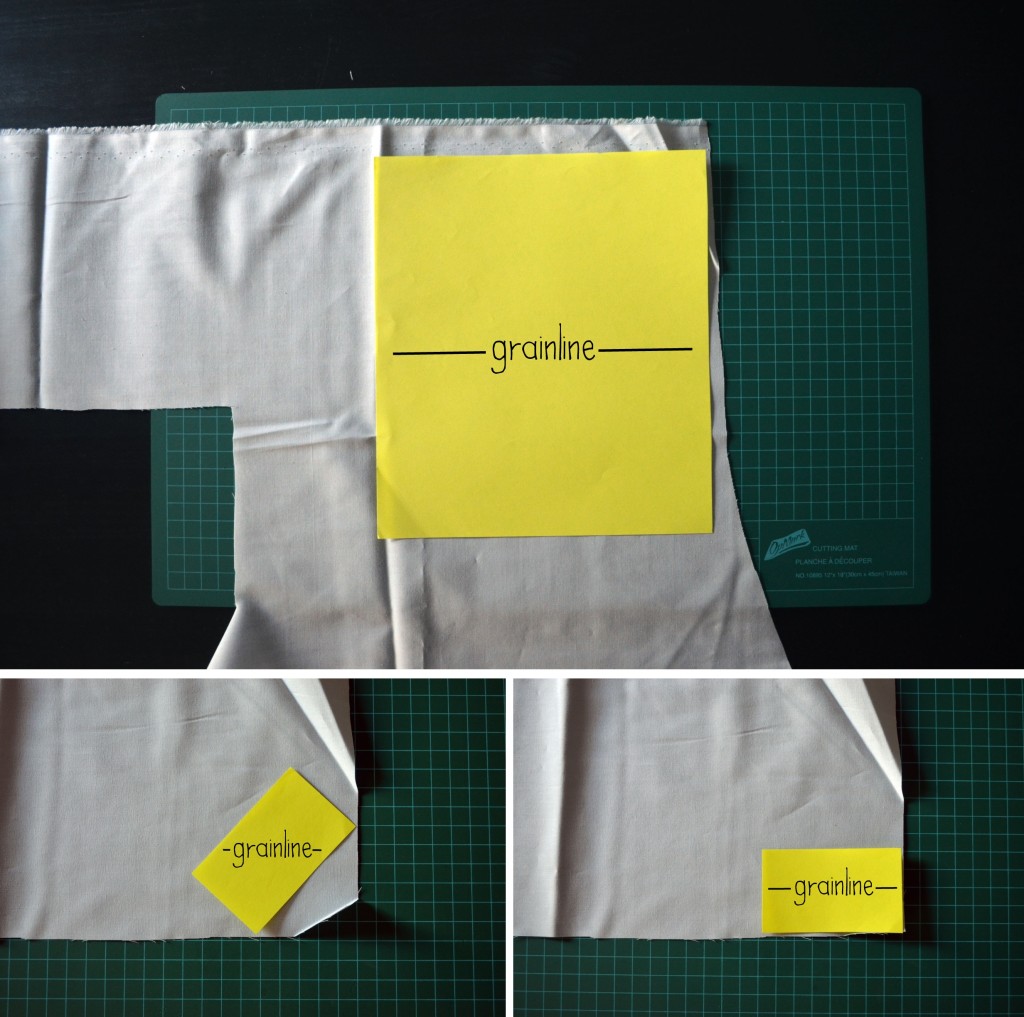
Using your pattern, place the large rectangle on the fabric with the shorter side with the grain of the fabric and cut. Place the small rectangle on the bias for a stretchier loop, or with the longer side with the grain if you don’t want to disrupt the print, cut.
Step 3
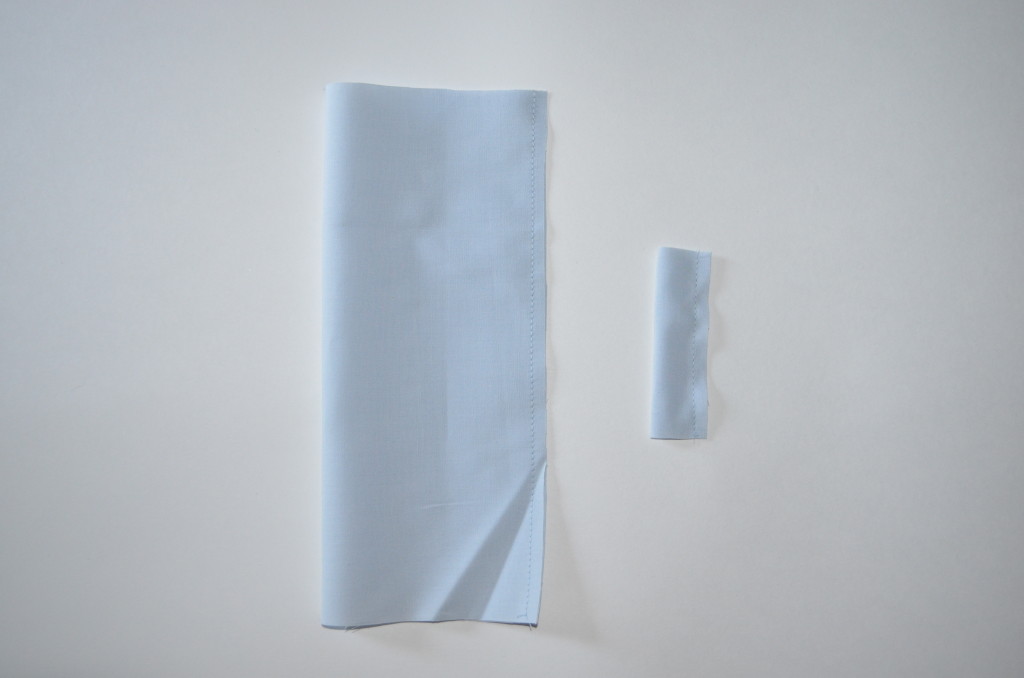
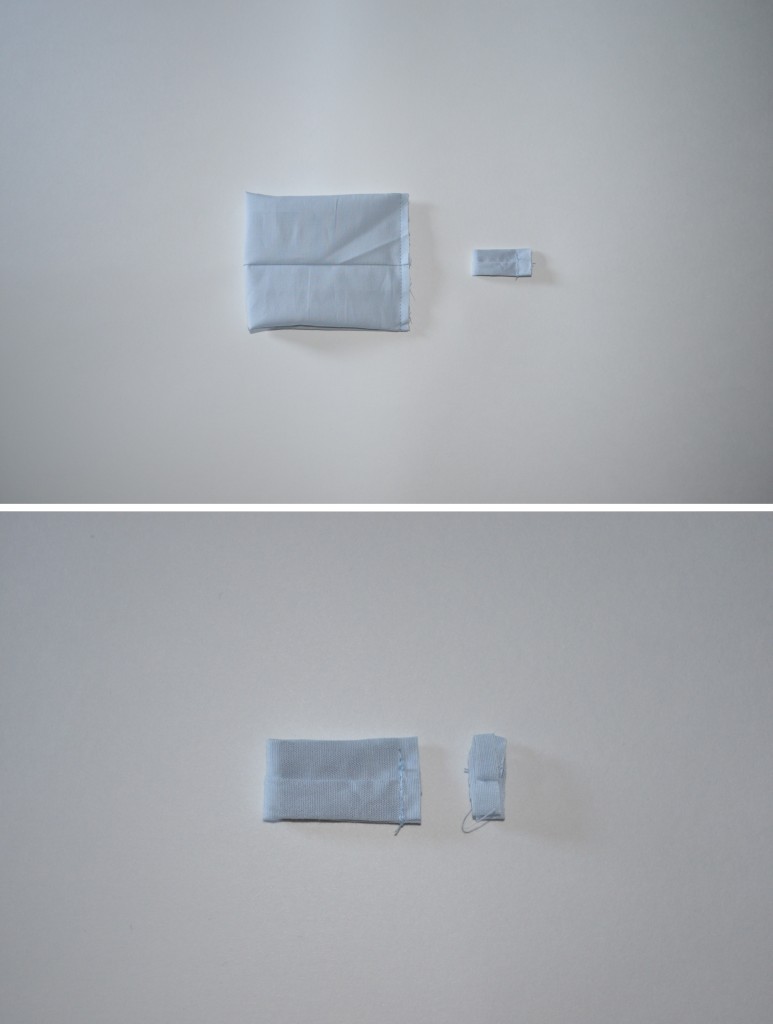
With right sides together, fold large rectangle in half lengthwise and sew long ends together with a ¼” seam. Repeat for small rectangle.
Step 4
Turn both rectangles out, centre the seam horizontally, fold in half again and sew raw edge together with ¼” seam for large rectangle, 3/8″ seam for the small rectangle. Be sure to back stitch these seams. Trim small rectangle to ¼”.
Step 5
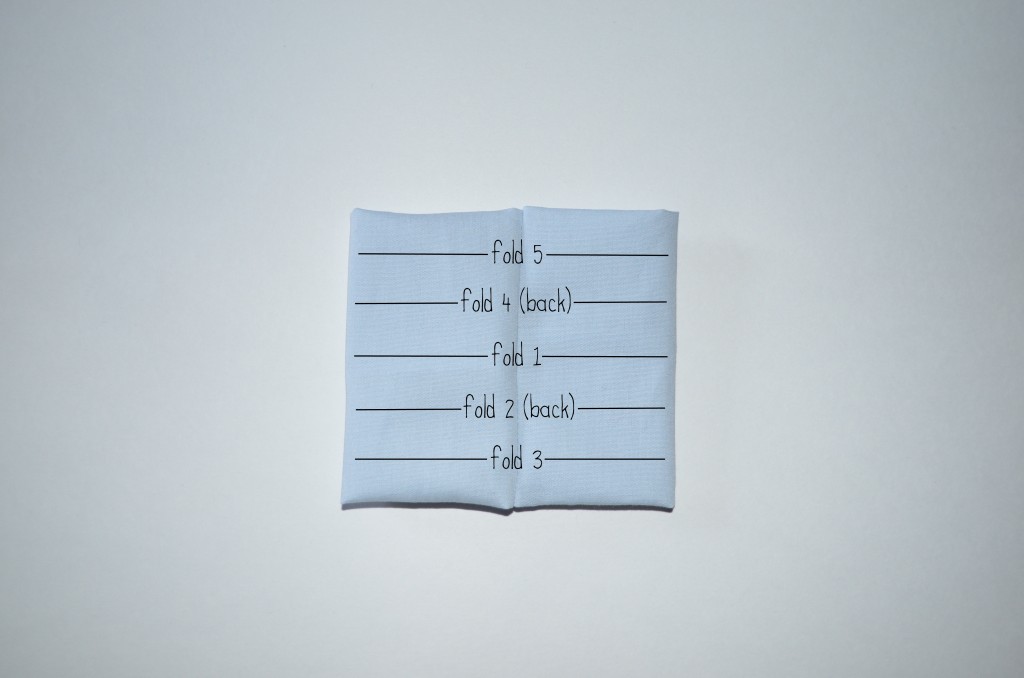
Turn out again, centre the seam vertically with open ends at top and bottom and starting with a fold down the centre, fold however you like to form the bow. Slip the loop over the end and position in the middle of the bow.
Step 6
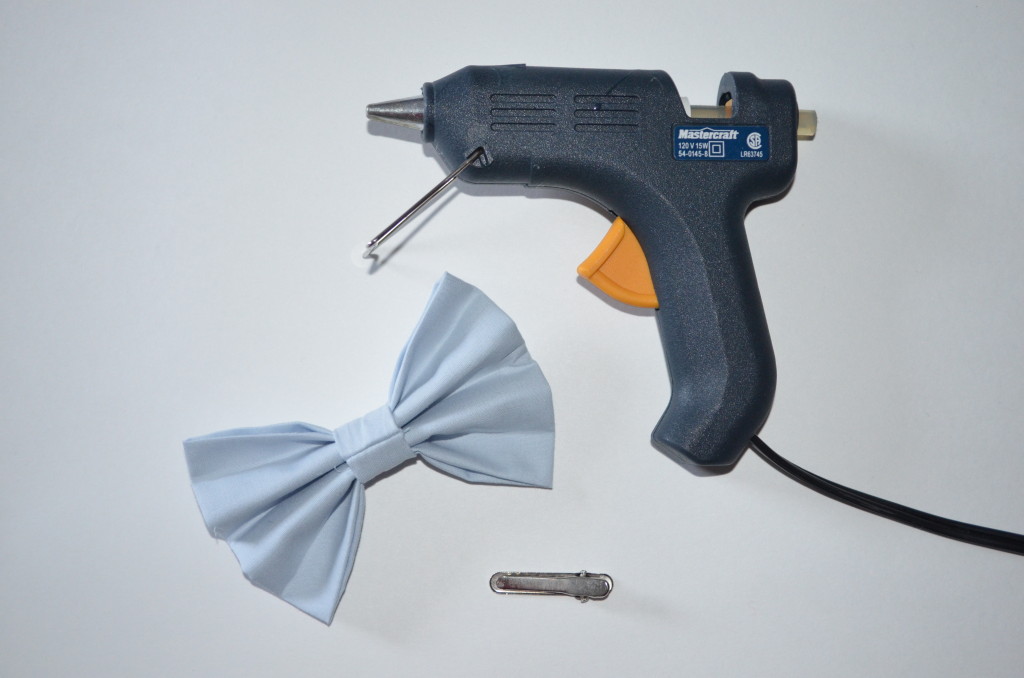
Using a hot glue gun, glue a clip to the loop at the back of the bow.
… or you could buy one here: www.etsy.com/shop/SophsterToaster

