Grapefruit & Hop Macarons

Grapefruit & Hop Macarons | Sophster-Toaster

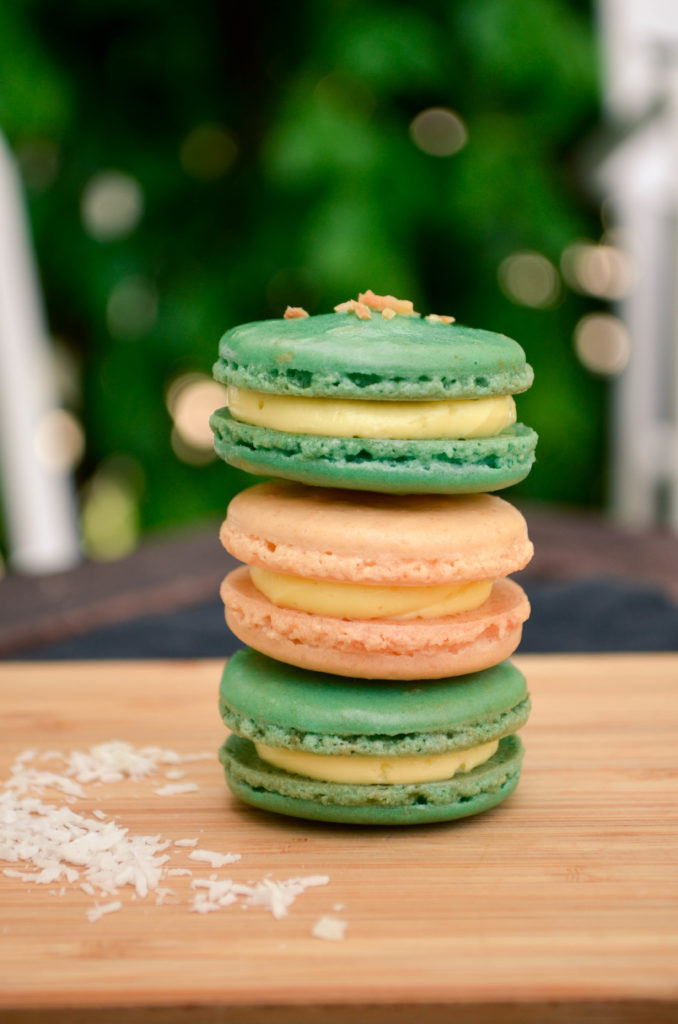
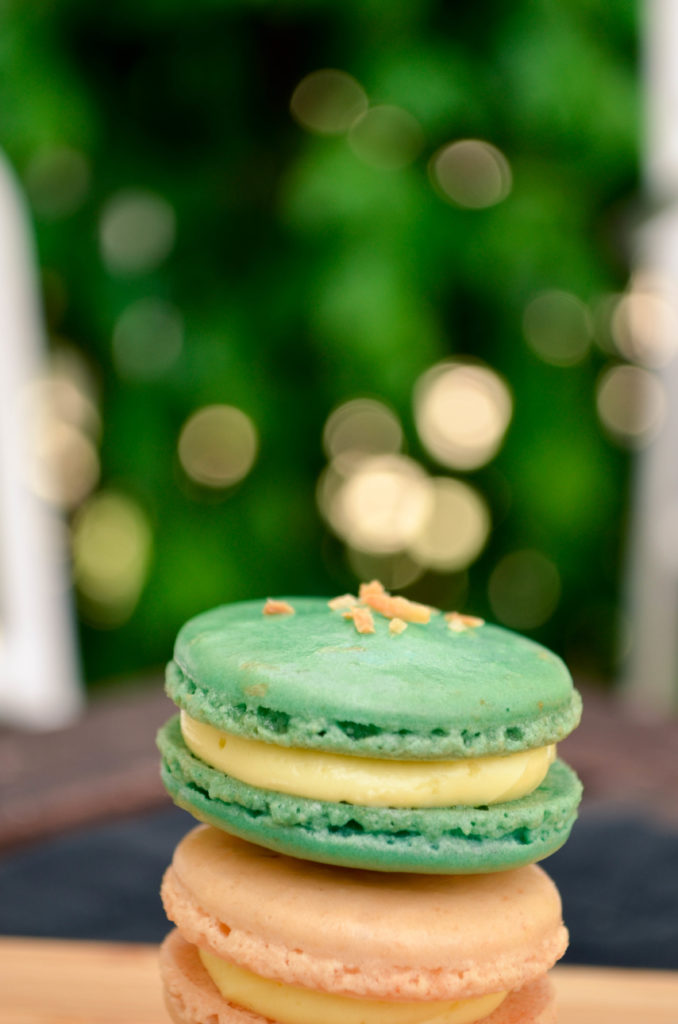
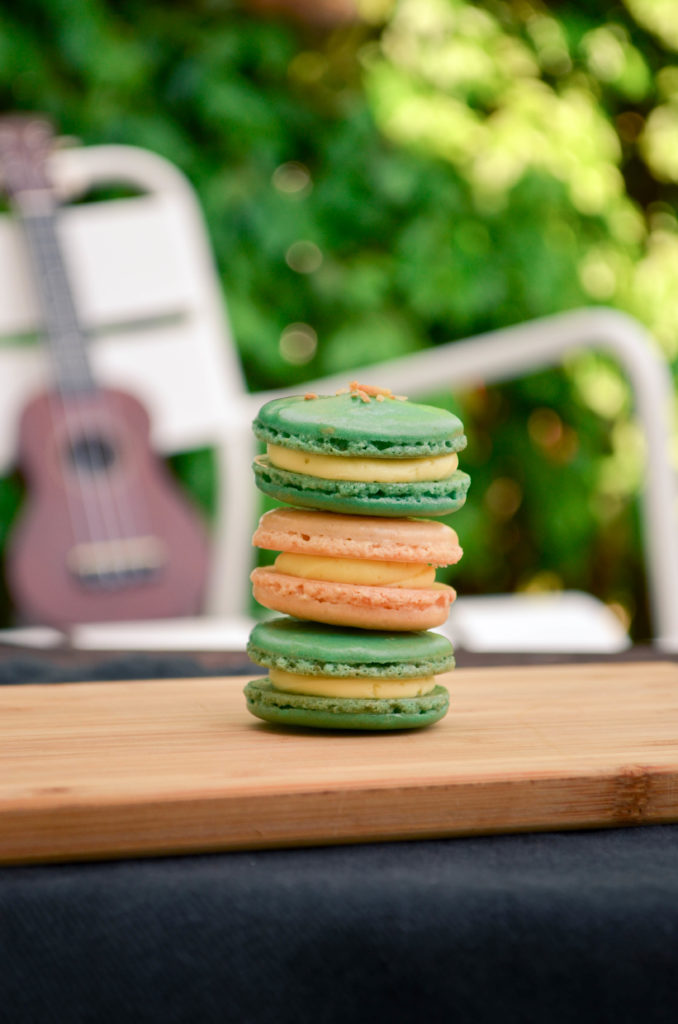
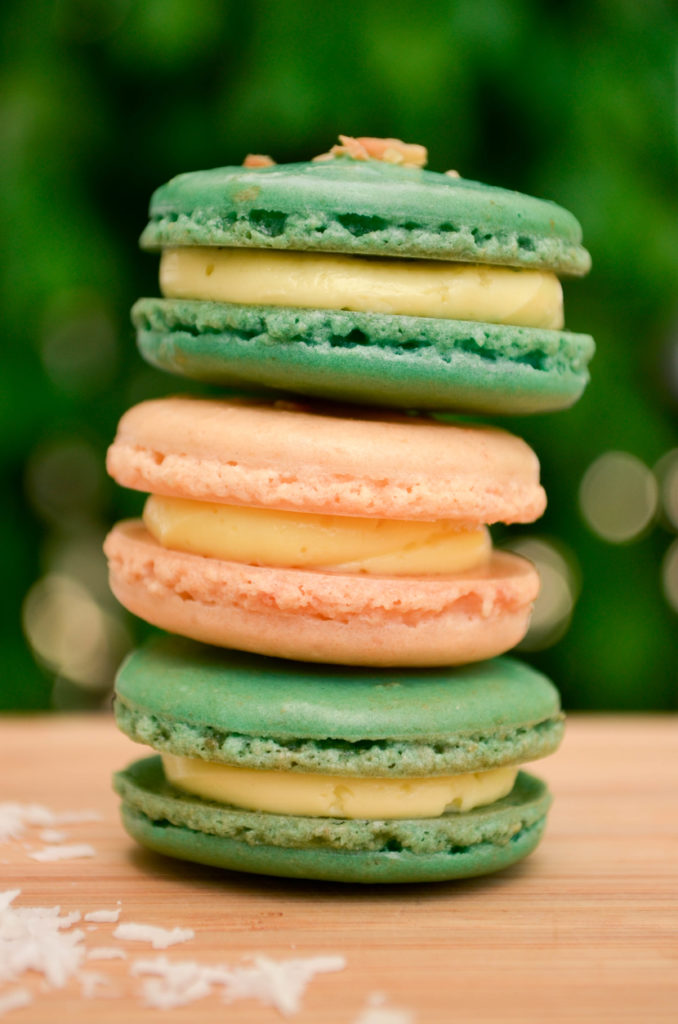
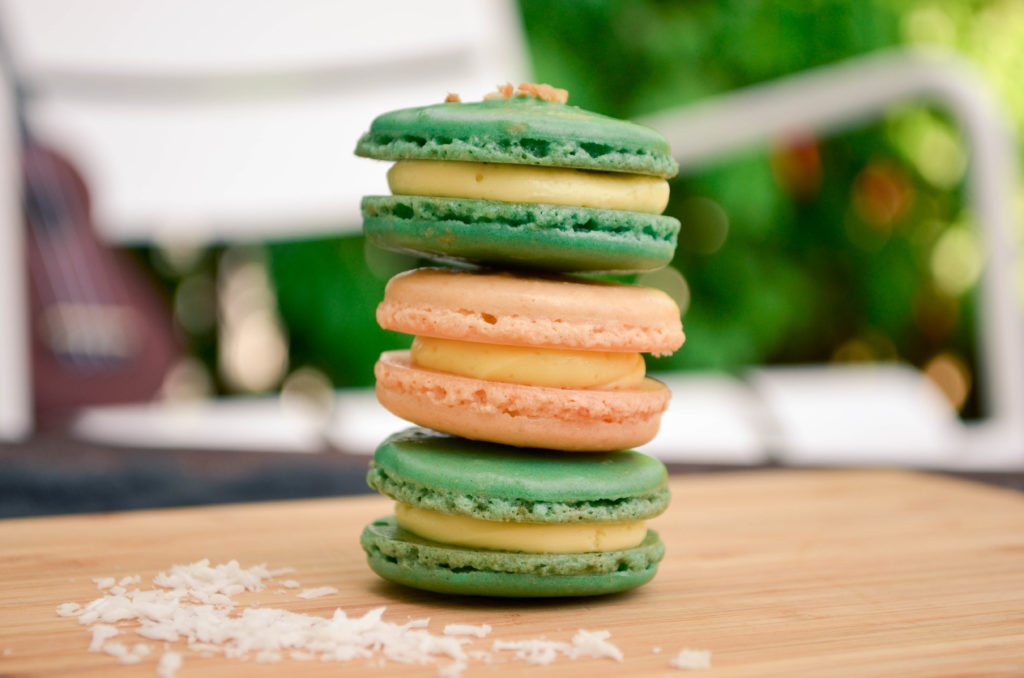
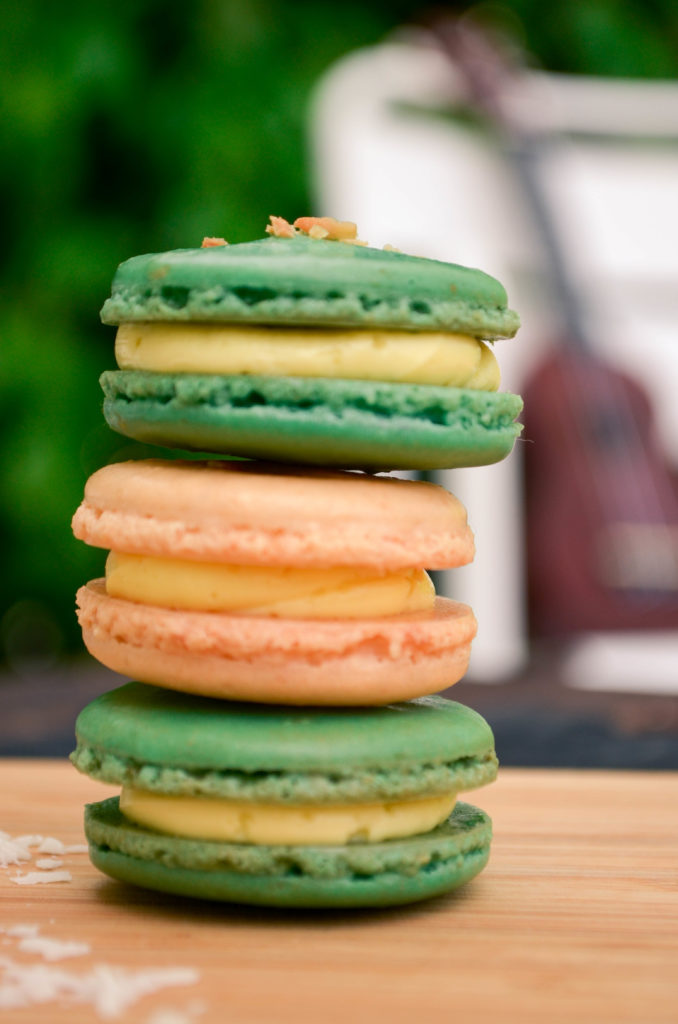
I love how versatile macarons can be once you nail the technique of making them. They’re really just almonds, sugar, egg whites and air, so they can take on almost any flavour you can think of. This month, I paired bitter, grassy hops from our home brew vine with sweet and tangy grapefruit zest to make one complex cookie. The result is sweet and buttery but also has those sharp citrus, grassy and aromatic top notes of an amazing IPA. With one foot in summer and one foot in fall, it’s the perfect flavour for September.

Grapefruit & Hop Macarons | Sophster-Toaster Grapefruit & Hop Macarons | Sophster-Toaster Grapefruit & Hop Macarons | Sophster-ToasterGrapefruit & Hop Macarons | Sophster-Toaster Grapefruit & Hop Macarons | Sophster-Toaster

Ingredients

for the macaron shells

  • ¾ cup ground almonds (as finely ground as you can find)
  • 1 cup icing sugar
  • zest of 1 whole grapefruit
  • 2 large egg whites, at room temperature
  • 3 tbsp + 1 tsp sugar
  • creamy peach gel food colouring

for the filling

  • 7 tbsp unsalted butter
  • 7 tbsp milk
  • 10g hops, broken up with fingers
  • 2 egg yolks
  • ¼ cup sugar
  • sky blue + Kelly green gel food colouring

Method

for the macaron shells

  1. Prepare your parchment sheets by drawing 1″ circles, ½” apart across the entire sheet (or using silicon baking mats with the circles already printed on them) and placing them on a large flat surface suitable for drying your batter, like a dining table. You will need 2-3 half sheet pan size pieces.
  2. Sift ground almond and icing sugar together, twice. Add grapefruit zest. Set aside.
  3. In a large stainless steel mixing bowl, beat egg whites with an electric beater on medium-high speed until you have a foam with no liquid remaining.
  4. Slowly add the sugar while continuing to beat the egg whites. Beat on medium-high speed until the egg whites reach stiff peaks. You’ve made meringue!
  5. Add gel food colouring and beat in.
  6. Fold your almond, icing sugar and zest mixture into the meringue in two parts.
  7. Here’s the part that takes practice: it’s time for the macaronnage! With a spatula, spread the batter, with some force, against the side of the bowl. Then scoop it up by running the spatula along the side of the bowl again and try to flip it all over and sort-of lightly smack it back into the bottom of the bowl. Gather the batter up again and repeat 12-15 times. It takes some time to figure out the best way to do this, don’t be afraid to play around with it. When doing the macaronnage correctly, repeating more than 20 times can result in oily, blotchy macarons, but I’ve found that doing it incorrectly doesn’t count towards this limit. If you are doing it right, the batter will take on a noticeable and somewhat sudden change in consistency, this means you are about half-way to that limit. When finished, the batter should be thickened and drip slowly and smoothly from the spatula. You will have to pipe it onto your baking sheets/mats and it won’t work if the batter is too runny. This is the technique that defines macarons, this is what makes mastery of them impressive.
  8. For perfectly round macarons, use a large, 0.4″ plain tip with a pastry bag, or do it the lazy way and cut a corner off a zip top bag for mostly round macarons. Twist (or don’t yet cut) the bag at the tip and place it, tip side down, in a tall glass. Fill with your batter and twist, close or clip the other end to help keep the messy batter moving in the right direction. Pipe the batter into the centre of the circles on your sheets/mats and stop before reaching the edges as the batter will spread out a bit.
  9. Once finished piping, carefully pick the sheets/mats up and drop them back on to the table from a height of a couple of inches. The theory is that this helps the cookies keep their round shape and form the little bubbles around the bottom (the pied) when you put them in the oven.
  10. Leave the cookies on the table, uncovered, to dry – this could take 20-30 minutes on a dry day or a couple of hours on a humid day. You will know the macarons are dry when they look smooth, less glossy and are no longer sticky to the touch.
  11. Preheat your oven to 350°F. Place an oven rack in the centre of your oven. Place a sheet of macarons on two stacked sheet pans (this will stop the bottoms from getting too hot, resulting in cracked macarons) and bake for 15-18 minutes. Rotate the pan half way through baking. It can be hard to tell when the macaron are done. I pull them out when the kitchen smells sweet and the cookies look crisp, have just started to brown, and don’t look blotchy in the middle.
  12. As soon as the parchment sheet/baking mat is cool enough to handle, take it out of the pan with all the cookies on top and place it on a cooling rack. The macarons will be too sticky to remove from the sheet/mat now; once cooled, they should peel off easily. I usually wait a few minutes for the pans to cool a bit and for the oven to come back to a steady temperature before moving the next sheet to the pans and baking the next round.

for the buttercream

  1. Warm the butter in a double boiler or in the microwave until it is soft but not melted. Beat until creamy.
  2. In a small saucepan, bring milk to a boil. Remove from heat and add the hops. Cover and steep for 10 minutes.
  3. Meanwhile, place the egg yolks in a small bowl and whisk lightly. Add the sugar and beat lightly until they are a pale yellow.
  4. Slowly pour the steeped milk mixture into the egg mixture, beating continuously.
  5. Strain this mixture back into the saucepan, pushing the hops with a spatula to squeeze all the liquid out. Discard the hops.
  6. Simmer over low heat, whisking frequently, until the mixture has thickened to a loose custard.
  7. Now pour the mixture into a clean bowl and beat lightly until it has thickened and cooled to about room temperature.
  8. Add the butter in three parts and beat until smooth with each addition. (If the buttercream bubbles and splits, keep beating until it becomes thick again.)

Once everything has cooled, place your buttercream in a piping (or zip-top) bag and pipe onto half of your shells. Then place another similarly sized shell on top and gently press them together. You’ve made macarons!

Grapefruit & Hop Macarons | Sophster-Toaster

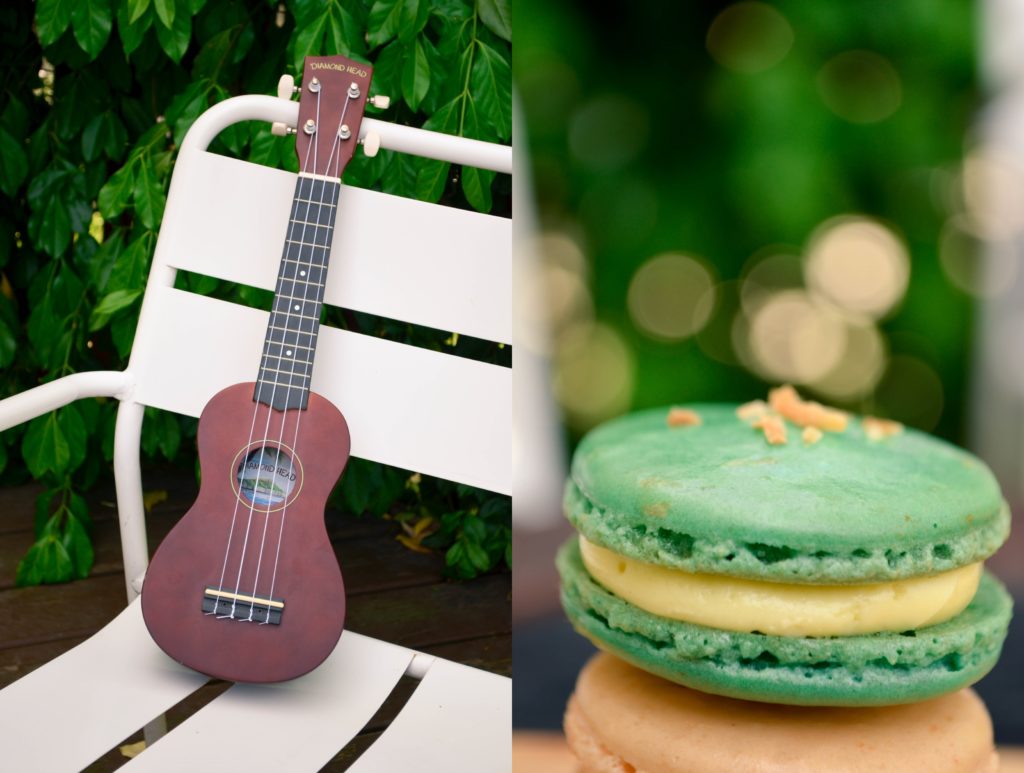
All photos by me.

Staying Safe and Active

Staying Safe and Active | Sophster-Toaster

This wasn’t a typical summer, so I suppose I’m less sad that it’s ending this year. After being stuck at home in the city all summer without air conditioning, I’m looking forward to getting cozied up indoors during snuggle season.

Of course, I’m still worried about what the changing seasons will mean for life during a pandemic. As Canadians, we aren’t usually ones to shy away from the cold, but it’s so much easier to pop outside to exercise, relax or grab takeout when the weather is warm and welcoming. Staying active during the summer comes naturally when there are so many options. Then the days get shorter, the wind gets colder and the bikes, skates and bathing suits get put away and it can be hard to resist the urge to hibernate.

I’ve found that staying active and being outdoors during this extra stressful time has been vital for maintaining my mental health. Therefore, my goal for the coming season is to continue engaging in my favourite all-season outdoor activities like daily long walks with the dog, playing fetch in the yard and morning hikes on the weekend (before the crowds get there). Soon, the rewarding work of gardening will become the satisfying sweat of snow shovelling and long distance skating will have to become practising fancy footwork in the basement. Maybe the added limitations of this year will be inspiring and I’ll get to try something new, like snowshoeing, before coming home and cuddling up on the couch with some hot chocolate and a movie for a long winter night.

Staying Safe and Active | Sophster-Toaster Staying Safe and Active | Sophster-Toaster Staying Safe and Active | Sophster-Toaster Staying Safe and Active | Sophster-Toaster Staying Safe and Active | Sophster-Toaster Staying Safe and Active | Sophster-Toaster Staying Safe and Active | Sophster-Toaster

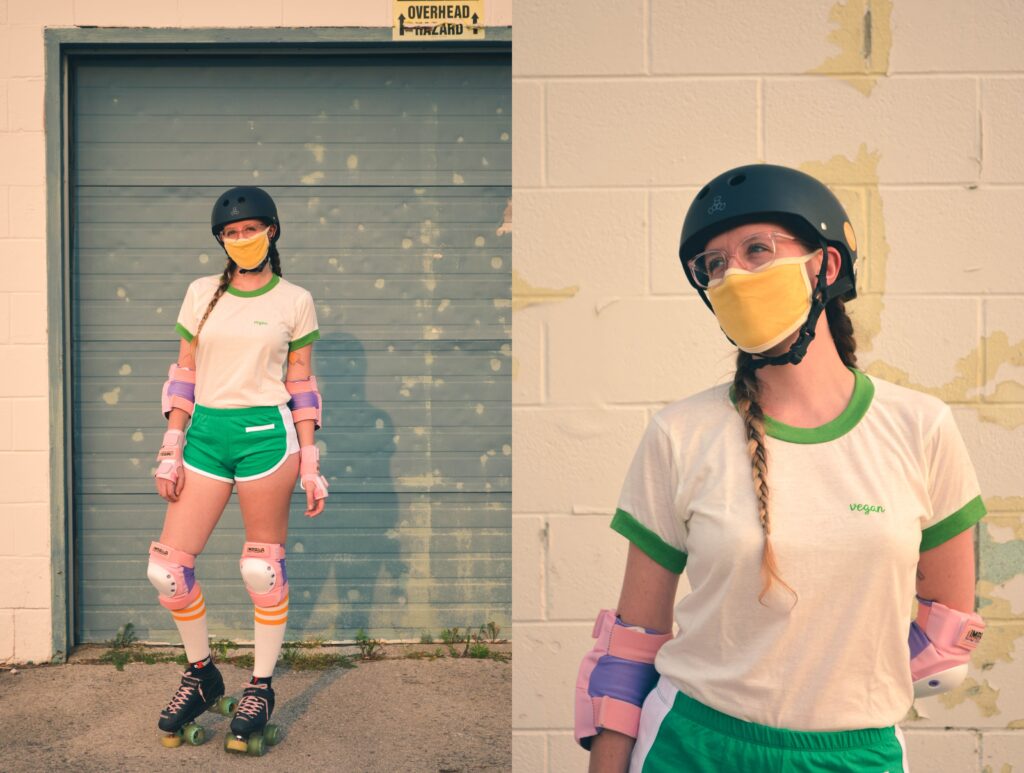
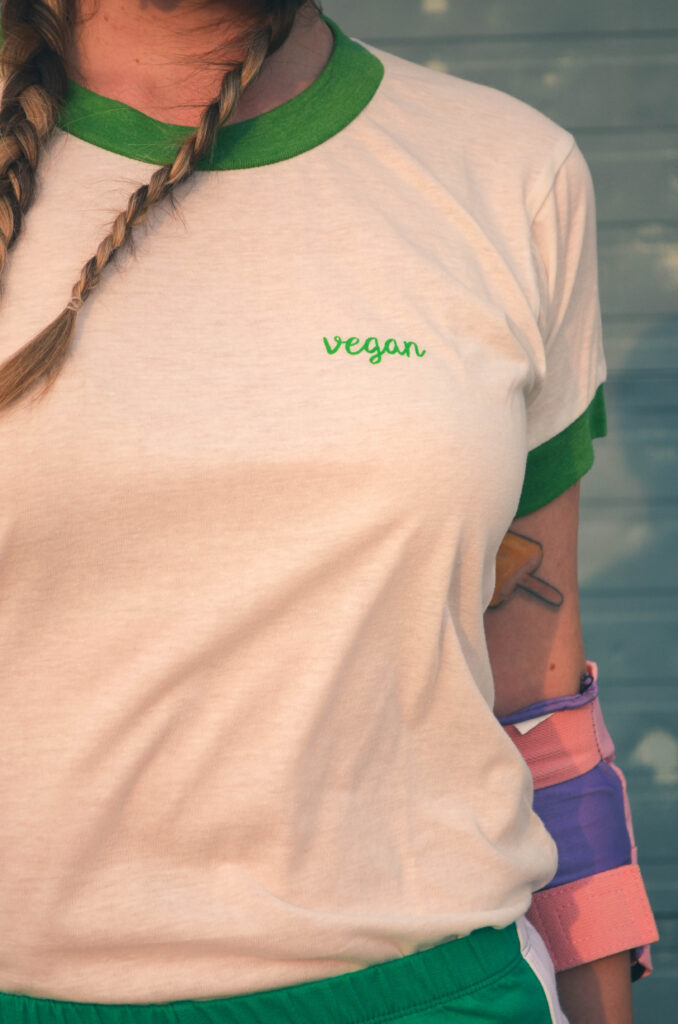
T-shirt Sophster-Toaster
Shorts Camp Collection
Glasses Warby Parker
Mask Camp Collection
Safety Gear Impala Rollerskates

All photos by Matt Harrison.

Heat Wave

Being stuck at home several months into a pandemic and multiple weeks into summer heat wave, I’m finding photography to be my only real outlet for achieving some sort of emotional equilibrium. It’s too hot now to exercise outdoors, too hot to work on the house, too hot to make candles and have them cure correctly. Work has been slow but steady with unique challenges and constant adjustments. I’m connecting with some of my social group and only sporadically. I feel like the one thing I have to fall back on right now is my love for experimenting with cameras.

Heat Wave | Sophster-Toaster

On a sweltering midsummer evening, after waiting all day for the sun to crawl across the sky and filter through the climbing hydrangea just the way I wanted to play with, I dressed up in colours that matched the flowers, poured an equally paired cocktail and started taking pictures. I had fun moving around in the sinking light, listening to neighbours catch up with good friends and occasionally spilling my sticky drink down my arm because I wasn’t paying close enough attention to it. I don’t normally present my pictures like this, but it felt right. Here they are in the order that I took them.

Heat Wave | Sophster-Toaster Heat Wave | Sophster-Toaster Heat Wave | Sophster-Toaster Heat Wave | Sophster-Toaster Heat Wave | Sophster-Toaster Heat Wave | Sophster-Toaster Heat Wave | Sophster-Toaster

Glasses Warby Parker

All photos by me.

Sweet Dill Macarons

Sweet Dill Macarons | Sophster-Toaster

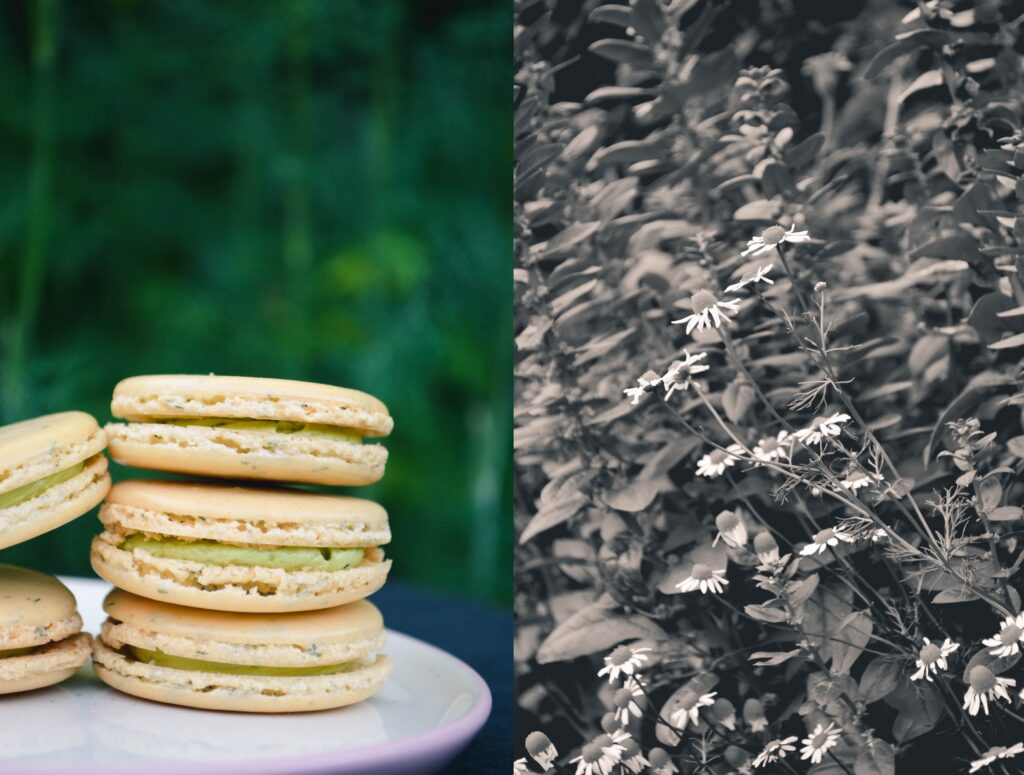
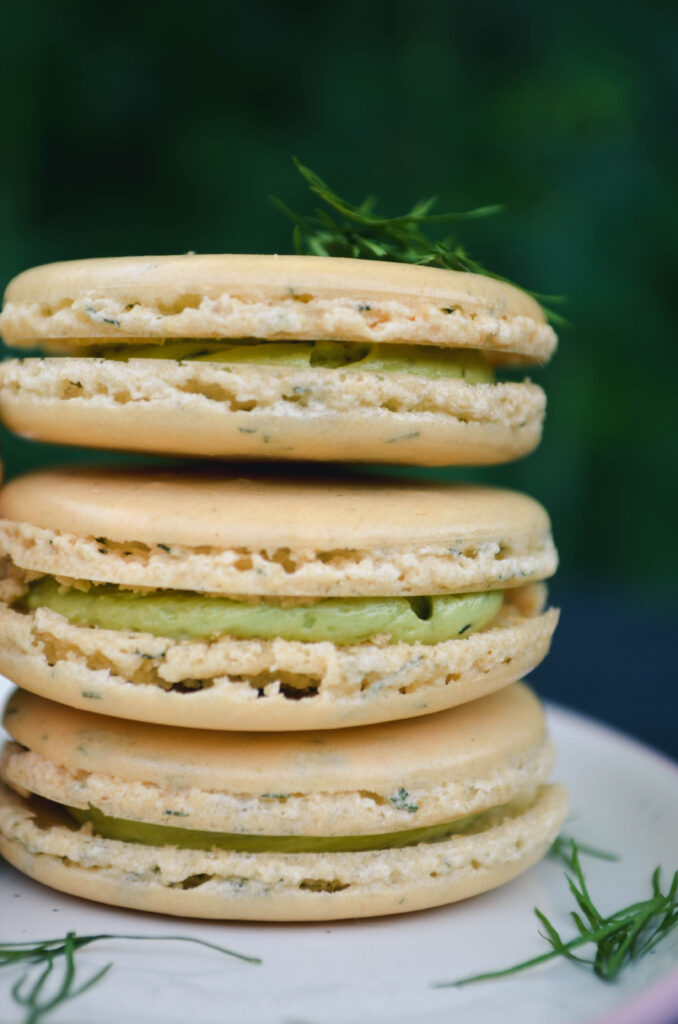
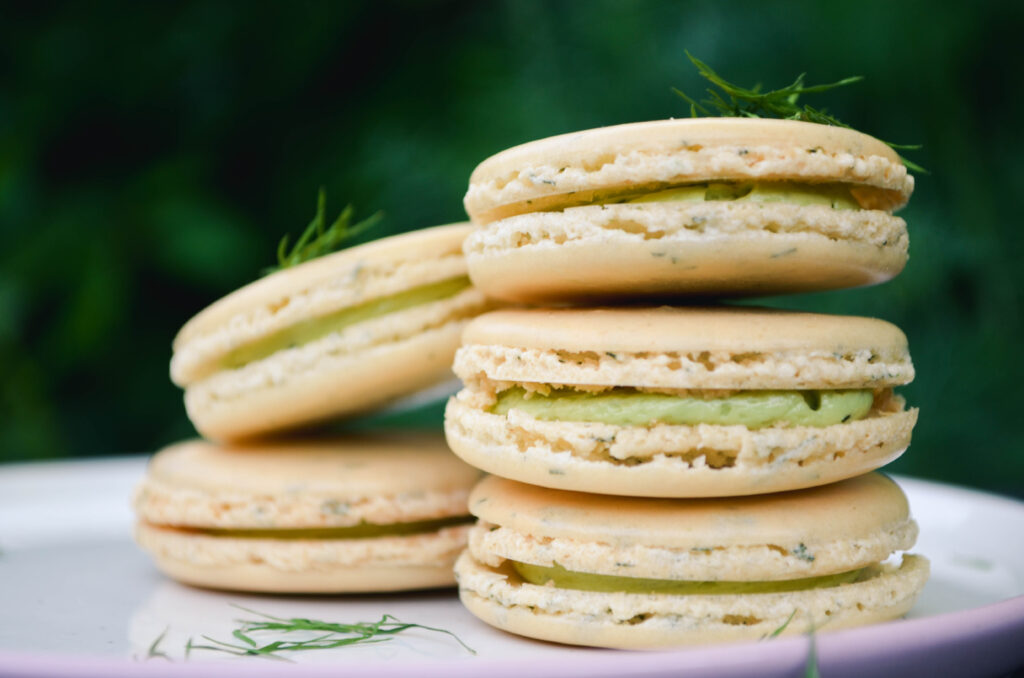
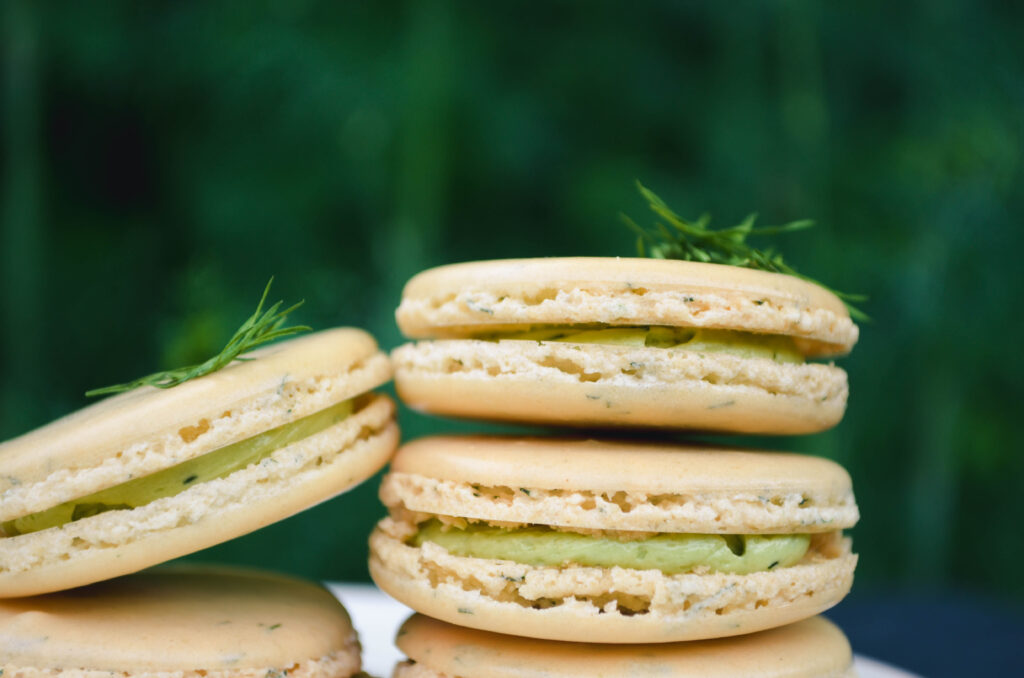
It gets harder to make macarons at this time of year. The summer humidity makes it difficult to dry the macarons after piping, resulting in flatter, more fragile shells with less pied. They might not look as pretty and perfect, but they still taste sweet, subtle and wonderful so tried to squeeze one more new recipe in!

I had a cute, but very elaborate, idea for my June macarons initially, but had trouble finding all the ingredients when trying to limit my shopping trips. With time running out, I decided I would need to tuck that scheme away for next year and use a crazy idea I had been saving/avoiding for a while now: dill macarons.
Sweet Dill Macarons | Sophster-Toaster

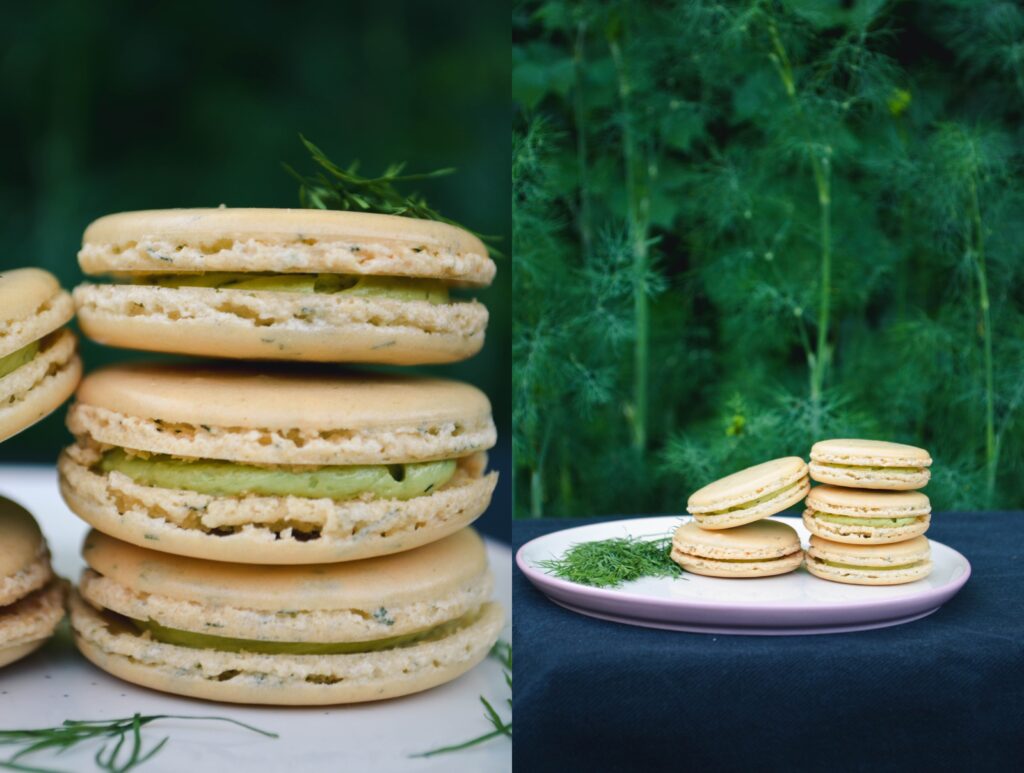
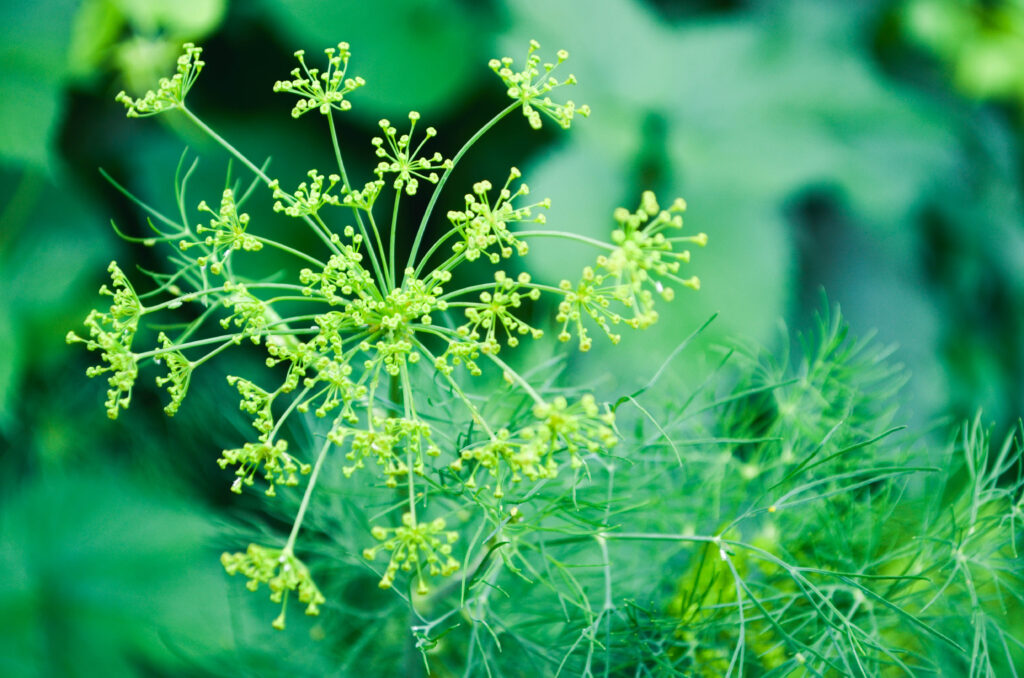
I love using different herbs and spices to flavour my macarons, and usually take seasonal inspiration from my garden, so the fresh dill flourishing in my herb garden has been tempting me since last year. Would it be delicate and herbal or would it taste like a pickle? I had to find out.

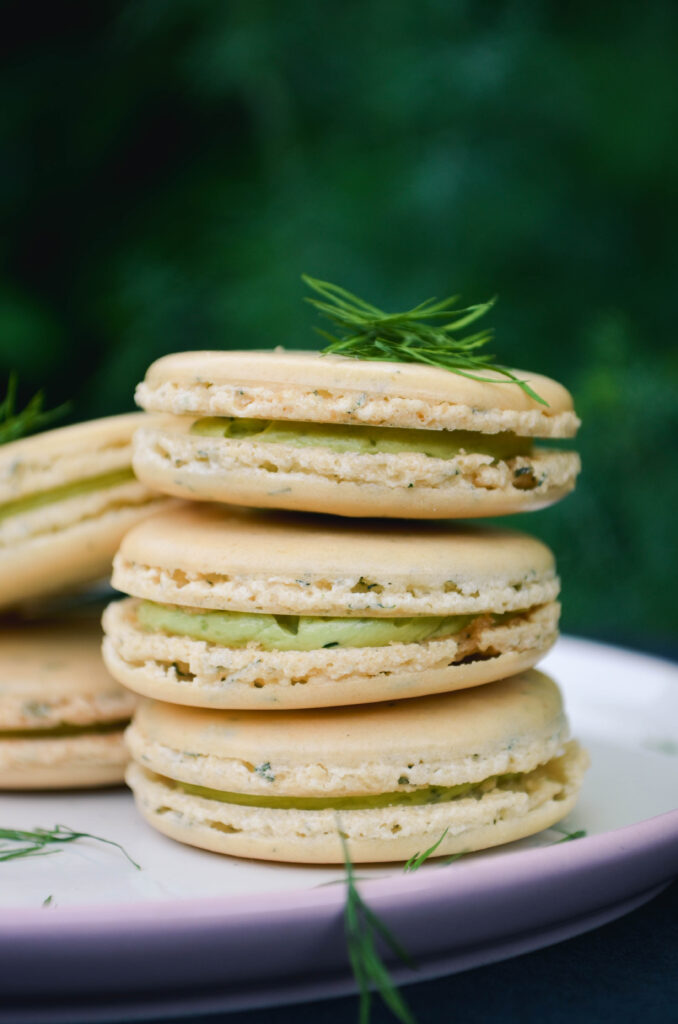
I’m here to report… it’s actually pretty good! The sweet and nutty notes of the cookies bring out a whole new character in the dill that’s lost in savoury dishes. It’s light, fresh, vibrant and perfectly at home in the macarons. I’m happy to say it tastes nothing like a pickle.
Sweet Dill Macarons | Sophster-Toaster Sweet Dill Macarons | Sophster-Toaster Sweet Dill Macarons | Sophster-Toaster Sweet Dill Macarons | Sophster-Toaster

Ingredients

for the macaron shells

  • ¾ cup ground almonds (as finely ground as you can find)
  • 1 cup icing sugar
  • 2 tbsp fresh dill, chopped
  • 2 large egg whites, at room temperature
  • 3 tbsp + 1 tsp sugar

for the filling

  • 7 tbsp unsalted butter, softened
  • 1 egg, at room temperature
  • 3 tbsp water
  • 3 tbsp sugar
  • 1 tbsp fresh dill, chopped
  • juniper green gel food colouring

Method

for the macaron shells

  1. Prepare your parchment sheets by drawing 1″ circles, ½” apart across the entire sheet (or using silicon baking mats with the circles already printed on them) and placing them on a large flat surface suitable for drying your batter, like a dining table. You will need 2-3 half sheet pan size pieces.
  2. Sift ground almond and icing sugar together, twice. Add dill. Set aside.
  3. In a large stainless steel mixing bowl, beat egg whites with a hand or stand mixer on high speed until you have a foam with no liquid remaining.
  4. Slowly add the sugar while continuing to beat the egg whites. Beat on high speed until the egg whites reach stiff peaks. You’ve made meringue!
  5. Fold your almond, icing sugar and dill mixture into the meringue in two parts.
  6. Here’s the part that takes practice: it’s time for the macaronnage! With a spatula, spread the batter, with some force, against the side of the bowl. Then scoop it up by running the spatula along the side of the bowl again and try to flip it all over and sort-of lightly smack it back into the bottom of the bowl. Gather the batter up again and repeat 12-15 times. It takes some time to figure out the best way to do this, don’t be afraid to play around with it. When doing the macaronnage correctly, repeating more than 20 times can result in oily, blotchy macarons, but I’ve found that doing it incorrectly doesn’t count towards this limit. If you are doing it right, the batter will take on a noticeable and somewhat sudden change in consistency, this means you are about half-way to that limit. When finished, the batter should be thickened and drip slowly and smoothly from the spatula. You will have to pipe it onto your baking sheets/mats and it won’t work if the batter is too runny. This is the technique that defines macarons, this is what makes mastery of them impressive.
  7. For perfectly round macarons, use a large, 0.4″ plain tip with a pastry bag, or do it the lazy way and cut a corner off a zip top bag for mostly round macarons. Twist (or don’t yet cut) the bag at the tip and place it, tip side down, in a tall glass. Fill with your batter and twist, close or clip the other end to help keep the messy batter moving in the right direction. Pipe the batter into the centre of the circles on your sheets/mats and stop before reaching the edges as the batter will spread out a bit.
  8. Once finished piping, carefully pick the sheets/mats up and drop them back on to the table from a height of a couple of inches. The theory is that this helps the cookies keep their round shape and form the little bubbles around the bottom (the pied) when you put them in the oven.
  9. Leave the cookies on the table, uncovered, to dry – this could take 20-30 minutes on a dry day or a couple of hours on a humid day. You will know the macarons are dry when they look smooth, less glossy and are no longer sticky to the touch.
  10. Preheat your oven to 350°F. Place an oven rack in the centre of your oven. Place a sheet of macarons on two stacked sheet pans (this will stop the bottoms from getting too hot, resulting in cracked macarons) and bake for 15-18 minutes. Rotate the pan half way through baking. It can be hard to tell when the macaron are done. I pull them out when the kitchen smells sweet and the cookies look crisp, have just started to brown, and don’t look blotchy in the middle.
  11. As soon as the parchment sheet/baking mat is cool enough to handle, take it out of the pan with all the cookies on top and place it on a cooling rack. The macarons will be too sticky to remove from the sheet/mat now; once cooled, they should peel off easily. I usually wait a few minutes for the pans to cool a bit and for the oven to come back to a steady temperature before moving the next sheet to the pans and baking the next round.

for the buttercream

  1. Warm the butter in a double boiler or in the microwave until it is soft but not melted and beat until creamy.
  2. Break an egg into a large heat-resistant mixing bowl and beat lightly with a hand mixer. Set aside.
  3. Add water and sugar to a small saucepan and place over medium-low heat. Bring to a simmer and stir until you can draw a line of bare pan without the liquid immediately covering it back up, about 7 minutes. You’ve made simple syrup!
  4. Slowly pour your simple syrup into the beaten egg while beating with a hand mixer on as high a speed as you can without flinging syrup everywhere, remember it is very hot and sticky. Once all the syrup is in, beat the mixture on high speed, slowly reducing speed until it is thick, light in colour and the bowl is no longer hot.
  5. Add the butter to this mixture in two or three parts and beat on medium speed until fully incorporated and creamy. If the buttercream splits and continuing to beat doesn’t bring it back together, it has likely become too cold. Pop it in the warm oven or over a double boiler for 10 seconds and try beating it again. Continue doing this until it comes together.
  6. Add dill and gently beat in.
  7. Add gel food colouring and gently beat in.

Once everything has cooled, place your buttercream in a piping (or zip-top) bag and pipe onto half of your shells. Then place another similarly sized shell on top and gently press them together. You’ve made macarons!
Sweet Dill Macarons | Sophster-Toaster

All photos by me.