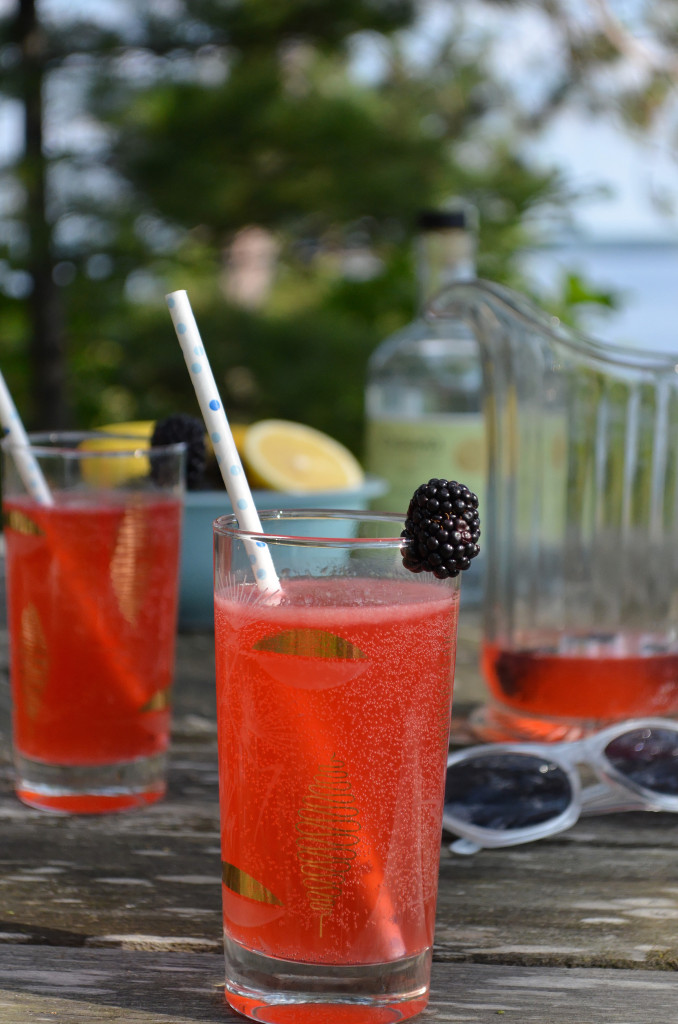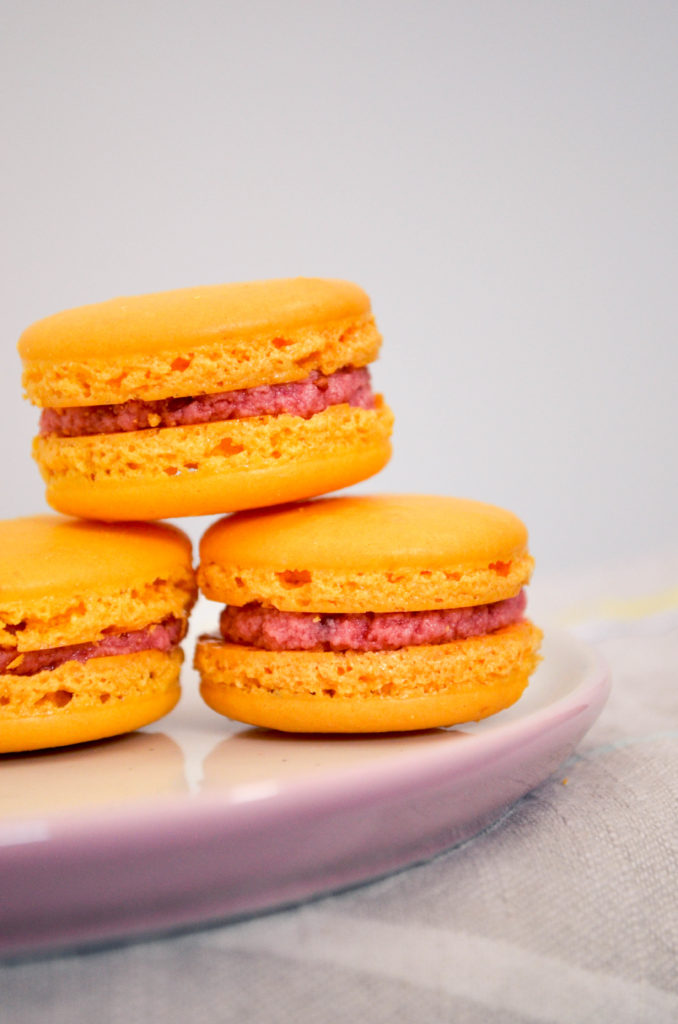
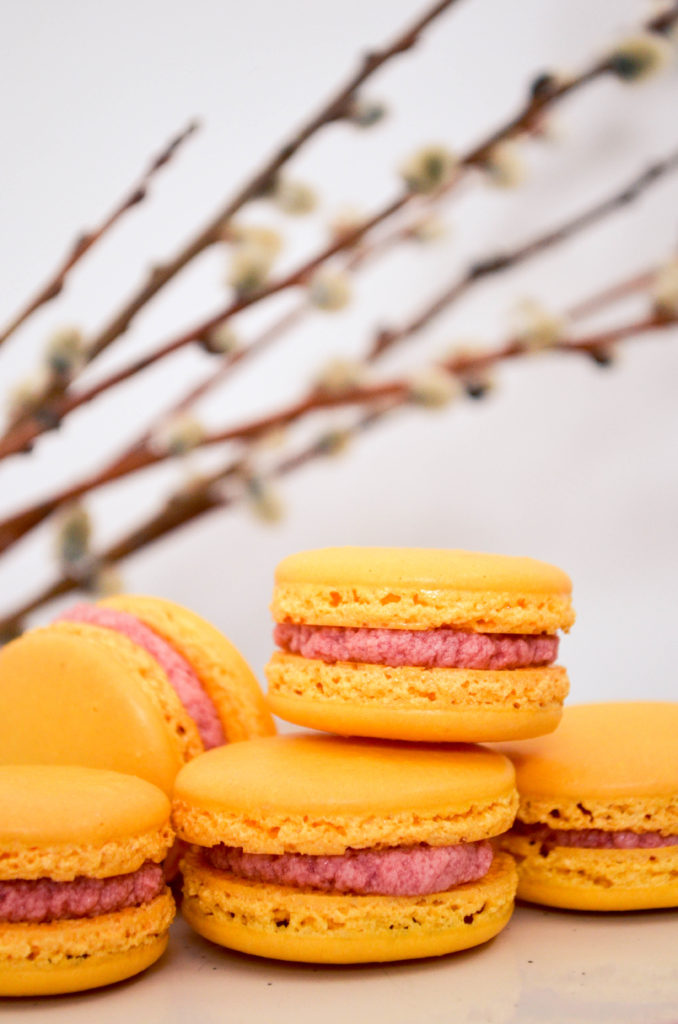
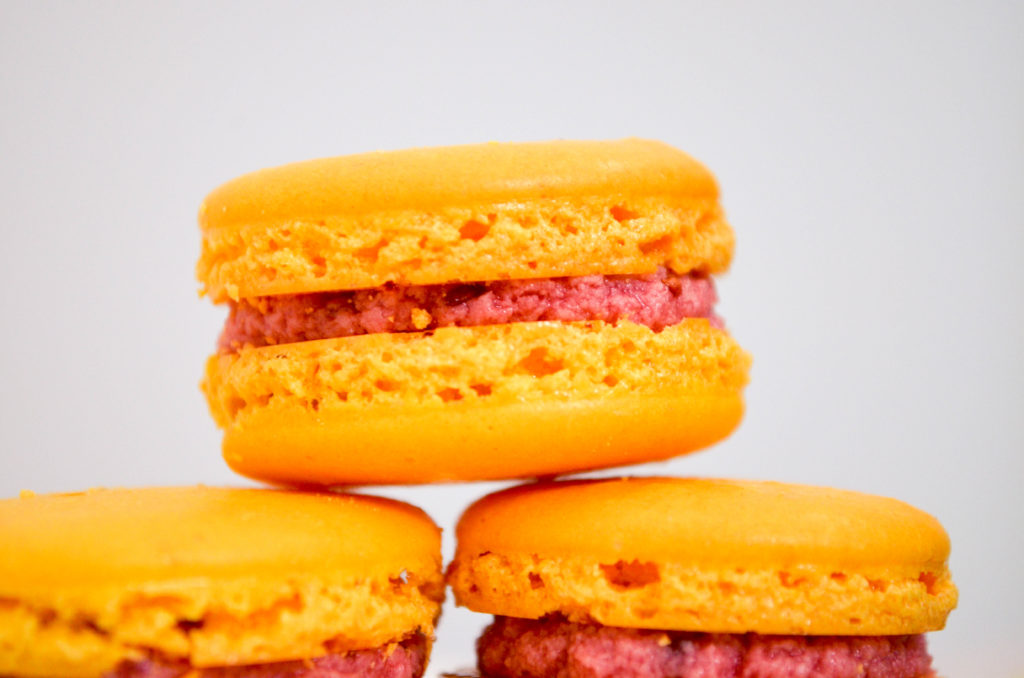
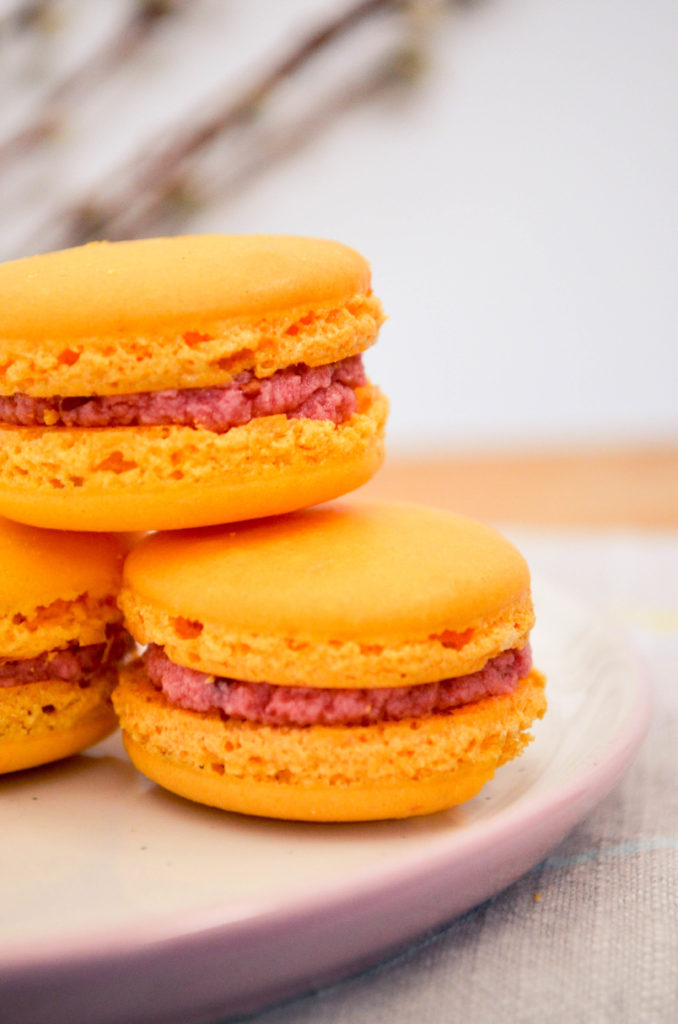
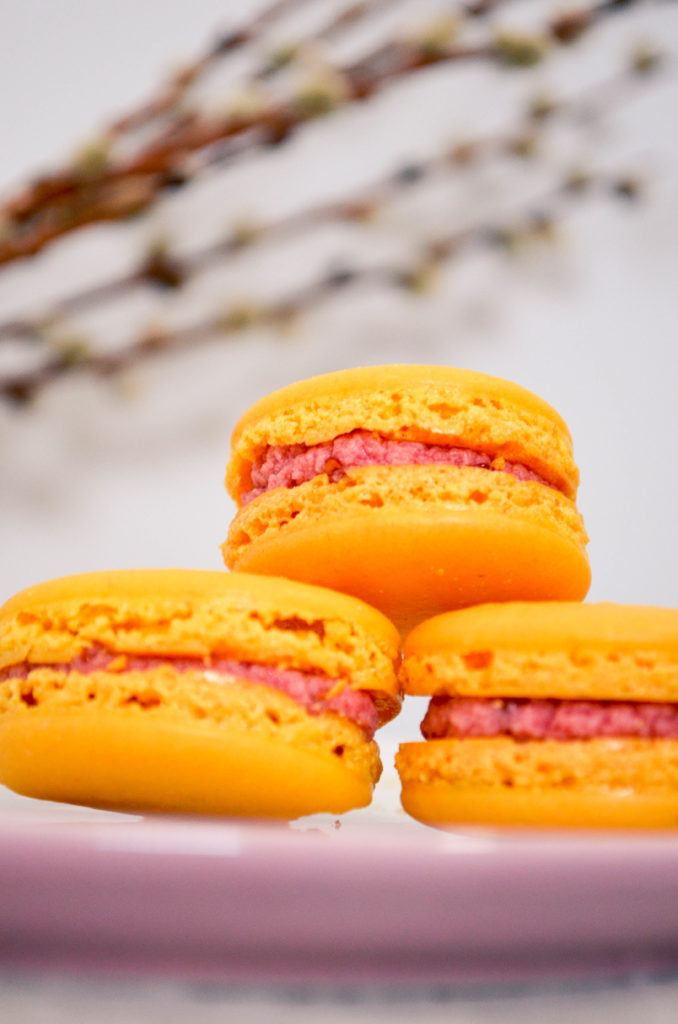
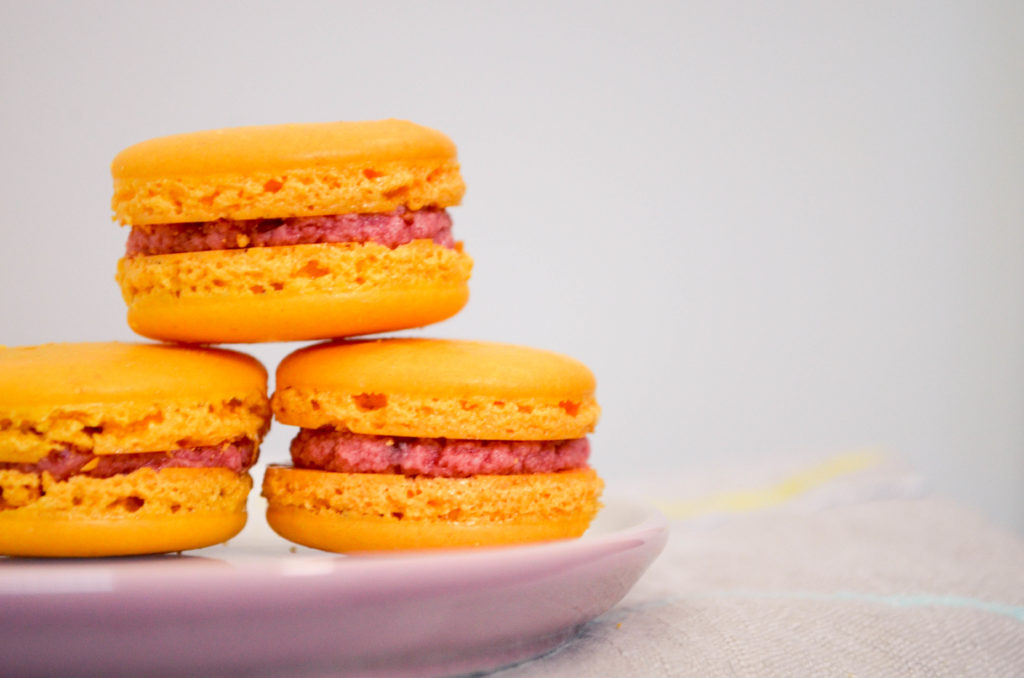
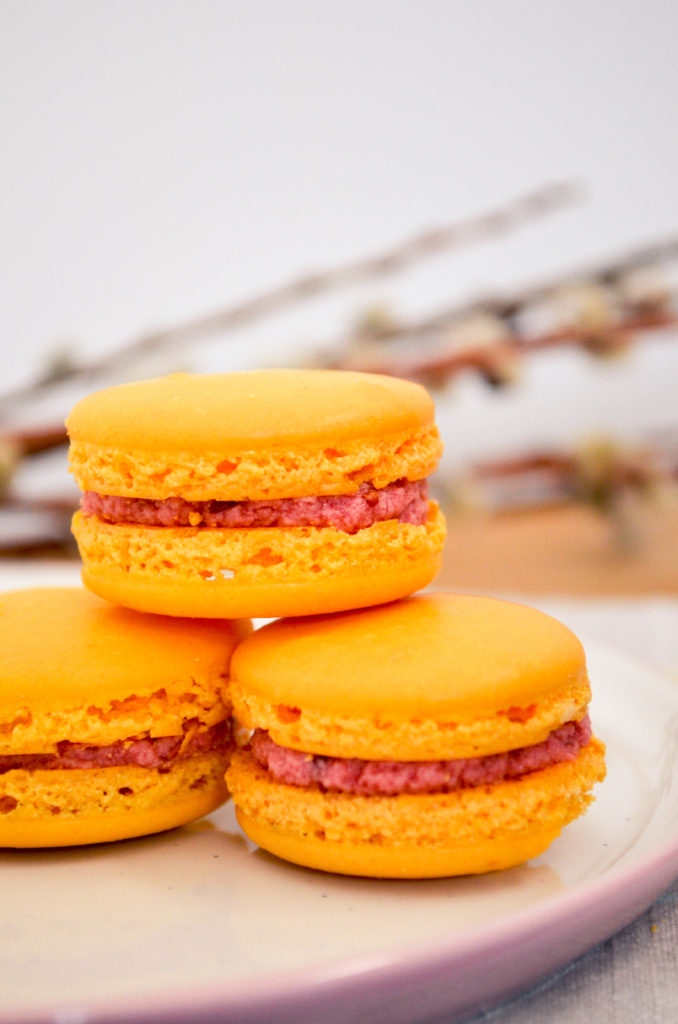
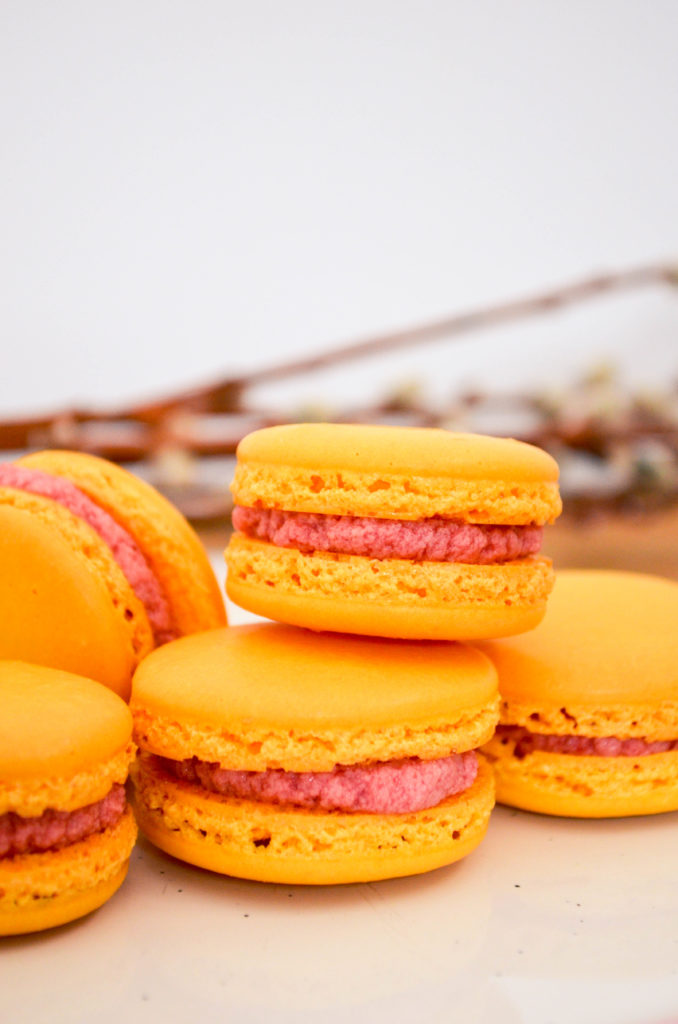
A classic flavour combination that screams springtime! This month, I made a buttercream flavoured with raspberry jam and put it between two bright yellow, lemon macaron shells to celebrate the end of winter. Take one bite of these pink lemonade macarons and you’ll be thinking about slip ‘n slides and freshly baked pies.
Ingredients
Make sure all ingredients are at room temperature before starting.
for the macaron shells
- 1 cup ground almonds (as finely ground as you can find)
- 1½ cup icing sugar
- 3 large egg whites, at room temperature
- 1/3 cup sugar
- the zest of ½ a lemon
- ½ tsp lemon juice
- yellow gel food colouring
for the buttercream filling
- 7 tbsp unsalted butter, softened
- 3 tbsp water
- 3 tbsp sugar
- 1 egg, at room temperature
- 3½ tbsp raspberry jam
- pink gel food colouring
Method
for the macaron shells
- Prepare your parchment sheets by drawing 1″ circles, ½” apart across the entire sheet (or using silicon baking mats with the circles already printed on them) and placing them on a large flat surface suitable for drying your batter, like a dining table. You will need 2-3 half sheet pan size pieces.
- Sift ground almonds and icing sugar together, twice.
- Add lemon zest and mix in. Set aside.
- In a large stainless steel mixing bowl, beat egg whites with a hand or stand mixer on high speed until you have a foam with no liquid remaining.
- Slowly add the sugar while continuing to beat the egg whites. Beat on high speed until the egg whites reach stiff peaks. You’ve made meringue!
- Add the lemon juice and beat in at low speed.
- Add the yellow gel food colouring and beat in at low speed.
- Fold your almond and icing sugar mixture into the meringue in two parts.
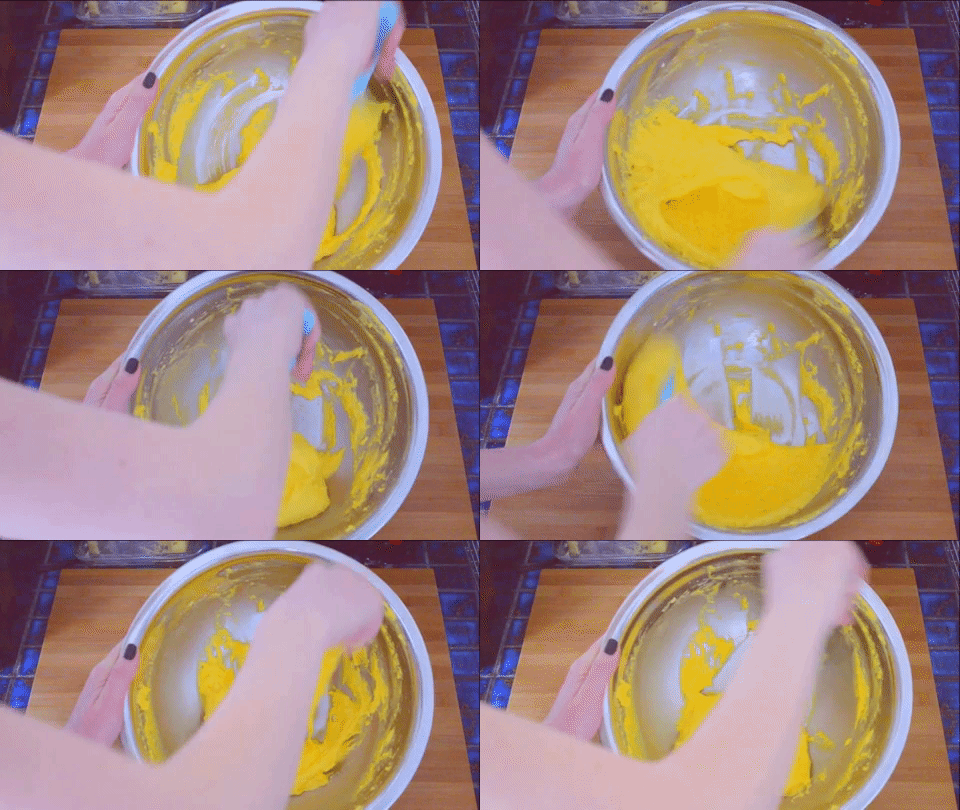
- Here’s the part that takes practice: it’s time for the macaronnage! With a spatula, spread the batter, with some force, against the side of the bowl. Then scoop it up by running the spatula along the side of the bowl again and try to flip it all over and sort-of lightly smack it back into the bottom of the bowl. Gather the batter up again and repeat 15 times. It takes some time to figure out the best way to do this, don’t be afraid to play around with it. When doing the macaronnage correctly, repeating more than 20 times can result in oily, blotchy macarons, but I’ve found that doing it incorrectly doesn’t count towards this limit. If you are doing it right, the batter will take on a noticeable and somewhat sudden change in consistency, this means you are about half-way to that limit. When finished, the batter should be thickened and drip slowly from the spatula. You will have to pipe it onto your baking sheets/mats and it won’t work if the batter is too runny. This is the technique that defines macarons, this is what makes mastery of them impressive.
- For perfectly round macarons, use a large, 0.4″ plain tip with a pastry bag, or do it the lazy way and cut a corner off a zip top bag for mostly round macarons. Twist (or don’t yet cut) the bag at the tip and place it, tip side down, in a tall glass. Fill with your batter and twist, close or clip the other end to help keep the messy batter moving in the right direction. Pipe the batter into the centre of the circles on your sheets/mats and stop before reaching the edges as the batter will spread out a bit.
- Once finished piping, carefully pick the sheets/mats up and drop them back on to the table from a height of a couple of inches. The theory is that this helps the cookies keep their round shape and form the little bubbles around the bottom (the pied) when you put them in the oven.
- Leave the cookies on the table, uncovered, for 15-30 minutes to dry (or more on a humid day). This is a good time to preheat your oven to 350°F. You will know the macarons are dry when they look smooth and are no longer sticky to the touch.
- Place an oven rack in the centre of your oven. Place a sheet of macarons on two stacked sheet pans (this will stop the bottoms from getting too hot, resulting in cracked macarons) and bake for about 15 minutes. Rotate the pan half way through baking. It can be hard to tell when the macaron are done. I pull them out when the kitchen smells sweet and the cookies look crisp, have just started to brown, and don’t look blotchy in the middle.
- As soon as the parchment sheet/baking mat is cool enough to handle, take it out of the pan with all the cookies on top and place it on a cooling rack. The macarons will be too sticky to remove from the sheet/mat now; once cooled, they should peel off easily. I usually wait a few minutes for the pans to cool a bit and for the oven to come back to a steady temperature before moving the next sheet to the pans and baking the next round.
for the buttercream
- Warm the butter in a double boiler or in the microwave until it is soft but not melted and beat until creamy.
- Break an egg into a large heat-resistant mixing bowl and beat lightly with a hand mixer. Set aside.
- Add water and sugar to a small saucepan and place over medium-low heat. Bring to a simmer and stir until thick and syrupy, about 7 minutes. You’ve made simple syrup!
- Slowly pour your simple syrup into the beaten egg while beating with a hand mixer on as high a speed as you can without flinging syrup everywhere, remember it is very hot and sticky. Once all the syrup is in, beat the mixture on high speed, slowly reducing speed until it is thick, light in colour and the bowl is no longer hot.
- Add the butter to this mixture in two or three parts and beat on medium speed until fully incorporated and creamy. If the buttercream splits and continuing to beat doesn’t bring it back together, it has likely become too cold. Pop it in the warm oven or over a double boiler for 10 seconds and try beating it again. Continue doing this until it comes together.
- Add the raspberry jam and beat in.
- Add the pink gel food colouring and beat in.
Once everything has cooled, place your buttercream in a piping or zip-top bag and pipe onto half of your shells. Then place another similarly sized shell on top and gently press them together.
All photos by me.

