Peaches & Cream Macarons

Peaches & Cream Macarons | Sophster-Toaster

Here in the Niagara Region, late summer is peach season. I never really liked peaches until I moved here, now I can’t get enough of them once August rolls around. You can’t take a drive through the country without observing signs for fresh, local peaches or walk around residential streets without noticing all the trees brimming with plump, blushing peaches. It’s not hard to see what inspired me to make this month’s macaron flavour a sweet and subtle peaches & cream.

Still using the dryer version of my recipe for baking in the summer humidity, today I paired a classic vanilla shell with a peach buttercream and had some fun with two-tone batter. See my recipe and colouring instructions below!

Peaches & Cream Macarons | Sophster-Toaster Peaches & Cream Macarons | Sophster-Toaster Peaches & Cream Macarons | Sophster-Toaster Peaches & Cream Macarons | Sophster-Toaster Peaches & Cream Macarons | Sophster-Toaster Peaches & Cream Macarons | Sophster-Toaster

Ingredients

for the macaron shells

  • ¾ cup ground almonds (as finely ground as you can find)
  • 1 cup icing sugar
  • 2 large egg whites, at room temperature
  • 3 tbsp + 1 tsp sugar
  • 1 tsp vanilla
  • peach and red gel food colouring

for the buttercream

  • 7 tbsp unsalted butter, softened
  • 1 egg, at room temperature
  • 3 tbsp water
  • 3 tbsp sugar
  • 5 tbsp peach jam
  • peach gel food colouring

Method

for the macaron shells

  1. Prepare your parchment sheets by drawing 1″ circles, ½” apart across the entire sheet (or using silicon baking mats with the circles already printed on them) and placing them on a large flat surface suitable for drying your batter, like a dining table. You will need 2-3 half sheet pan size pieces.
  2. Sift ground almonds and icing sugar together, twice. Set aside.
  3. In a large stainless steel mixing bowl, beat egg whites with a hand or stand mixer on high speed until you have a foam with no liquid remaining.
  4. Slowly add the sugar while continuing to beat the egg whites. Beat on high speed until the egg whites reach stiff peaks. You’ve made meringue!
  5. Add vanilla and gently beat in.
  6. Fold your almond and icing sugar mixture into the meringue in two parts.
  7. Here’s the part that takes practice: it’s time for the macaronnage! With a spatula, spread the batter, with some force, against the side of the bowl. Then scoop it up by running the spatula along the side of the bowl again and try to flip it all over and sort-of lightly smack it back into the bottom of the bowl. Gather the batter up again and repeat 10 times. It takes some time to figure out the best way to do this, don’t be afraid to play around with it. When doing the macaronnage correctly, repeating more than 20 times can result in oily, blotchy macarons, but I’ve found that doing it incorrectly doesn’t count towards this limit. If you are doing it right, the batter will take on a noticeable and somewhat sudden change in consistency, this means you are about half-way to that limit. When finished, the batter should be thickened and drip slowly from the spatula. You will have to pipe it onto your baking sheets/mats and it won’t work if the batter is too runny. This is the technique that defines macarons, this is what makes mastery of them impressive.
  8. Before completing the macaronnage, divide batter into about half and place in two bowls, with a little more in one bowl. Colour the larger portion peach and the smaller red. Don’t be afraid to perfect your colours, we stopped the macaronnage short to give you more mixing time now.
  9. For perfectly round macarons, use a large, 0.4″ plain tip with a pastry bag, or do it the lazy way and cut a corner off a zip top bag for mostly round macarons. Twist (or don’t yet cut) the bag at the tip and place it, tip side down, in a tall glass. Fill with your batter, placing peach coloured batter down one side and red down the other, and twist, close or clip the other end to help keep the messy batter moving in the right direction. Pipe the batter into the centre of the circles on your sheets/mats and stop before reaching the edges as the batter will spread out a bit.
  10. Once finished piping, carefully pick the sheets/mats up and drop them back on to the table from a height of a couple of inches. The theory is that this helps the cookies keep their round shape and form the little bubbles around the bottom (the pied) when you put them in the oven.
  11. Leave the cookies on the table, uncovered, for 15-30 minutes to dry (or more on a humid day). This is a good time to preheat your oven to 350°F. You will know the macarons are dry when they look smooth and are no longer sticky to the touch.
  12. Place an oven rack in the centre of your oven. Place a sheet of macarons on two stacked sheet pans (this will stop the bottoms from getting too hot, resulting in cracked macarons) and bake for about 15 minutes. Rotate the pan half way through baking. (Tip: At this point, if you want to try to keep your cookies light in colour, place a second oven rack directly below the first and move your cookies down to it, then place a third sheet pan above the cookies on the higher rack to protect them from the heat above.) It can be hard to tell when the macaron are done. I pull them out when the kitchen smells sweet and the cookies look crisp, have just started to brown, and don’t look blotchy in the middle.
  13. As soon as the parchment sheet/baking mat is cool enough to handle, take it out of the pan with all the cookies on top and place it on a cooling rack. The macarons will be too sticky to remove from the sheet/mat now; once cooled, they should peel off easily. I usually wait a few minutes for the pans to cool a bit and for the oven to come back to a steady temperature before moving the next sheet to the pans and baking the next round.

for the buttercream

  1. Make sure the butter is soft enough for you to press your finger into. On a summer day, room temperature usually does the trick. Cream the butter in a medium sized bowl. Set aside.
  2. Break the egg into a large heat-resistant mixing bowl and beat lightly with a hand mixer. Set aside.
  3. Add water and sugar to a small saucepan and place over medium-low heat. Bring to a simmer and stir until thick and syrupy, about 7 minutes. You’ve made simple syrup!
  4. Slowly pour your simple syrup into the beaten egg while beating with a hand mixer on as high a speed as you can without flinging syrup everywhere, remember it is hot and sticky. Once all the syrup is in, beat the mixture on high speed, slowly reducing speed until it is light in colour, thick, and the bowl is no longer hot.
  5. Add the butter to this mixture in two or three parts and beat on medium speed until fully incorporated and creamy. If you are like me, the buttercream will split now. If continuing to beat doesn’t bring it back together, it’s probably too warm. Pop it in the fridge for a few minutes and try beating it again. Continue doing this until it comes together.
  6. Add the peach jam and lightly beat in.
  7. Add the gel food colouring and whisk through.

Once everything has cooled, snip the corner off your bag of buttercream and pipe it onto half of your shells. Then place another similarly sized shell on top and gently press them together.

Peaches & Cream Macarons | Sophster-Toaster

All photos be me.

Beyonce Beat Me to It

Beyonce Beat Me to It | Sophster-Toaster

I love my clothesline. We knew putting one up would be the first improvement we made to any house, years before we even started looking for one, so I we were very excited when the house we ended up buying already had one. I grew up in a small town, on a deep lot with a magnificent clothesline able to hold two full loads of laundry and be pulled up high to dry quickly. I missed it every summer during our decade of apartment living. Now that I’m living the dream, I use my clothesline, exclusively, from when the air is dry enough in mid-spring until the days are too short at the end of fall. If it’s a wet and rainy day, I don’t do laundry. I don’t turn my dryer on for six months. Using the clothesline is better for the clothes, the environment and the budget – and because I take special care when washing my clothes and avoid putting most of them in the dryer anyway, hanging them all up outside takes about as much as time as sorting and then hanging half up in the basement would. I just love everything about it.

That’s probably why every time I hang up a lovely load of dedicates (mostly my personal collection of dresses) I think about how fun it would be to use my clothesline as a backdrop for pictures. I’ve had the idea in the back of my mind for more than a year but couldn’t really imagine how it would work with the angles, since my clothes line hangs high, outside of my yard and over our parking spot.

Then I saw some of the beautifully simple and minimal photos from Beyonce’s appearance in the September 2018 edition of Vogue where she and the creative team use some clothesline backdrops and was inspired to finally make a move and explore my idea.

Beyonce Beat Me to It | Sophster-Toaster Beyonce Beat Me to It | Sophster-Toaster Beyonce Beat Me to It | Sophster-Toaster Beyonce Beat Me to It | Sophster-Toaster Beyonce Beat Me to It | Sophster-Toaster Beyonce Beat Me to It | Sophster-Toaster Beyonce Beat Me to It | Sophster-Toaster Beyonce Beat Me to It | Sophster-Toaster Beyonce Beat Me to It | Sophster-Toaster

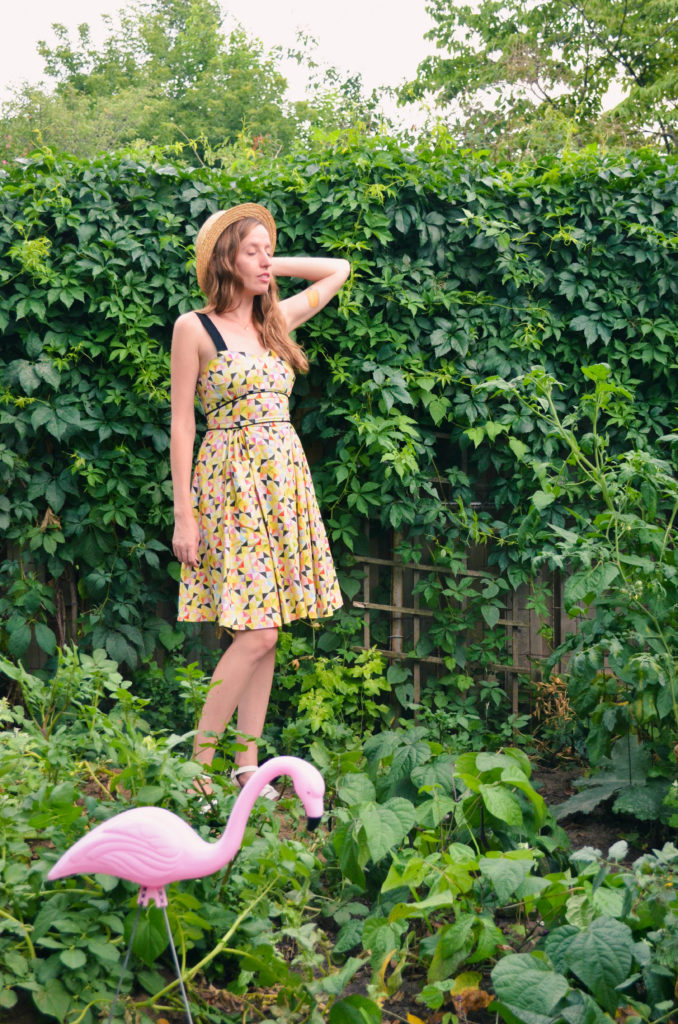
Dress Anthropologie
Sunglasses The Bay
Earrings gift
Ring was given to me as a child by a friend as a spontaneous thank you gift, she probably got it from a gumball machine

All photos by me.

Autumn Wanderlust

Autumn Wanderlust | Sophster-Toaster

At the end of summer, when the humidity finally breaks and a cooler breeze starts sneaking in, I sometimes get the urge to pack up and move somewhere new. I’m suddenly filled with a need for an unfamiliar view. I want to see mountains, deserts, plains – anything different – when I open my eyes in the morning, not just my beloved crab apple tree.

I’m not sure why I get this feeling. We bought this house two years ago and have been working hard to someday make it exactly what we want it to be, and I certainly don’t want to leave it. Neither was I afraid to buy it and stay put after a decade of moving around a few different cities in Southern Ontario. Maybe I’m craving those same feelings of dreaded apprehension and excited anticipation of unknown possibilities I had when I moved the 200+km from my small, rural hometown to a much bigger city for college.

There were miserable times during that first year where I was feeling horribly lonely and weak but knowing that I did something I was afraid of and survived and grew from the experience has me feeling like I need to build on that experience and do it again. This time I could do it with more money, knowledge and opportunities. I could take my support system and loved ones, my small family of man, dog and cat, with me! But what do I do with the house? With the life we’ve built here? My husband has finally found a job he loves, working with people he respects and for people he’s appreciated by, that won’t be easy to find again. I’ll miss watching the crab apple tree outside my bedroom window turn golden yellow, lose its leaves and cast a bold and barren silhouette against the white winter sky, fill with fluffy pink flowers, buzzing with bees and grow its perky little apples again.

Maybe what I’m supposed to be craving at this point in my life is travel.
Autumn Wanderlust | Sophster-Toaster Autumn Wanderlust | Sophster-Toaster Autumn Wanderlust | Sophster-Toaster Autumn Wanderlust | Sophster-Toaster Autumn Wanderlust | Sophster-Toaster Autumn Wanderlust | Sophster-Toaster Autumn Wanderlust | Sophster-Toaster Autumn Wanderlust | Sophster-Toaster

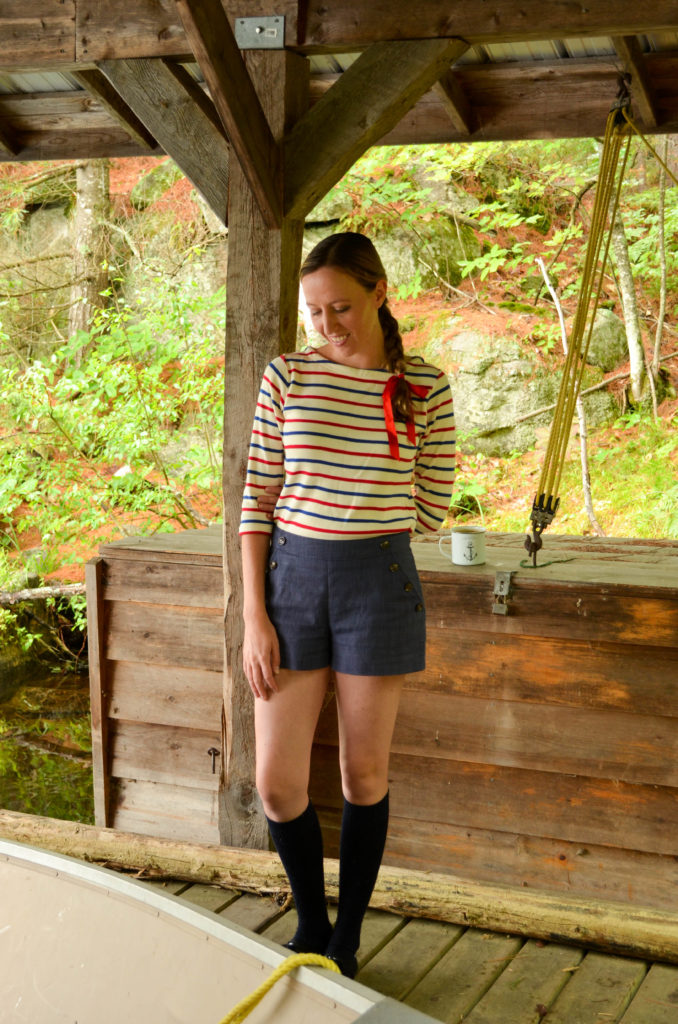
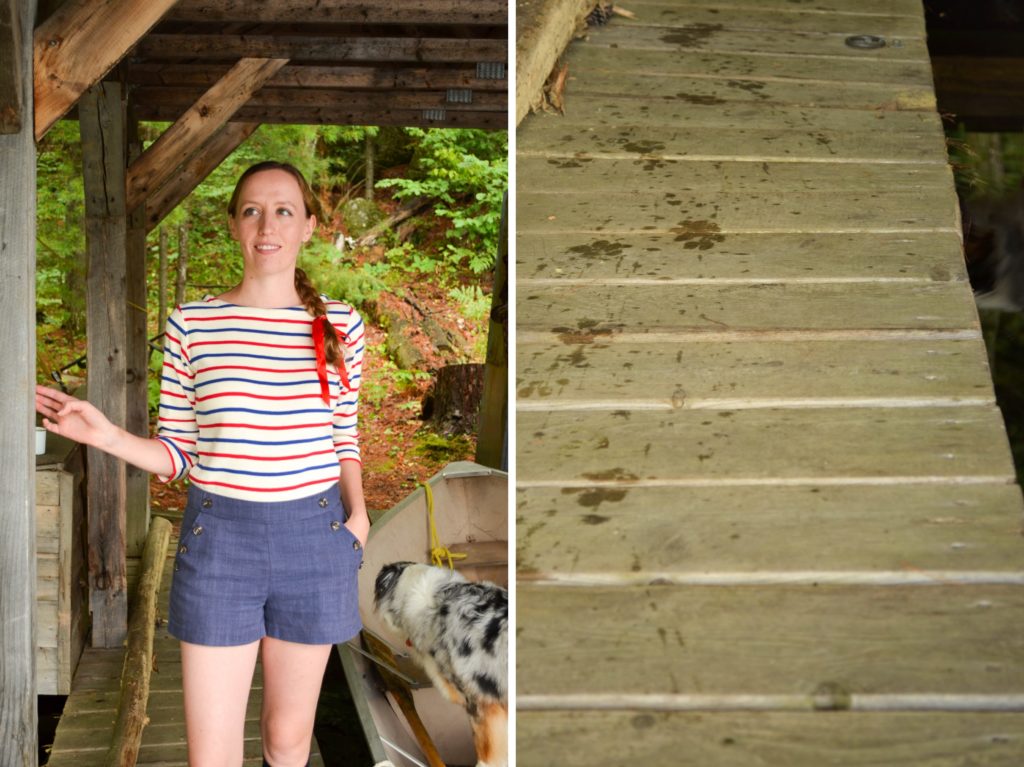
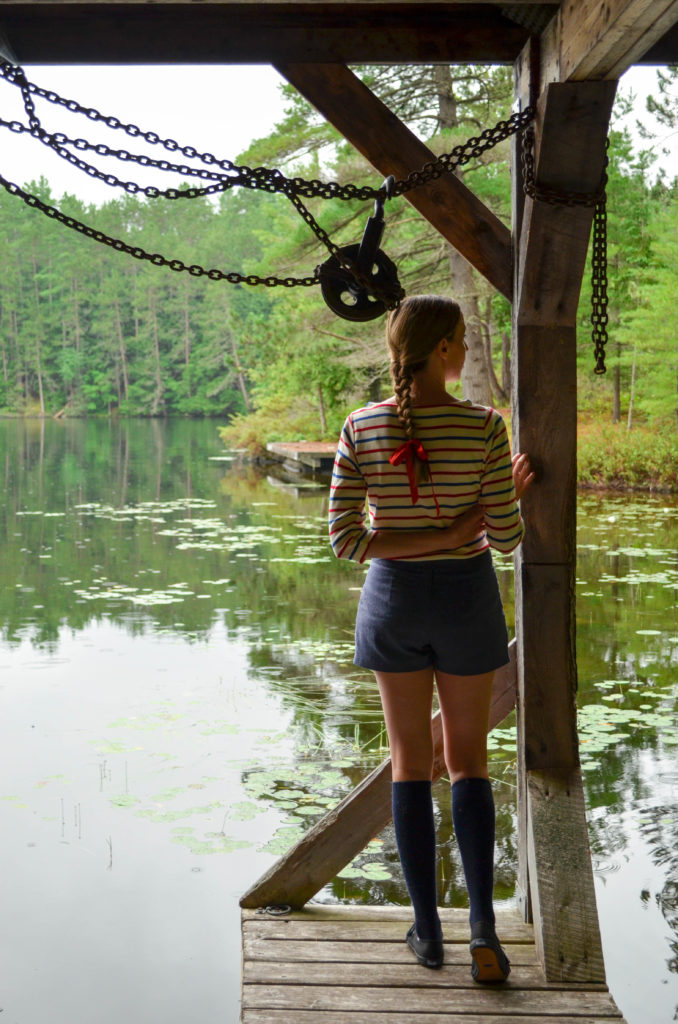
Top L.L.Bean
Shorts ModCloth
Socks McGregor Socks
Shoes Keds

Photos by me and Matt Harrison.

The Cottage

The Cottage | Sophster-Toaster

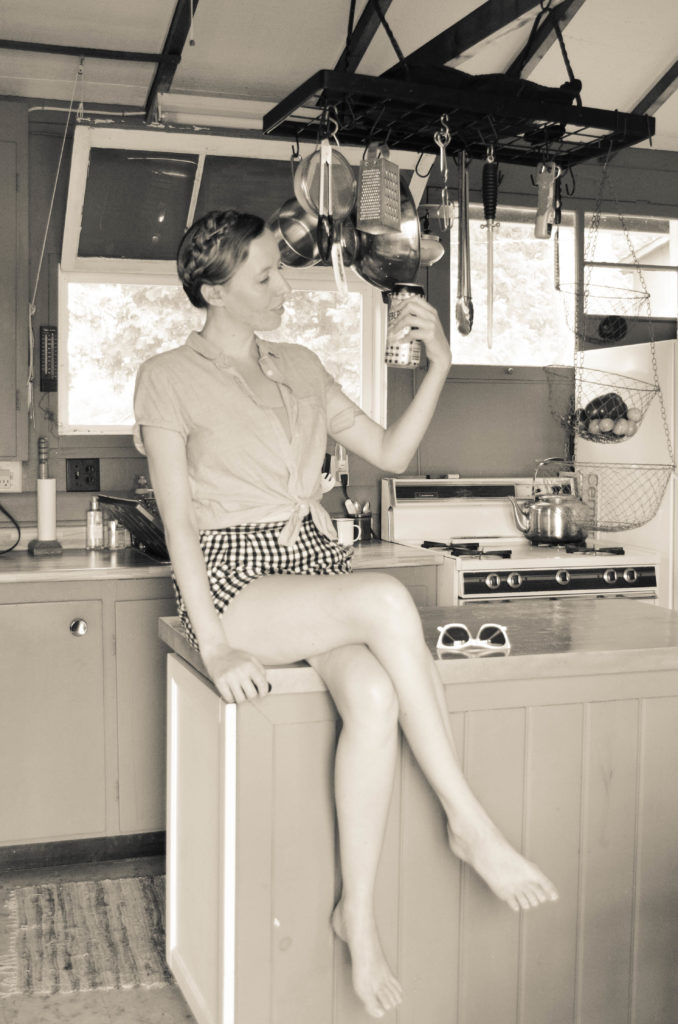
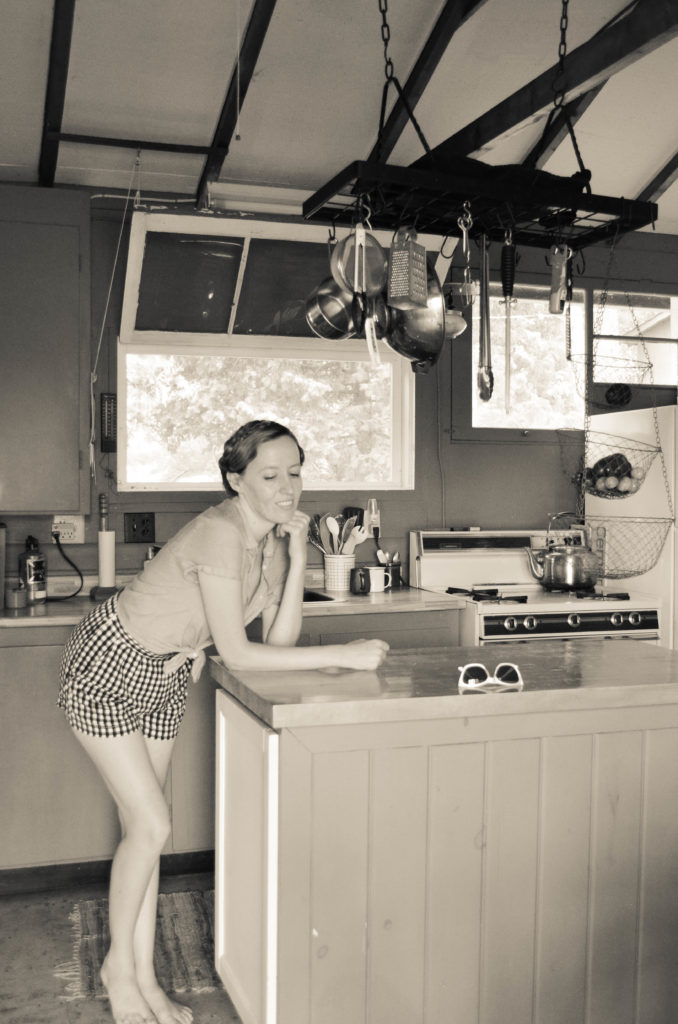
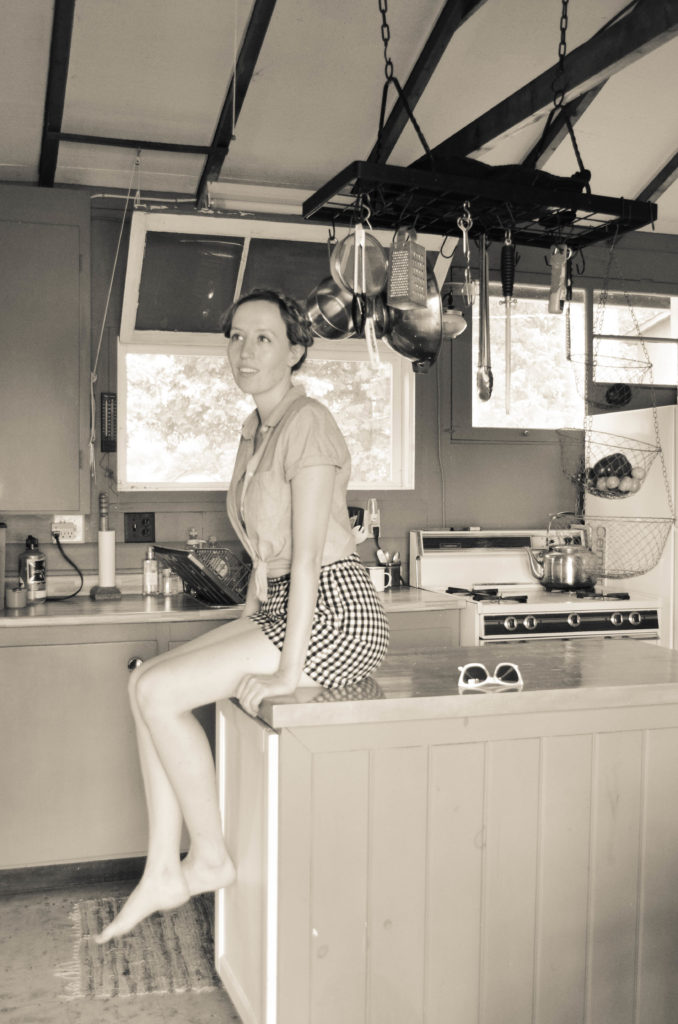
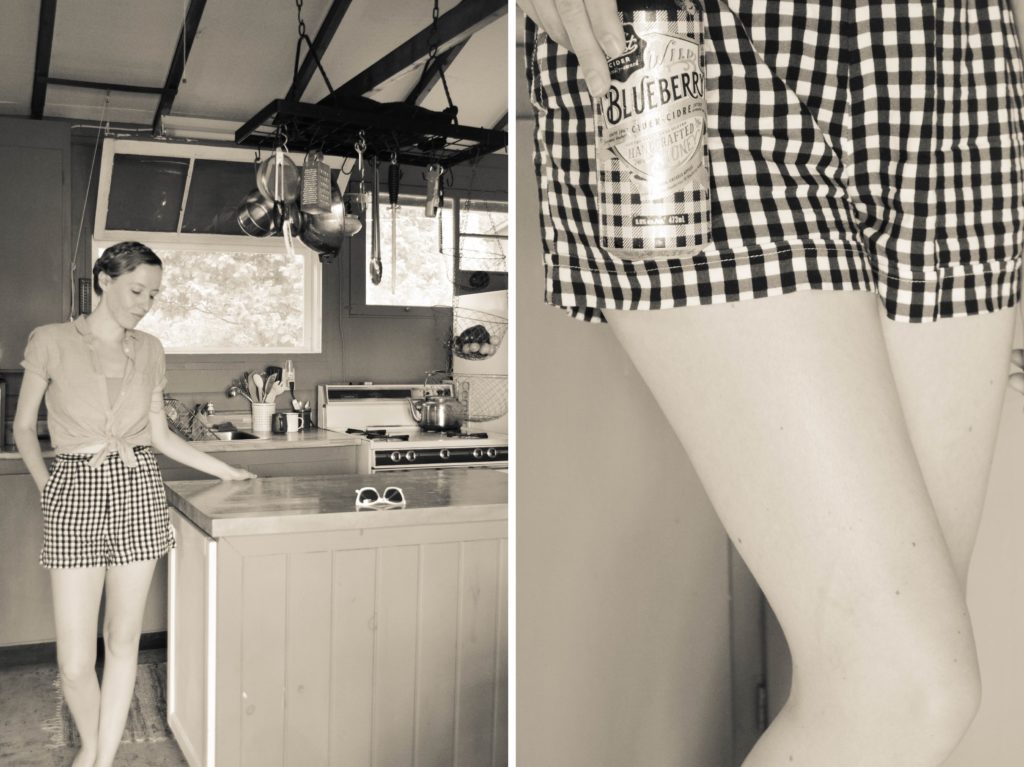
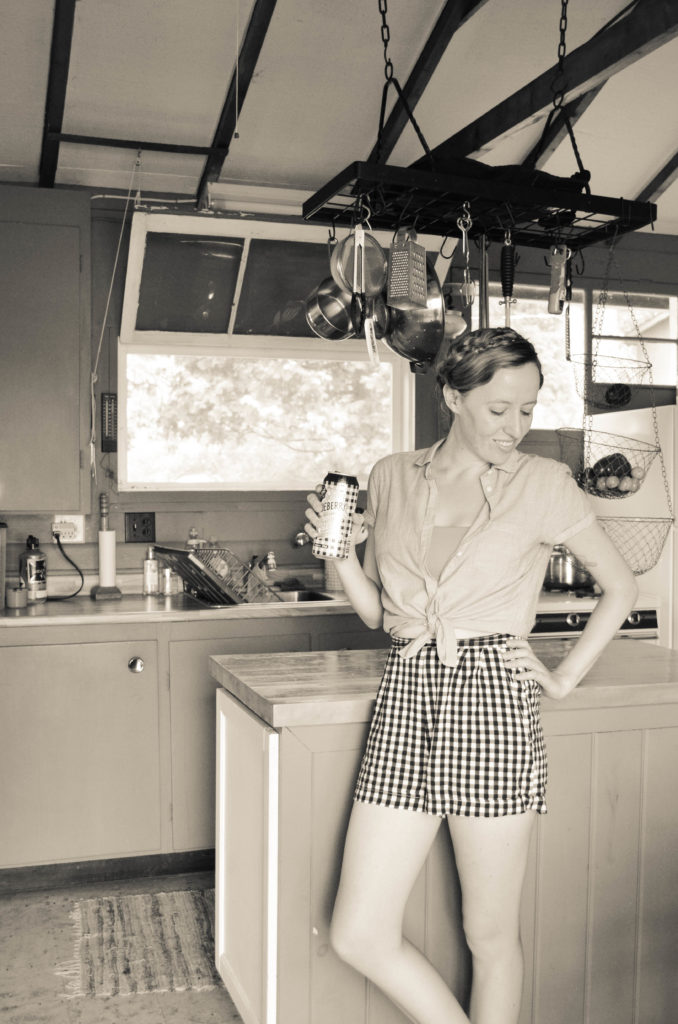
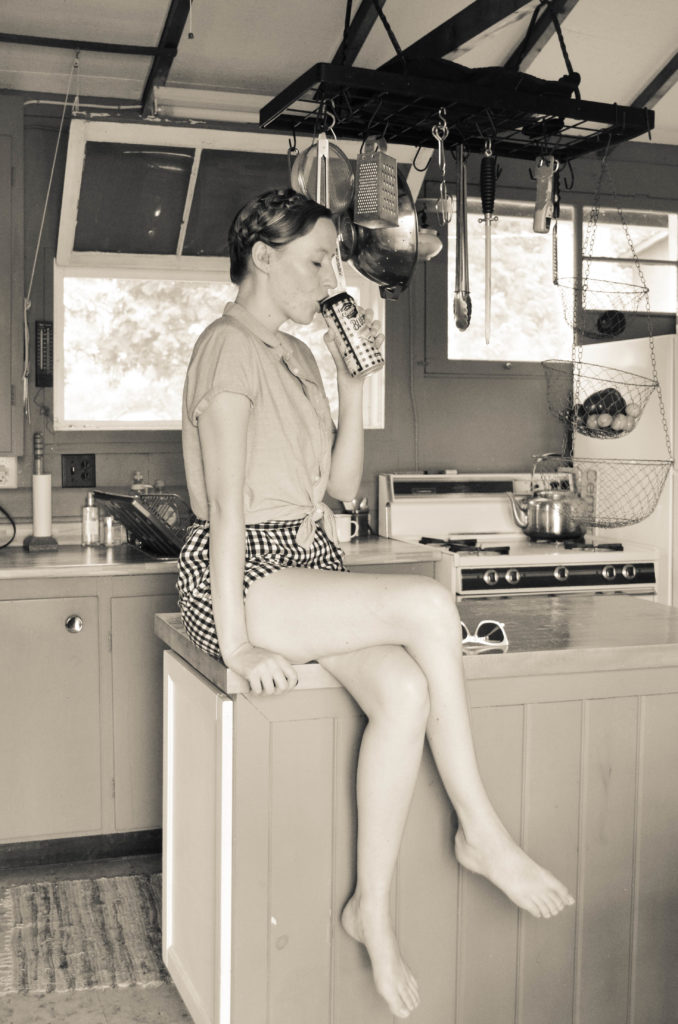
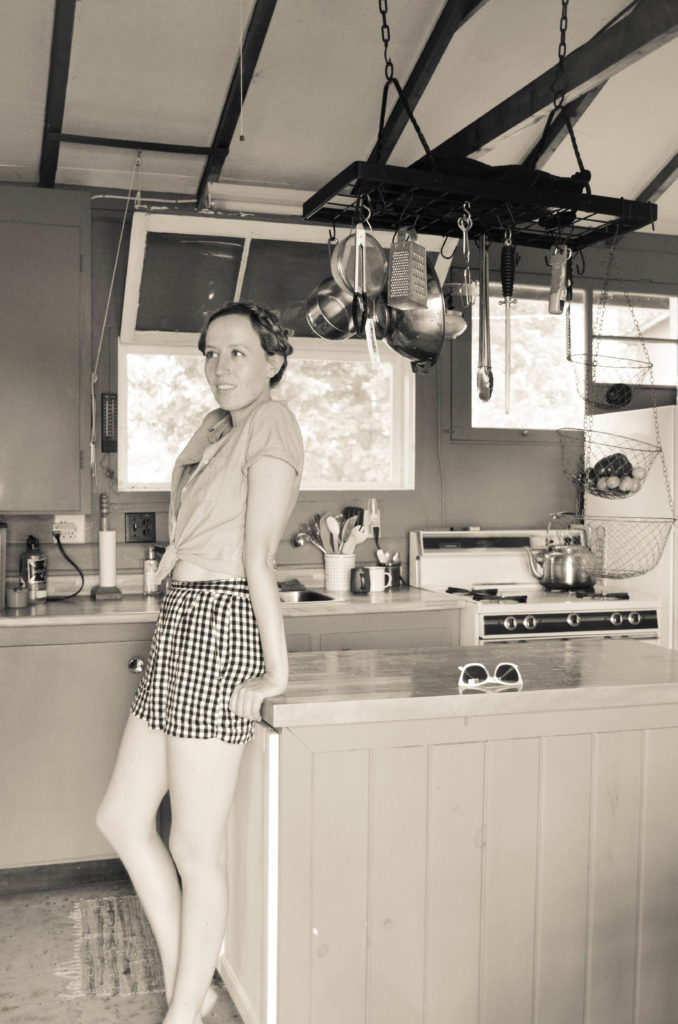
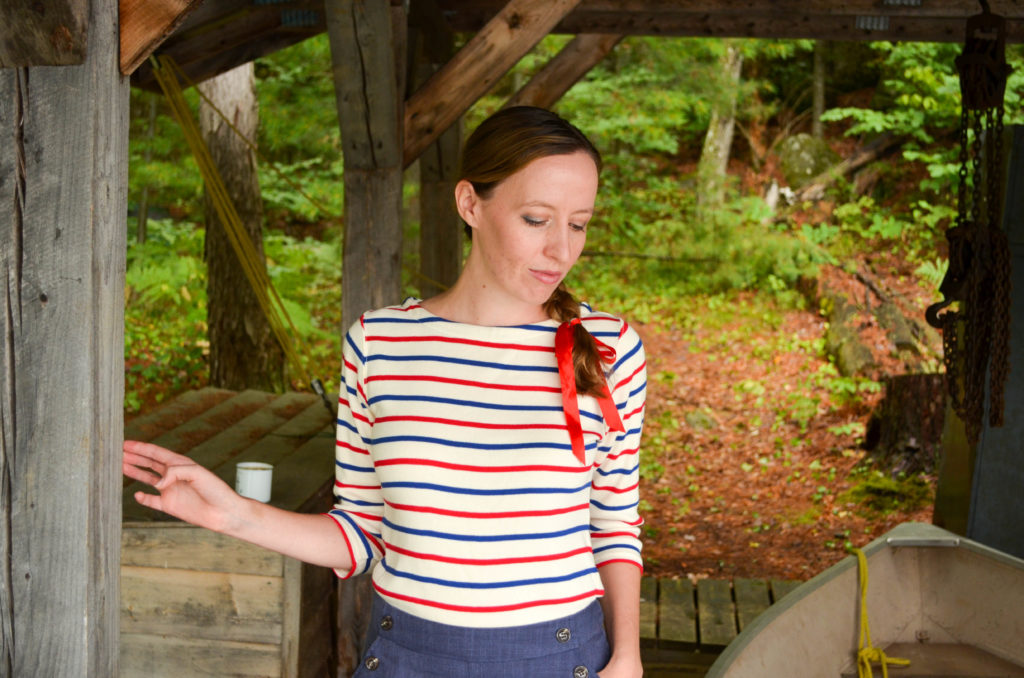
I feel extremely lucky to be a part of the our family cottage’s story, especially as I’m a newcomer. The cottage was built, by hand, by my husband’s great grandparents in the 1950’s. The lake didn’t have electrical service yet, so they built everything to run on propane. The stove was replaced with a newer gas range around the early 80’s, the fridge was swapped out for an electric model in the 90’s and, although the original gas lamps still remain strategically placed in the main rooms, we use the regular lights now. The water heater also arrived with the electricity, and completion of a mudroom/shower room, so there’s no more boiling water for bathing or washing dishes. The mini water tower system has been replaced with a water pump and filter in my husband’s lifetime. There was never a telephone or any other modern way to communicate with people outside the cottage but that has changed very recently with the placement of a nearby cell tower. However, even with all these upgrades, the materials used to build the cottage and the items furnishing it have remained largely unchanged as the cottage was left, in trust, to my mother-in-law until my husband’s generation of the family was able to take it over and become the next caretaker(s).

The Cottage | Sophster-Toaster

This means the floors, windows, cupboards, hutches, board games, and much of the cookware and utensils and the like are straight out of the 50’s. Some things even date back to the 30’s since my husband’s great grandparents didn’t furnish their rustic hobby cottage with new things, but brought their older items from home. Now that my husband has decided he would like to be the one to take up the torch of maintaining the cottage for his generation, we’ve spent our last few summer vacations up there cleaning and making sure the thing doesn’t fall down before we can complete the process of ending the trust and negotiating the price of purchase from any parties who want out. It seems every time I’m up there, I find some new, amazing relic that was tossed into a drawer, cupboard or shed that unlocks another piece of the cottage’s unique history.

The Cottage | Sophster-Toaster

As we make plans to rebuild and restore the cottage, we always make sure to come back to the original designs and intentions of past generations to ensure we are doing things correctly and with respect. We intend to preserve as much as possible while making necessary upgrades (hello insulation and bathroom with a toilet). Ironically, it’s looking like me might actually roll back on some of the progress, like the electrical upgrade – that may come and go in my husband’s lifetime – with a switch to solar in an effort to be more eco-friendly. Any changes we need to make will be done with mid-century styles and ideals in mind to preserve the history of the place both sentimentally for the family and visually for friends, renters and other newcomers. It feels like we’re the right people for the job.

The Cottage | Sophster-Toaster The Cottage | Sophster-Toaster The Cottage | Sophster-Toaster The Cottage | Sophster-Toaster The Cottage | Sophster-Toaster The Cottage | Sophster-Toaster The Cottage | Sophster-Toaster

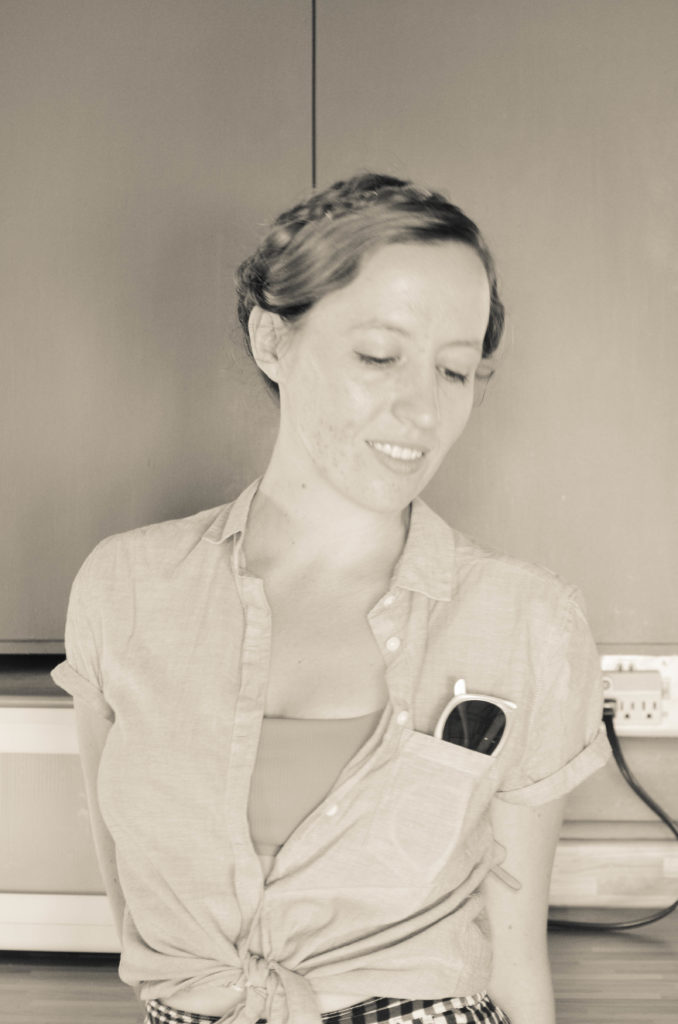
Shirt H&M
Bikini Top Aerie (same cut, different colour)
Shorts ModCloth
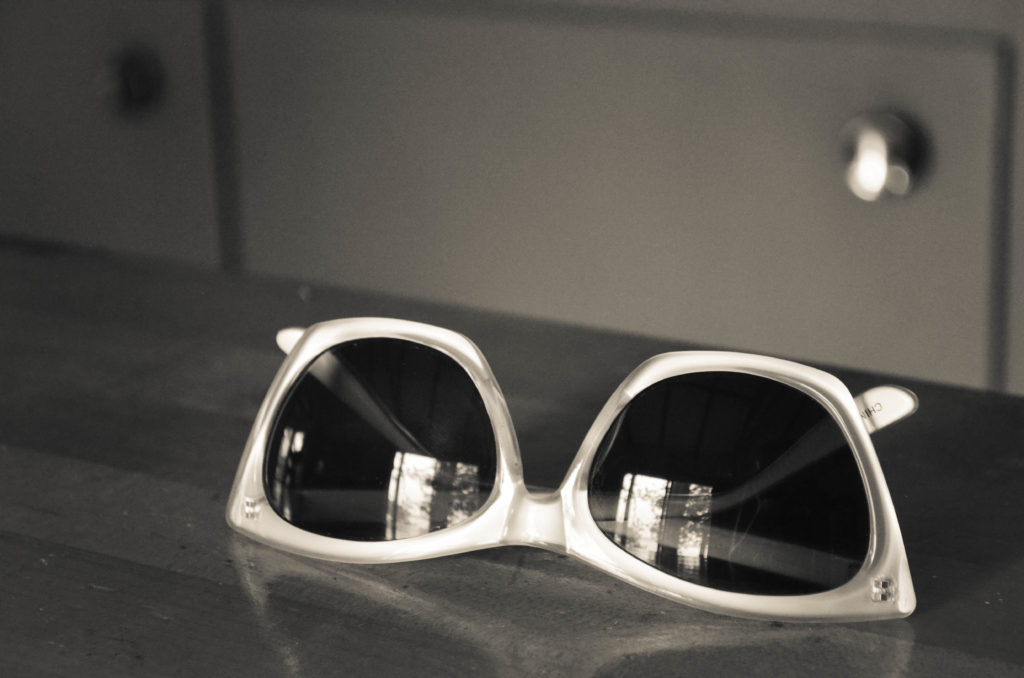
Sunglasses ModCloth

All photos by me.