Uniform

A woman wearing a denim jumper screen prints a logo on a box.

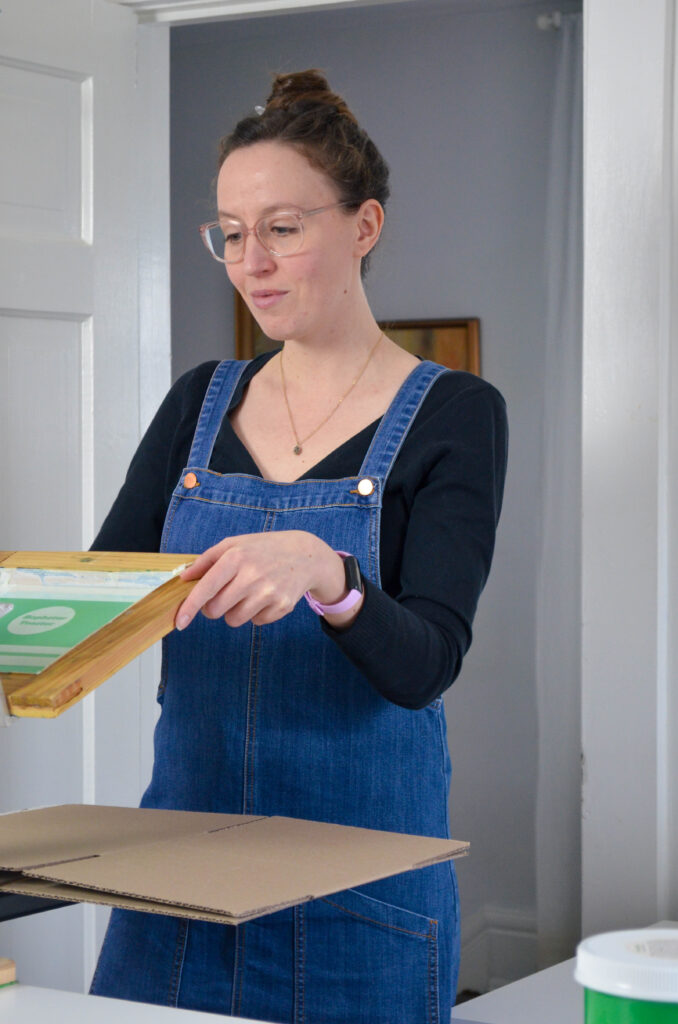
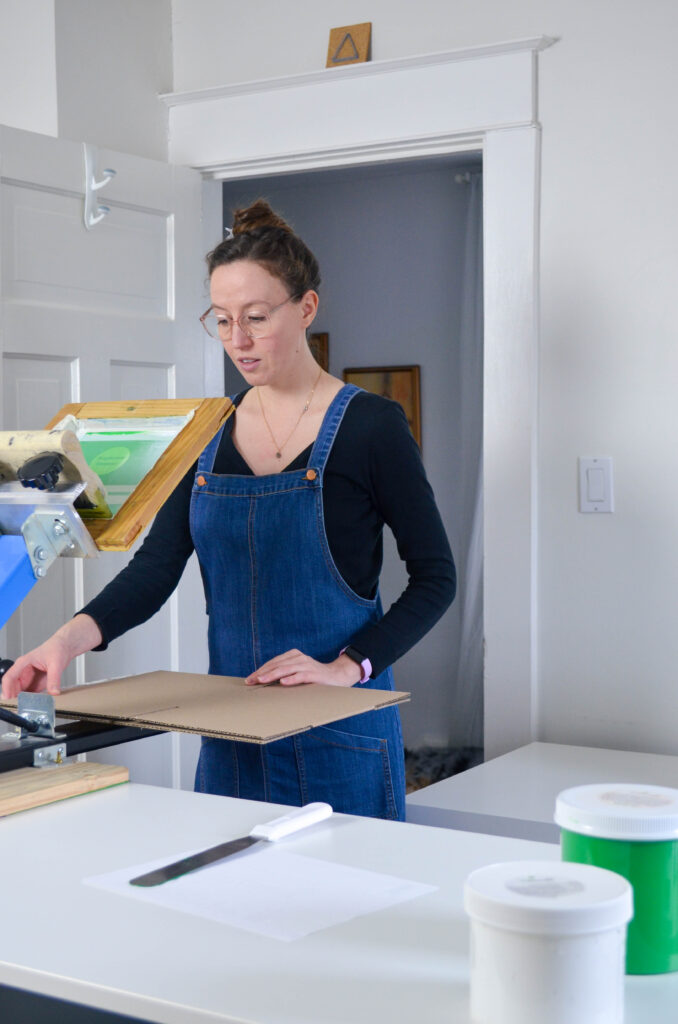
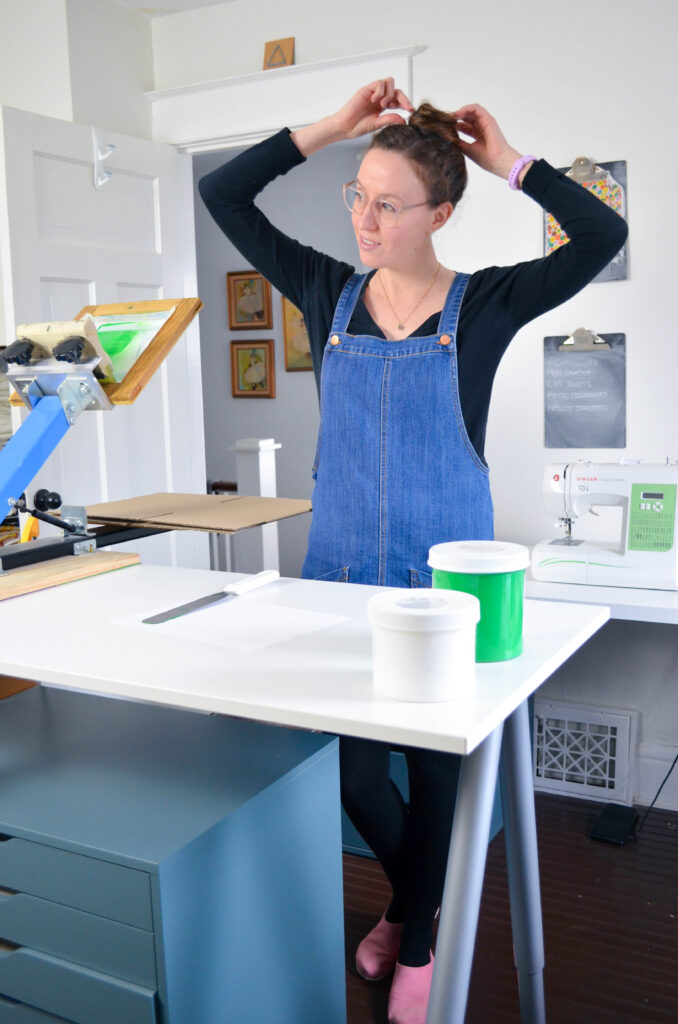
My wardrobe became really practical over the pandemic. My habits and hobbies changed and my clothing slowly evolved to reflect that. I didn’t have much use for party dresses when all I did was work, garden, walk the dog, play my drums, and skate outdoors. As I let go of old dresses, skirts and blouses in cheap fabrics and bad fits, I gradually replaced them with sturdy denim jumpers, warm wool sweaters, and shorts and t-shirts I could move in.

I now needed things that could go from screen printing, to walking the dog, to going out into the garden to dig something up for dinner. I had very little use for a delicate dress I couldn’t get dirty in or a skirt that would rip if I took a full stride on my skateboard.

My wardrobe shrank quite a bit, as I seemed to be donating three to four things for every one I brought home. Around this time, I also started to really focus on only buying things that I thought were a 10/10 for quality, usefulness, eco consciousness, and fitting my style. I have a lot of empty space in my closet and dresser now, but I love everything I see and get a lot of wear out of everything I own. When I do need a party dress these days, it’s so easy to choose one that I will look and feel great in, because the few I have now are all winners.
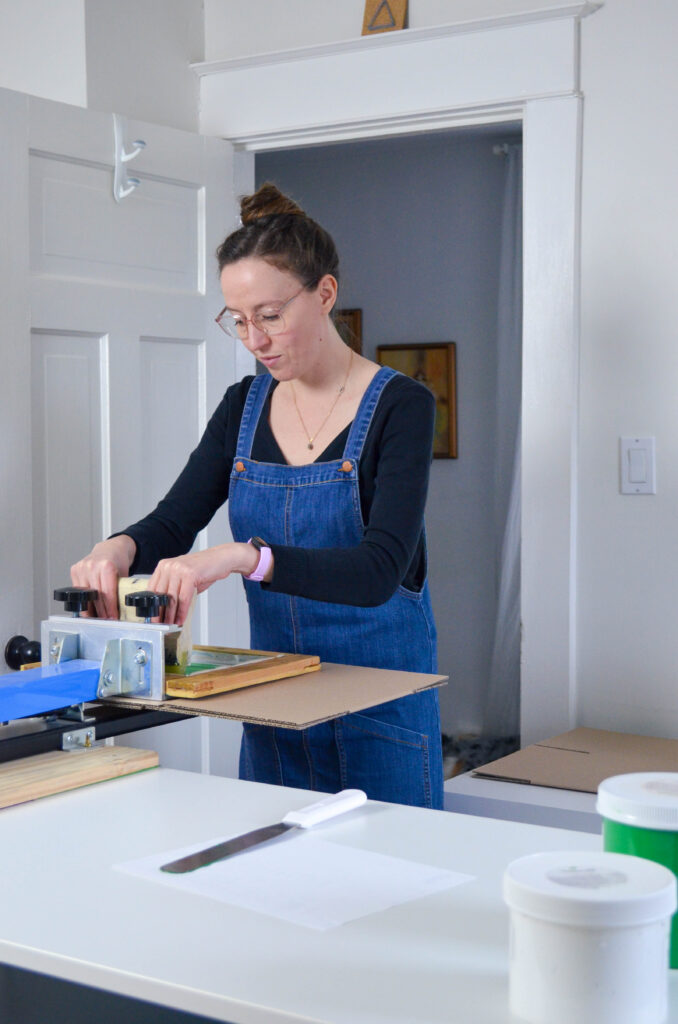
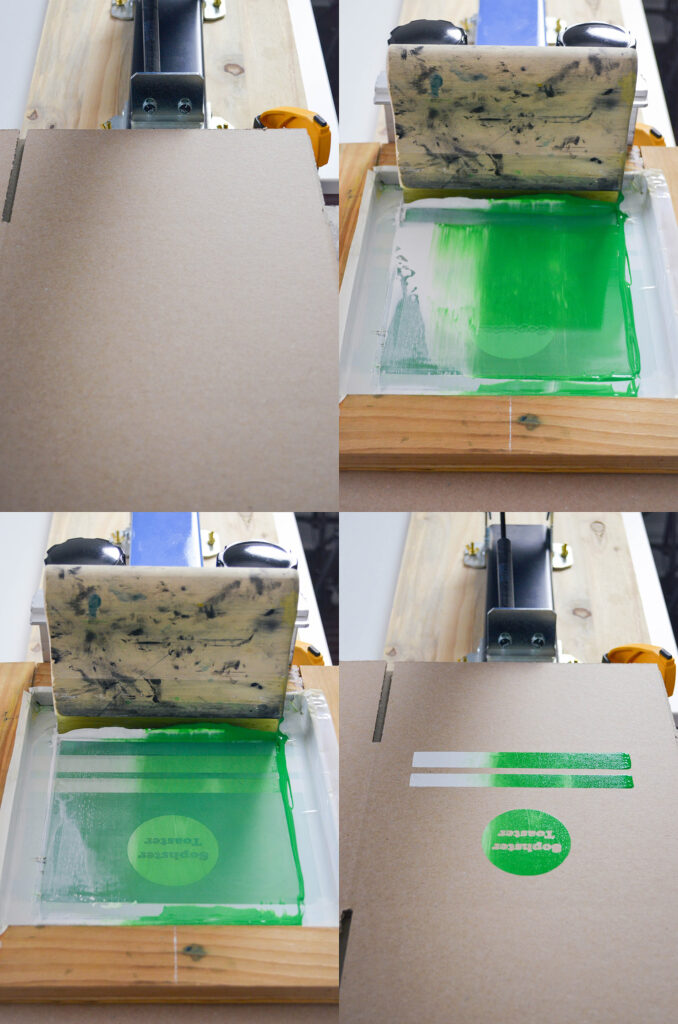
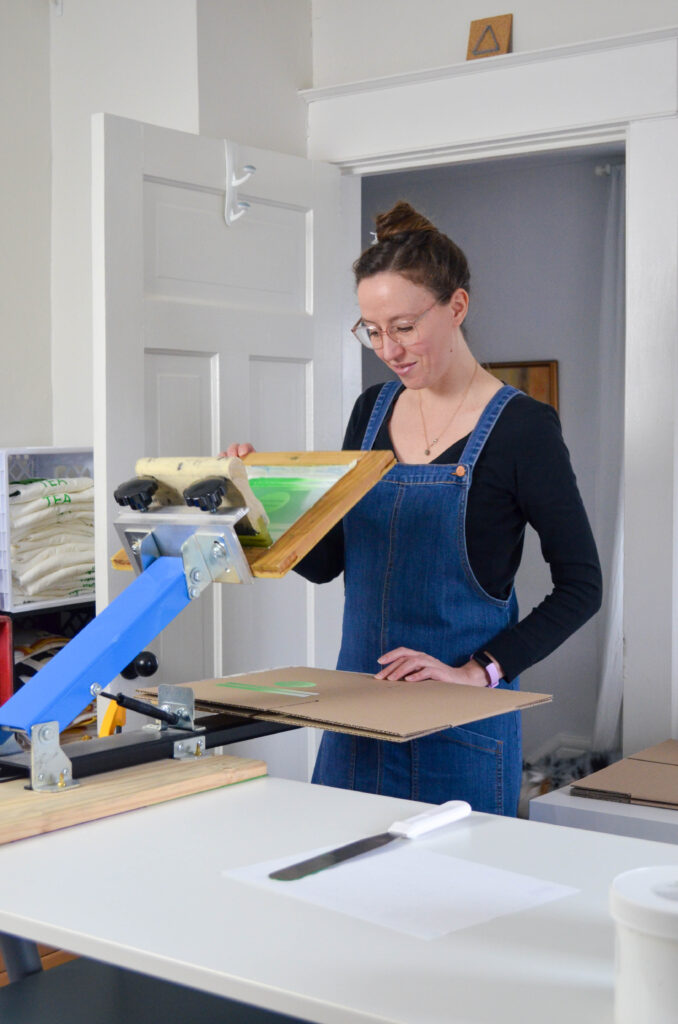
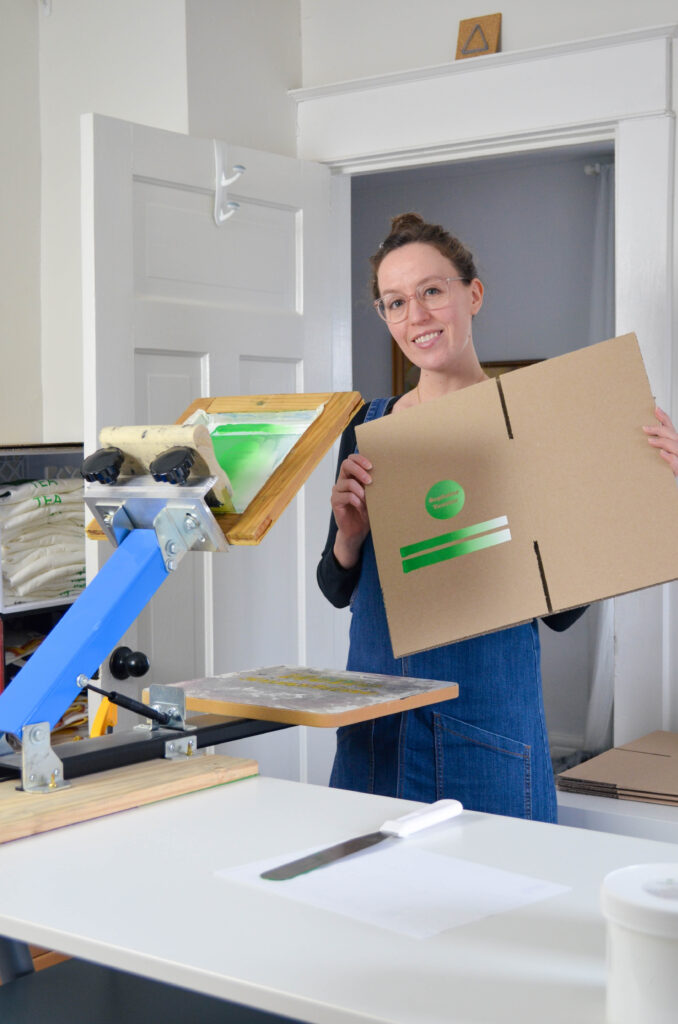
A woman wearing a denim jumper screen prints a logo on a box.A woman wearing a denim jumper screen prints a logo on a box.

Jumper Angry Rabbit
Wool Tights Rachel

A woman wearing a denim jumper screen prints a logo on a box. A woman wearing a denim jumper screen prints a logo on a box. A woman wearing a denim jumper screen prints a logo on a box. A woman wearing a denim jumper screen prints a logo on a box.

Whiskey Sour Macarons

Whiskey sour flavoured macarons with a whiskey sour cocktail.

This recipe is a bit of a remix. I’m taking the lemon shells from my Raspberry Lemonade Macarons and putting them with the whiskey buttercream from my Whiskey Cream Macarons to make Whiskey Sour Macarons! The inspiration came when I realized that with egg white, simple syrup, lemon juice, and whiskey, these macarons have all the ingredients of a whiskey sour.

Whiskey sour flavoured macarons with a whiskey sour cocktail.Whiskey sour flavoured macarons with a whiskey sour cocktail. Whiskey sour flavoured macarons with a whiskey sour cocktail.

Ingredients

for the macaron shells

  • 1 cup ground almonds (as finely ground as you can find)
  • 1⅛ cup icing sugar
  • 1 tsp lemon zest
  • 2 large egg whites, at room temperature
  • 3 tbsp + 1 tsp sugar
  • ½ tsp lemon juice
  • yellow food colouring

for the filling

  • 7 tbsp unsalted butter, softened
  • 1 egg, at room temperature
  • 3 tbsp water
  • 3 tbsp sugar
  • 2 tbsp whiskey or bourbon

Method

for the macaron shells

  1. Prepare your parchment paper sheets (or use silicon baking mats with printed circles).
    • You will need 2-3 half-sheet pan size pieces.
    • Draw 1″ circles, ½” apart, across the entire sheet.
    • Place them on a large, flat surface suitable for drying your batter, like a dining table.
  2. Sift the ground almond and icing sugar together, twice.
    • Add lemon zest.
    • Set aside.
  3. In a large stainless steel mixing bowl, beat egg whites with a hand mixer on medium-to-high speed until frothy.
  4. Slowly, add the sugar while continuing to beat the egg whites.
  5. Beat on high speed until the egg whites reach stiff peaks.
    • You’ve made meringue!
  6. Beat in the lemon juice and food colouring.
  7. Fold your dry ingredient mixture into the meringue in two parts.
  8. Here’s the part that takes practice: it’s time for the macaronnage! 
    1. With a spatula, spread the batter against the side of the bowl.
    2. Then scoop it up by running the spatula along the side of the bowl again and try to flip all of it over and sort-of lightly smack it back into the bottom of the bowl.
    3. Gather the batter up again and repeat 12-15 times.
      • It takes some time to figure out the best way to do this, don’t be afraid to play around with it. When doing the macaronnage correctly, repeating more than 20 times can result in oily, blotchy macarons, but I’ve found that doing it incorrectly doesn’t count towards this limit.
      • If you are doing it right, the batter will take on a noticeable and somewhat sudden change in consistency, this means you are about half-way to that limit. When finished, the batter should be thickened and drip slowly and smoothly from the spatula. You will have to pipe it onto your baking sheets/mats and it won’t work if the batter is too runny.
      • This is the technique that defines macarons, this is what takes practice and what makes mastery of them impressive.
  9. Fill a pastry bag (or zip-top bag) with your batter and pipe onto your waiting sheets/mats.
    • For perfectly round macarons, use a large 0.4″ plain tip with a pastry bag (or do it the lazy way and cut a corner off of a zip-top bag for mostly round macarons).
    • Twist (or don’t yet cut) the bag at the tip and place it – tip side down – in a tall glass.
    • Fill with your batter and twist, close, or clip the other end to keep the messy batter moving in the right direction.
    • Pipe the batter into the centre of the circles on your sheets/mats and stop before reaching the edges, as the batter will spread out a bit.
  10. Once finished piping, carefully pick the sheets/mats up and drop them back on to the table from a height of a couple of inches.
    • The theory is that this helps the cookies keep their round shape and form the little bubbles around the bottom – called the pied – when you put them in the oven.
  11. Leave the cookies on the table, uncovered, to dry.
    • This could take as little as 15-30 minutes on a dry day, or as mush as a couple of hours on a humid day.
    • You will know the macarons are dry when they look smooth, less glossy, and are no longer sticky to the touch.
  12. Preheat your oven to 350°F.
    • Place an oven rack in the centre of your oven.
    • Place a sheet of macarons on two stacked sheet pans (this will stop the bottoms from getting too hot, resulting in cracked macarons).
  13. Bake for 15-18 minutes.
    • If your oven heats unevenly, rotate the pan half way through baking.
    • It can be hard to tell when the macaron are done, I pull them out when the kitchen smells sweet and the cookies look crisp, have just started to brown, and don’t look blotchy in the middle.
  14. As soon as the parchment sheet/baking mat is cool enough to handle, take it out of the pan with all the cookies on top and place it on a cooling rack.
    • The macarons will be too sticky to remove from the sheet/mat now; once cooled, they should peel off easily.
    • I usually wait a few minutes for the pans to cool a bit and for the oven to come back to a steady temperature before moving the next sheet to the pans and baking the next round.

for the buttercream

  1. Warm the butter in a double boiler or in the microwave until it is soft, but not melted, and beat until creamy.
  2. Break an egg into a large heat-resistant mixing bowl and beat lightly with a hand mixer.
    • Set aside.
  3. Add water and sugar to a small saucepan and place over medium-low heat.
  4. Bring to a simmer and stir until you can draw a line of bare pan without the liquid immediately covering it back up, about 7 minutes.
    • You’ve made simple syrup!
  5. Slowly pour your simple syrup into the beaten egg while beating with a hand mixer on as high a speed as you can without flinging syrup everywhere – remember it is very hot and sticky.
    • Once all the syrup is in, beat the mixture on high speed, slowly reducing speed until it is thick, light in colour and the bowl is no longer hot.
  6. Add the butter to this mixture in three parts and beat on medium speed until fully incorporated and creamy.
    • If the buttercream splits and continuing to beat doesn’t bring it back together, it has likely become too cold.
      • Pop it in the warm oven or over a double boiler for 10 seconds and try beating it again.
      • Continue doing this until it comes together.
  7. Slowly add whiskey and beat in.

Once everything has cooled, place your buttercream in a piping (or zip-top) bag and pipe onto half of your shells. Then place another similarly sized shell on top and gently press them together.

You’ve made macarons!

Glasses for Soft Naturals

Sophster-Toaster is reader supported. When you buy through links on this site, I may earn a small affiliate commission.

I’ve gotten into the Kibbe Body Types recently and it’s unlocked a whole new way of engaging with my body and style in a really positive way. If you’re not familiar, here’s a great introduction from The Concept Wardrobe. It takes time to wrap your head around the system and untangle all the perceptions you’ve built about your body since childhood. After barking up a few wrong trees, I’ve settled into feeling right in the soft natural group.

As I understand it, a soft natural is defined by her broad, somewhat angular frame, softened with rounded facial features, soft curves and a middle height. Although we can appear small, we don’t hear the words dainty or petite thrown around often as our bone structure lends more towards a sturdy and sporty appearance. This look gives us an air of fresh innocence and casual sensuality – a classic girl next door.

A soft natural looks best in glasses that are simple, refined and light, in nature-inspired hues and textures. We tend to be easily overwhelmed by thick frames and bold colour palettes. Round lenses are harmonious with our facial features and tortoise shell brings out our natural essence. Here are my top picks for glasses for Kibbe soft naturals.

Wright in Tide Pool Tortoise


Wright has a simple shape and mass appeal. The cool-tone tortoise with flecks of blue brings a little pizazz while still being tame enough for everyday wear.

Watts in Pacific Crystal


Watts is probably my favourite. I love a minimalist, clear frame with the tiniest pop of colour. The oversized, round lenses are balanced by delicate temple arms.

Blakeley in Violet Magnolia


Blakeley brings a bit of angularity to the round look. The frames are textured and vibrant while being slim, lightweight and refined.

Sadie in Oak Barrel


Sadie injects a little more cat-eye femininity with those soft, round lenses that compliment us so well. I love the academic look these frames could bring to an outfit.

Duncan in Oak Barrel with Riesling


Duncan has a 90’s throwback appeal and a very light and minimal wire frame. The warm tortoise shell is subtle and down-to-earth. A soft charm.

Gillian in Nutmeg Crystal


Gillian has bigger lenses offset by thin acetate in a barely there tone. If, like me, you’re a fan of big glasses that blend into your view, these are perfect.

Rocket Pop Macarons

These macarons are highly experimental.

Rocket Pop Macarons

I’ve had an idea knocking around for a while to make Firecracker Popsicle/Bomb Pop inspired macarons but I kept getting defeated by pandemic restrictions. Now that the summer heat is here, the long weekend is on the way, and I can actually get (almost) everything I need, it’s finally time to try it out!

Rocket Pop Macarons

The flavours I need to represent, to mimic a Firecracker Popsicle, are cherry, lemon, and blue raspberry. I had a few ideas on how to add these bold flavours to a finicky macaron batter, from chopped dried fruits to jams, but couldn’t find exactly what I was looking for. Then, I had a crazy idea: drink crystals. Where else to find that unnatural blue raspberry flavour? Adding to the mad scientist vibes, I then chose to treat the flavoured drink crystals like sugar and directly replace the white sugar in my recipe with the crystals. For a nice, tart cream filling, I decided to treat myself and go with a tasty store-bought jar of lemon curd.

Rocket Pop Macarons

I did get pandemic-ed a little. I couldn’t find cherry drink crystals anywhere and had to go with fruit punch flavour instead. I suggest using cherry if you can find it!

Ingredients

for the macaron shells

  • 1 cup ground almonds (as finely ground as you can find)
  • 1⅛ cup icing sugar
  • 2 large egg whites, at room temperature
  • 3 tbsp + 1 tsp drink crystals (½ blue raspberry and ½ cherry – I split my egg whites in half to make one batch of two-toned cookies)

for the filling

  • store bought lemon curd

Method

for the macaron shells

  1. Prepare your parchment paper sheets (or use silicon baking mats with printed circles).
    • You will need 2-3 half-sheet pan size pieces.
    • Draw 1″ circles, ½” apart, across the entire sheet.
    • Place them on a large, flat surface suitable for drying your batter, like a dining table.
  2. Sift the ground almond and icing sugar together, twice.
    • Set aside.
  3. In two large, stainless steel mixing bowls, beat each egg white with a hand mixer on medium-to-high speed until frothy.
  4. Slowly, add respective drink crystals while continuing to beat the egg whites.
  5. Beat on high speed until the egg whites reach stiff peaks.
    • You’ve made meringue!
  6. Split your dry ingredient mixture in half (by weight is best) and fold your dry ingredient mixture into the meringue in two parts.
  7. Here’s the part that takes practice: it’s time for the macaronnage! 
    1. With a spatula, spread the batter against the side of the bowl.
    2. Then scoop it up by running the spatula along the side of the bowl again and try to flip all of it over and sort-of lightly smack it back into the bottom of the bowl.
    3. Gather the batter up again and repeat 12-15 times.
      • It takes some time to figure out the best way to do this, don’t be afraid to play around with it. When doing the macaronnage correctly, repeating more than 20 times can result in oily, blotchy macarons, but I’ve found that doing it incorrectly doesn’t count towards this limit.
      • If you are doing it right, the batter will take on a noticeable and somewhat sudden change in consistency, this means you are about half-way to that limit. When finished, the batter should be thickened and drip slowly and smoothly from the spatula. You will have to pipe it onto your baking sheets/mats and it won’t work if the batter is too runny.
      • This is the technique that defines macarons, this is what takes practice and what makes mastery of them impressive.
  8. Fill a pastry bag (or zip-top bag) with your batter and pipe onto your waiting sheets/mats.
    • For perfectly round macarons, use a large 0.4″ plain tip with a pastry bag (or do it the lazy way and cut a corner off of a zip-top bag for mostly round macarons).
    • Twist (or don’t yet cut) the bag at the tip and place it – tip side down – in a tall glass.
    • Fill with your batter and twist, close, or clip the other end to keep the messy batter moving in the right direction.
    • Pipe the batter into the centre of the circles on your sheets/mats and stop before reaching the edges, as the batter will spread out a bit.
  9. Once finished piping, carefully pick the sheets/mats up and drop them back on to the table from a height of a couple of inches.
    • The theory is that this helps the cookies keep their round shape and form the little bubbles around the bottom – called the pied – when you put them in the oven.
  10. Leave the cookies on the table, uncovered, to dry.
    • This could take as little as 15-30 minutes on a dry day, or as mush as a couple of hours on a humid day.
    • You will know the macarons are dry when they look smooth, less glossy, and are no longer sticky to the touch.
  11. Preheat your oven to 350°F.
    • Place an oven rack in the centre of your oven.
    • Place a sheet of macarons on two stacked sheet pans (this will stop the bottoms from getting too hot, resulting in cracked macarons).
  12. Bake for 15-18 minutes.
    • If your oven heats unevenly, rotate the pan half way through baking.
    • It can be hard to tell when the macaron are done, I pull them out when the kitchen smells sweet and the cookies look crisp, have just started to brown, and don’t look blotchy in the middle.
  13. As soon as the parchment sheet/baking mat is cool enough to handle, take it out of the pan with all the cookies on top and place it on a cooling rack.
    • The macarons will be too sticky to remove from the sheet/mat now; once cooled, they should peel off easily.
    • I usually wait a few minutes for the pans to cool a bit and for the oven to come back to a steady temperature before moving the next sheet to the pans and baking the next round.

Once everything has cooled, spread the lemon curd onto half of your shells. Then place another similarly sized shell on top and gently press them together.

You’ve made macarons!

Rocket Pop Macarons