February Wishlist

My budget is small, so I can only pick up one, maybe two, new clothing items per month. I don’t mind, though, as it really makes me think about how I want to build my wardrobe. Here are the top things I’m thinking about adding to my closet this month.

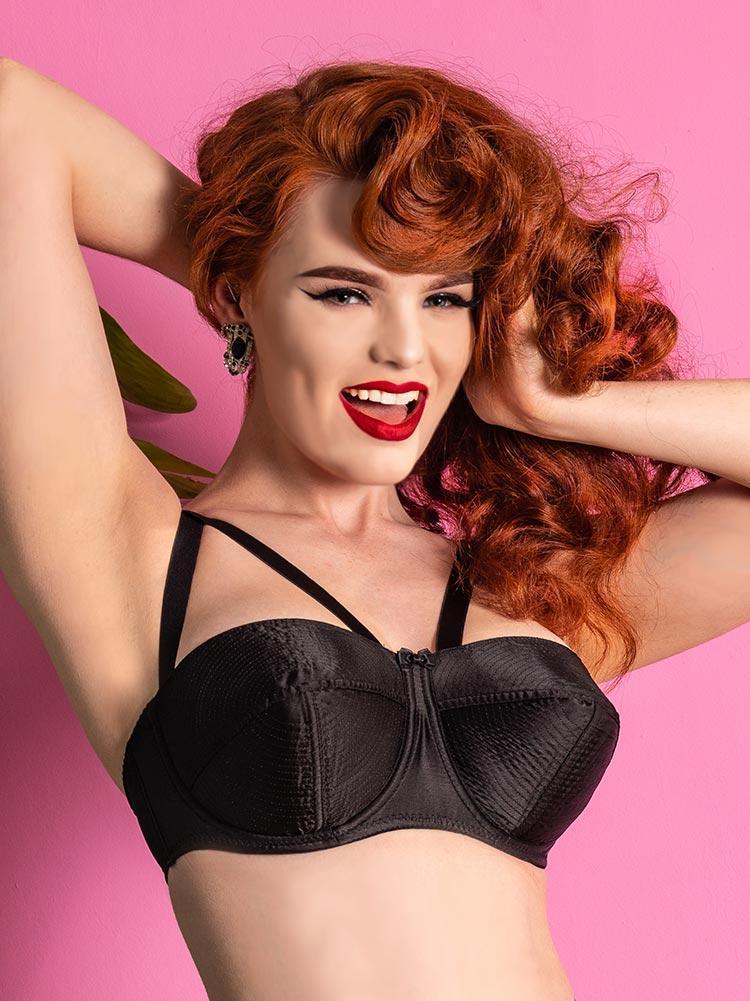
Bunny Bralette in White

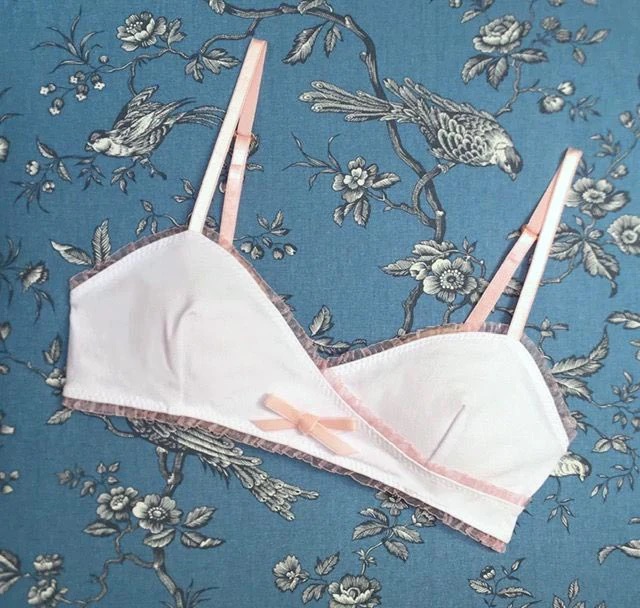
This sweet bralette from Inspiration Vintage is handmade with care and perfect for a cozy date night.
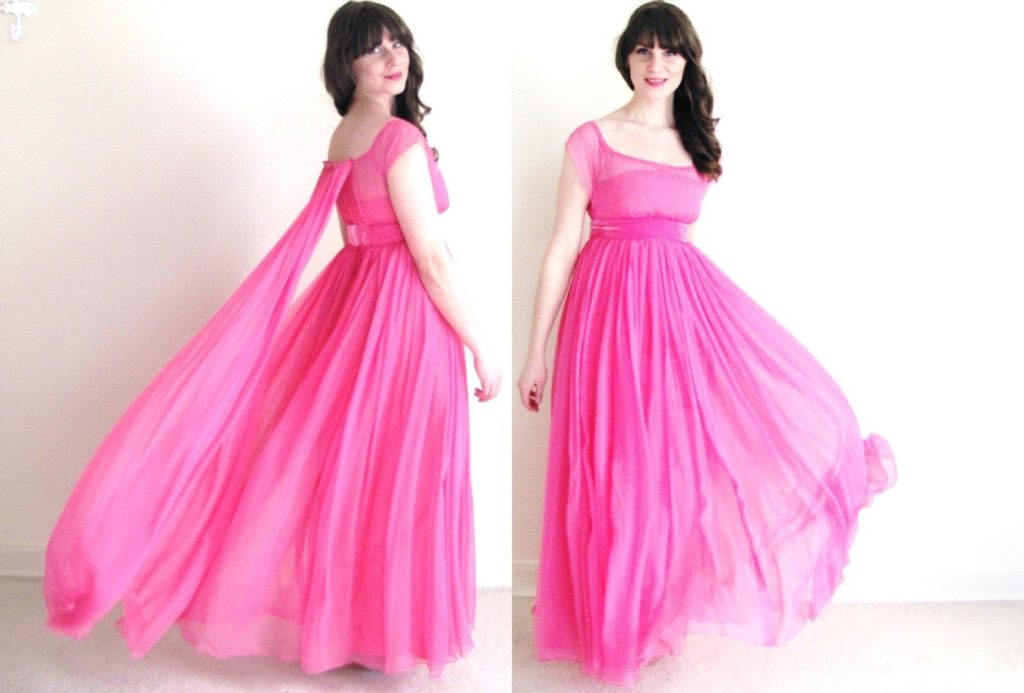
Pink Overall Dress

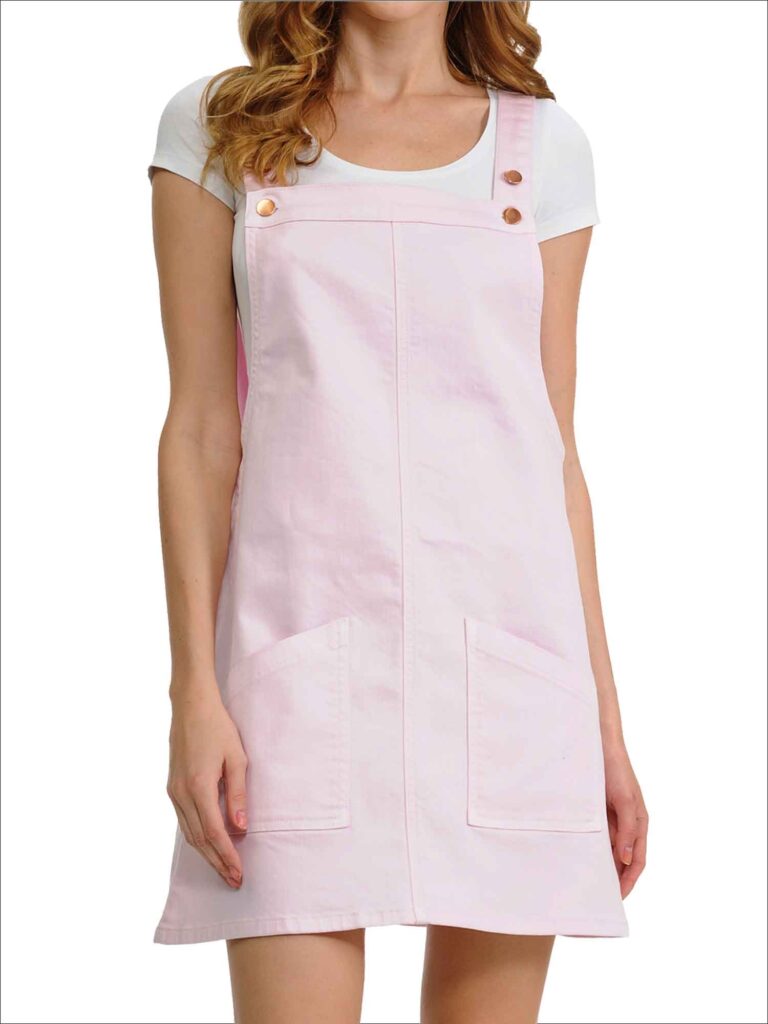
This soft pink denim jumper from Angry Rabbit is just right for late winter layering. I own one in blue and love it so much, I might pick up another!

Original Vegan Boot

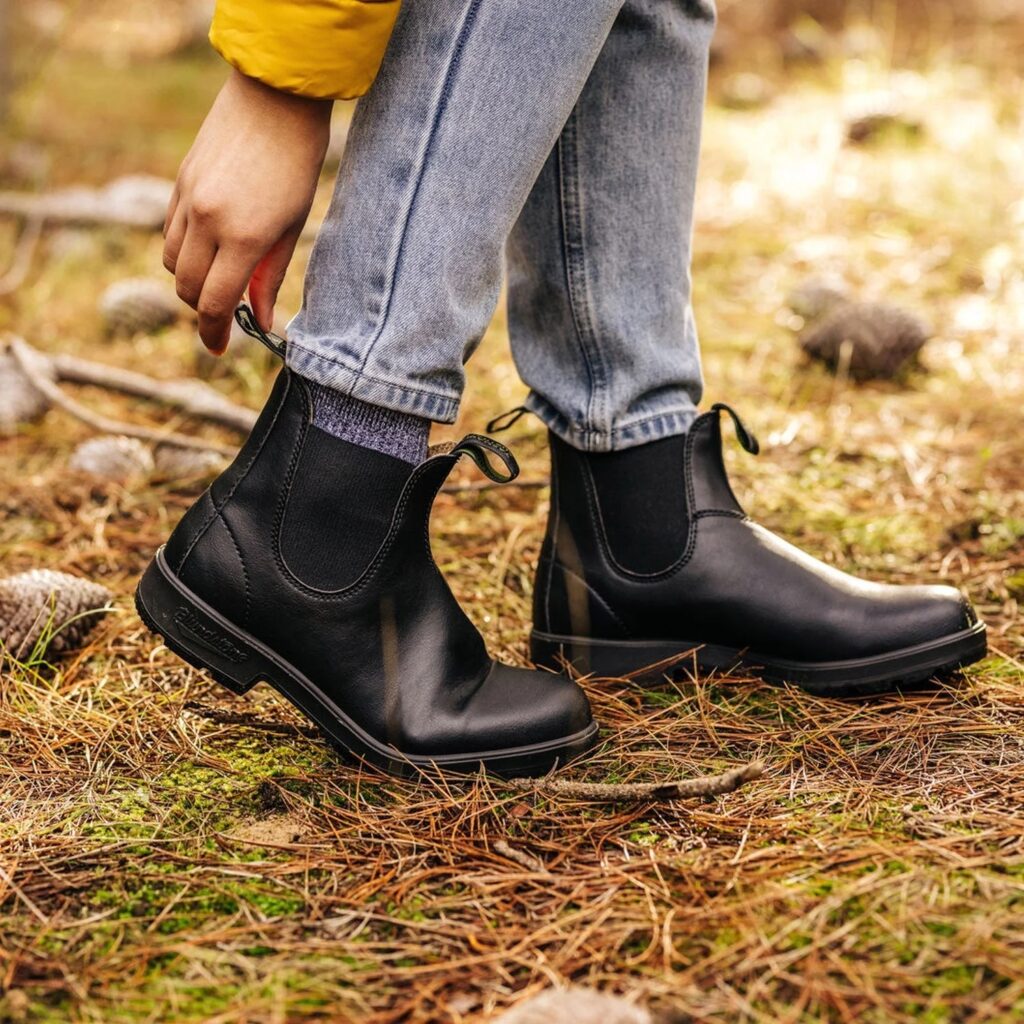
It’s almost time to put away the heavy snow boots but not quite time for lighter shoes. These vegan Blundstone boots will keep toes warm and dry until the sun returns.

Sculpted Rib Legging

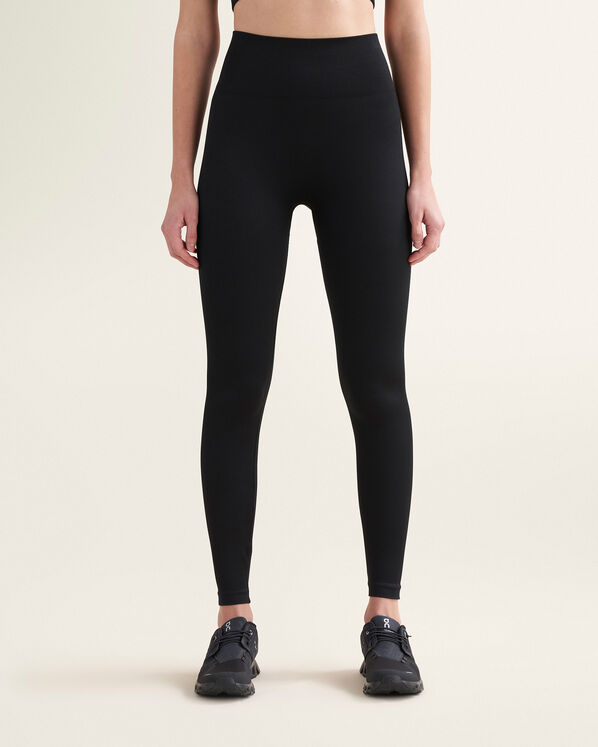
The classic black legging is the most versatile activewear piece. The ribbed texture of these Roots leggings add a little extra something to this staple.

Classic Crew in Forest Green Rainbow Speckle

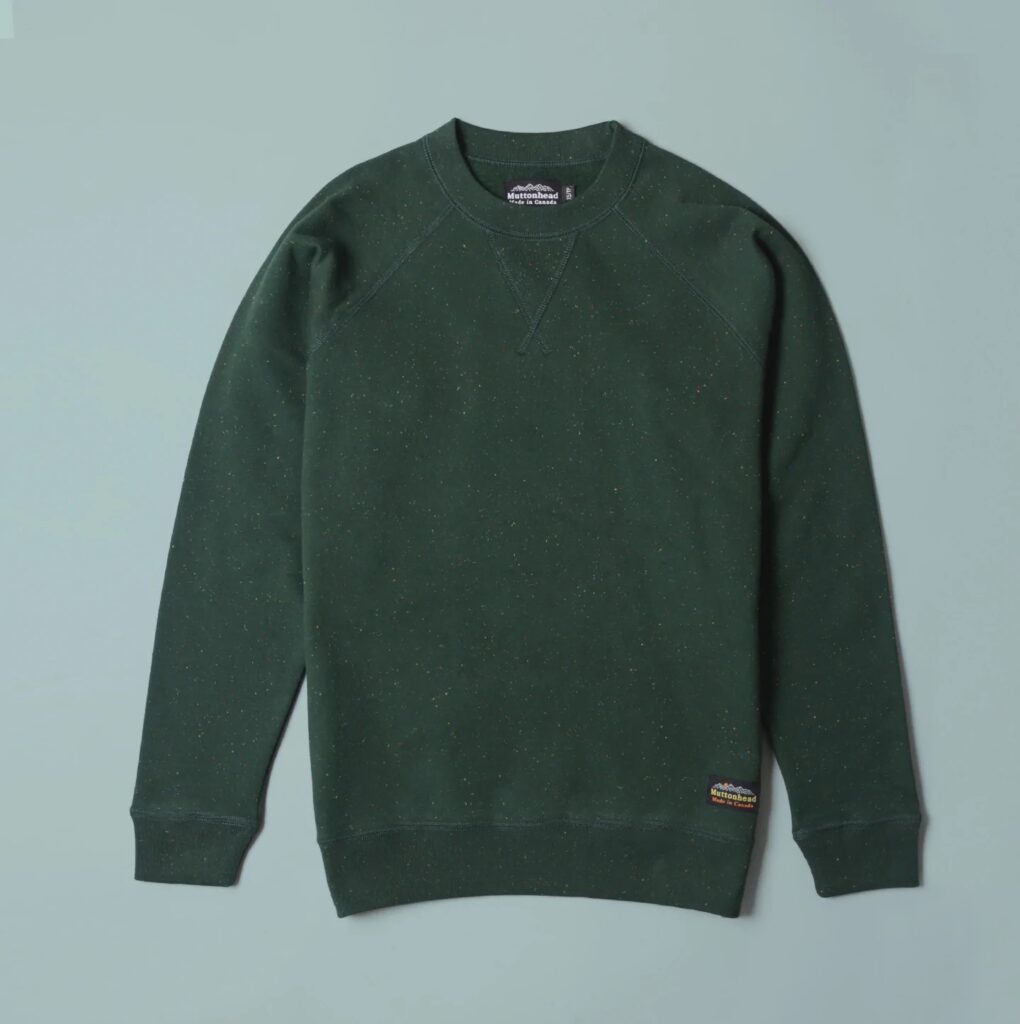
The cold weather isn’t gone yet, up here in Canada. This made-in-Toronto sweatshirt from Muttonhead, with its charming rainbow speckles, is just the thing to see us through.

All photos via retailers.

Cinnamon Macarons

Cinnamon Macarons | Sophster-Toaster

I’ve been saving this flavour in my idea bank for some time now. It’s a simple ingredient, and so easy to work with, but it brings a big flavour that stirs up childhood memories of sunny Saturday mornings. With so many of the best breakfast treats being made with cinnamon, it’s hard to put my finger on just which one these cookies taste like, but I’m going with Cinnamon Toast Crunch. Here’s my *new and improved* recipe for Cinnamon Macarons with Cinnamon Buttercream!

Cinnamon Macarons | Sophster-Toaster Cinnamon Macarons | Sophster-Toaster Cinnamon Macarons | Sophster-Toaster Cinnamon Macarons | Sophster-Toaster

Ingredients

for the macaron shells

  • 1 cup ground almonds (as finely ground as you can find)
  • 1⅛ cup icing sugar
  • 1 tsp ground cinnamon
  • 2 large egg whites, at room temperature
  • 3 tbsp + 1 tsp sugar

for the filling

  • 7 tbsp unsalted butter, softened
  • 1 egg, at room temperature
  • 3 tbsp water
  • 3 tbsp sugar
  • 1 tsp ground cinnamon

Method

for the macaron shells

  1. Prepare your parchment paper sheets (or use silicon baking mats with printed circles).
    • You will need 2-3 half-sheet pan size pieces. 
    • Draw 1″ circles, ½” apart, across the entire sheet. 
    • Place them on a large, flat surface suitable for drying your batter, like a dining table.
  2. Sift the ground almond, icing sugar and cinnamon together, twice.
    • Set aside.
  3. In a large stainless steel mixing bowl, beat egg whites with a hand mixer on medium-to-high speed until frothy.
  4. Slowly, add the sugar while continuing to beat the egg whites. 
  5. Beat on high speed until the egg whites reach stiff peaks. 
    • You’ve made meringue!
  6. Fold your dry ingredient mixture into the meringue in two parts.
  7. Here’s the part that takes practice: it’s time for the macaronnage! 
    1. With a spatula, spread the batter against the side of the bowl. 
    2. Then scoop it up by running the spatula along the side of the bowl again and try to flip all of it over and sort-of lightly smack it back into the bottom of the bowl. 
    3. Gather the batter up again and repeat 12-15 times. 
      • It takes some time to figure out the best way to do this, don’t be afraid to play around with it. When doing the macaronnage correctly, repeating more than 20 times can result in oily, blotchy macarons, but I’ve found that doing it incorrectly doesn’t count towards this limit. 
      • If you are doing it right, the batter will take on a noticeable and somewhat sudden change in consistency, this means you are about half-way to that limit. When finished, the batter should be thickened and drip slowly and smoothly from the spatula. You will have to pipe it onto your baking sheets/mats and it won’t work if the batter is too runny. 
      • This is the technique that defines macarons, this is what takes practice and what makes mastery of them impressive.
  8. Fill a pastry bag (or zip-top bag) with your batter and pipe onto your waiting sheets/mats.
    • For perfectly round macarons, use a large 0.4″ plain tip with a pastry bag (or do it the lazy way and cut a corner off of a zip-top bag for mostly round macarons). 
    • Twist (or don’t yet cut) the bag at the tip and place it – tip side down – in a tall glass. 
    • Fill with your batter and twist, close, or clip the other end to keep the messy batter moving in the right direction. 
    • Pipe the batter into the centre of the circles on your sheets/mats and stop before reaching the edges, as the batter will spread out a bit.
  9. Once finished piping, carefully pick the sheets/mats up and drop them back on to the table from a height of a couple of inches. 
    • The theory is that this helps the cookies keep their round shape and form the little bubbles around the bottom – called the pied – when you put them in the oven.
  10. Leave the cookies on the table, uncovered, to dry.
    • This could take as little as 15-30 minutes on a dry day, or as mush as a couple of hours on a humid day. 
    • You will know the macarons are dry when they look smooth, less glossy, and are no longer sticky to the touch.
  11. Preheat your oven to 350°F. 
    • Place an oven rack in the centre of your oven. 
    • Place a sheet of macarons on two stacked sheet pans (this will stop the bottoms from getting too hot, resulting in cracked macarons).
  12. Bake for 15-18 minutes. 
    • If your oven heats unevenly, rotate the pan half way through baking.
    • It can be hard to tell when the macaron are done, I pull them out when the kitchen smells sweet and the cookies look crisp, have just started to brown, and don’t look blotchy in the middle.
  13. As soon as the parchment sheet/baking mat is cool enough to handle, take it out of the pan with all the cookies on top and place it on a cooling rack. 
    • The macarons will be too sticky to remove from the sheet/mat now; once cooled, they should peel off easily. 
    • I usually wait a few minutes for the pans to cool a bit and for the oven to come back to a steady temperature before moving the next sheet to the pans and baking the next round.

for the buttercream

  1. Warm the butter in a double boiler or in the microwave until it is soft, but not melted, and beat until creamy.
  2. Break an egg into a large heat-resistant mixing bowl and beat lightly with a hand mixer. 
    • Set aside.
  3. Add water and sugar to a small saucepan and place over medium-low heat. 
  4. Bring to a simmer and stir until you can draw a line of bare pan without the liquid immediately covering it back up, about 7 minutes. 
    • You’ve made simple syrup!
  5. Slowly pour your simple syrup into the beaten egg while beating with a hand mixer on as high a speed as you can without flinging syrup everywhere – remember it is very hot and sticky. 
    • Once all the syrup is in, beat the mixture on high speed, slowly reducing speed until it is thick, light in colour and the bowl is no longer hot.
  6. Add the butter to this mixture in two or three parts and beat on medium speed until fully incorporated and creamy. 
    • If the buttercream splits and continuing to beat doesn’t bring it back together, it has likely become too cold. 
      • Pop it in the warm oven or over a double boiler for 10 seconds and try beating it again. 
      • Continue doing this until it comes together.
  7. Add cinnamon and gently beat in.

Once everything has cooled, place your buttercream in a piping (or zip-top) bag and pipe onto half of your shells. Then place another similarly sized shell on top and gently press them together. 

You’ve made macarons!

Cinnamon Macarons | Sophster-Toaster

Valentine’s Wishlist

I hope you like these products as much as I do! Just so you know, I may collect a commission or other compensation from the links provided on this page.

1. A bright pink 1960’s chiffon and velvet party dress to wear on date night.

Coldfish Vintage

2. Crushed velvet knickers to feel cozy and cute in on those long winter evenings at home.

Jordan de Ruiter

3. A charming and festive tiny heart necklace (available in three colour and length options).

Emery + Opal

4. Glamorous cat eye sunglasses in pink tortoise shell to keep the snow glare, and admirers, at bay. 

Warby Parker

5. An extravagant vintage style bra to make cardigan weather feel a little more fun.

What Katie Did

All photos courtesy of retailers.

Chocolate Cherry White Russian

Chocolate Cherry White Russian | Sophster-Toaster Blog

It recently came up, over dinner, that my friends had never seen The Big Lebowski. With this wrong needing to be righted as quickly as possible, we made plans to watch it together the following weekend. Of course, my husband and I informed them that White Russians were required viewing accessories. They were apprehensive about a cream based cocktail but agreed to let me push them out of their comfort zones.

There was a problem with the plan, however: I couldn’t put my money where my mouth was because I have a moderate-to-severe coffee allergy and can’t drink Kahlua. Slightly disappointed that I’ll never know what a real White Russian tastes like, I spent the past week developing a new cocktail, inspired by the classic, so I could join in with the fun.

After some research, I decided the closest swap for coffee liqueur would be chocolate liqueur. I was hoping to find a dark coloured chocolate liqueur to best mimic the look of a Kahlua cocktail, but discovered the only thing available in my area is a clear creme de cacao – so that’s what I used. I didn’t want to be creating what would be, essentially, hard chocolate milk, so I added some kirsch to make things a little more interesting.  The result is a decadent, surprisingly smooth and refreshing cocktail that’s just perfect for Valentine’s Day!

Chocolate Cherry White Russian | Sophster-Toaster Blog Chocolate Cherry White Russian | Sophster-Toaster Blog Chocolate Cherry White Russian | Sophster-Toaster Blog Chocolate Cherry White Russian | Sophster-Toaster Blog Chocolate Cherry White Russian | Sophster-Toaster Blog Chocolate Cherry White Russian | Sophster-Toaster Blog

Chocolate Cherry White Russian

Ingredients

  • 1 oz vodka
  • ½ oz Kirsch (or other cherry brandy)
  • 1 oz creme de cacao
  • 1½ oz half & half cream

Method

  1. Add all ingredients to a shaker with ice and stir until chilled and thoroughly combined.
  2. Fill an old fashioned glass with a handful of fresh ice and strain mixture over. Serve immediately.

Chocolate Cherry White Russian | Sophster-Toaster Blog

All photos be me.