Pizza is probably the best thing in the world. It’s always the second thing I miss when I’m at the cottage, right after my cat. Luckily, my years of working in the family pizzeria, where we made everything from scratch, has left me with the ability to make any kind of pizza, anywhere and in any situation.
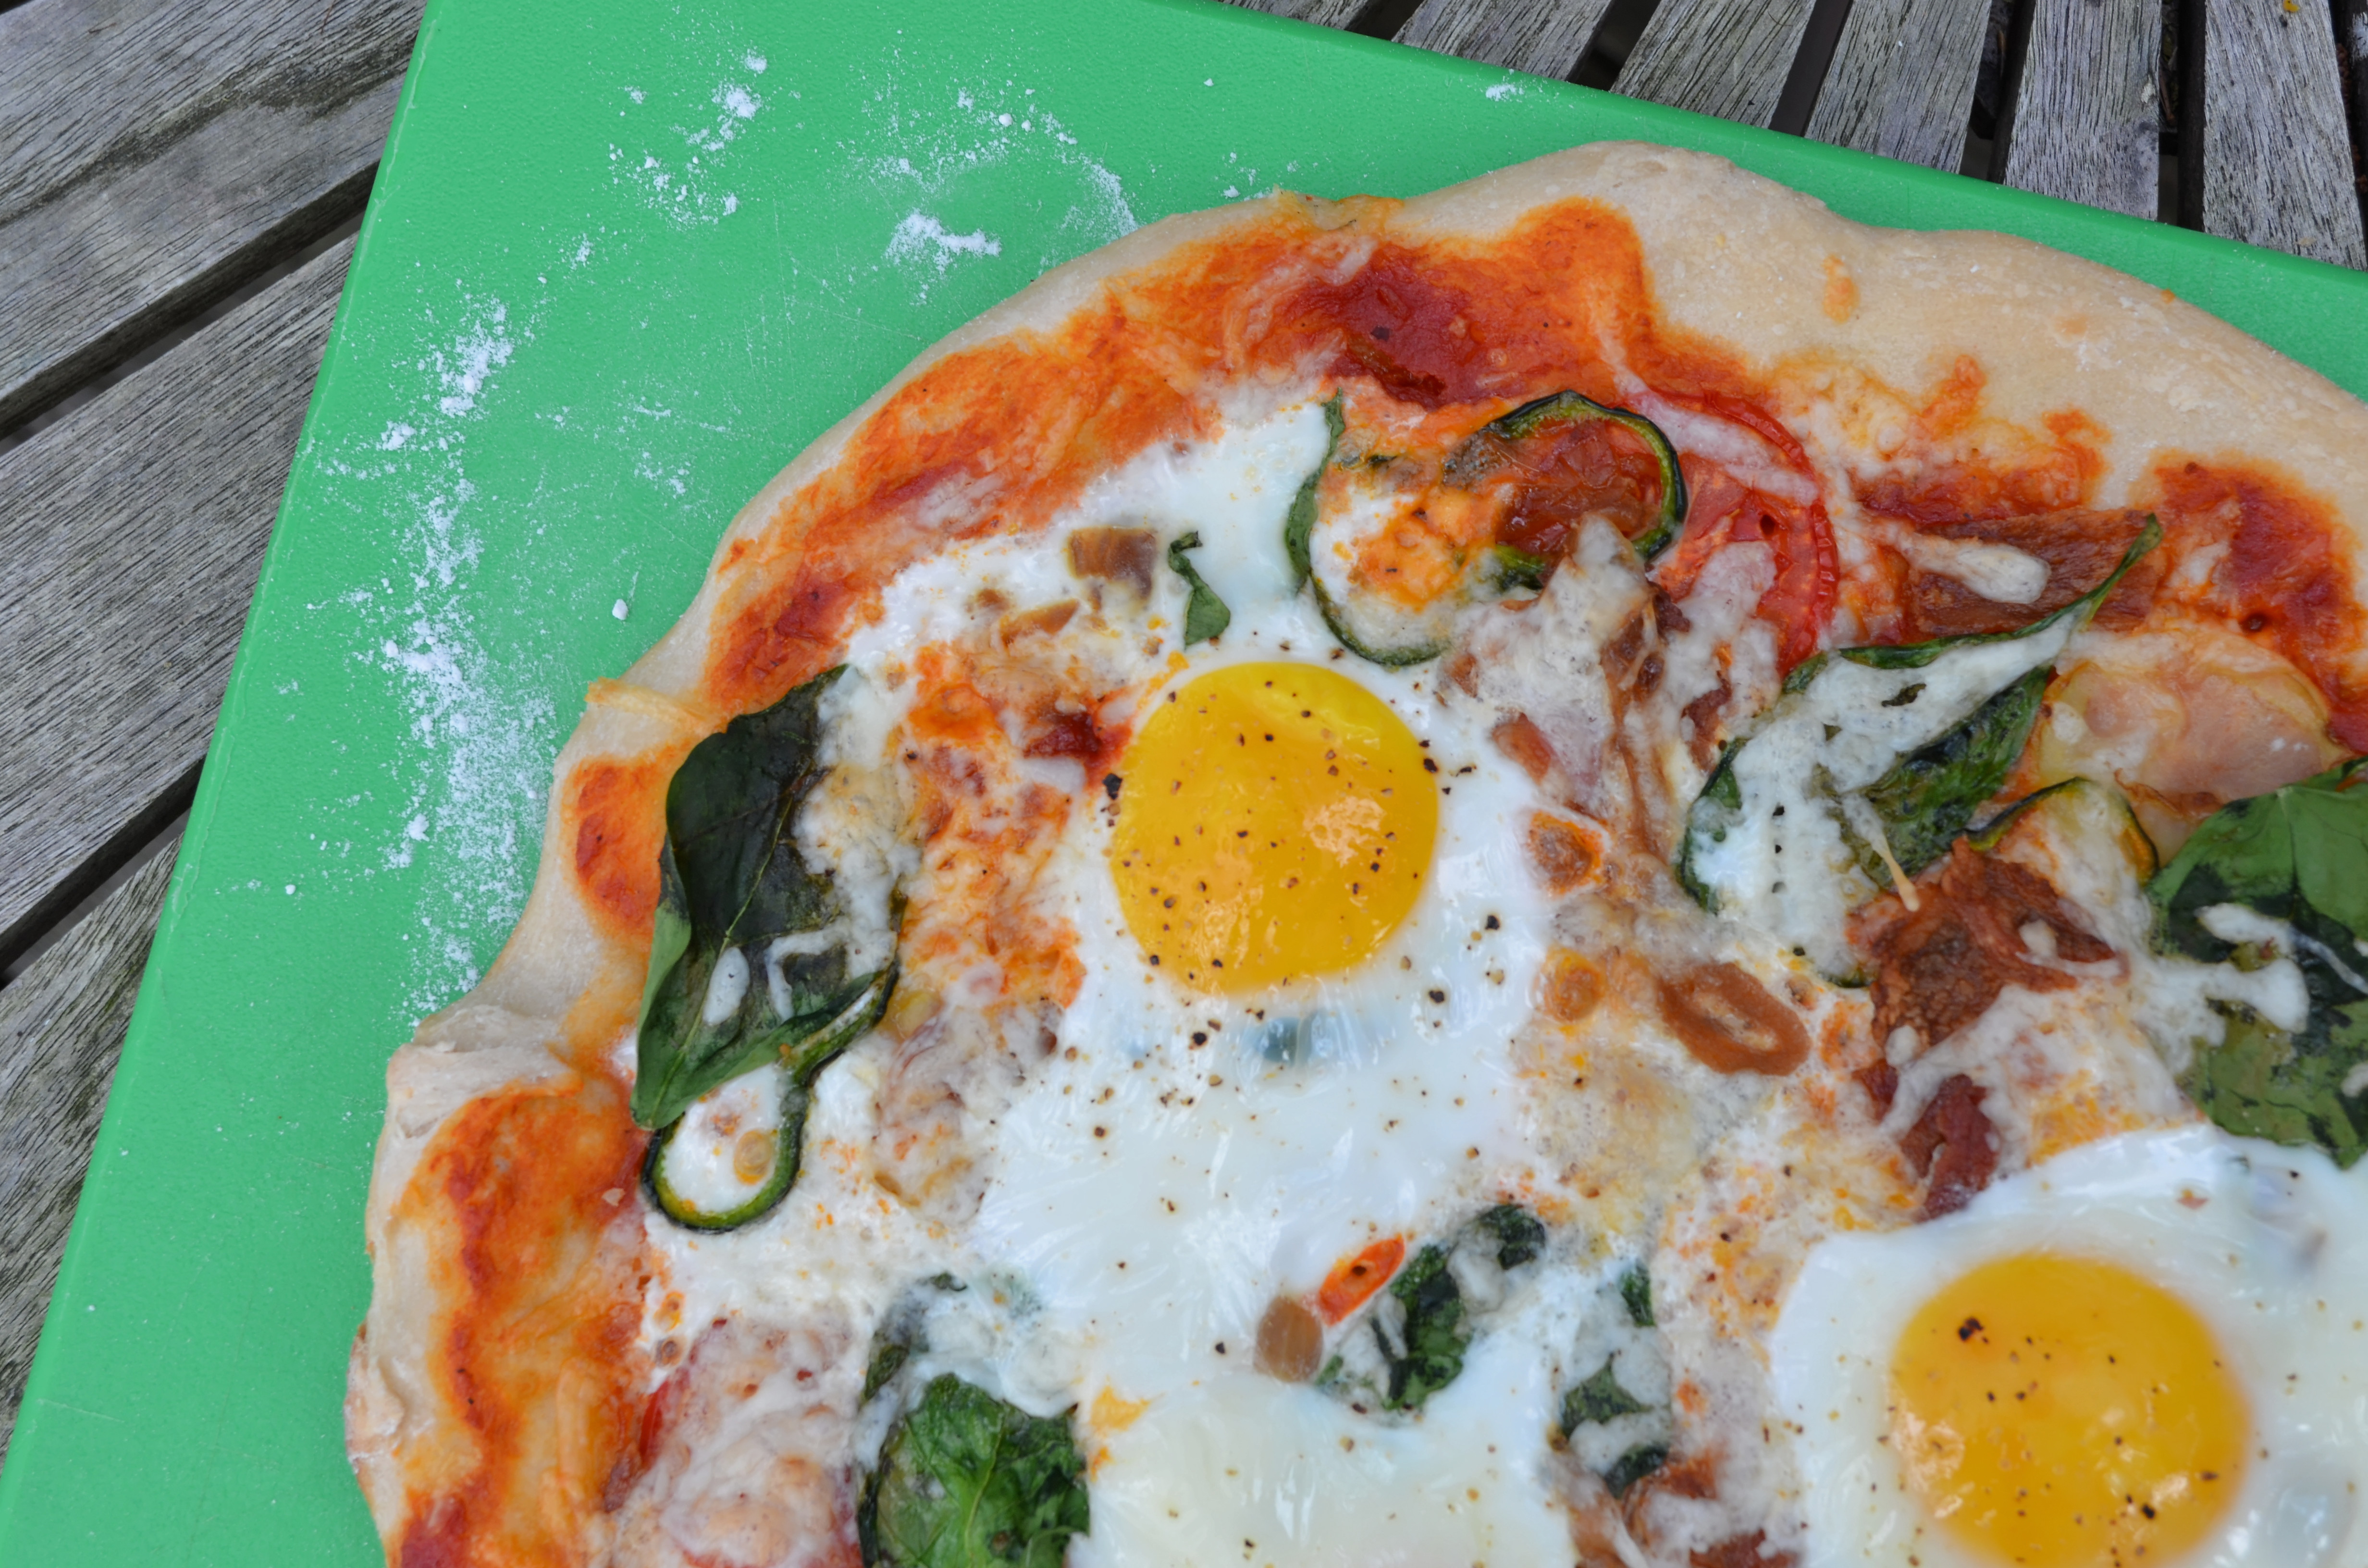
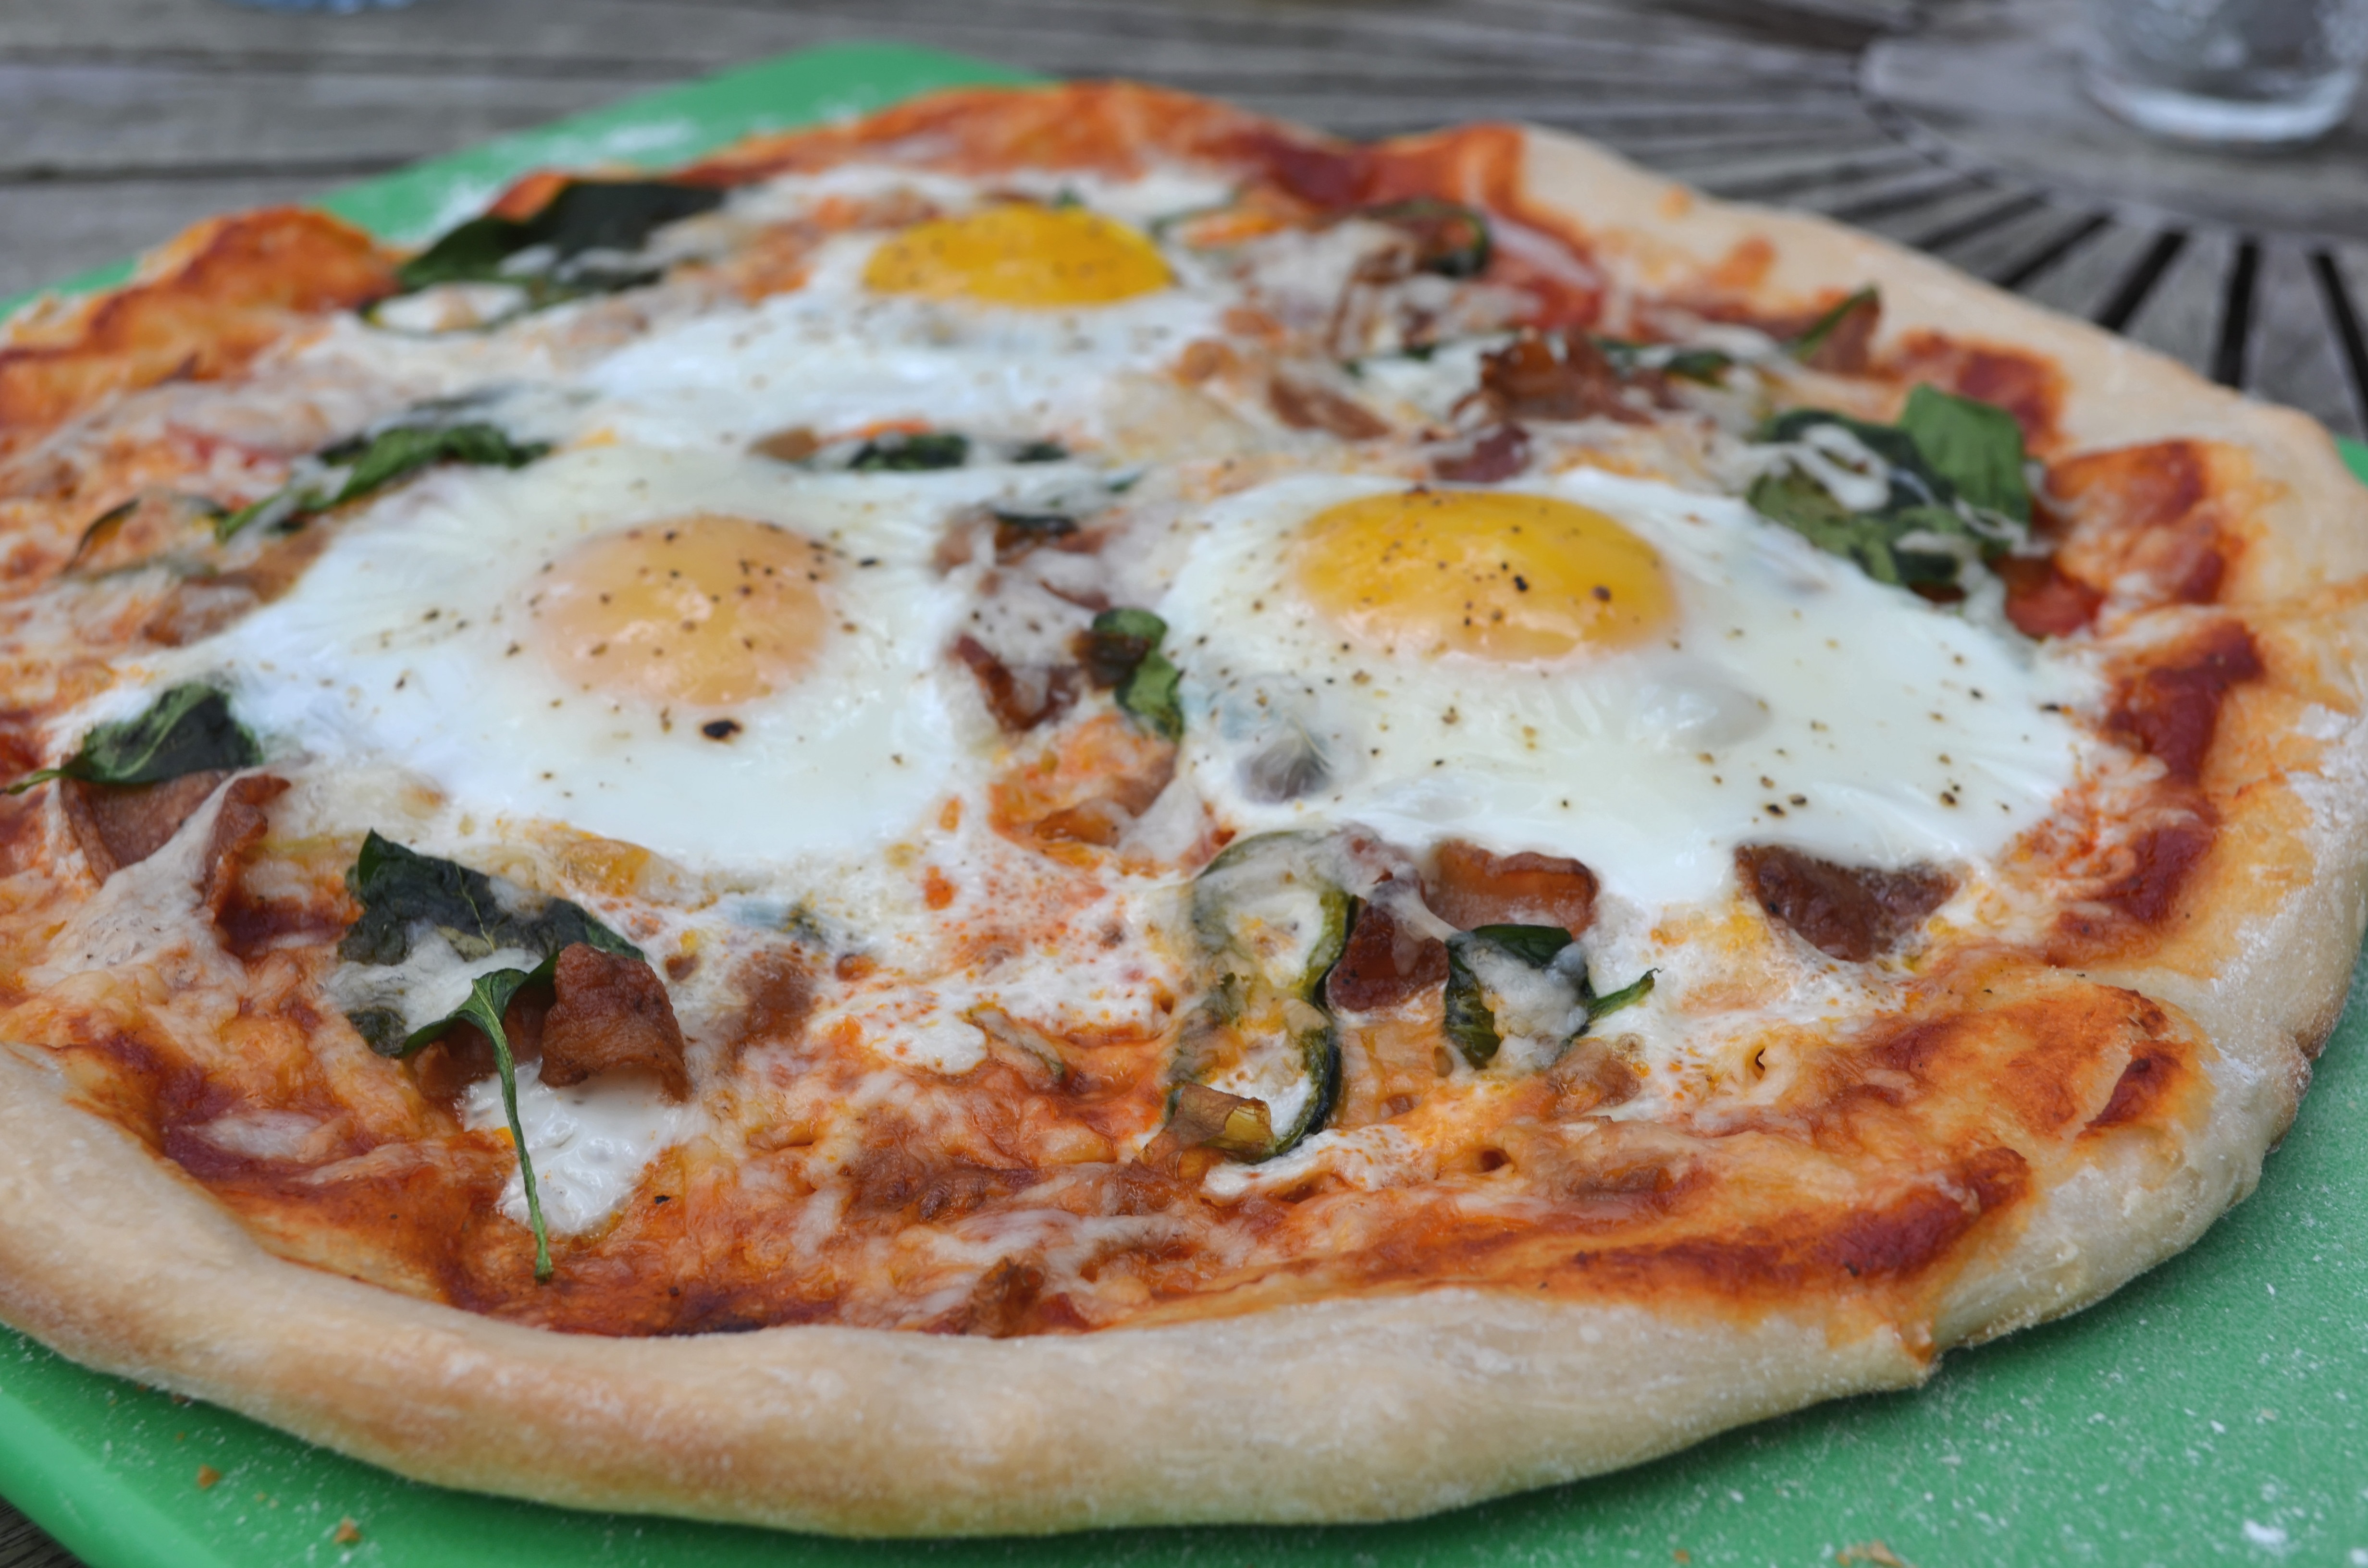
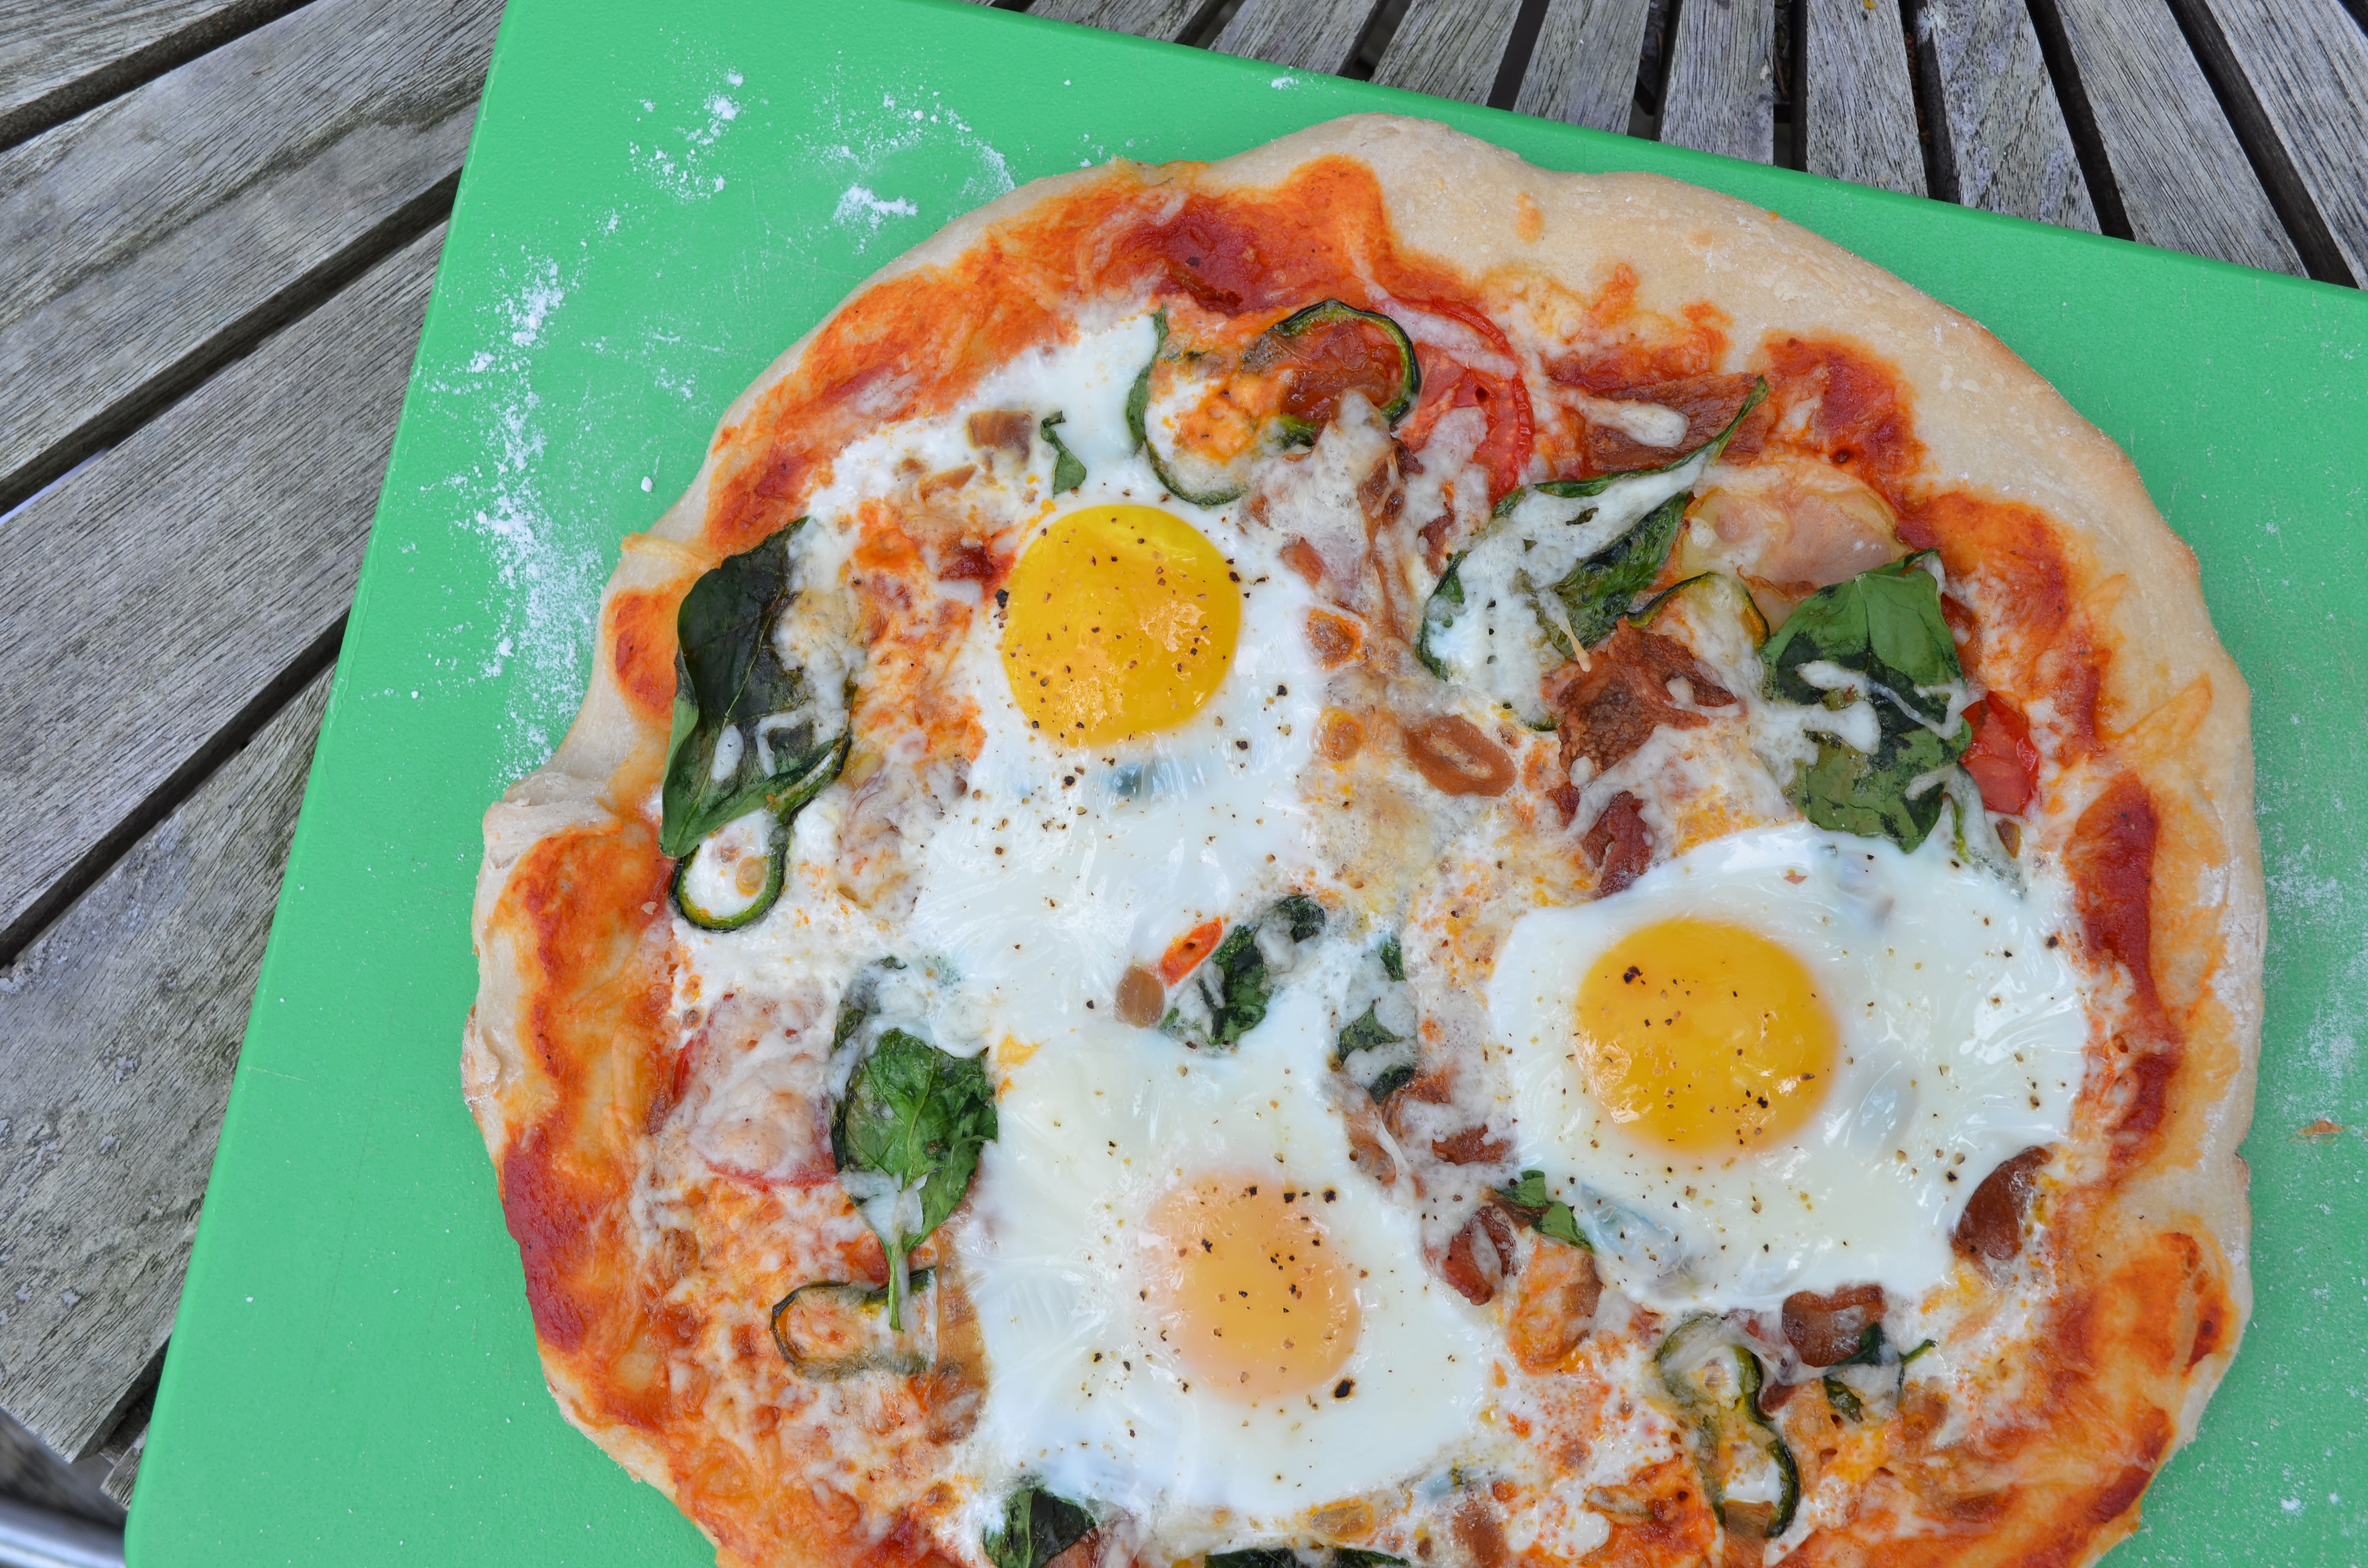
During my recent trip to the cottage, I found a way to combine my favourite meal with one of my top five favourite foods. I made breakfast pizza.

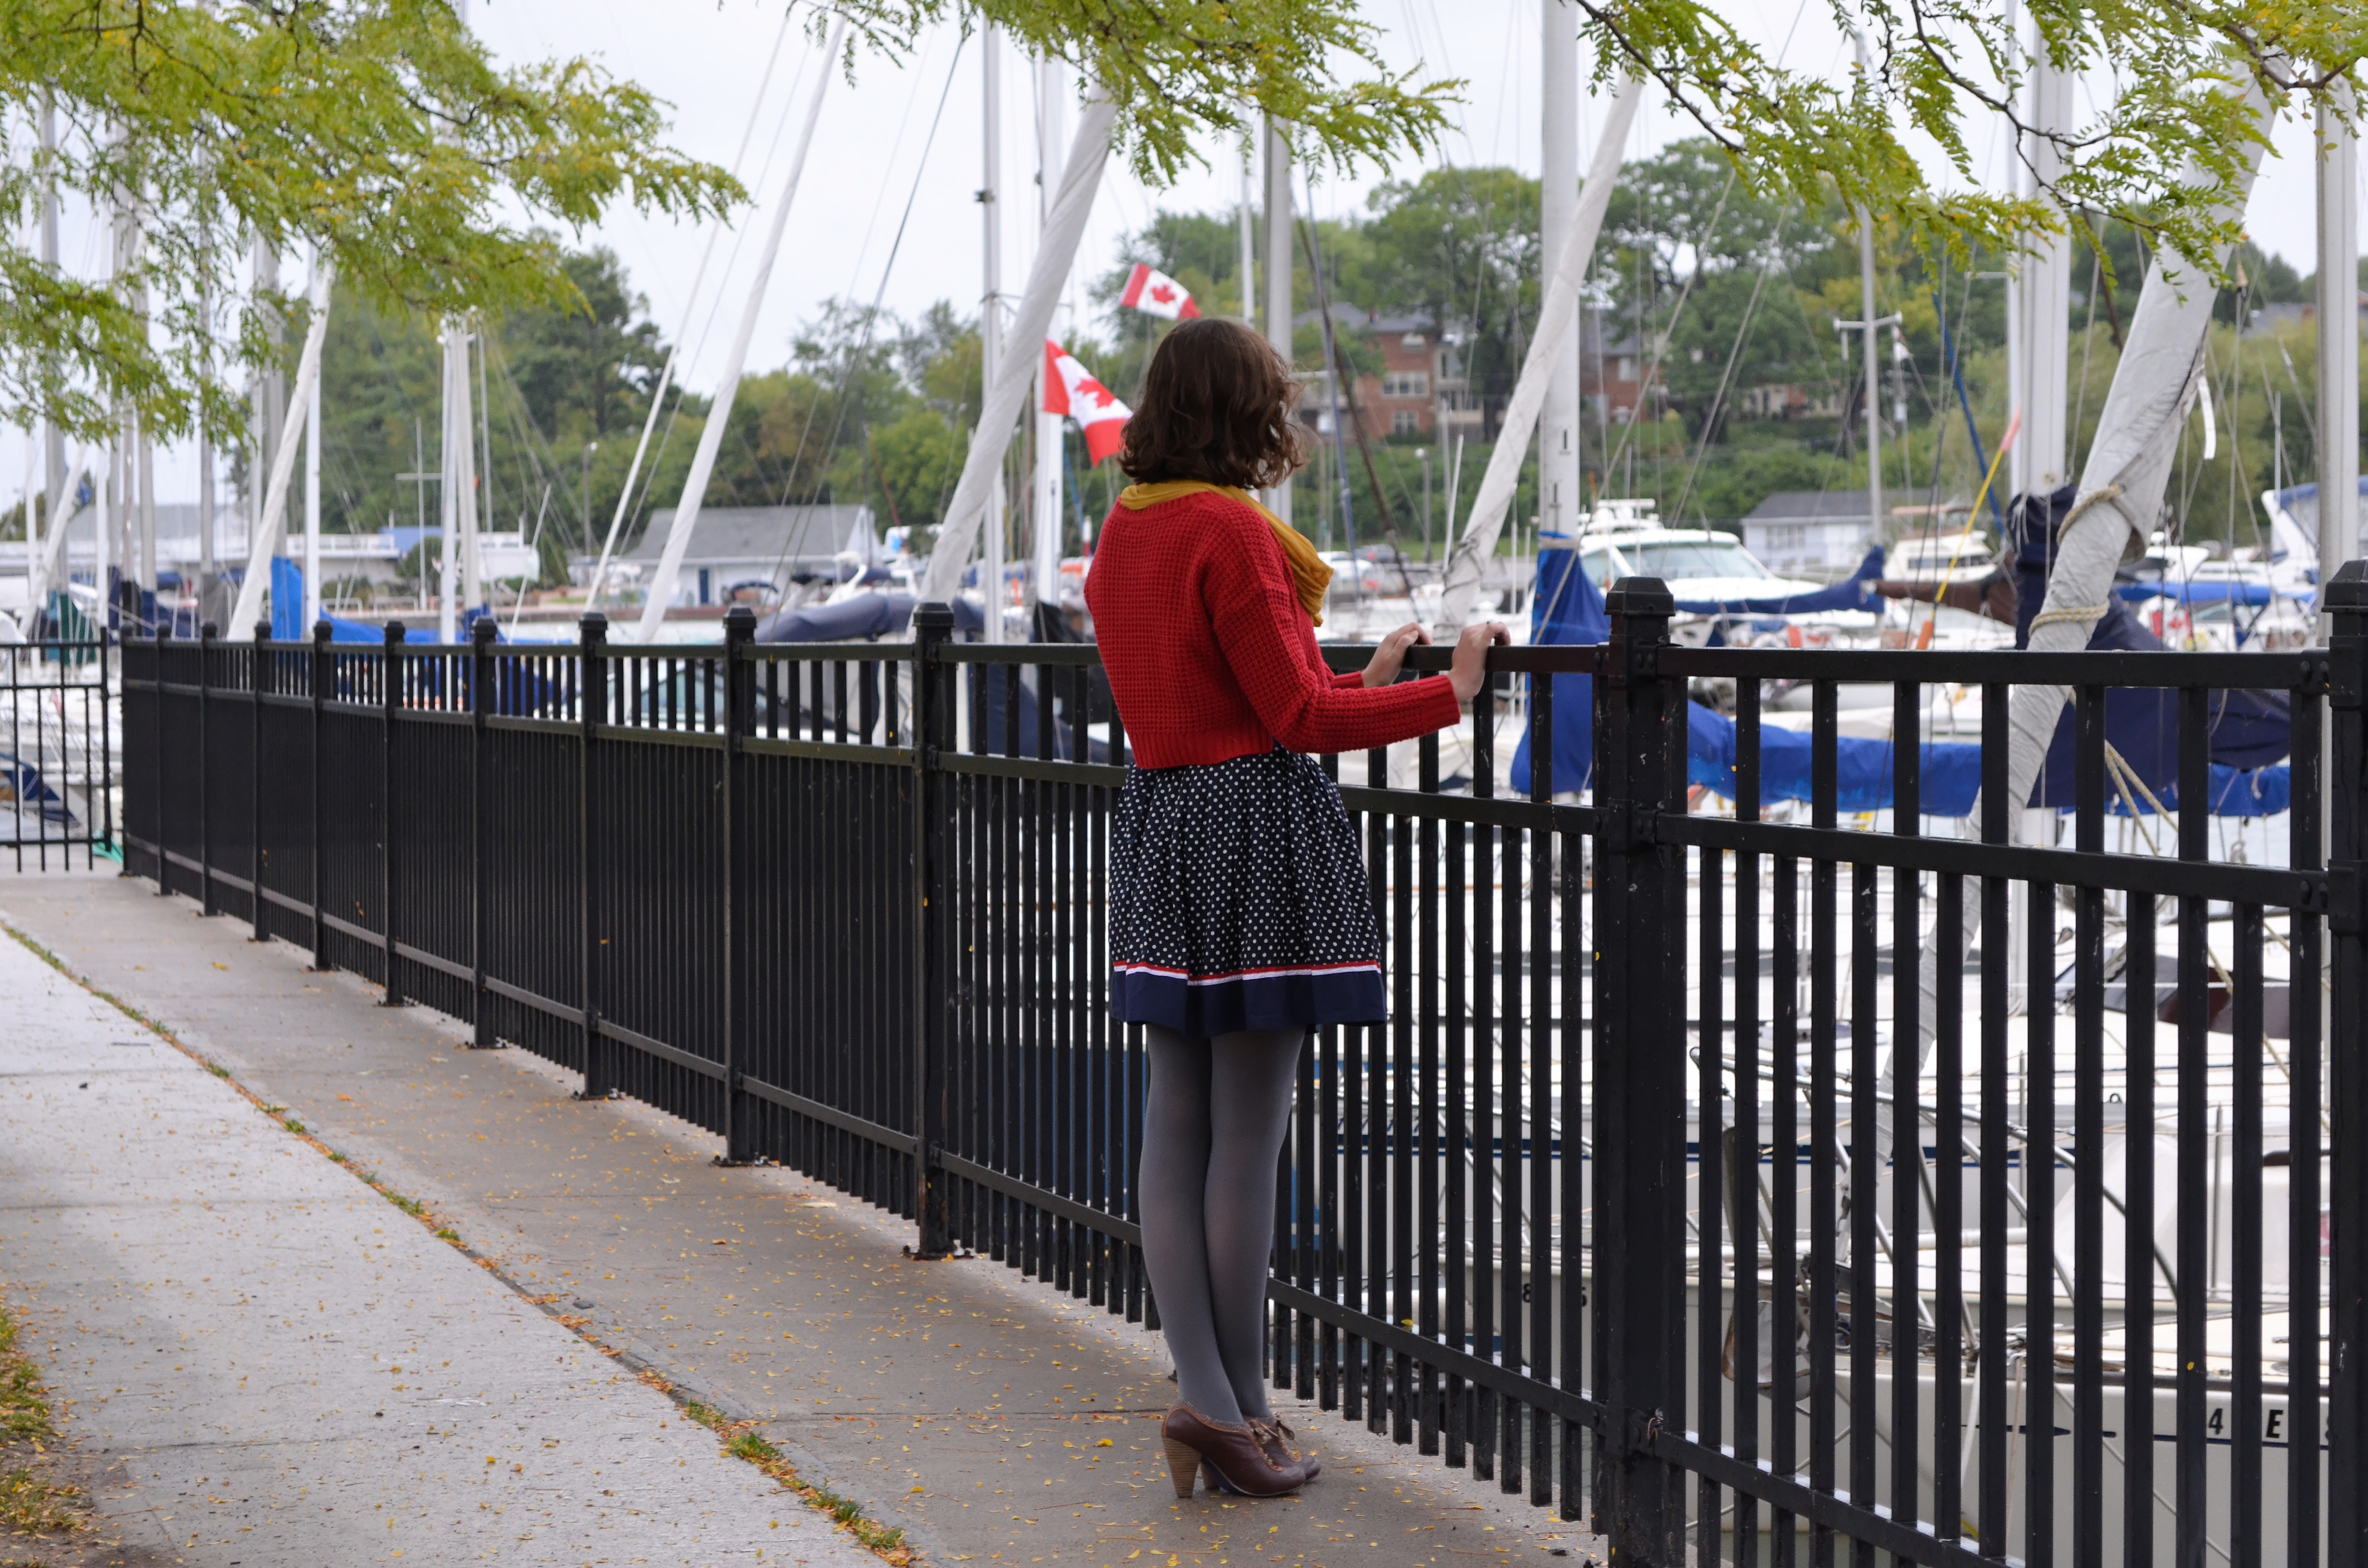
I woke up in a forest by the lake, grated some cheese, stretched some dough I had made at home a few days earlier, sauced it, tossed on some breakfast-y toppings, placed it on the barbecue, cracked some eggs on top and ate fresh pizza on the deck with friends as we watched the September sun climb higher over the pines.
Ingredients
Makes two 8″ pizzas.
For the Dough
2½ tsp sugar
1½ tsp salt
¼ tsp baking soda
¼ tsp baking powder
1 cup warm water
1 tsp yeast
3½ cups all-purpose flour
2 tsp olive oil
For the Toppings
pizza sauce (store bought or homemade)
shredded mozzarella cheese
potato, thinly sliced
tomato
poblano pepper
caramelized onion (leftover from previous night’s dinner)
spinach
bacon (cooked)
eggs
Additional Toppings
fresh mozzarella
shredded cheddar cheese
feta
goat cheese
mushroom
green pepper
jalapeno pepper
onion
shallot
asparagus
avocado
sausage
smoked salmon
ham
What else? Suggest it in the comments!

Method
For the Dough
Prepare at least one day before.
- Add the sugar, salt, baking soda and baking powder to the work bowl of a stand mixer.
- Activate yeast by adding it to a small bowl of lukewarm water (should feel about the same temperature as your hand) and mix it gently with your hand until the yeast has dissolved.
- Add the yeast and water mixture to the stand mixer. Mix by hand until everything has dissolved.
- Cover the bowl with a clean towel and leave to rise for about half an hour.
- Once the mixture has bubbled and left a bit of a yeast-coloured foam on top, add 3 cups of the flour and partially mix in by hand.
- With the dough hook attached, turn the mixer on at low speed. Add the olive oil as the hook begins to move.
- Once the dough starts coming together, turn the speed up to where the hook starts grabbing and kneading the dough (3 or 4 on a Kitchenaid stand mixer). If the weather is humid and the dough looks wet, add the remaining ½ cup of flour now. Knead until a ball forms and the sides of the bowl are mostly clean.
- Remove the dough from the bowl, divide it into two equal portions and form them into balls. Leave on a floured surface and cover with a clean towel to rise for an hour or two before storing in the refrigerator or freezing. (I froze mine to get it to the cottage and started a slow thaw in the refrigerator once I got there.)
This takes practice, so don’t be discouraged if your dough doesn’t come out right. I might not stretch or rise as well but it will still taste the same.
For the Toppings
- Remove dough from the refrigerator and let warm up on the counter while you prep all your toppings and create your mise en place.
- When all of your toppings are ready, scatter a small handful of flour on your work surface and quickly roll your dough ball in flour.
- Place the dough ball on your work surface and with moderate force punch it town with your fists or fingertips. You are trying to remove any trapped air bubbles.
- Then pick up the down and work it with your fingers, pinching and stretching the edges of the dough and you rotate it. I have seen people beautifully stretch the dough with only this method, but I like to alternate between this and draping the dough over my fists and moving them outwards from the middle as I rotate and gently toss the dough.
- Once the dough is stretched to the size of your 8″ pizza pan, lightly flour the surface of the pan and place your stretched dough on top. Try to make the dough circular again if it took on a strange and exciting shape during the stretching. Close up any holes ripped in the dough (don’t worry, they happen) by stretching the thickest spot bordering the hole over top and pressing it down lightly on the other side. Now comes the easy part.
- Using a large spoon, spread the sauce in a thin layer over the dough, getting as close as possible to the edges.
- Scatter your desired cheese over the pizza, holding some back for the top. You will need slightly less than you think, there should still be sauce showing through. (When using cheeses with strong flavours or low melting capacities, I recommend still using a bit of shredded mozzarella as a base.)
- Scatter your desired fruit, veg and meat toppings over the pizza but don’t over do it. Keep in mind that loading it with wet fruit and veg with make for a very soggy pizza. Decrease the amount of each topping you add as the number of toppings increases.
- Toss a thin layer of cheese over top to hold everything together.
- Place the pizza on a barbecue preheated to as hot as it will go with side burners on high and middle burners on low and close the lid. (I cooked two pizzas, one at a time.)
- Once the dough has started to rise and the cheese has started to melt but neither have started to brown, about 2 minutes in, crack 3 eggs (if using large eggs) on top and season with salt and pepper. (Place them towards the middle because the whites will migrate.)
- Once the egg whites have stopped jiggling and the cheese and crust have browned (takes about 10 minutes total) remove the pizza from the barbecue and from the pan onto a heat safe surface. Once the eggs have gathered themselves to about medium boil yolks, slice the pizza into eight and serve.

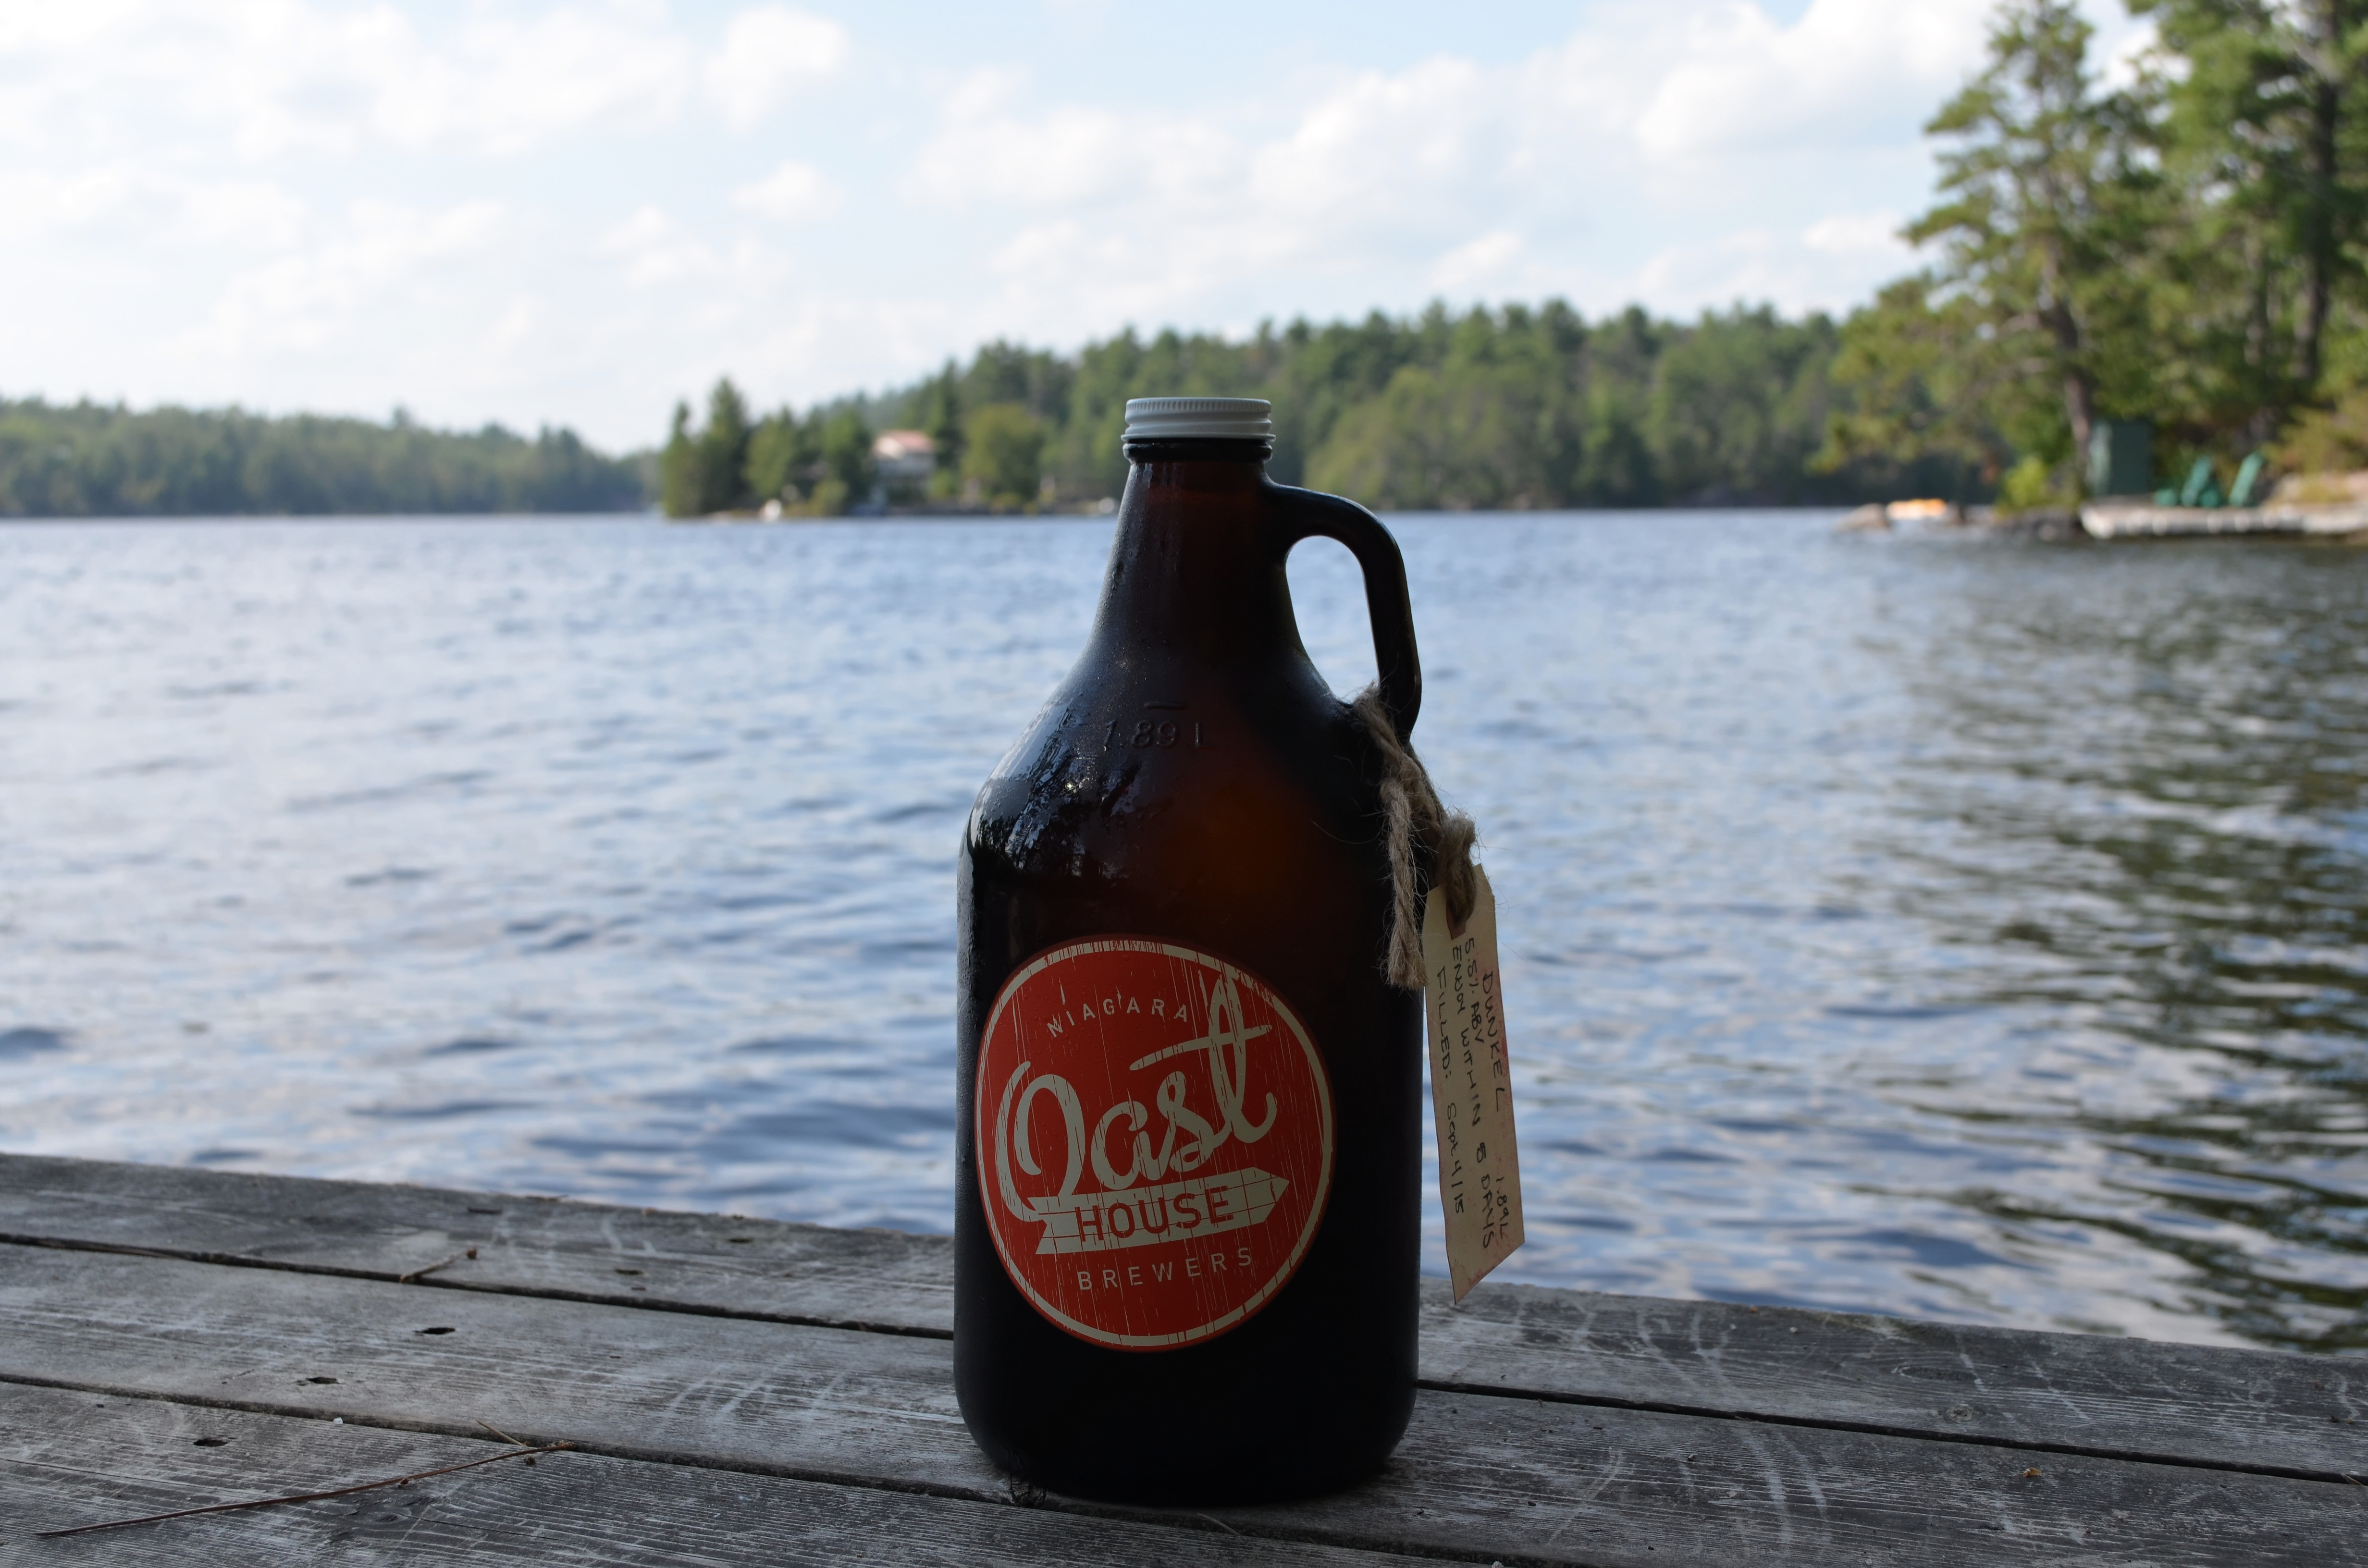
Pairs well with coffee stout or smoked porter.