Workspace

Workspace | Sophster-Toaster

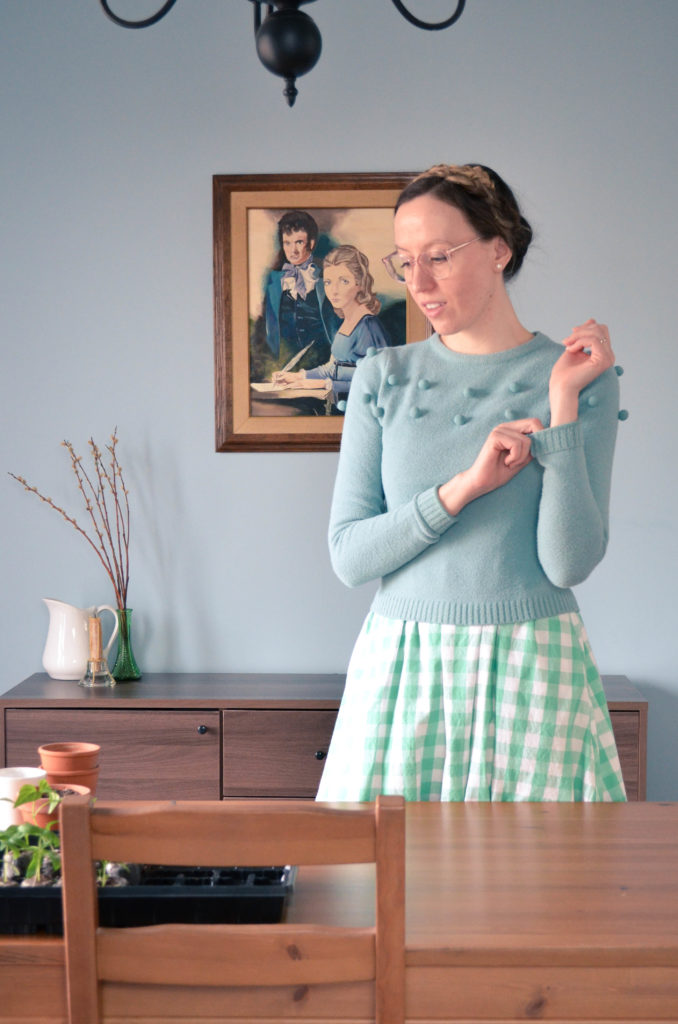
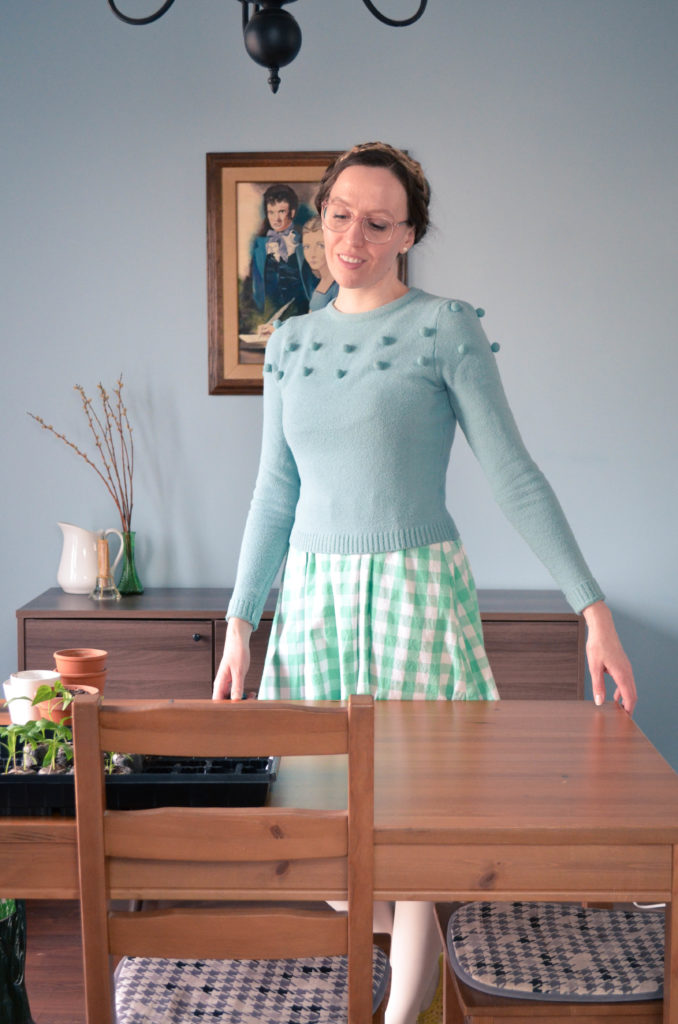
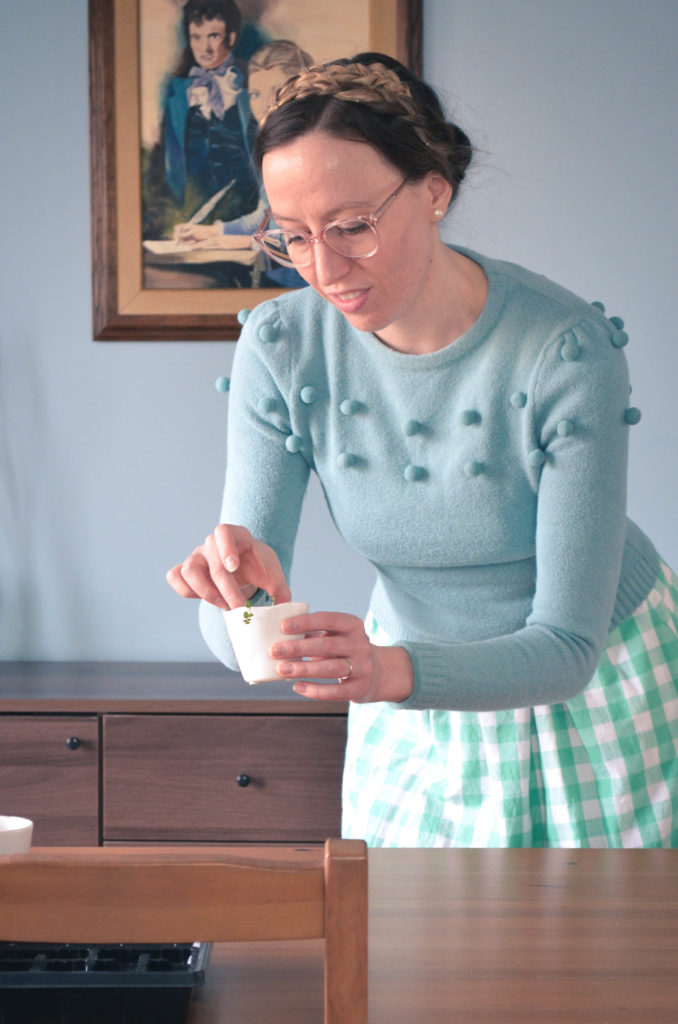
I’ve been working from home for years, so my space and routines were already set up when the rest of the world suddenly joined me. I had lots of time to work out the kinks of having my workspace within my home. From starting my business in a tiny apartment, to working out of a larger apartment, to now a house, I kept a few things constant throughout the years to help foster creativity, productivity and work/life balance. Here are my tips for working from home in the long term.

Workspace | Sophster-Toaster

Keep your workspaces and home spaces defined.

For me, my workspace is currently a whole room upstairs and a few shelves in the basement but, in the past, it has been just a corner of a bedroom. Keeping your work stuff in its own place, and not letting your personal things gather there either, will help you keep the spaces separate in your mind and help you avoid the stress of living at work.

Take breaks outside of your workspace.

If possible, avoid working, eating and entertaining yourself all in the same place. It’s easier to be productive at work, and relaxed at home if you can divide these places by activity.

Try to keep your home tidy.

It’s difficult to concentrate in a cluttered space and those chores that need doing will nag you in a whole different way when they’re all around you. It’s best to keep on top of things now so they can’t overwhelm you later.

Set a schedule and stick to it.

Get up at the same time, take lunch at the same time, stop working at the same time, everyday. If you have pets at home, this will also help them get onto an agreeable routine.

Get dressed.

I am my most creative in the morning, so I will frequently start working in my pajamas, but I always feel like my serious work day starts when I’m dressed, brushed and ready to meet the world.

Set goals for how much you want to get done in a day, in a week.

You know when you’re at work, and out of things to do – or out of inspiration – but can’t go home yet, so you just find busy work or distractions to pass the time? Those moments will happen at home too, but you’ll actually be able to do something useful with that time! If you have all your goals plotted out, you’ll know when you can take a break to catch up on home stuff or, conversely, when you really need to stop chasing those distractions.

Set boundaries with friends and family.

People will think that because you work from home, you are always available. Don’t be afraid to say no to random drop-ins or doing things outside of your job, outside of your scheduled working hours.

Workspace | Sophster-Toaster Workspace | Sophster-Toaster

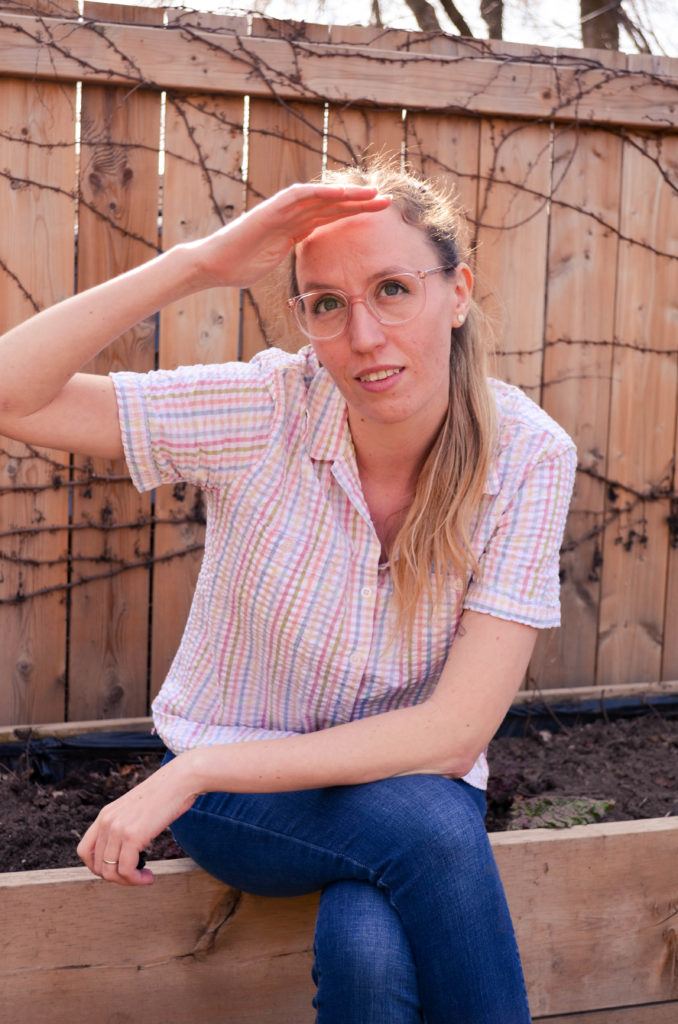
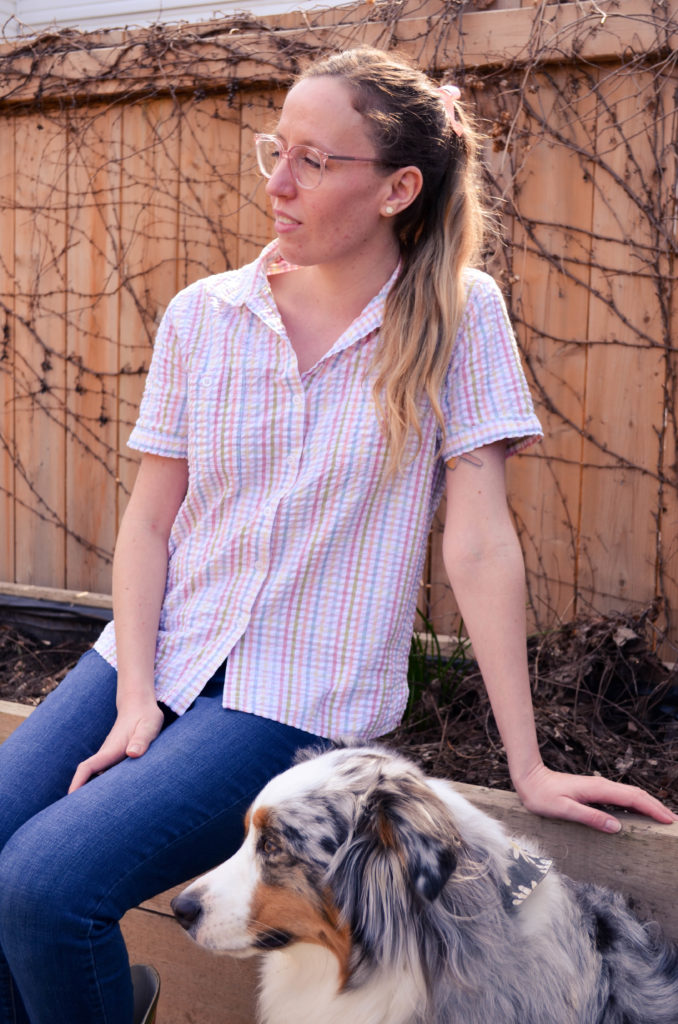
Glasses Warby Parker
Shirt Sophster-Toaster
Jeans Angry Rabbit
Shoes Vans

All photos by me.

Brown Sugar Macarons

Brown Sugar Macarons | Sophster-Toaster

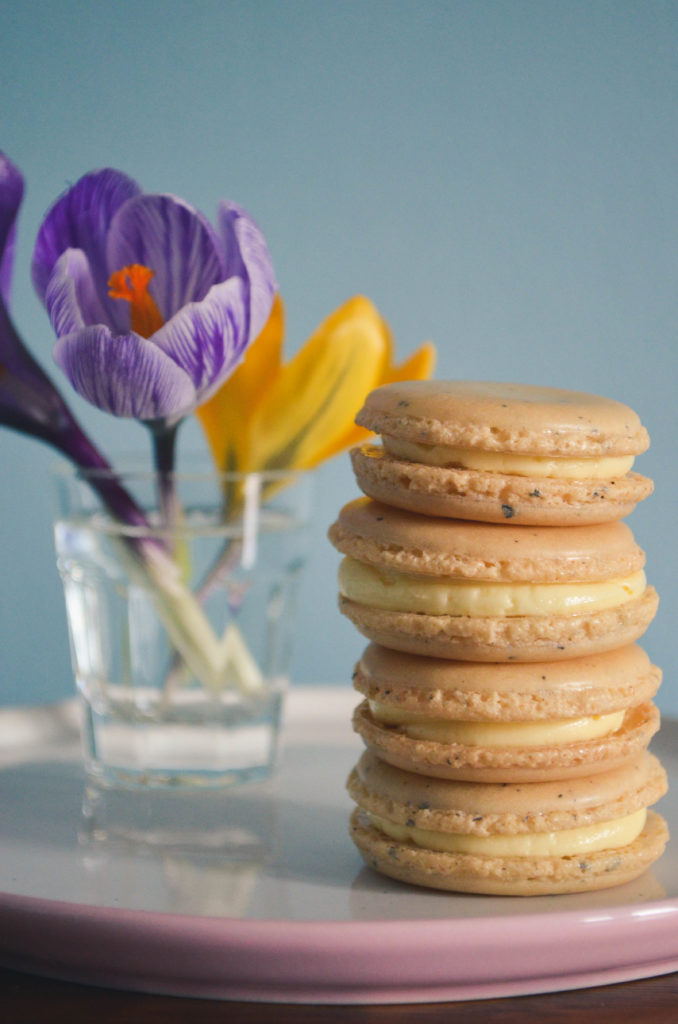
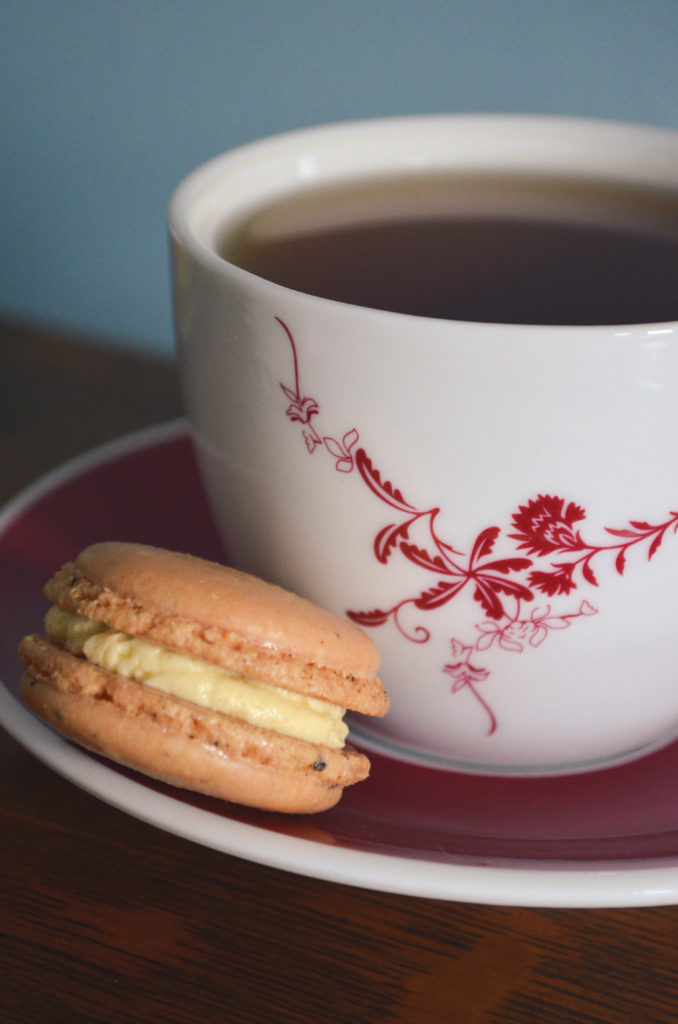
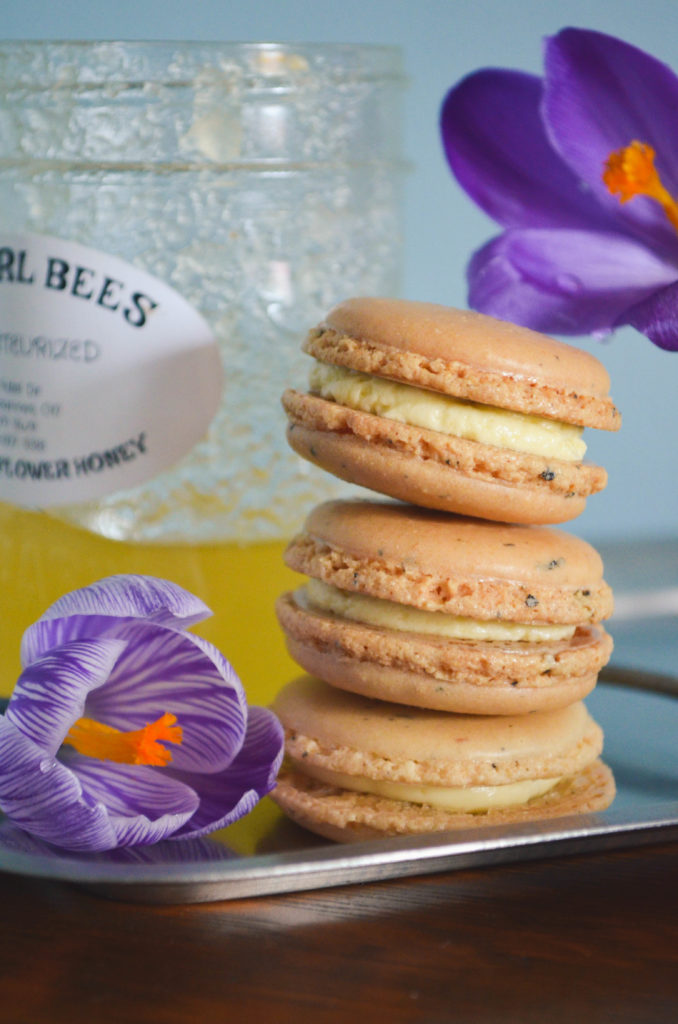
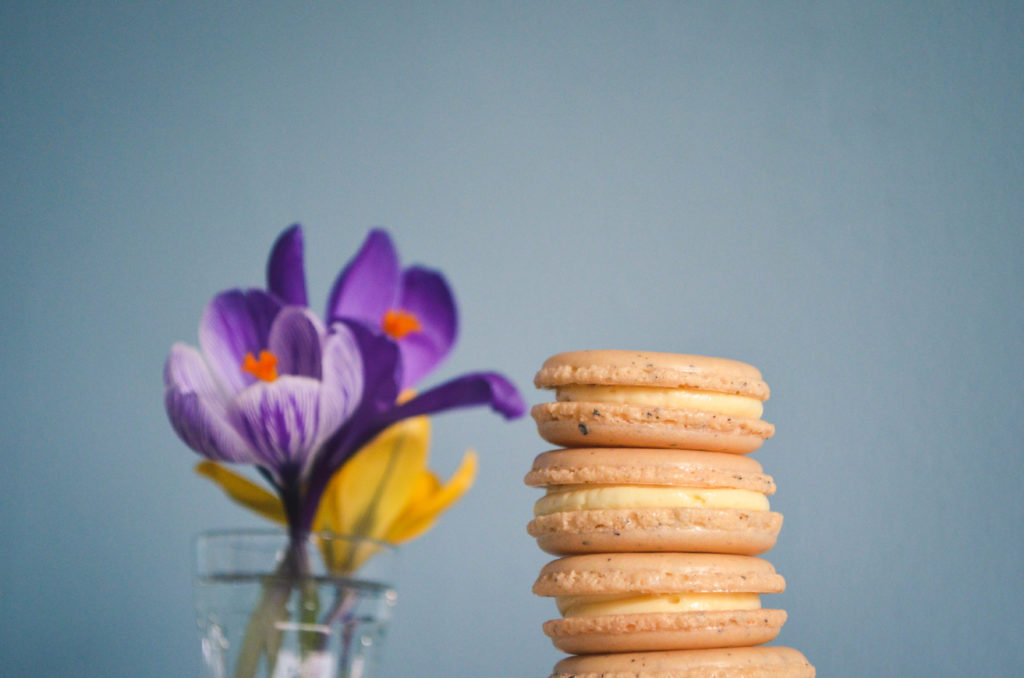
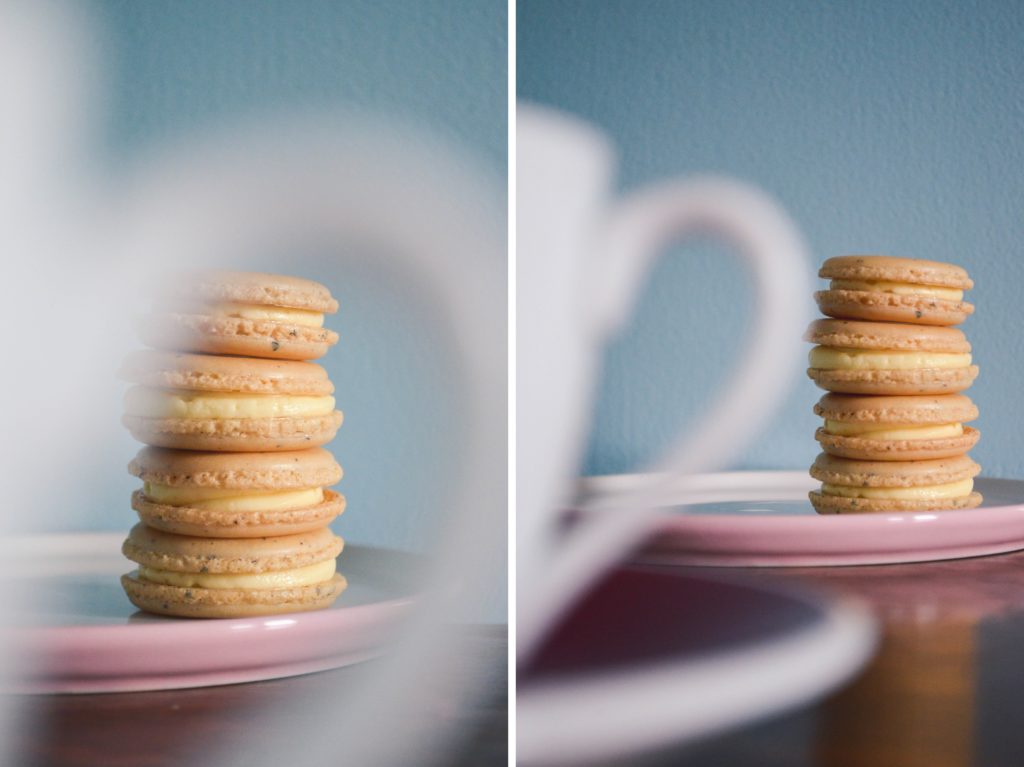
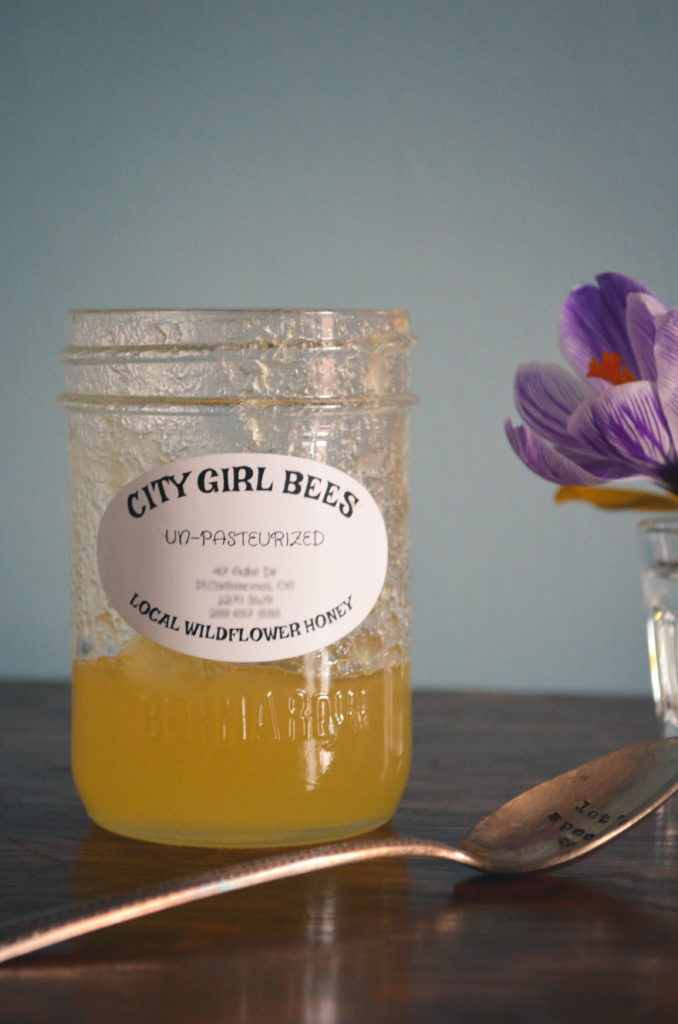
This month’s new macaron recipe was an experiment. Stuck at home with limited ingredients and inspiration, I started wondering what would happen if I made macarons with brown sugar instead of white. Would the shells be too wet to form correctly? Would the sugar be too heavy or coarse to make a delicate meringue? Would the brown sugar burn before it could thicken into syrup?

I decided I had to know. I measured out my brown sugar, made sure it was loose and free from any hard clumps, and whipped up some test batches. I was somewhat surprised to learn that the sugar swap made almost no difference. I had to whip the egg whites a little harder and bake the cookies a little longer, but other than that, everything went swimmingly! I think they might even be one of my new favourite flavours to make and eat.

Brown Sugar Macarons | Sophster-Toaster Brown Sugar Macarons | Sophster-Toaster Brown Sugar Macarons | Sophster-Toaster Brown Sugar Macarons | Sophster-Toaster

Ingredients

for the macaron shells

  • ¾ cup ground almonds (as finely ground as you can find)
  • 1 cup icing sugar
  • 2 large egg whites, at room temperature
  • 3 tbsp + 1 tsp brown sugar

for the filling

  • 7 tbsp unsalted butter, softened
  • 3 tbsp water
  • 3 tbsp brown sugar
  • 1 egg, at room temperature

Method

for the macaron shells

  1. Prepare your parchment sheets by drawing 1″ circles, ½” apart across the entire sheet (or using silicon baking mats with the circles already printed on them) and placing them on a large flat surface suitable for drying your batter, like a dining table. You will need 2-3 half sheet pan size pieces.
  2. Sift ground almond and icing sugar together, twice. Set aside.
  3. In a large stainless steel mixing bowl, beat egg whites with a hand or stand mixer on high speed until you have a foam with no liquid remaining.
  4. Slowly add the sugar while continuing to beat the egg whites. Beat on high speed until the egg whites reach stiff peaks. You’ve made meringue!
  5. Fold your almond and icing sugar mixture into the meringue in two parts.
  6. Here’s the part that takes practice: it’s time for the macaronnage! With a spatula, spread the batter, with some force, against the side of the bowl. Then scoop it up by running the spatula along the side of the bowl again and try to flip it all over and sort-of lightly smack it back into the bottom of the bowl. Gather the batter up again and repeat 12-15 times. It takes some time to figure out the best way to do this, don’t be afraid to play around with it. When doing the macaronnage correctly, repeating more than 20 times can result in oily, blotchy macarons, but I’ve found that doing it incorrectly doesn’t count towards this limit. If you are doing it right, the batter will take on a noticeable and somewhat sudden change in consistency, this means you are about half-way to that limit. When finished, the batter should be thickened and drip slowly and smoothly from the spatula. You will have to pipe it onto your baking sheets/mats and it won’t work if the batter is too runny. This is the technique that defines macarons, this is what makes mastery of them impressive.
  7. For perfectly round macarons, use a large, 0.4″ plain tip with a pastry bag, or do it the lazy way and cut a corner off a zip top bag for mostly round macarons. Twist (or don’t yet cut) the bag at the tip and place it, tip side down, in a tall glass. Fill with your batter and twist, close or clip the other end to help keep the messy batter moving in the right direction. Pipe the batter into the centre of the circles on your sheets/mats and stop before reaching the edges as the batter will spread out a bit.
  8. Once finished piping, carefully pick the sheets/mats up and drop them back on to the table from a height of a couple of inches. The theory is that this helps the cookies keep their round shape and form the little bubbles around the bottom (the pied) when you put them in the oven.
  9. Leave the cookies on the table, uncovered, to dry – this could take 20-30 minutes on a dry day or a couple of hours on a humid day. You will know the macarons are dry when they look smooth, less glossy and are no longer sticky to the touch.
  10. Sprinkle a small amount of brown sugar on top after they are dry. (It won’t stick as well now, but they’ll be too wet under that sugar and crack in the oven if you do it before.)
  11. Preheat your oven to 350°F. Place an oven rack in the centre of your oven. Place a sheet of macarons on two stacked sheet pans (this will stop the bottoms from getting too hot, resulting in cracked macarons) and bake for 15-18 minutes. Rotate the pan half way through baking. It can be hard to tell when the macaron are done. I pull them out when the kitchen smells sweet and the cookies look crisp, have just started to brown, and don’t look blotchy in the middle.
  12. As soon as the parchment sheet/baking mat is cool enough to handle, take it out of the pan with all the cookies on top and place it on a cooling rack. The macarons will be too sticky to remove from the sheet/mat now; once cooled, they should peel off easily. I usually wait a few minutes for the pans to cool a bit and for the oven to come back to a steady temperature before moving the next sheet to the pans and baking the next round.

for the buttercream

  1. Warm the butter in a double boiler or in the microwave until it is soft but not melted and beat until creamy.
  2. Break an egg into a large heat-resistant mixing bowl and beat lightly with a hand mixer. Set aside.
  3. Add water and sugar to a small saucepan and place over medium-low heat. Bring to a simmer and stir until you can draw a line of bare pan without the liquid immediately covering it back up, about 7 minutes. You’ve made simple syrup!
  4. Slowly pour your simple syrup into the beaten egg while beating with a hand mixer on as high a speed as you can without flinging syrup everywhere, remember it is very hot and sticky. Once all the syrup is in, beat the mixture on high speed, slowly reducing speed until it is thick, light in colour and the bowl is no longer hot.
  5. Add the butter to this mixture in two or three parts and beat on medium speed until fully incorporated and creamy. If the buttercream splits and continuing to beat doesn’t bring it back together, it has likely become too cold. Pop it in the warm oven or over a double boiler for 10 seconds and try beating it again. Continue doing this until it comes together.

Once everything has cooled, place your buttercream in a piping (or zip-top) bag and pipe onto half of your shells. Then place another similarly sized shell on top and gently press them together. You’ve made macarons!

Brown Sugar Macarons | Sophster-Toaster

All photos by me.

Shallot Hill

Shallot Hill | Sophster-Toaster

My husband grew up on a (relatively) small vegetable farm his father named Shallot Hill. My father-in-law maintained the farm while commuting a couple hours a day to teach screen printing and other skills to prisoners. When the prison closed, he went full time with his passion, started the lengthy process to go organic – before it was trendy – and tried to grow the best versions of the most interesting things he could find. He grew purple carrots, blue potatoes, red basil, strangely shaped squashes, and many other things that, growing up in a small town, I had never heard of before… like shallots. He became a trusted source for beautiful and weird local produce at every fancy restaurant in town, but was best known for his incredible garlic.

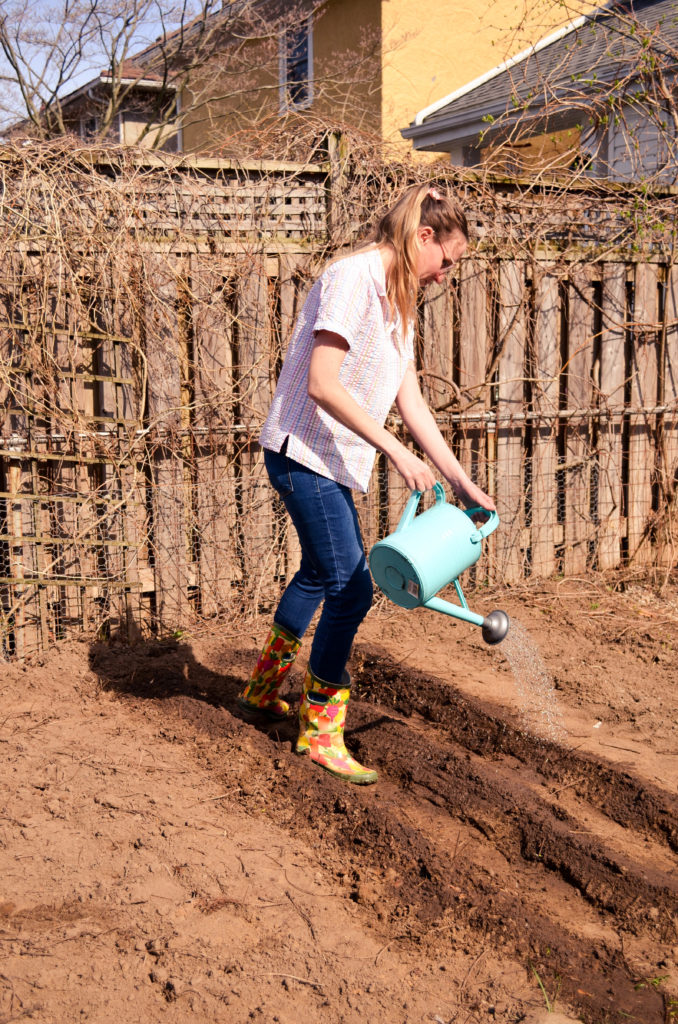
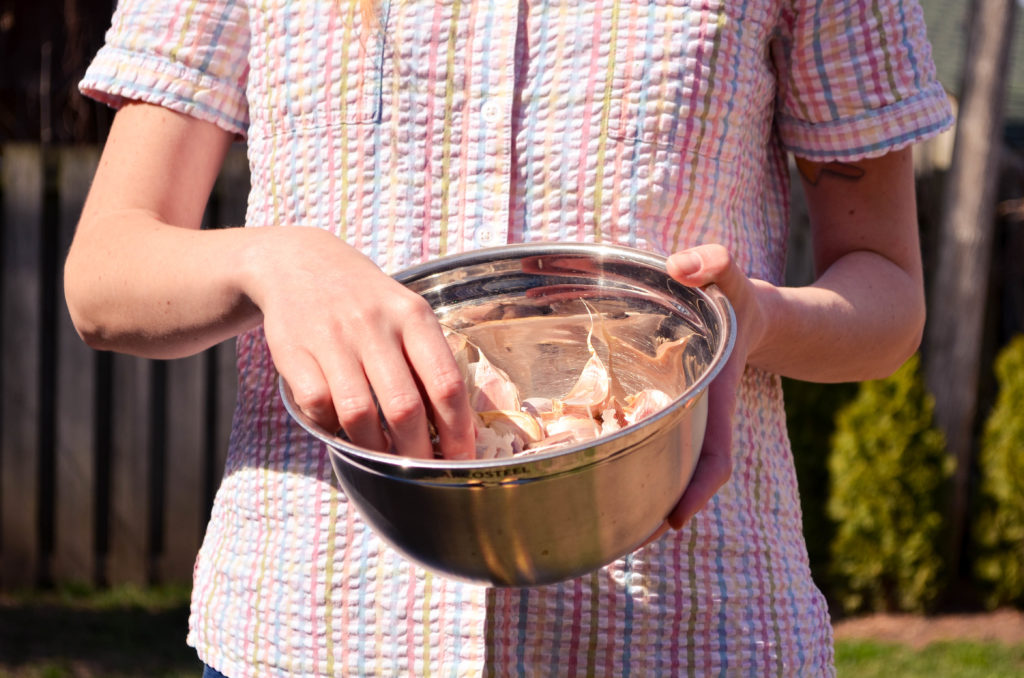
Every time we visit the farm, we load up on everything that’s in season, but especially garlic and shallots. We must have overdone it at Christmas, because we found a big bag of what my husband expertly and matter-of-factly called “seed garlic” in the basement last weekend. We couldn’t let such beautiful garlic go to waste, so we planted it on the next warm and sunny day.
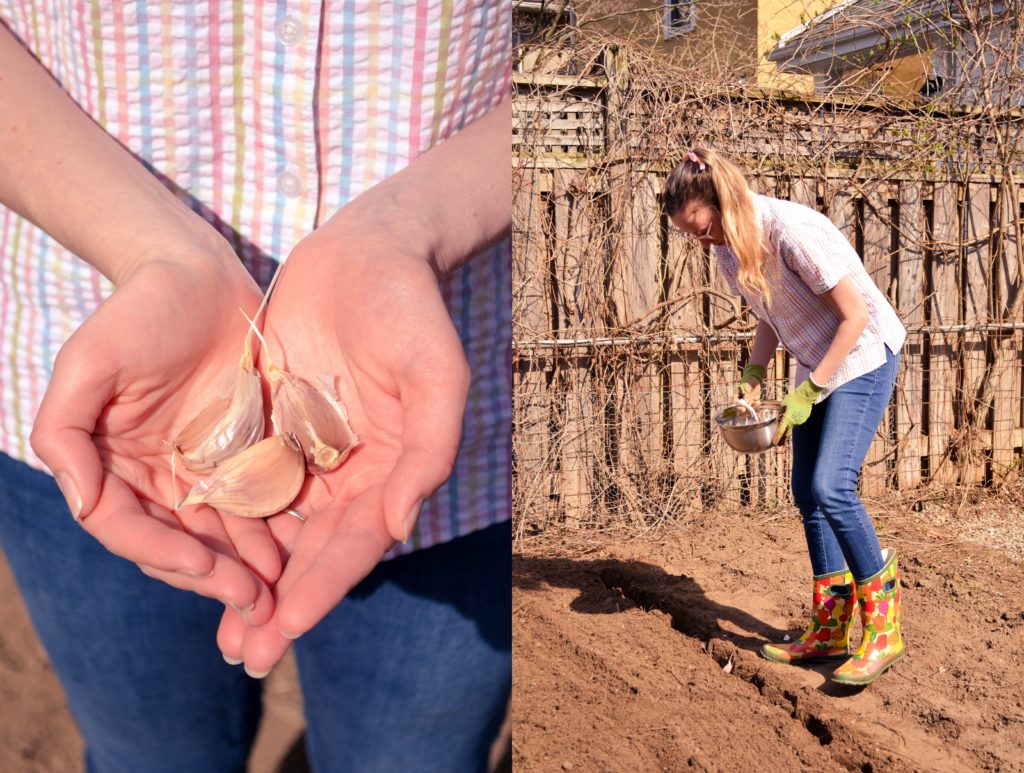
Shallot Hill | Sophster-Toaster Shallot Hill | Sophster-Toaster Shallot Hill | Sophster-Toaster Shallot Hill | Sophster-Toaster Shallot Hill | Sophster-Toaster

Top Gale’s Vintage Clothing Collection
Jeans Angry Rabbit
Glasses Warby Parker
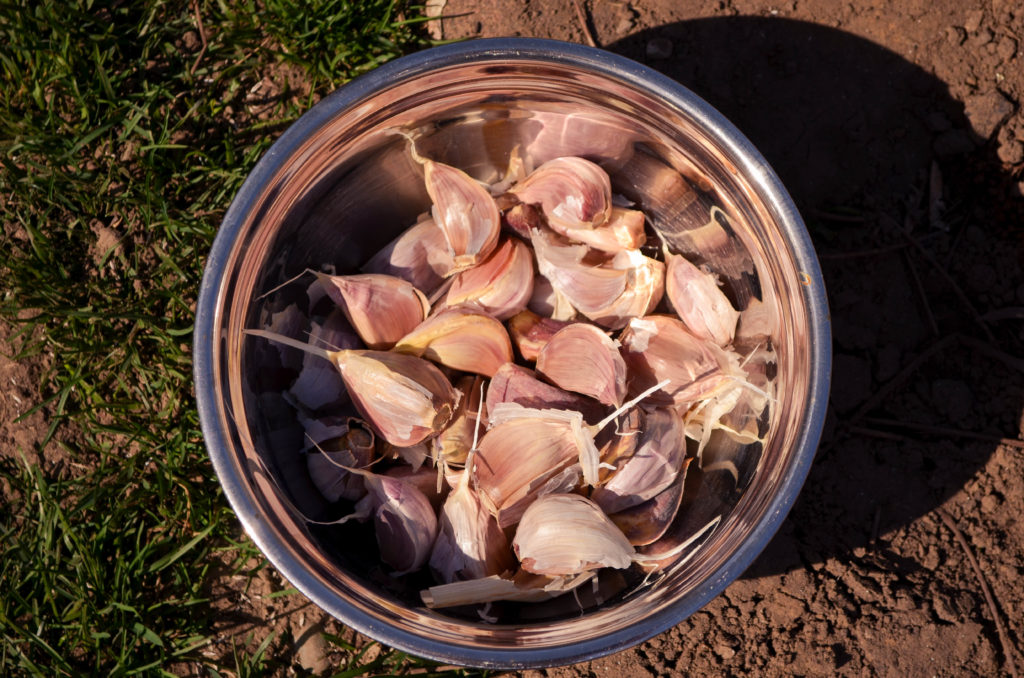
Shallot Hill | Sophster-Toaster

Photos by me and Matt Harrison.

Dressing for the Weather

Dressing for the Weather | Sophster-Toaster

We had a stormy morning followed by a gusty and unusually warm afternoon last Sunday. I threw on a light dress and cardigan combo, with a pin that arrived just in time to wear nowhere, and like many of my neighbours, took this opportunity to sit out on the front porch. The fresh air and gentle sunshine felt as good to me as I’m sure it did the flowers coming up in my garden.

Dressing for the Weather | Sophster-Toaster Dressing for the Weather | Sophster-Toaster Dressing for the Weather | Sophster-Toaster Dressing for the Weather | Sophster-Toaster Dressing for the Weather | Sophster-Toaster Dressing for the Weather | Sophster-Toaster Dressing for the Weather | Sophster-Toaster Dressing for the Weather | Sophster-Toaster Dressing for the Weather | Sophster-Toaster

Sunglasses Warby Parker
Cardigan ModCloth
Pin Rapscallion

All photos by me.