
This week, I decided to take down the dowdy curtains dressing the window of my apartment door. These curtains came with the new apartment were certainly more the style of the previous tenant than mine. They weren’t outright objectionable but I knew that I could make large improvement with a small investment.
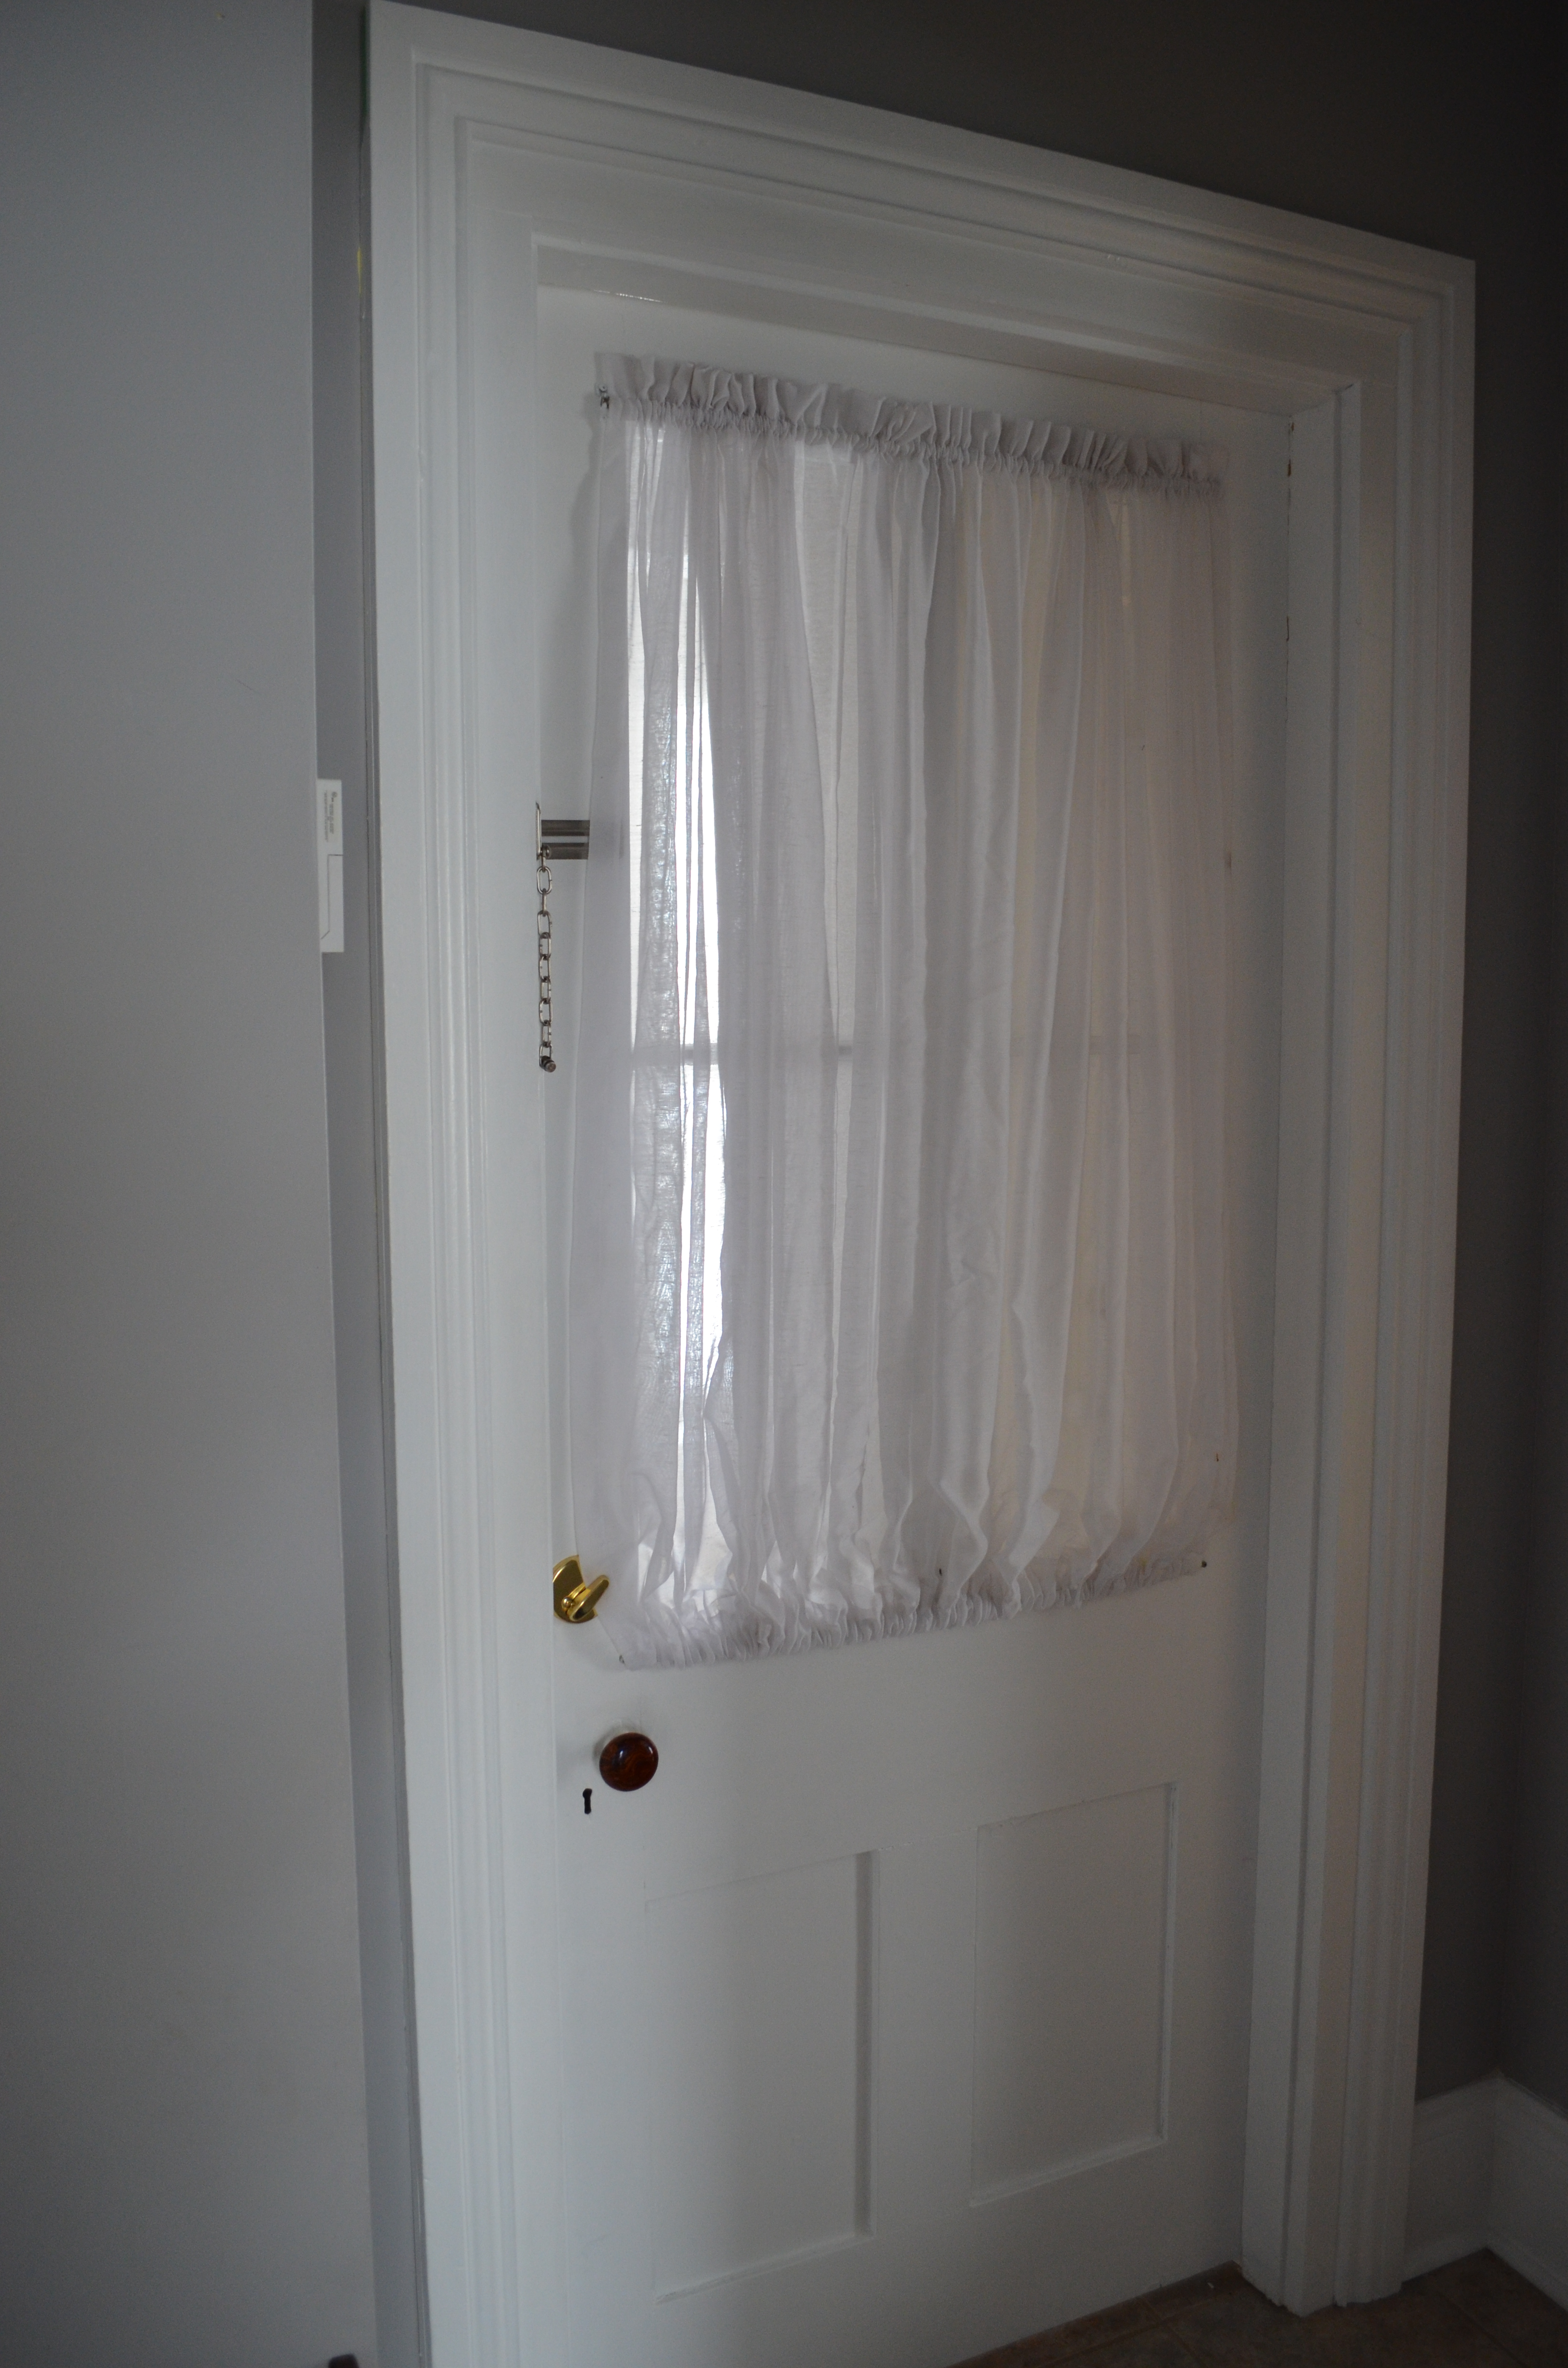
Before

From the outside
The curtains that I was replacing were store-bought white sheers that were very full. They were great in the way that they gave us some privacy without blocking out all of the light. However, I wanted something more slim and modern (without betraying my love for vintage flair, of course). The door has four panes of glass separated horizontally by a narrow muntin, and vertically by a thicker muntin.

My wish was to highlight the architecture of the door with my new window treatment, so I came up with the idea to use two slim panels to cover each vertical set of window panes. I dug through my bin of sewing salvage to look for some left over fabric that resembled the shape I had in mind. I found a few options and let my husband narrow them down. I then measured the windows, accounted for hems, curtain rods and possible shrinkage that could occur if I ever want to wash them and cut my fabric. I used my iron to pressed the hems over twice to cover the raw edge and sewed them in place. I also measured along the way to make sure I had done my calculations correctly. When I finished, I hung my curtains and basked in the afterglow of a job well done.
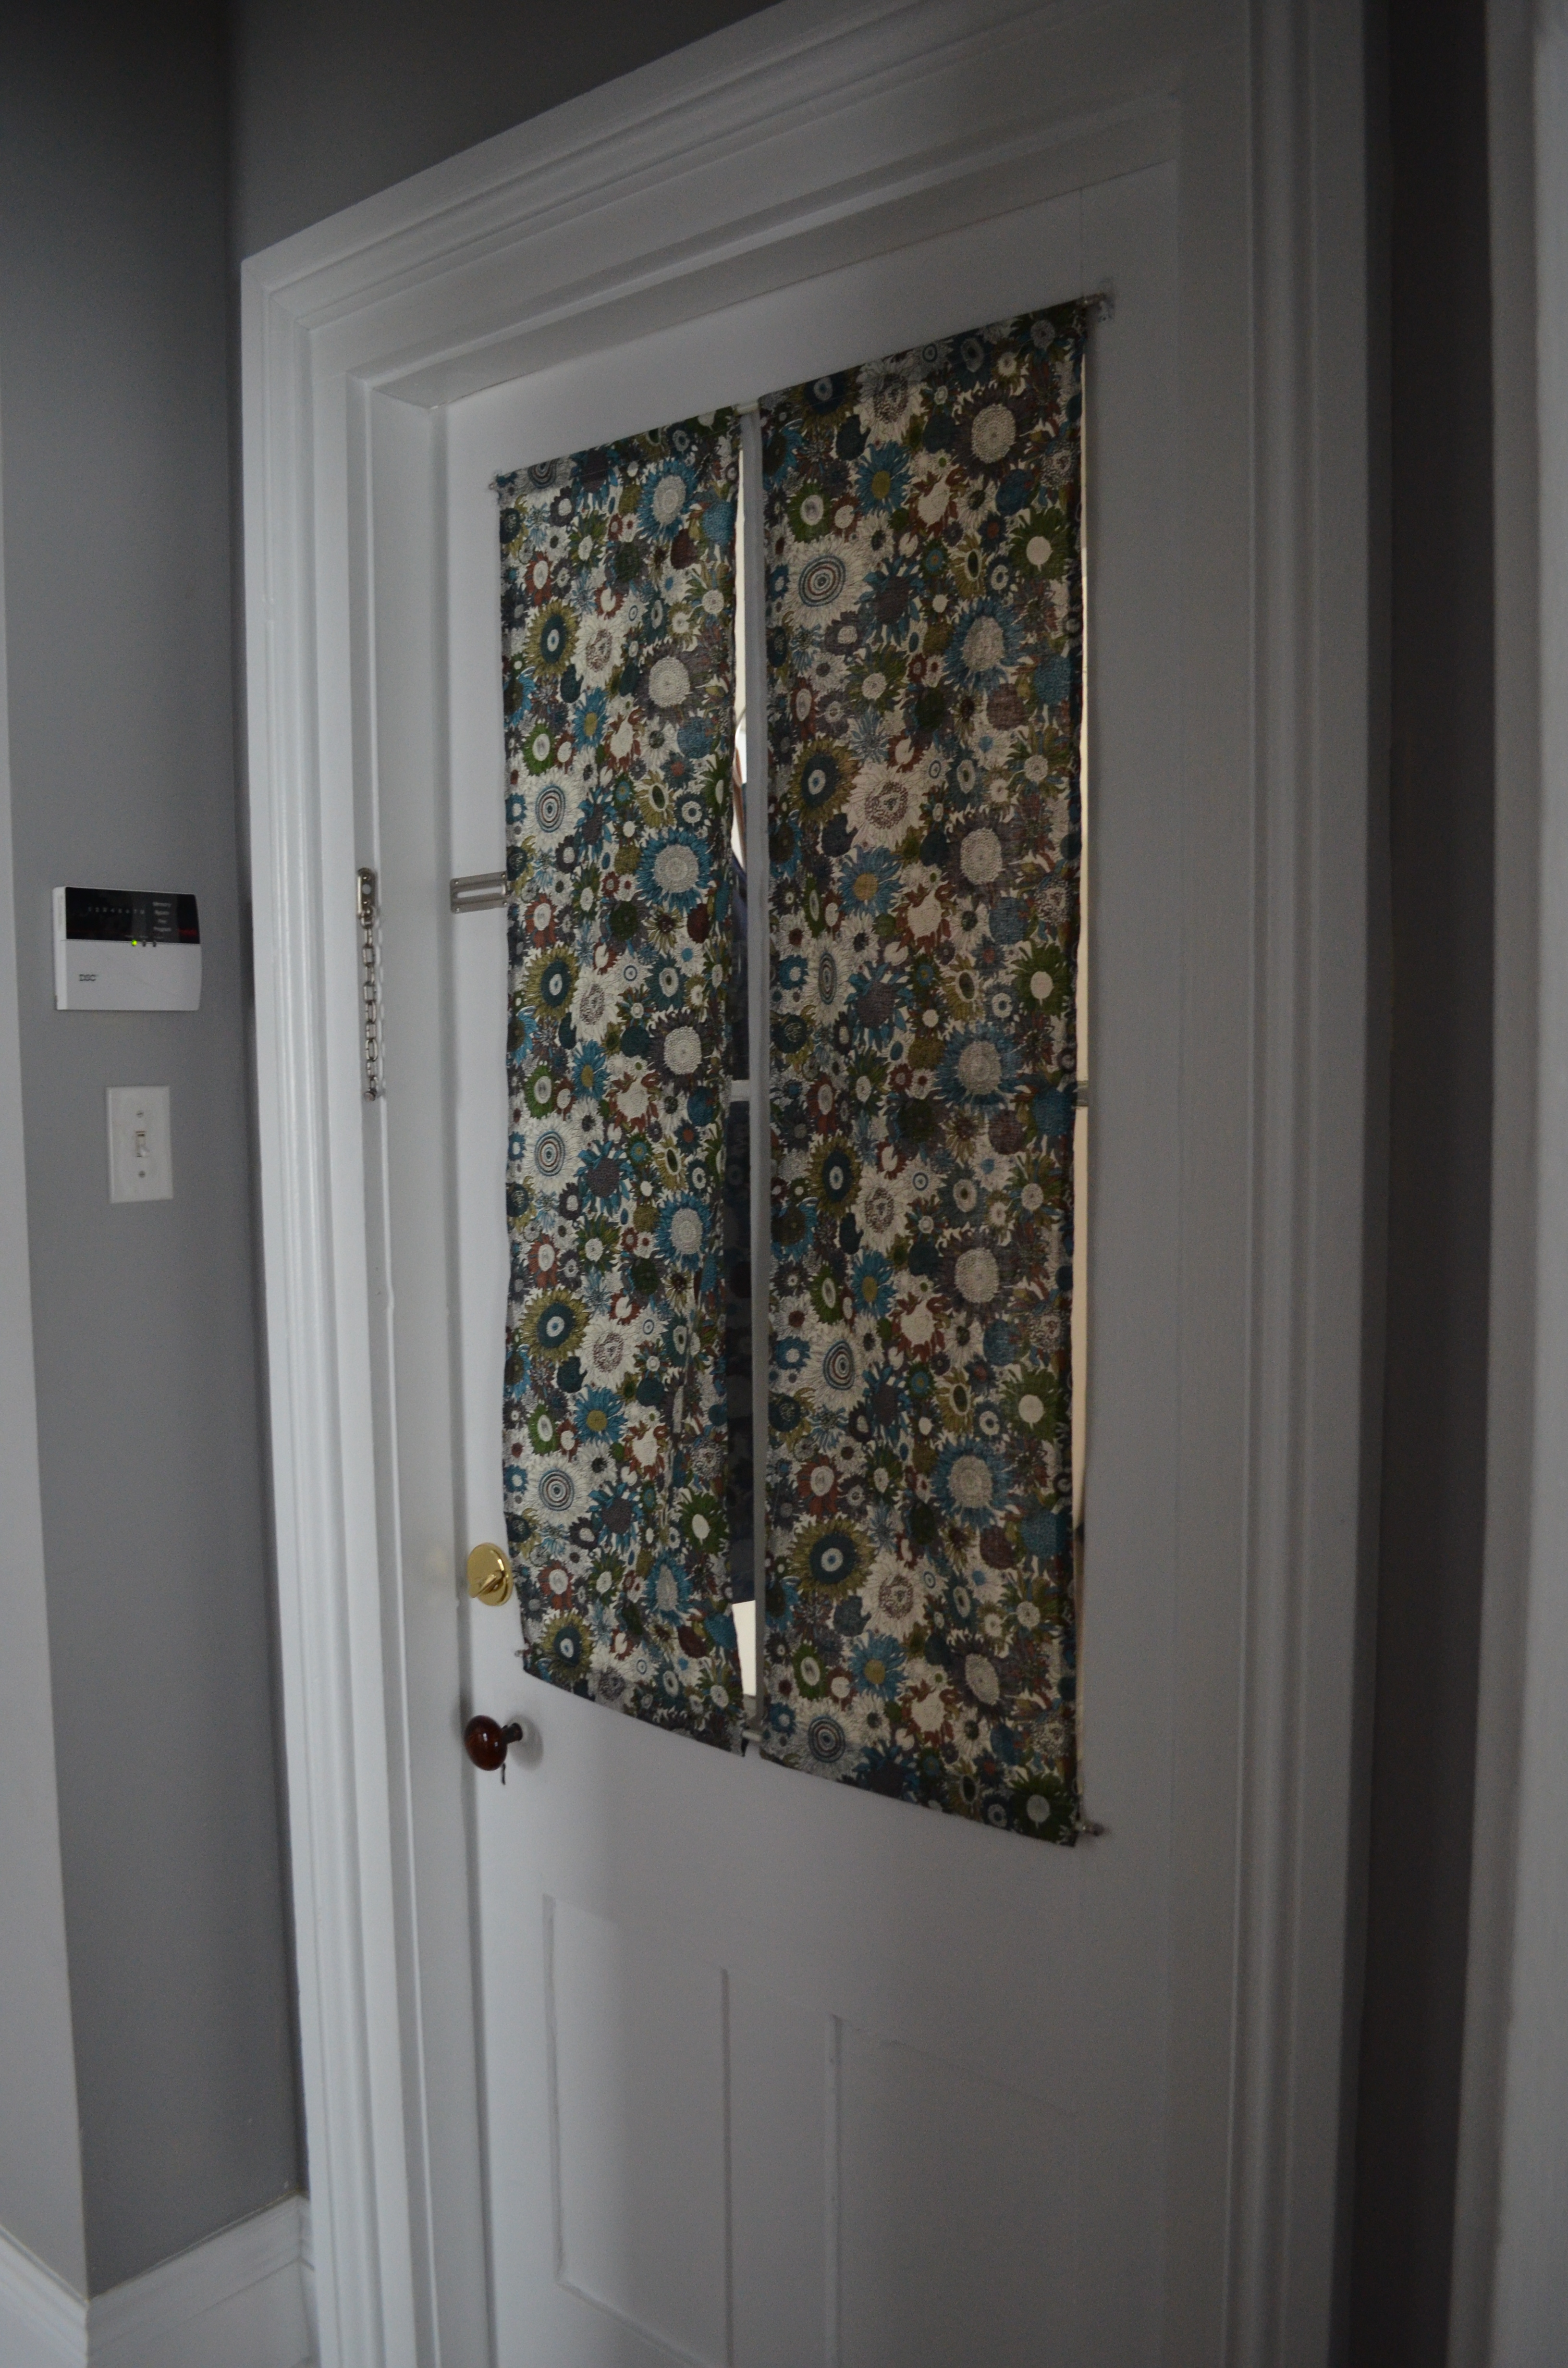
After

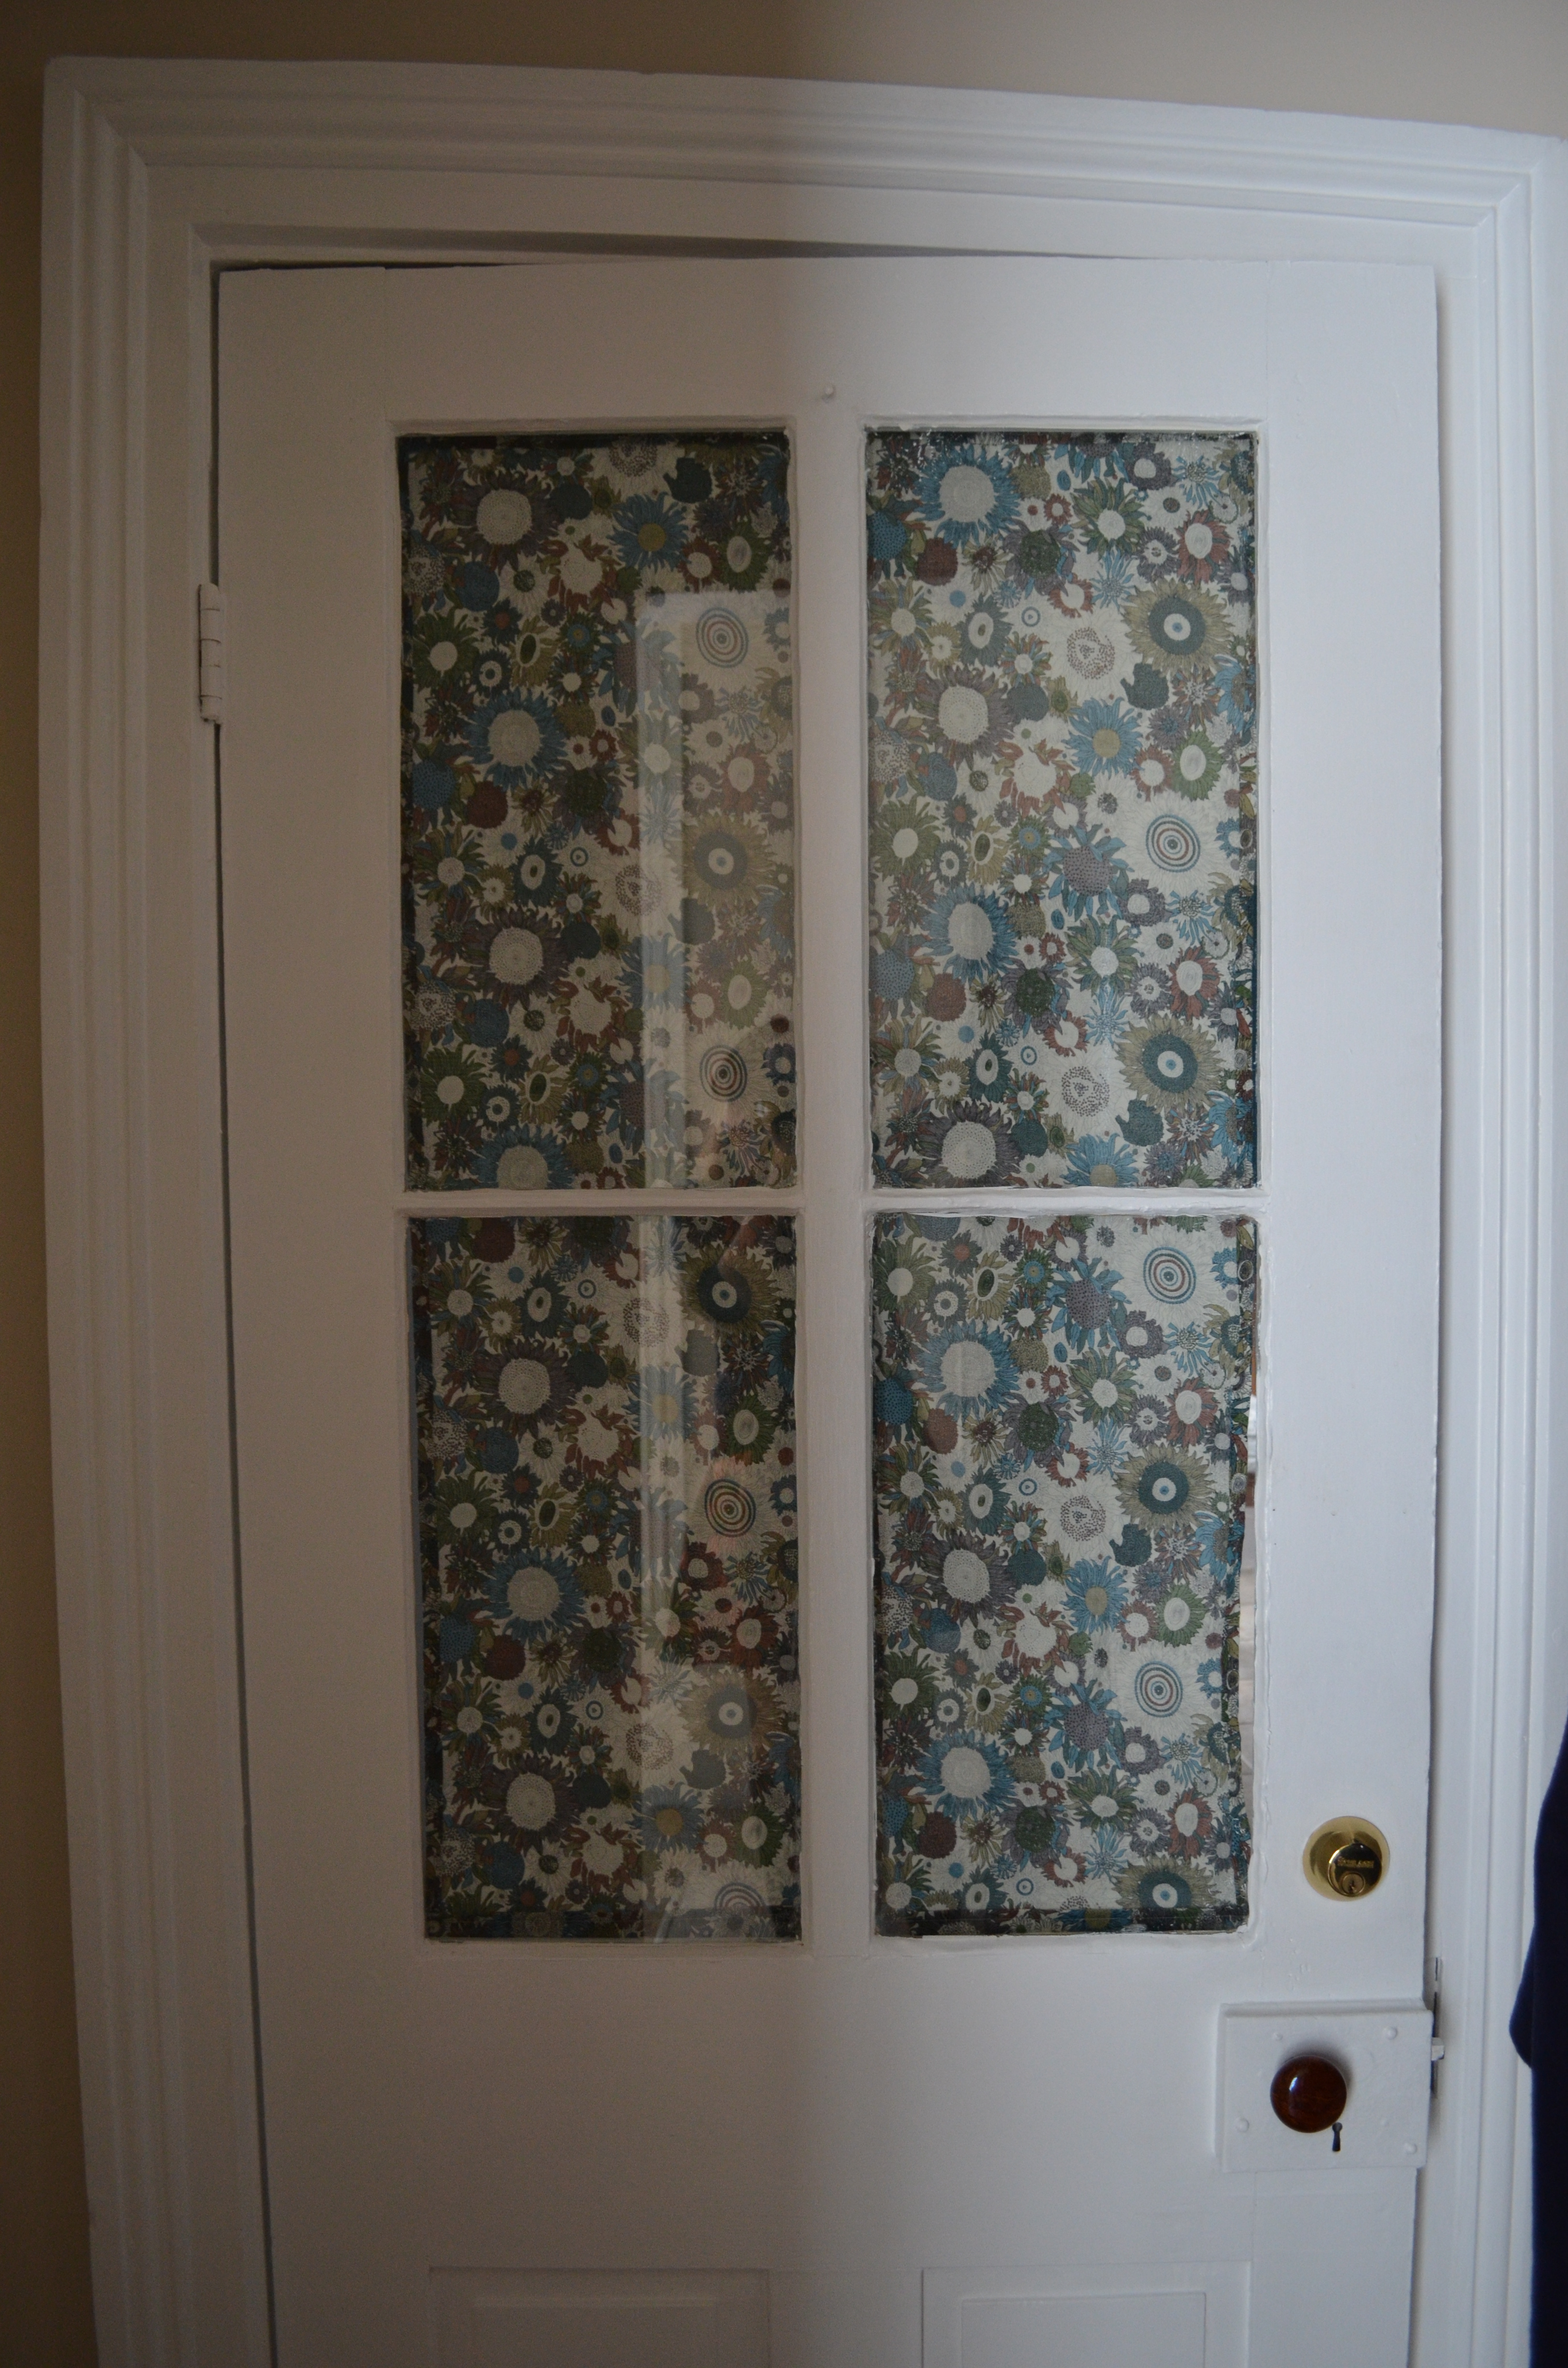
From the outside
They offer a bit more privacy than the old ones, but let in just about the same amount of light. They also pull to the side easily to see who is at the door, without that person being able to see me so easily.