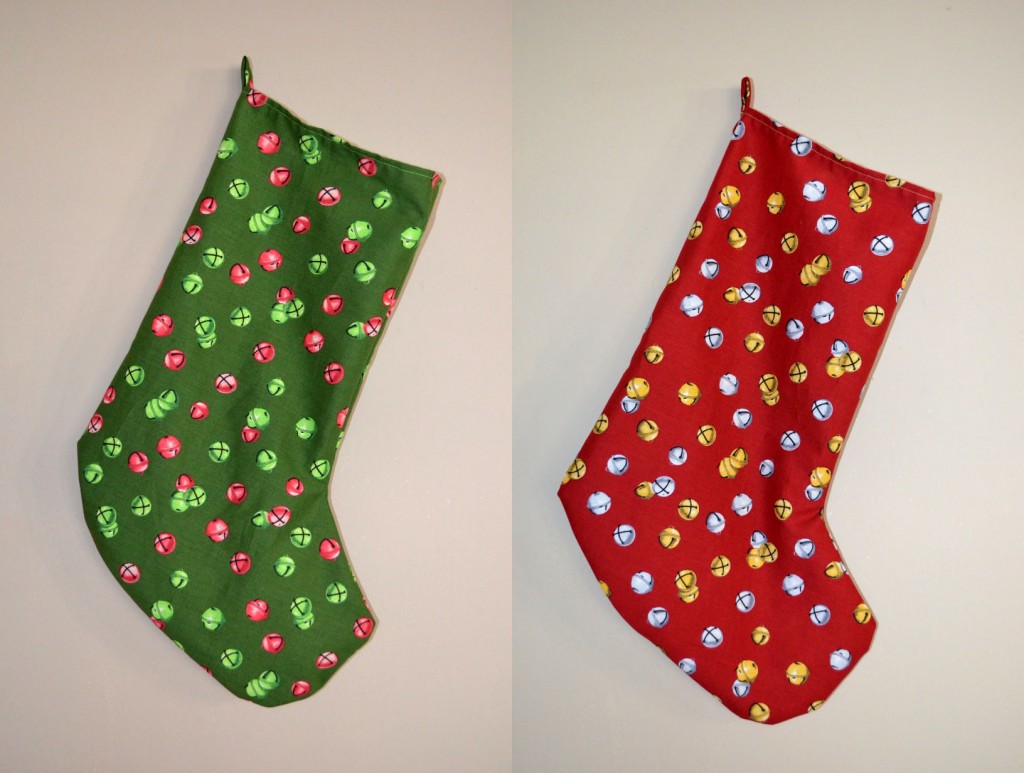
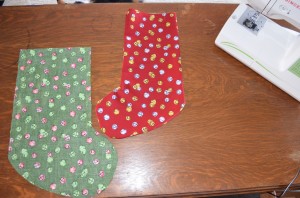
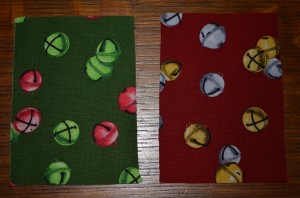
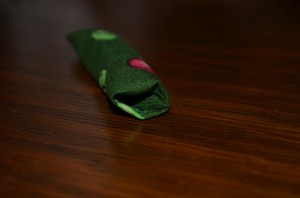
For the first time since we have lived together, my husband and I are not travelling to see family on Christmas. We realized that this means we don’t have any parents to fill stocking for us. I became very excited to shop for “stocking stuffers” for the first time in my life and lovingly fill a stocking for my hubs. One problem was immediately brought to my attention: we don’t own stockings. Since I am not a skilled knitter, we went to our local fabric store to pick our stocking fabric. After my husband not being able to find his first choice – anything with cats on it – and after me discouraging him from choosing a Hanukkah themed print, camouflage, digital camouflage, animal print, fur and leather (seriously, what’s wrong with this guy?), he decided on the green fabric below. I then picked the red one to match because I hold all the sanity of the relationship.
Here is how I made our Christmas stockings:
Step 0: Purchase the fabric and thread you would like to make your stocking(s) with. You will need ½ a metre (or yard).
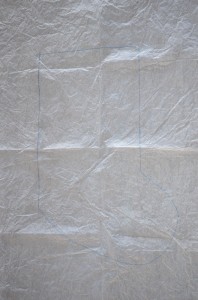
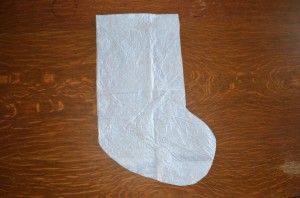
Step 1: Make a pattern for your stocking by drawing the shape and size you want onto some spare tissue paper.
Cut the pattern out.
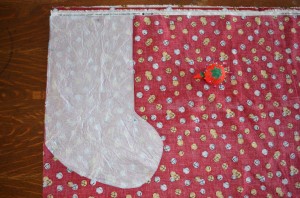
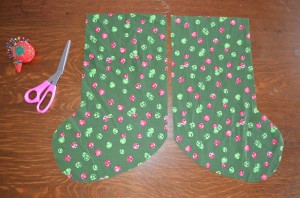
Step 2: Pin the pattern to the fabric, with the fabric folded in half.
Cut the fabric. You should have two mirrored pieces.
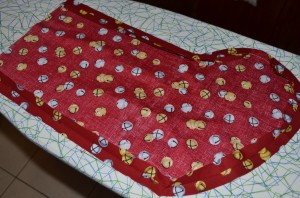
Step 3: Place fabric pieces together with right sides together. Sew with a 5/8 inch seam allowance.
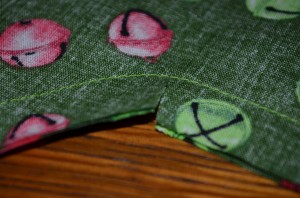
Step 4: Cut a notch in the small curve of the stocking, making sure not to snip the thread.
Step 5: Press seams flat as best you can.
I find it easier to do each side one at a time.
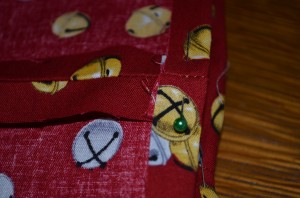
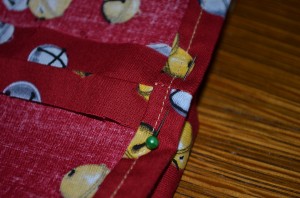
Step 6: Sew a hem at the top of the stocking by folding over, wrong sides together, by ½ inch. Sew with a ¼ inch seam allowance.
Repeat a second time.
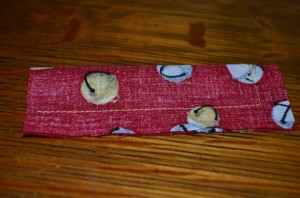
Step 7: To make a strap to hand the stocking by, cut a 3″ x 4″ square.
Step 8: Fold over lengthwise, right sides together and sew two sides with a ½ inch seam allowance, leaving one end open.
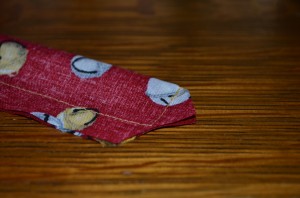
Cut the corners off of the closed end, making sure not to snip the thread.
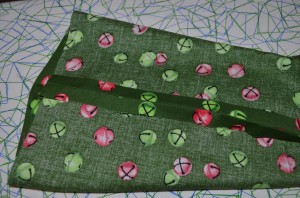
Step 9: Turn right side out. Form a seam by rolling the edges of the open end down inside the strap by ½ inch. Sew along the end with a ¼ seam allowance.
Step 10: Attach the strap to the back of the stocking by sewing the previously-open end to the inside. Sew with a square.
Fold the strap over and sew to the outside of the stocking. Sew along the same square. Finish by sewing an X through the square to make it stronger.
This is an easy project, suitable for a novice. If this seems too difficult, however, I did see something neat while I was at the fabric store: fabric you can buy that has two stockings per metre printed on it for you to cut out and sew together. This magically fabric also came with instructions printed around the stockings.

