Keeping Cool

Keeping Cool | Sophster-Toaster

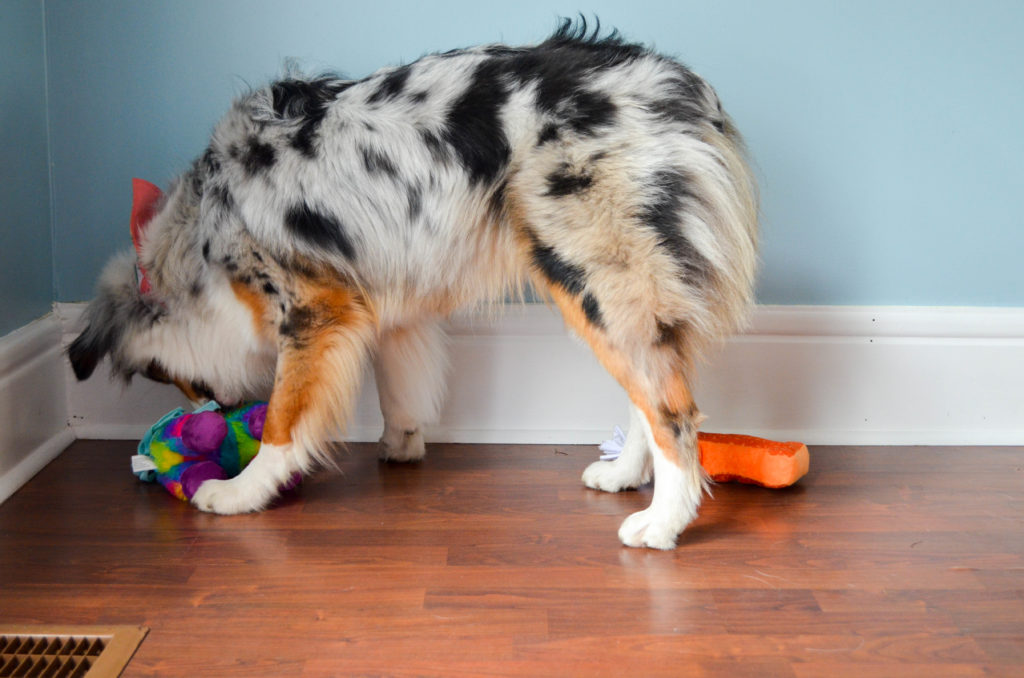
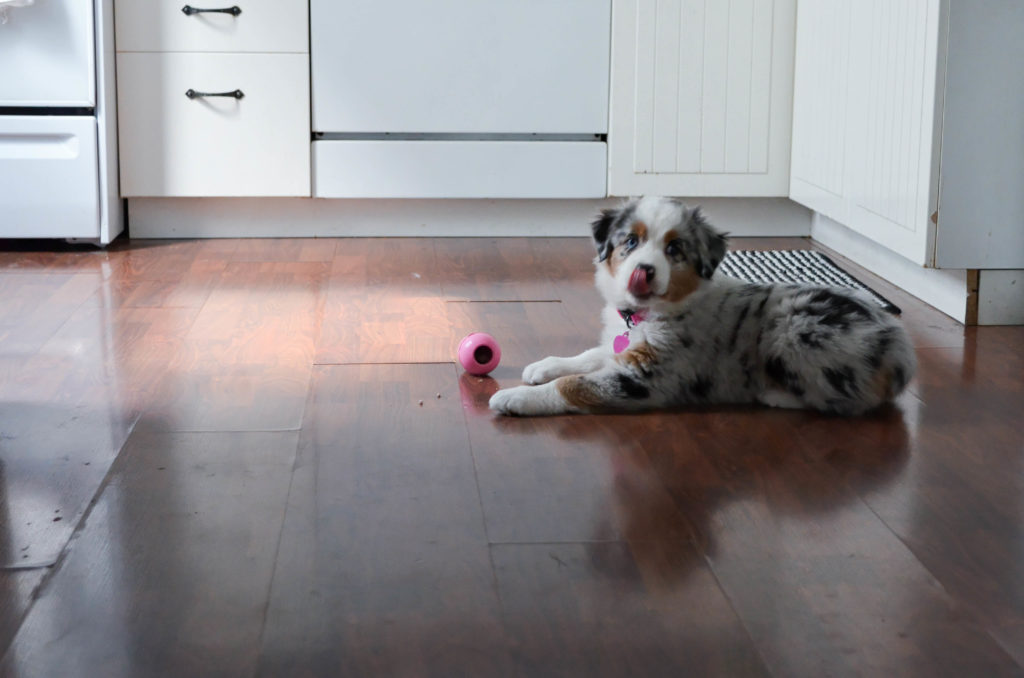
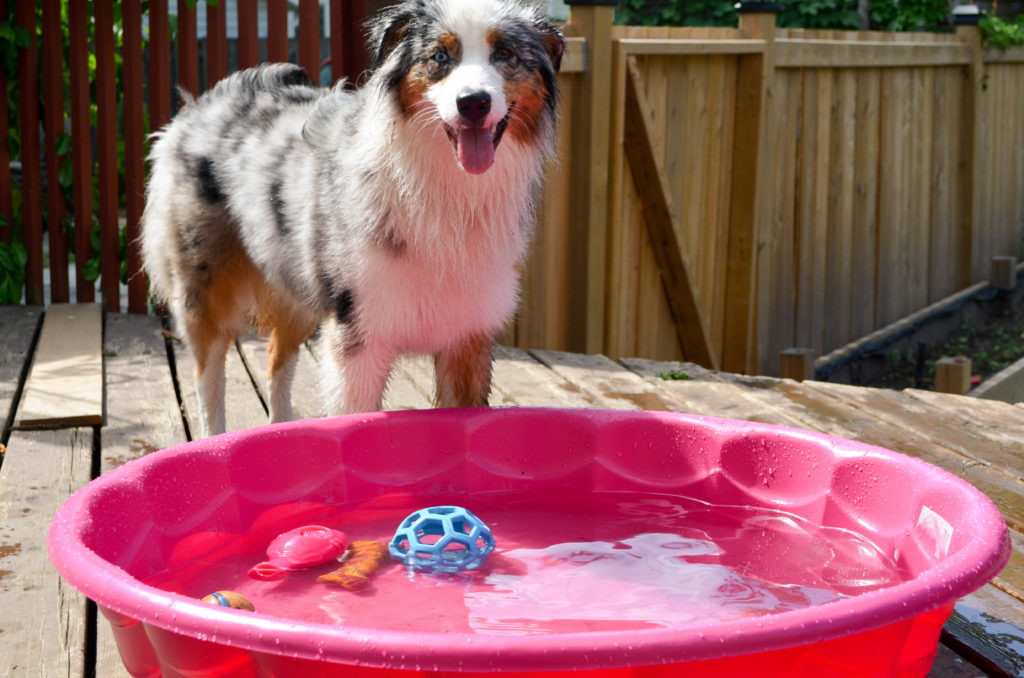
Two summer’s ago, we bought an old house without air conditioning. Our last apartment had central air but all our previous ones, and the house I grew up in did not, so this is nothing new to me. Most days are fine: I dress lightly, the dog finds a shady spot to sleep outside, the cat retreats to the basement and we all stay fairly comfortable throughout the day. I’ve gotten pretty good at keeping the house cool the old fashioned way, without air conditioning, even during this recent heat wave.

Keeping Cool | Sophster-Toaster

The main part of the trick, is to resist the urge and instinct to open the windows when it gets hot out. This won’t cool the house during the day, it’s only going to let more heat and humidity in. What you do is open the house up in the evening, when the sun is low and the air starts cooling off, but you don’t just fling every window and door open and hope the cool breeze will find its way in. If your house is a two story, like mine, you start by opening all the lower level windows on side of the house with the coolest breeze coming in – for me this often tends to be the back/north side of my house – and all the upper windows on the opposite side. If you’ve done it right, and the wind is in your favour, you should soon feel the cooler air coming in, rushing up the stairs and pushing all the hot air out of the upper rooms. I let this convection current do it’s thing until the house has come down a few degrees and then open all the windows and let each floor establish it’s own cross breeze. I leave all the windows it’s safe to leave open over night and return the house to the convection until after breakfast in the morning. Then I close up tight! On really hot days, when the house starts getting stuffy, I’ll run the furnace fan a little bit to circulate some of the cold, dehumidified basement air upstairs. During heat waves, like the one we just had, when it doesn’t get cold enough at night to return the house to a starting temp of 21-22°, I’ll be very careful not to create any unnecessary heat or humidity inside the house. That means showers are short and cool, laundry and dish washing machines are run overnight or not at all and the oven isn’t turned on. We do have a small, old window air conditioner unit in the bedroom – a relic from our tiny one-bedroom apartment days – for when the nights are absolutely unbearable, but as environmentally and budget conscious people, we try to run it as little as possible.

Keeping Cool | Sophster-Toaster

I maintain a comfortable temperature in my house during the summer months just by living the way our grandparents did before air conditioning was invented. All the time, I have friends walk in and say, as I quickly shut the door behind them, “hey! I thought you said you didn’t have air conditioning.” I just smile slyly and say I don’t.

Keeping Cool | Sophster-Toaster Keeping Cool | Sophster-Toaster Keeping Cool | Sophster-Toaster Keeping Cool | Sophster-Toaster Keeping Cool | Sophster-Toaster Keeping Cool | Sophster-Toaster Keeping Cool | Sophster-Toaster Keeping Cool | Sophster-Toaster Keeping Cool | Sophster-Toaster

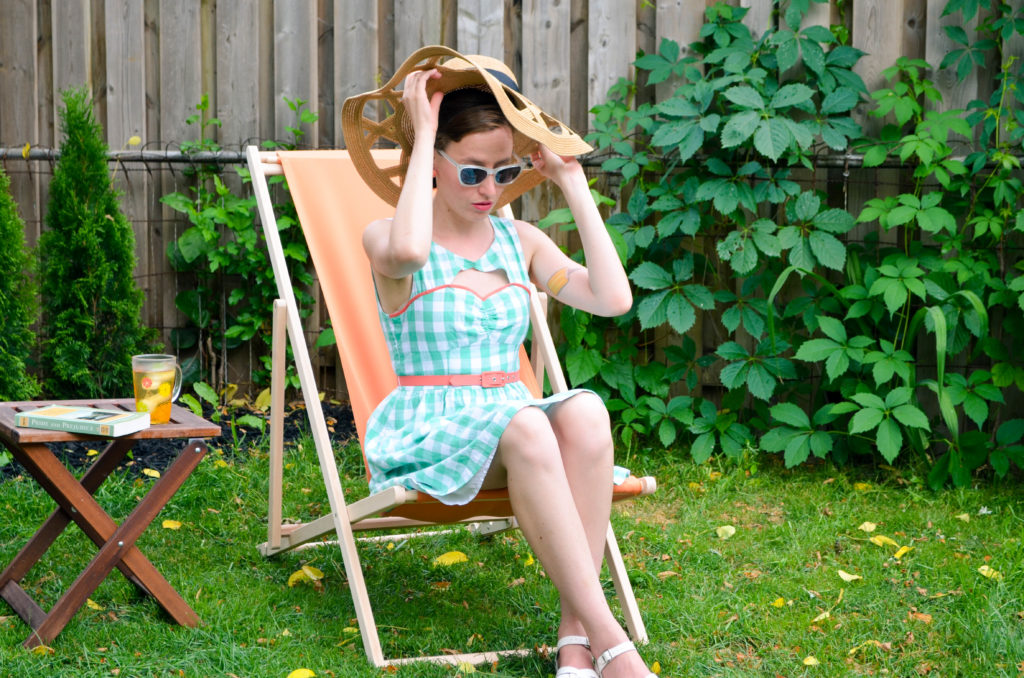
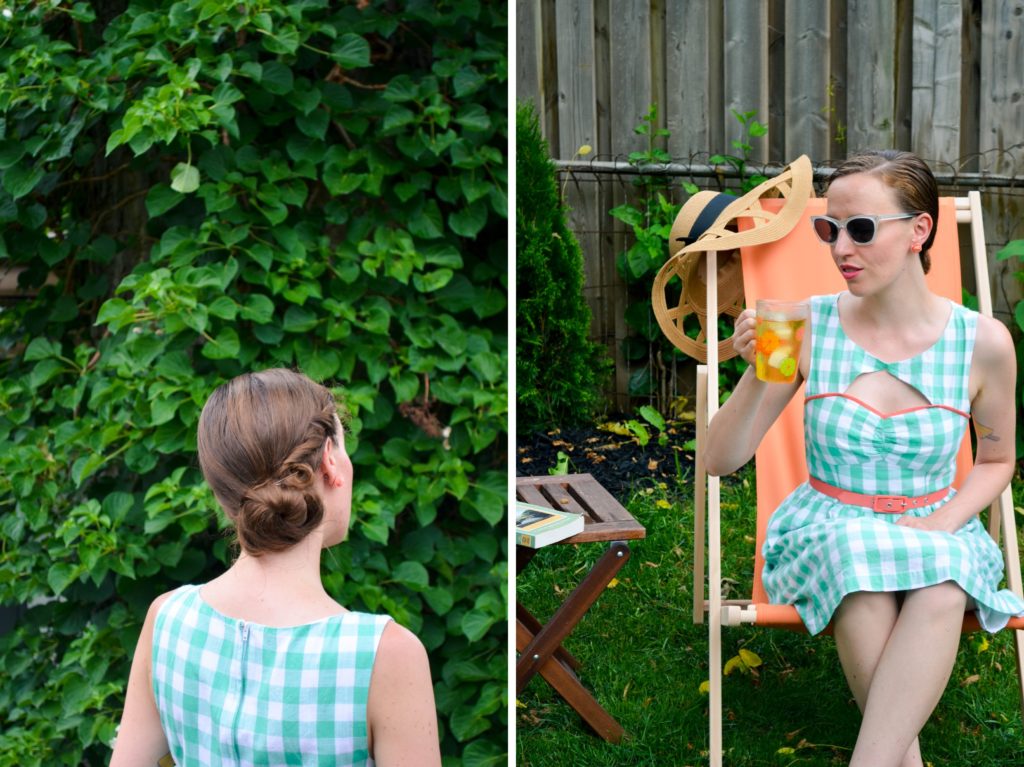
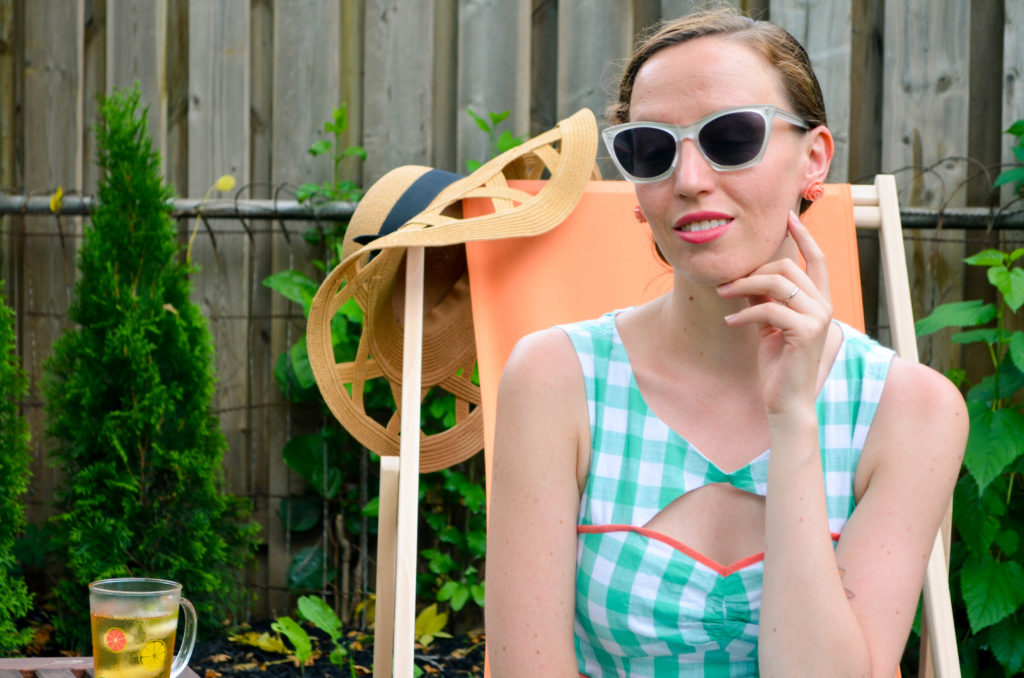
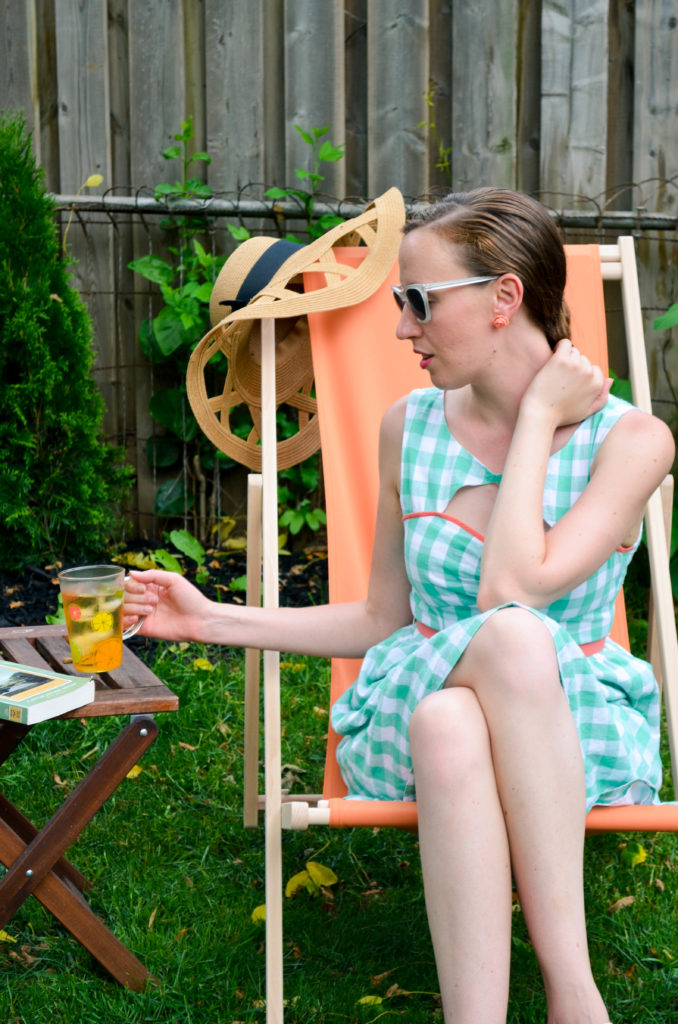
Head to toe ModCloth
(Find my sandals in all colours here)
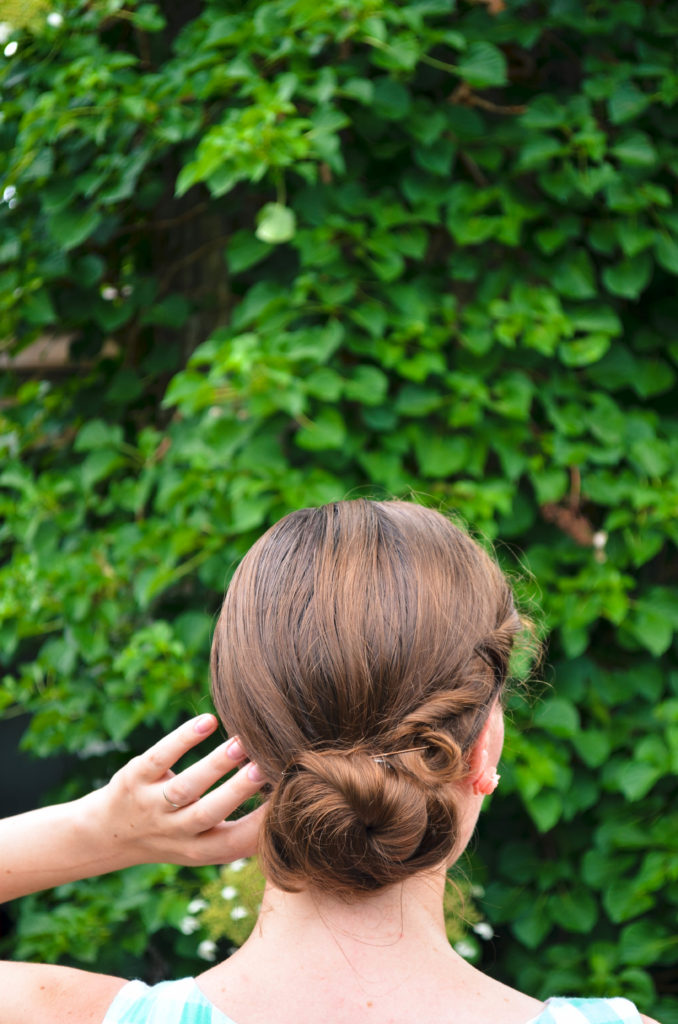
All photos by me.

Pepper’s 1st Birthday

Pepper's 1st Birthday | Sophster-Toaster

Pepper turned one year old this week! It’s been quite the year with this crazy pup. She’s learned, grown and matured a lot over the past months and now those early, difficult days of puppy teeth nipping, crate training, teething and housebreaking are almost forgotten. She’s changed our lives for the better in so many ways and even though there are still some frustrations with this energetic, adolescent pup, waking up to her smiling face every morning makes me happier than anything in the world.

Pepper's 1st Birthday | Sophster-Toaster Pepper's 1st Birthday | Sophster-Toaster Pepper's 1st Birthday | Sophster-Toaster Pepper's 1st Birthday | Sophster-Toaster Pepper's 1st Birthday | Sophster-Toaster Pepper's 1st Birthday | Sophster-Toaster Pepper's 1st Birthday | Sophster-Toaster Pepper's 1st Birthday | Sophster-Toaster Pepper's 1st Birthday | Sophster-Toaster Pepper's 1st Birthday | Sophster-Toaster Pepper's 1st Birthday | Sophster-Toaster Pepper's 1st Birthday | Sophster-Toaster Pepper's 1st Birthday | Sophster-Toaster Pepper's 1st Birthday | Sophster-Toaster Pepper's 1st Birthday | Sophster-Toaster Pepper's 1st Birthday | Sophster-Toaster Pepper's 1st Birthday | Sophster-Toaster Pepper's 1st Birthday | Sophster-Toaster

Photos by me and Matt Harrison.

Summer Shopping List

Summer Shopping List | Sophster-Toaster Blog

Aerie swimsuit \\ Tarte eyeshadow palette \\ ModCloth skirt \\ Lime Crime semi-permanent hair colour \\ ModCloth shorts \\ ModCloth pajamas \\ ModCloth sandals \\ Rosehound Apparel top

I feel like my wardrobe is missing several key pieces this season. Last summer, I lived in old clothes that were sacrificed to new puppy nipping, pulling, jumping and playing. I didn’t buy anything new because I didn’t know when I would be able to have nice things again without fear that my new furry friend would destroy them. Now that she’s all grown up and doesn’t see shoes as tasty snacks and flowy hemlines as tug toys, I can wear whatever I want… but oh no! I have nothing to wear.

I won’t be able to pick up every item on my summer shopping list, but here are the fun and beautiful warm weather things I’ll certainly be choosing from.

Summer Shopping List | Sophster-Toaster Blog

Sparkle Collective DIY hoop art kit \\ ModCloth clutch \\ Les Tresors De Claudet vintage picnic basket \\ Coldfish vintage dress \\ Keds shoes \\ Warby Parker glasses \\ American Apparel shorts \\ Urban Outfitters swimsuit \\ Cat Mamola necklace \\ Oh Me Oh My dress

All images courtesy of retailers.

Garden Rhubarb Macarons

Garden Rhubarb Macarons | Sophster-Toaster Blog

I decided to keep it simple with this month’s new macaron recipe. I made simple vanilla/almond flavour shells and used rhubarb, cut from my garden, to make a quick coulis to flavour a luxurious pastry cream filling. The result is a decadent looking cookie with a subtle sweet rhubarb flavour that tastes just like springtime.

Garden Rhubarb Macarons | Sophster-Toaster Blog Garden Rhubarb Macarons | Sophster-Toaster Blog Garden Rhubarb Macarons | Sophster-Toaster Blog Garden Rhubarb Macarons | Sophster-Toaster Blog Garden Rhubarb Macarons | Sophster-Toaster Blog Garden Rhubarb Macarons | Sophster-Toaster Blog Garden Rhubarb Macarons | Sophster-Toaster Blog Garden Rhubarb Macarons | Sophster-Toaster Blog

Ingredients

for the rhubarb coulis

  • 1 cup fresh rhubarb, chopped (about three stalks)
  • ¼ cup sugar
  • 3 tbsp water

for the macaron shells

  • 1 cup ground almonds (as finely ground as you can find)
  • 1½ cups icing sugar
  • 3 large egg whites, at room temperature
  • 1/3 cup sugar
  • 1 tsp high quality vanilla extract
  • pink gel food colouring

for the rhubarb pastry cream

(adapted from Joy of Cooking)

  • 1/3 cup sugar
  • 2 tbsp flour
  • 2 tbsp cornstarch
  • 4 large egg yolks
  • 1 1/3 cups milk
  • ¾ tsp vanilla
  • 5 tbsp rhubarb coulis
  • pink gel food colouring

Method

for the rhubarb coulis

  1. Wash the rhubarb and chop into 1 cm pieces.
  2. Add to a small saucepan with the sugar and water and bring to a simmer over medium heat, stirring to dissolve the sugar and coat the rhubarb.
  3. Reduce the heat to low and simmer for 20 minutes, stirring occasionally and pushing the rhubarb pieces against the side of the saucepan to break them up.
  4. Move to a small bowl and set aside.

for the macaron shells

  1. Prepare your parchment sheets by drawing 1″ circles, ½” apart across the entire sheet (or using silicon baking mats with the circles already printed on them) and placing them on a large flat surface suitable for drying your batter, like a dining table. You will need 2-3 half sheet pan size pieces.
  2. Sift ground almonds and icing sugar, together, twice. Set aside.
  3. In a large stainless steel mixing bowl, beat egg whites with a hand or stand mixer on high speed until you have a foam with no liquid remaining.
  4. Slowly add the sugar while continuing to beat the egg whites. Beat on high speed until the egg whites reach stiff peaks. You’ve made meringue!
  5. Add vanilla and beat in.
  6. Fold your almond and icing sugar mixture into the meringue in two parts.
  7. Here’s the part that takes practice: it’s time for the macaronnage. With a spatula, spread the batter, with some force, against the side of the bowl. Then scoop it up by running the spatula along the side of the bowl again and try to flip it all over and sort-of lightly smack it back into the bottom of the bowl. Gather the batter up again and repeat 15-20 times. It takes some time to figure out the best way to do this, don’t be afraid to play around with it. When doing the macaronnage correctly, repeating more than 20 times can result in oily, blotchy macarons, but I’ve found that doing it incorrectly doesn’t count towards this limit. If you are doing it right, the batter will take on a noticeable and somewhat sudden change in consistency, this means you are about half-way to that limit. When finished, the batter should be thickened and drip slowly from the spatula. You will have to pipe it onto your baking sheets/mats and it won’t work if the batter is too runny. This is the technique that defines macarons, this is what makes mastery of them impressive.
  8. Add a small amount of the gel food colouring and lightly marble it through the batter.
  9. For perfectly round macarons, use a large, 0.4″ plain tip with a pastry bag, or do it the lazy way and cut a corner off a zip top bag for mostly round macarons. Twist (or don’t yet cut) the bag at the tip and place it, tip side down, in a tall glass. Fill with your batter and twist, close or clip the other end to help keep the messy batter moving in the right direction. Pipe the batter into the centre of the circles on your sheets/mats and stop before reaching the edges as the batter will spread out a bit.
  10. Once finished piping, carefully pick the sheets/mats up and drop them back on to the table from a high of a couple of inches. The theory is that this helps the cookies keep their round shape and form the little bubbles (the pied) when you put them in the oven.
  11. Leave the cookies on the table, uncovered, for 15-30 minutes to dry. This is a good time to preheat your oven to 350°F. You will know the macarons are dry when they look smooth and are no longer sticky to the touch.
  12. Place an oven rack in the centre of your oven. Place a sheet of macarons on two doubled up sheet pans (this will stop the bottoms from getting too hot, resulting in cracked macarons) and bake for about 15 minutes. Rotate the pan half way through baking. At this point, if you want to try to keep your cookies light in colour, place a second oven rack directly below the first and move your cookies down to it, then place a third sheet pan above the cookies on the higher rack to protect them from the heat above. It can be hard to tell when the macaron are done. I pull them out when the kitchen smells sweet and the cookies look crisp, have just started to brown and don’t look splotchy in the middle.
  13. As soon as the parchment sheet/baking mat is cool enough to handle, take it out of the pan with all the cookies on top and place it on a cooling rack. The macarons will be too sticky to remove from the sheet/mat now; once cooled, they should peel off easily. I usually wait a few minutes for the pans to cool a bit and for the oven to come back to a steady temperature before moving the next sheet to the pans and baking the next round.

for the rhubarb pastry cream

  1. Vigorously whisk together the sugar, flour, cornstarch and egg yolks until they are thick and pale yellow.
  2. Bring the milk to a simmer over medium-low heat in a medium saucepan.
  3. Temper the egg mixture by slowly pouring abut 1/3 of the hot milk into the mixture, whisking constantly.
  4. Add this new mixture back into the saucepan and cook over medium-low heat until it has thickened and any liquid is just about worked in. It will get quite thick, quite quickly so whisk constantly and be sure to scrape the bottom and sides often to keep it from burning.
  5. Remove from heat and whisk in the vanilla. Whisk in the rhubarb coulis, a tbsp at a time. Add a small amount of the gel food colouring and whisk in. Transfer to a bowl and cover with cling film to prevent a skin from forming on the surface. Cool on the counter and then refrigerate until cold before piping into the macarons.

Pastry cream doesn’t keep as well as other fillings so don’t fill these cookies until you are ready to serve and be sure to promptly store them in the refrigerator afterwards.

Garden Rhubarb Macarons | Sophster-Toaster Blog Garden Rhubarb Macarons | Sophster-Toaster Blog Garden Rhubarb Macarons | Sophster-Toaster Blog

You will have coulis and pastry cream leftover. The coulis will keep for a few weeks and is quite a treat on pancakes. The pastry cream will only a keep a few days and can be used to make several lovely things, notably rhubarb & custard tarts. It can also be eaten with a spoon.

Garden Rhubarb Macarons | Sophster-Toaster Blog

All photos by me.