Snow, Snow, Go Away

Snow, Snow, Go Away | Sophster-Toaster Blog

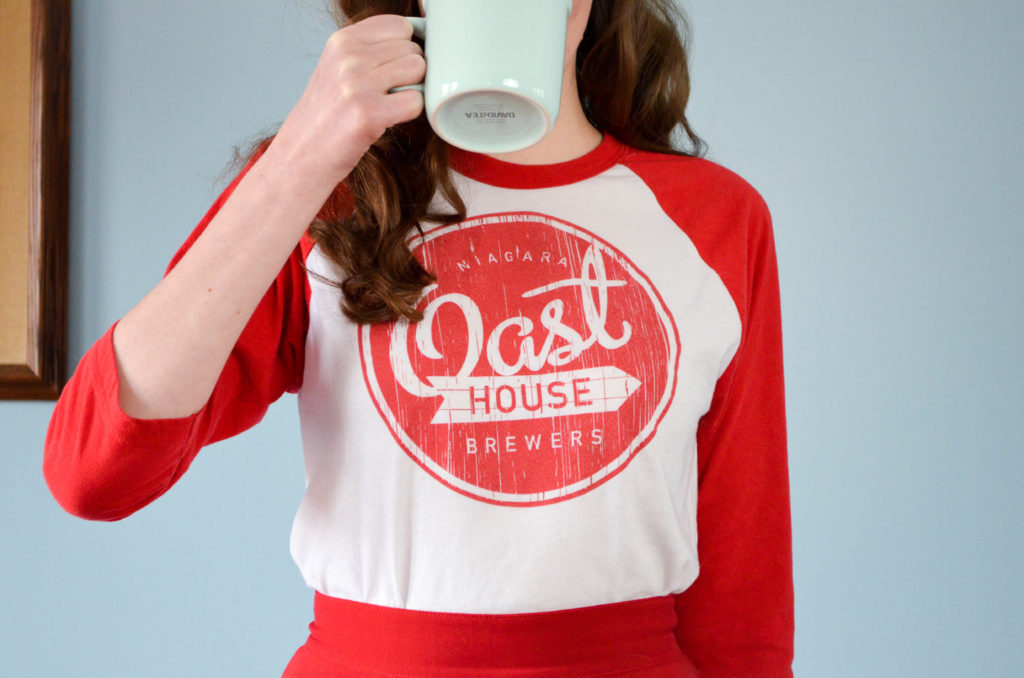
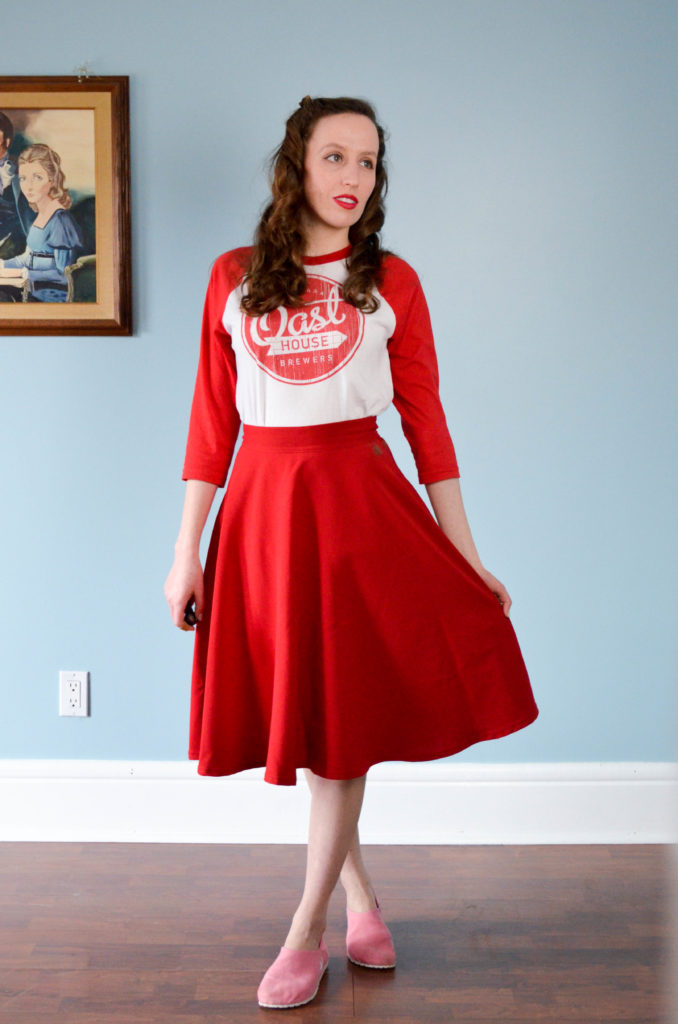
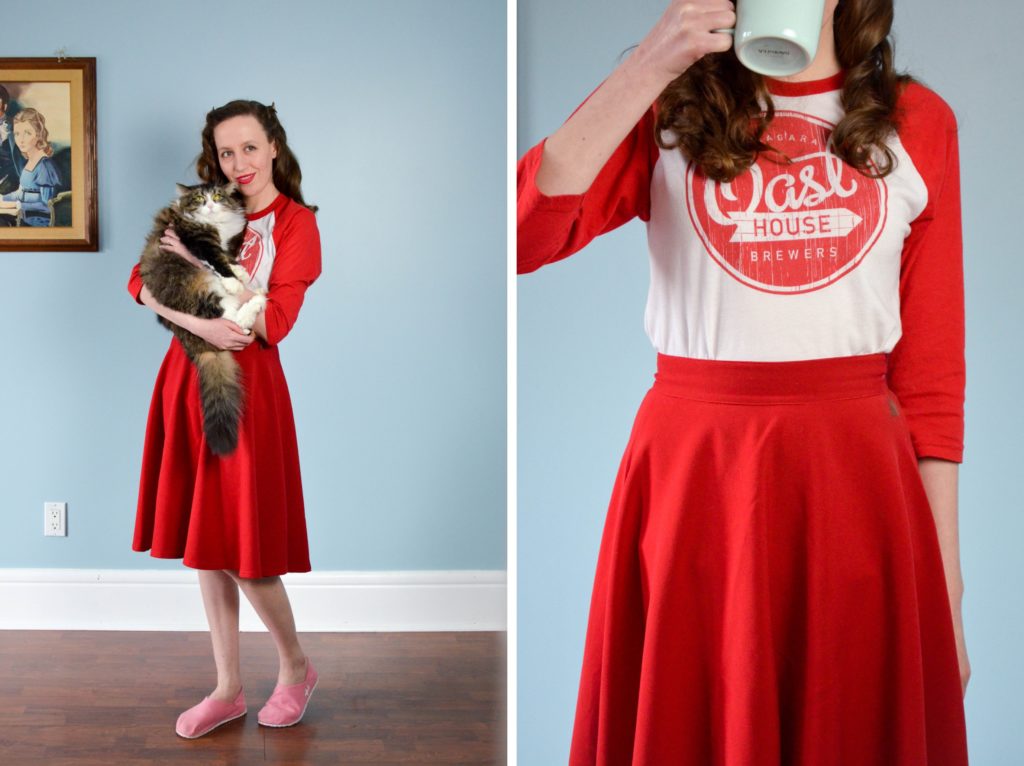
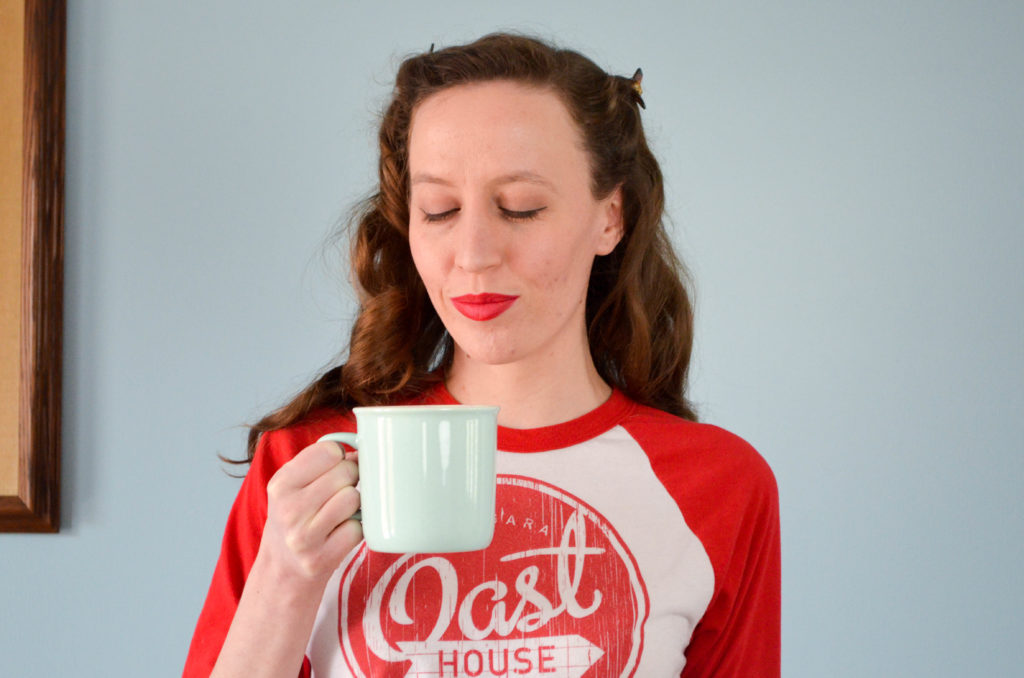
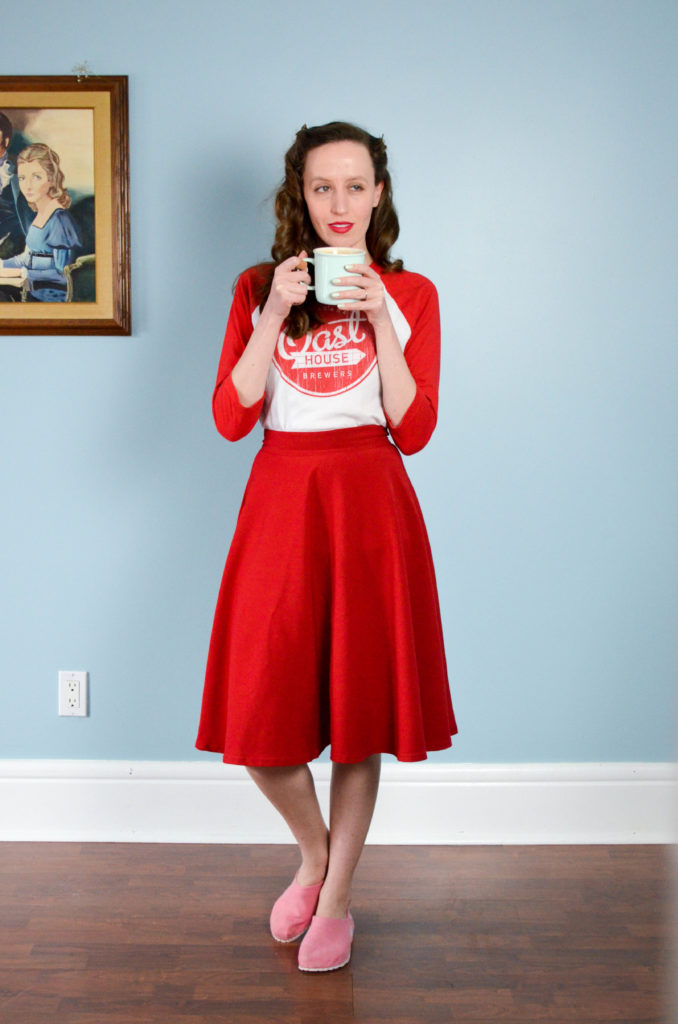
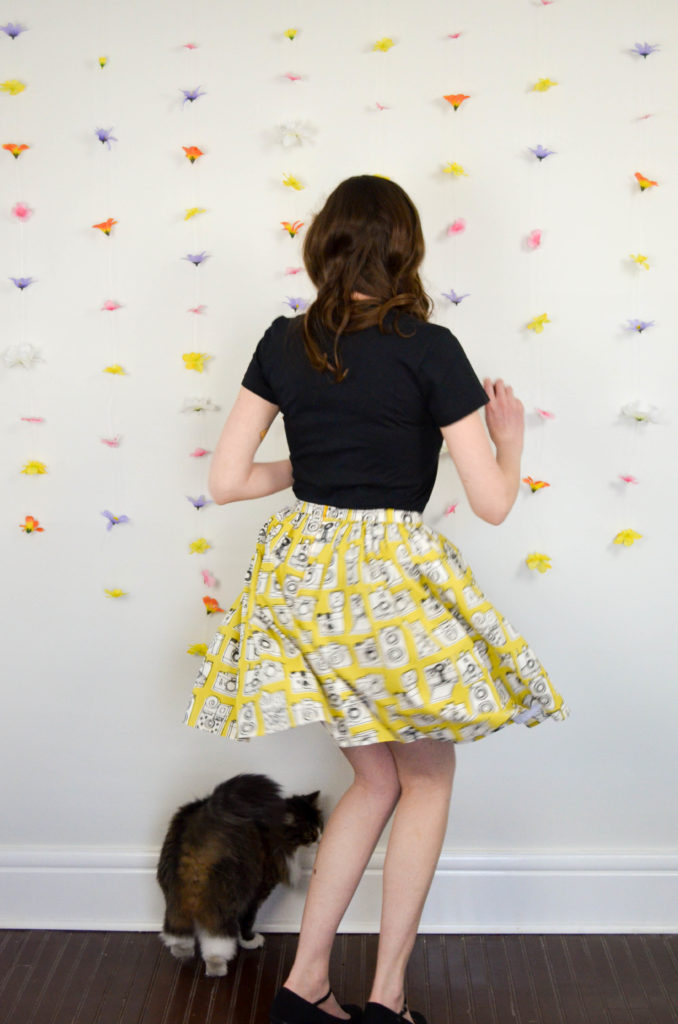
It feels like spring is taking forever to get going this year. We had one of the coolest, snowiest Marches in recent memory and so far, April hasn’t been much different. I’m dying to get my light and bright spring clothes out but the wet and frosty chill outside has me stuck in winter layers limbo. I’m so sick of sweaters and nylons, I’ve started pretending it’s time to go without around the house, staying warm with big cups of chamomile tea and daydreams of tulips and apple blossoms. I’m sure I’ll be opening the windows and packing up my winter boots, unable to remember just when the warm weather got here, before I know it, but right now, it feels like it’s been cold and stormy all my life.

Snow, Snow, Go Away | Sophster-Toaster Blog Snow, Snow, Go Away | Sophster-Toaster Blog Snow, Snow, Go Away | Sophster-Toaster Blog Snow, Snow, Go Away | Sophster-Toaster Blog Snow, Snow, Go Away | Sophster-Toaster Blog Snow, Snow, Go Away | Sophster-Toaster Blog Snow, Snow, Go Away | Sophster-Toaster Blog

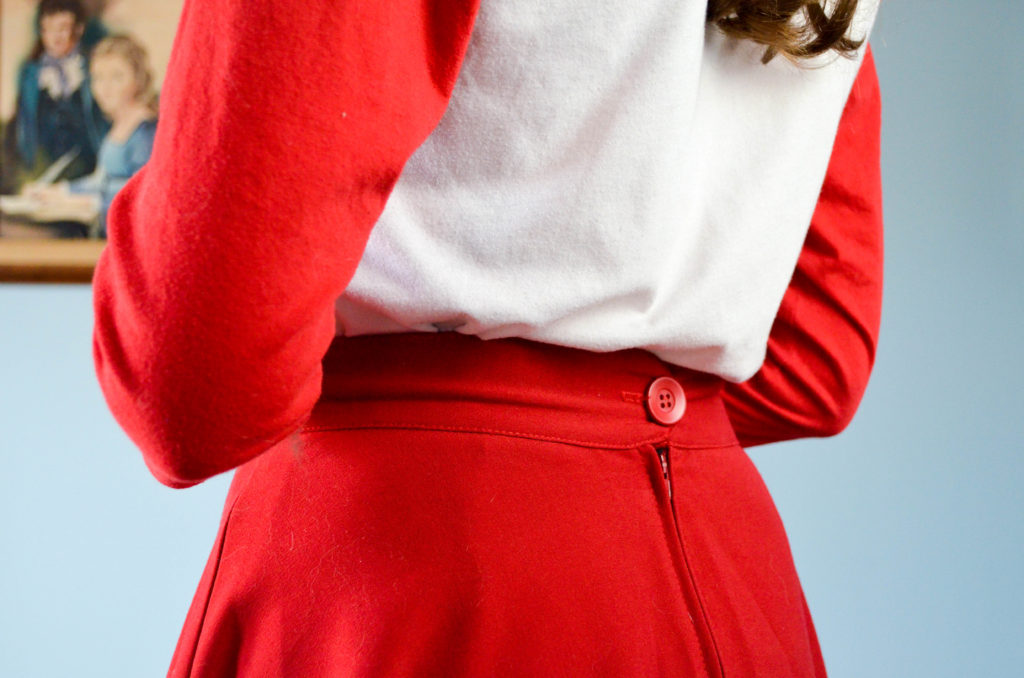
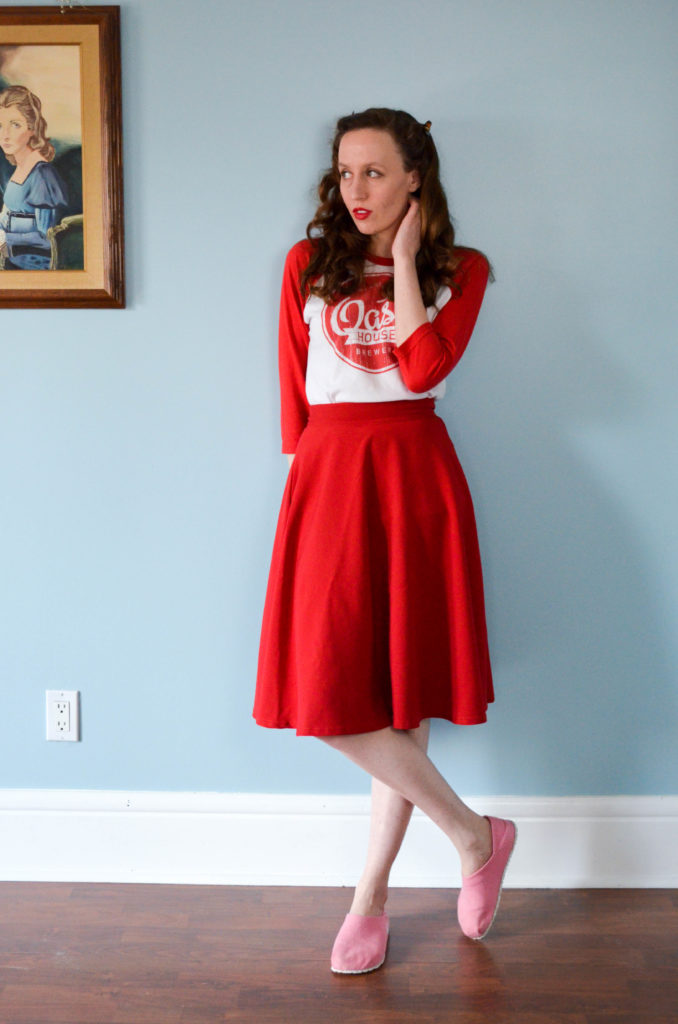
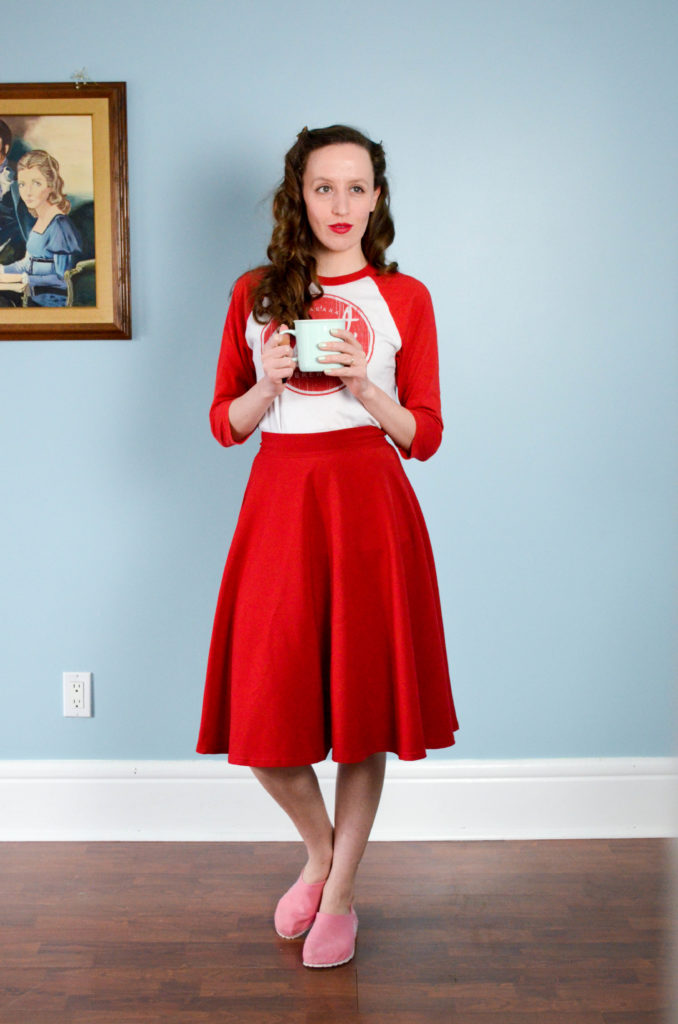
Skirt ModCloth (similar)
Raglan Oast House Brewers
House Shoes Amazon
Hair Clips Shopper’s Drug Mart

All photos by me.

How I Roll: 1940s Waves

How I Roll: 1940s Waves | Sophster-Toaster Blog

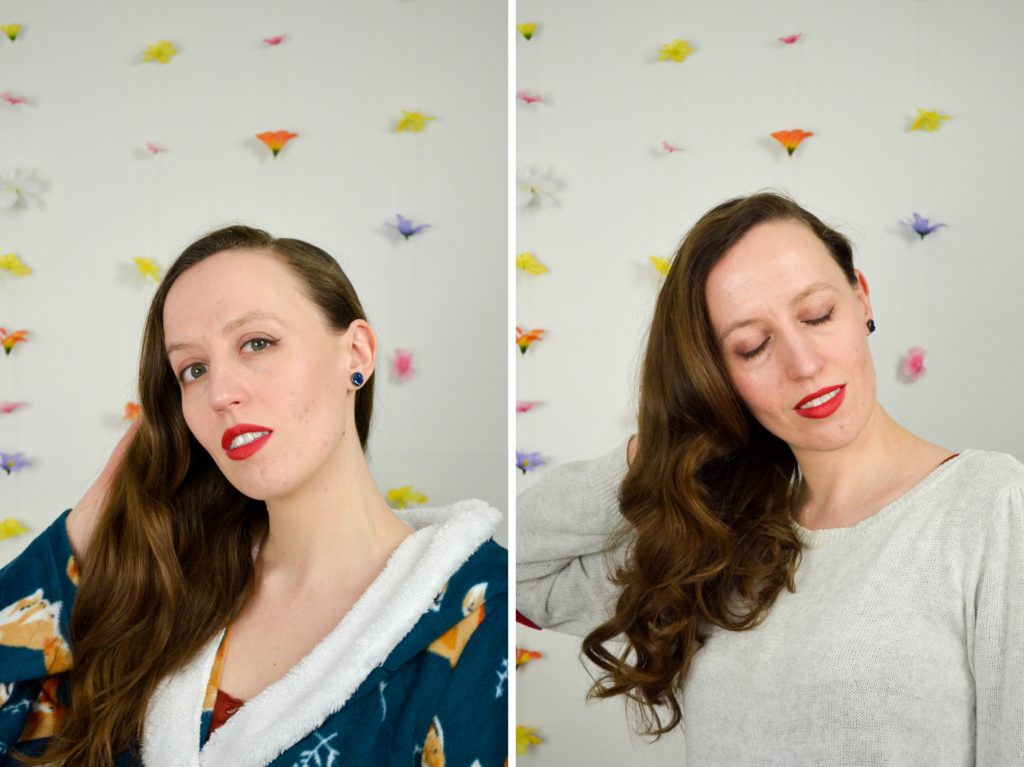
My hair is naturally not quite straight, not quite curly. I let it air dry 99% of the time after applying some moisturizing oil. If I don’t brush it out after drying, and let the curls do their thing, I sometimes get a nice bunch of neat and tidy loose curls, but more often than not, what I get is some lovely toddler curls underneath with a frizzy mess on top. So I usually end up brushing them out into waves with a boar hair paddle brush and applying more moisture oil to keep everything in check. I’ve been growing my hair out, recently, into a sort-of Veronica Lake inspired style. To keep it healthy, I’ve cut back to only two washes a week and I’ve been saving heat styling for special occasions. To get my hair from mind-of-its-own waves to movie-star glamour waves without the damaging heat, I’ve been letting my hair dry in pin curls after most washes. Here’s the rolling pattern I use:

How I Roll: 1940s Waves | Sophster-Toaster Blog

I usually use this same roll pattern with pin-curl clips on damp, lightly moussed hair. Today I’m using hot rollers on second day hair that was simply combed and air dried for the sake of speed (aka tutorial magic).

Step one: brush out hair and part far to the side.

Step two: section hair on side without part from behind your ear to the part. Divide into 2-3 horizontal sections, depending on length and thickness, and roll hair inwards.

Step three: repeat on other side, dividing into 1-2 sections.

Step four: section hair, vertically, into four equal parts, parting down the centre and dividing each half in half again. On side with part, roll hair in 2-3 sections. I like to roll the bottom sections from here-on-out outwards instead of inwards for a bit of a flip at the bottom of my waves.

Step five: roll the back section of this side in 2-3 sections as well.

Step six: repeat on other side, using 3-4 sections for the front section, as you will have more hair gathered on this side, and 2-3 for the back.

Step seven: let hair dry/cool. Remove clips/rollers and give hair a gentle tousle to loosen up some volume at the roots. Brush curls out softly with a boar hair brush, trying to only pass each area once. Set with hair spray, if you like.

How I Roll: 1940s Waves | Sophster-Toaster Blog

This roll pattern also sets a nice foundation for half up, half down throw-back styles like a Zooey Deschanel beehive.

All photos by me.
Froot Loops Macarons

Froot Loops Macarons | Sophster-Toaster Blog

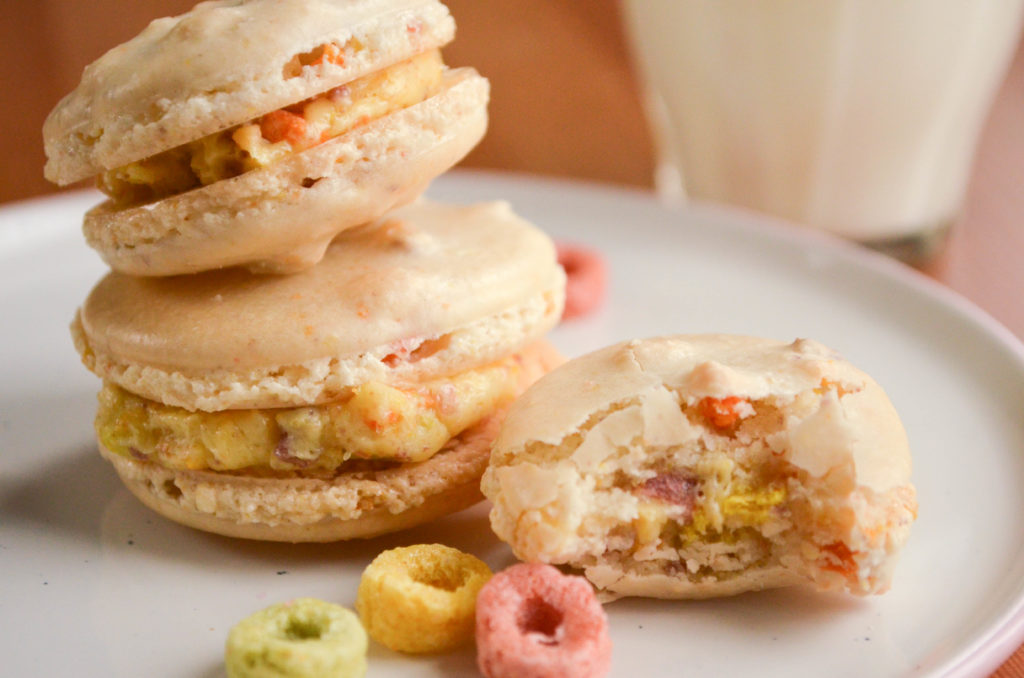
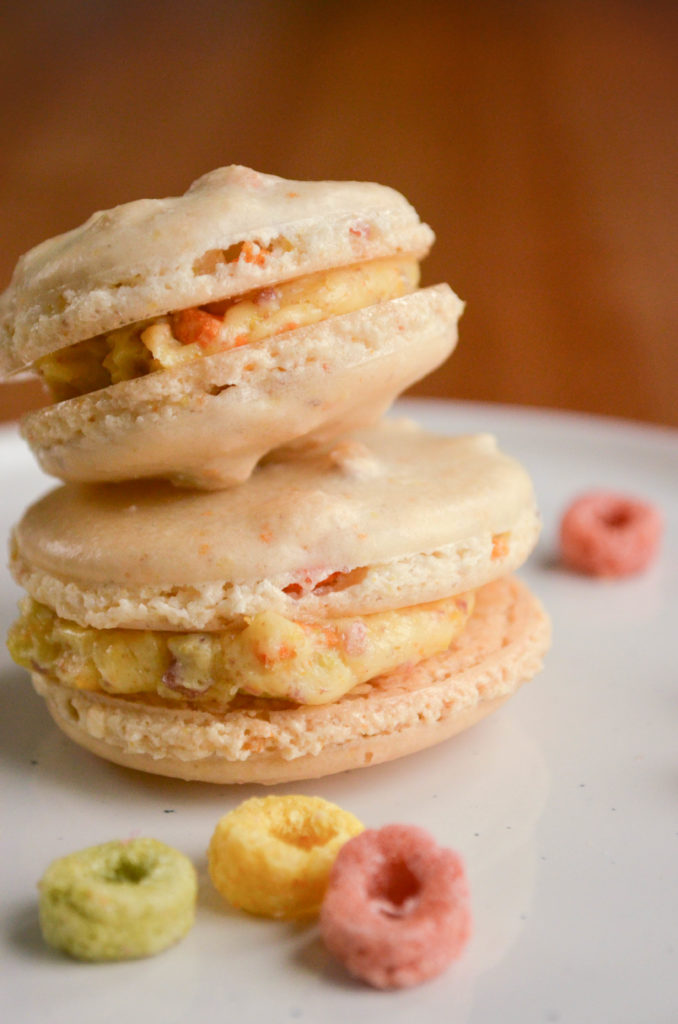
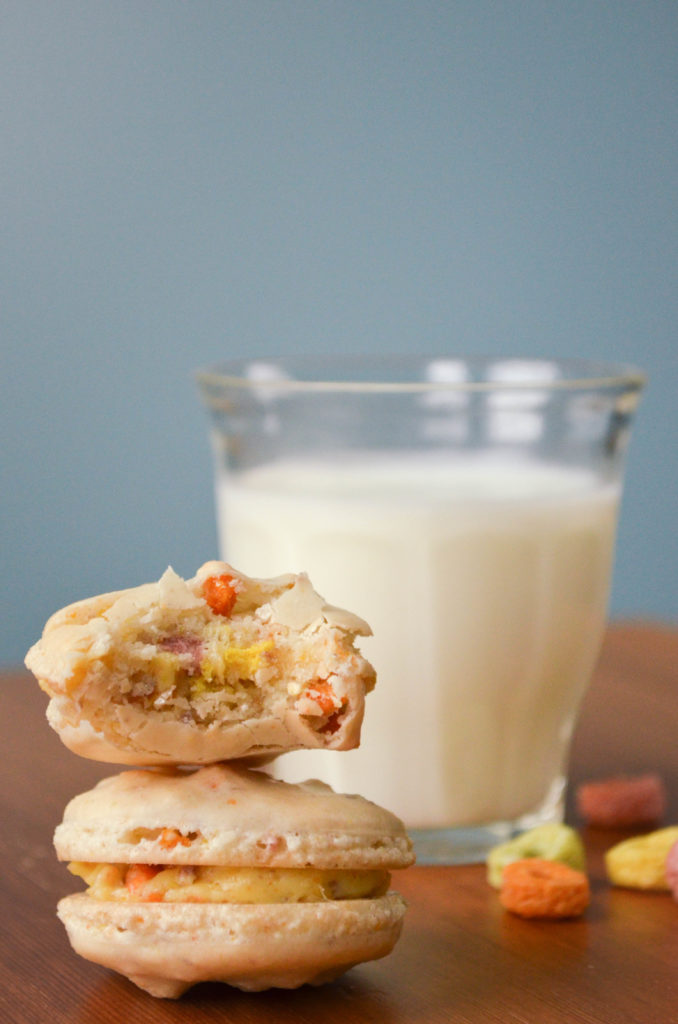
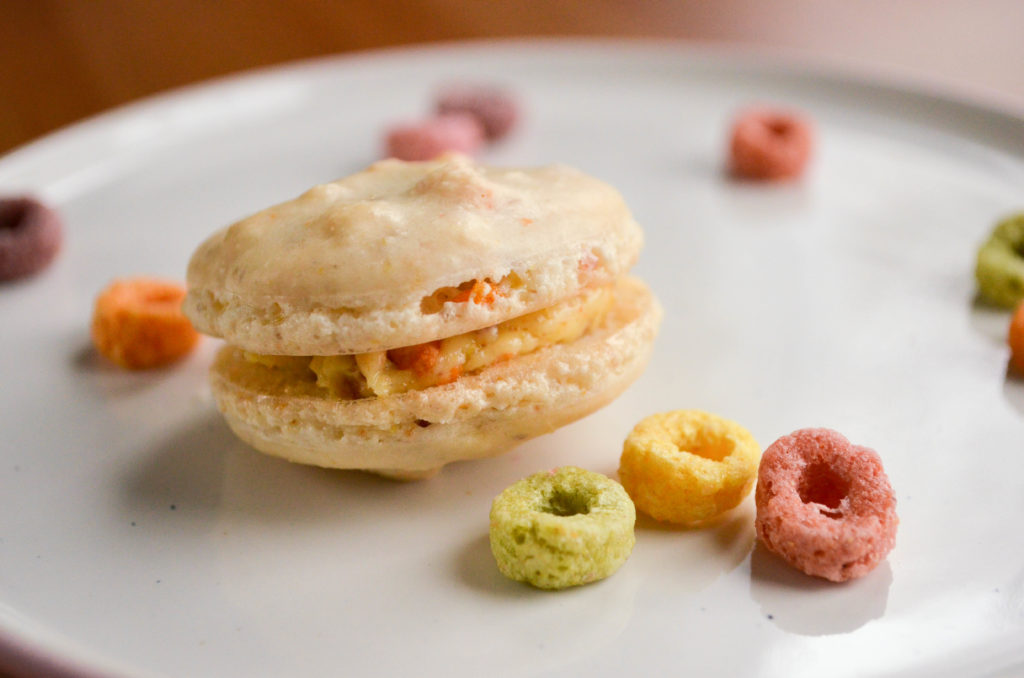
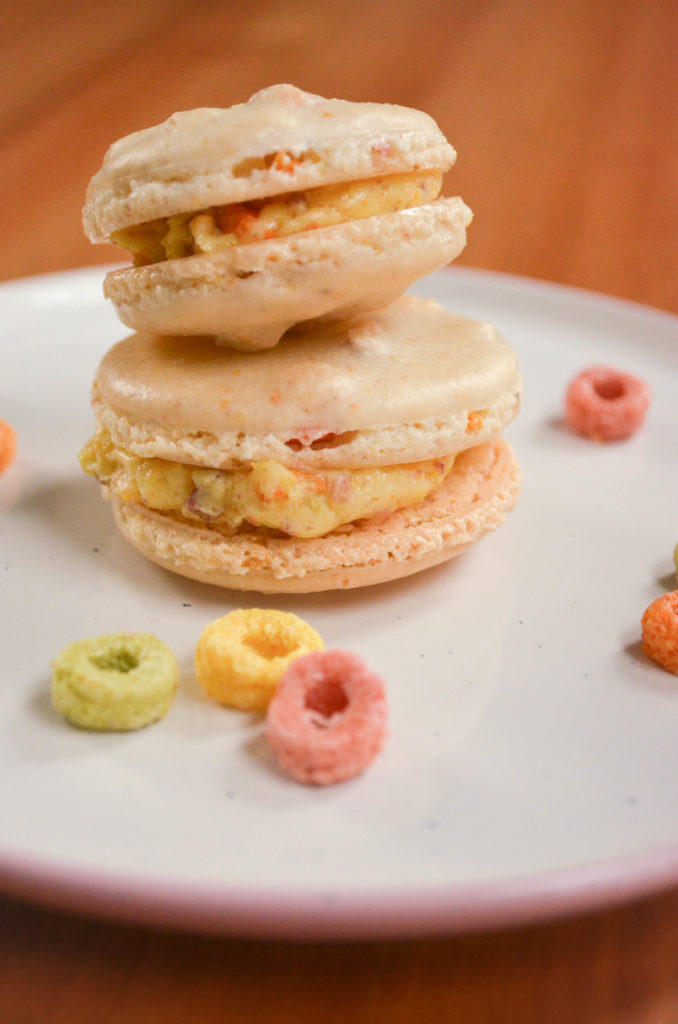
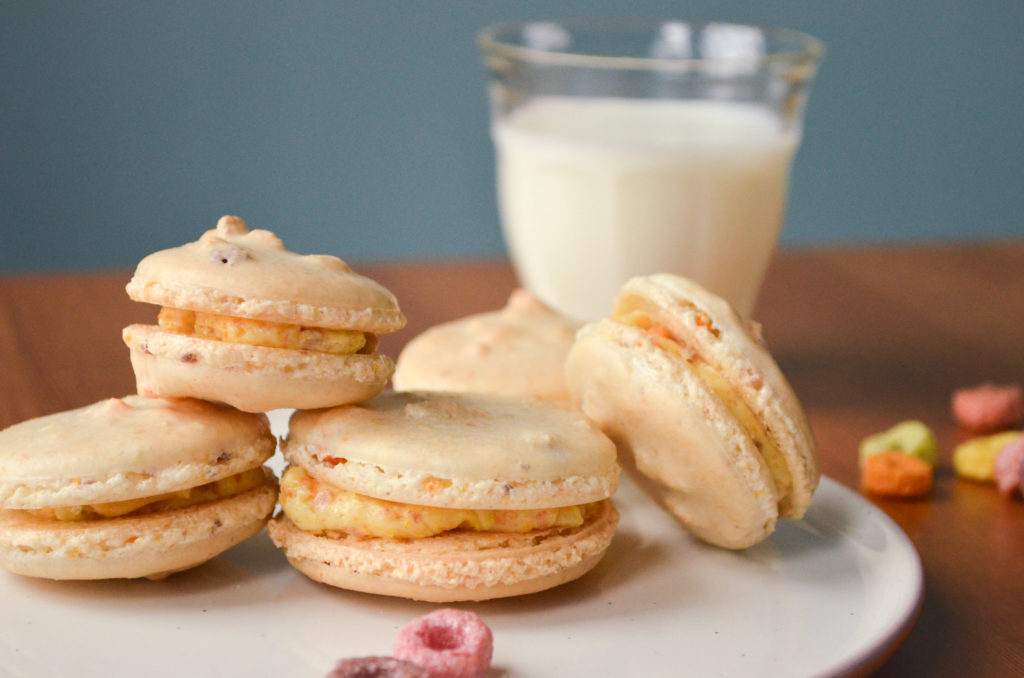
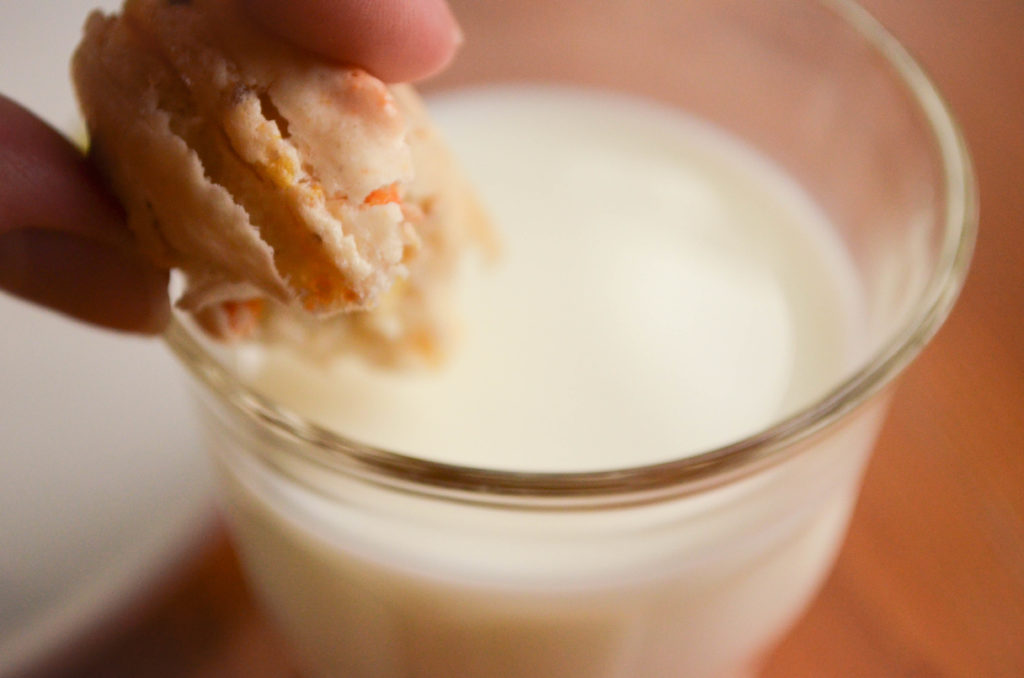
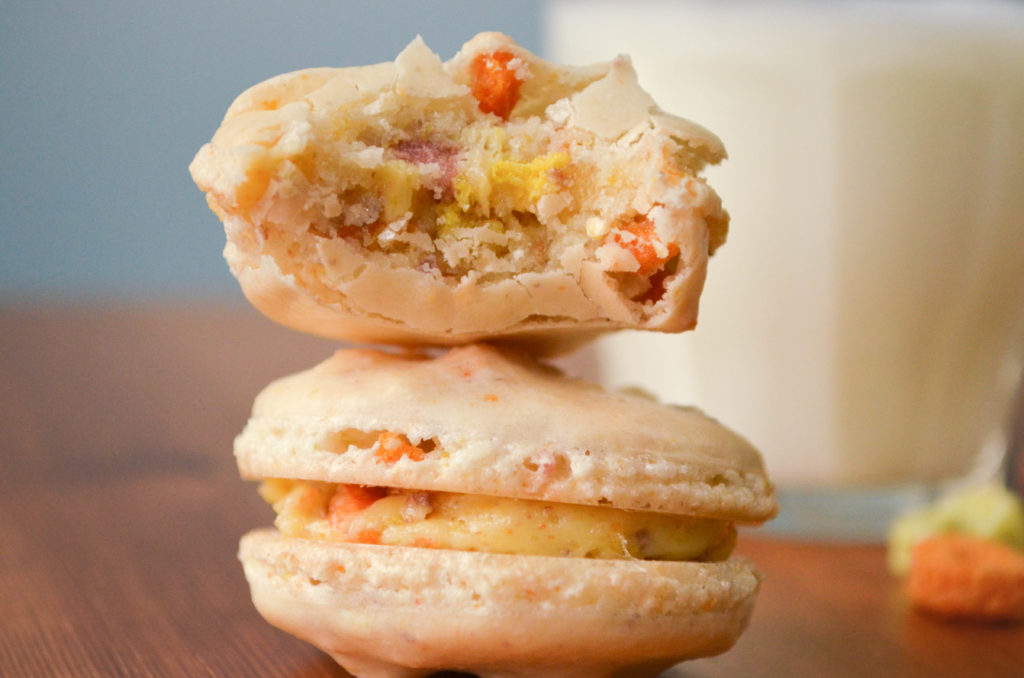
With their crispy-on-the-outside, chewy-on-the-inside texture and sweet, subtly fruity, cereal and milk flavour, these pale cookies with pastel flecks are just perfect for spring!

Ingredients

for the macarons

  • 1 cup ground almonds (as finely ground as you can find)
  • 1½ cups icing sugar
  • 1/3 cup crushed Froot Loops cereal
  • 3 large egg whites, at room temperature
  • 1/3 cup sugar
  • 1 tsp high quality vanilla extract

for the buttercream

  • 7 tbsp unsalted butter, softened
  • 1 egg, at room temperature
  • 3 tbsp water
  • 3 tbsp sugar
  • ¼ to ½ cup crushed Froot Loops cereal, depending on how smooth or chunky you want your buttercream to be

Froot Loops Macarons | Sophster-Toaster Blog

Method

for the macarons

  1. Prepare your parchment sheets by drawing 1″ circles, ½” apart across the entire sheet (or using silicon baking mats with the circles already printed on them) and placing them on a large flat surface suitable for drying your batter, like a dining table. You will need 2-3 half sheet pan size pieces.
  2. Sift ground almonds and icing sugar, together, twice. Add crushed Froot Loops. Set aside.
  3. In a large stainless steel mixing bowl, beat egg whites with a hand or stand mixer on high speed until you have a foam with no liquid remaining.
  4. Slowly add the sugar while continuing to beat the egg whites. Beat on high speed until the egg whites reach stiff peaks. You’ve made meringue!
  5. Add vanilla and beat in.
  6. Fold your almond and icing sugar mixture into the meringue in two parts.
  7. Here’s the part that takes practice: it’s time for the macaronnage. With a spatula, spread the batter, with some force, against the side of the bowl. Then scoop it up by running the spatula along the side of the bowl again and try to flip it all over and sort-of lightly smack it back into the bottom of the bowl. Gather the batter up again and repeat 15-20 times. It takes some time to figure out the best way to do this, don’t be afraid to play around with it. When doing the macaronnage correctly, repeating more than 20 times can result in oily, blotchy macarons, but I’ve found that doing it incorrectly doesn’t count towards this limit. If you are doing it right, the batter will take on a noticeable and somewhat sudden change in consistency, this means you are about half-way to that limit. When finished, the batter should be thickened and drip slowly from the spatula. You will have to pipe it onto your baking sheets/mats and it won’t work if the batter is too runny. This is the technique that defines macarons, this is what makes mastery of them impressive.
  8. For perfectly round macarons, use a large, 0.4″ plain tip with a pastry bag, or do it the lazy way and cut a corner off a zip top bag for mostly round macarons. Twist (or don’t yet cut) the bag at the tip and place it, tip side down, in a tall glass. Fill with your batter and twist, close or clip the other end to help keep the messy batter moving in the right direction. Pipe the batter into the centre of the circles on your sheets/mats and stop before reaching the edges as the batter will spread out a bit.
  9. Once finished piping, carefully pick the sheets/mats up and drop them back on to the table from a high of a couple of inches. The theory is that this helps the cookies keep their round shape and form the little bubbles (the pied) when you put them in the oven.
  10. Leave the cookies on the table, uncovered, for 15-30 minutes to dry. This is a good time to preheat your oven to 350°F. You will know the macarons are dry when they look smooth and are no longer sticky to the touch.
  11. Place an oven rack in the centre of your oven. Place a sheet of macarons on two doubled up sheet pans (this will stop the bottoms from getting too hot, resulting in cracked macarons) and bake for about 15 minutes. Rotate the pan half way through baking. At this point, if you want to try to keep your cookies light in colour, place a second oven rack directly below the first and move your cookies down to it, then place a third sheet pan above the cookies on the higher rack to protect them from the heat above. It can be hard to tell when the macaron are done. I pull them out when the kitchen smells sweet and the cookies look crisp, have just started to brown and don’t look splotchy in the middle.
  12. As soon as the parchment sheet/baking mat is cool enough to handle, take it out of the pan with all the cookies on top and place it on a cooling rack. The macarons will be too sticky to remove from the sheet/mat now; once cooled, they should peel off easily. I usually wait a few minutes for the pans to cool a bit and for the oven to come back to a steady temperature before moving the next sheet to the pans and baking the next round.

for the buttercream

  1. Make sure the butter is soft enough for you to press your finger into. On a cold, winter day, this may mean cutting it into pieces and warming it up slightly in the microwave or oven, still warm from your macarons. Cream the butter in a medium sized bowl. Set aside.
  2. Break the egg into a large heat-resistant mixing bowl and beat lightly with a hand mixer. Set aside.
  3. Add water and sugar to a small saucepan and place over medium-low heat. Bring to a simmer and stir until thick and syrupy, about 7 minutes. You’ve made simple syrup!
  4. Slowly pour your simple syrup into the beaten egg while beating with a hand mixer on as high a speed as you can without flinging syrup everywhere, remember it is hot and sticky. Once all the syrup is in, beat the mixture on high speed, slowly reducing speed until it is white, thick, and the bowl is no longer hot.
  5. Add the butter to this mixture in two or three parts and beat on medium speed until fully incorporated and creamy. If you are like me, the buttercream will split now. If continuing to beat doesn’t bring it back together, it has likely become too cold. Pop it in the still-warm oven for 30 seconds and try beating it again. Continue doing this until it comes together.
  6. Add the crushed Froot Loops and beat lightly until mixed in.
  7. Now pipe the buttercream between two cookies and enjoy your hard work!

Froot Loops Macarons | Sophster-Toaster Blog Froot Loops Macarons | Sophster-Toaster Blog Froot Loops Macarons | Sophster-Toaster Blog Froot Loops Macarons | Sophster-Toaster Blog  Froot Loops Macarons | Sophster-Toaster BlogFroot Loops Macarons | Sophster-Toaster Blog

All photos by me.
Shutterbug Skirt Two Ways

Shutterbug Skirt Two Ways | Sophster-Toaster Blog

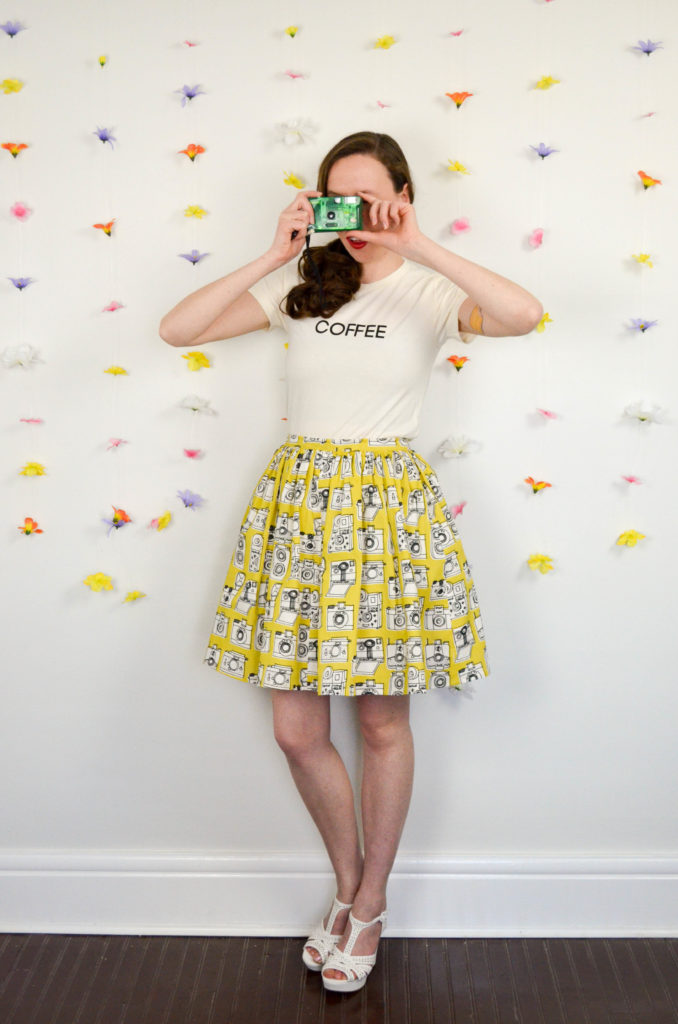
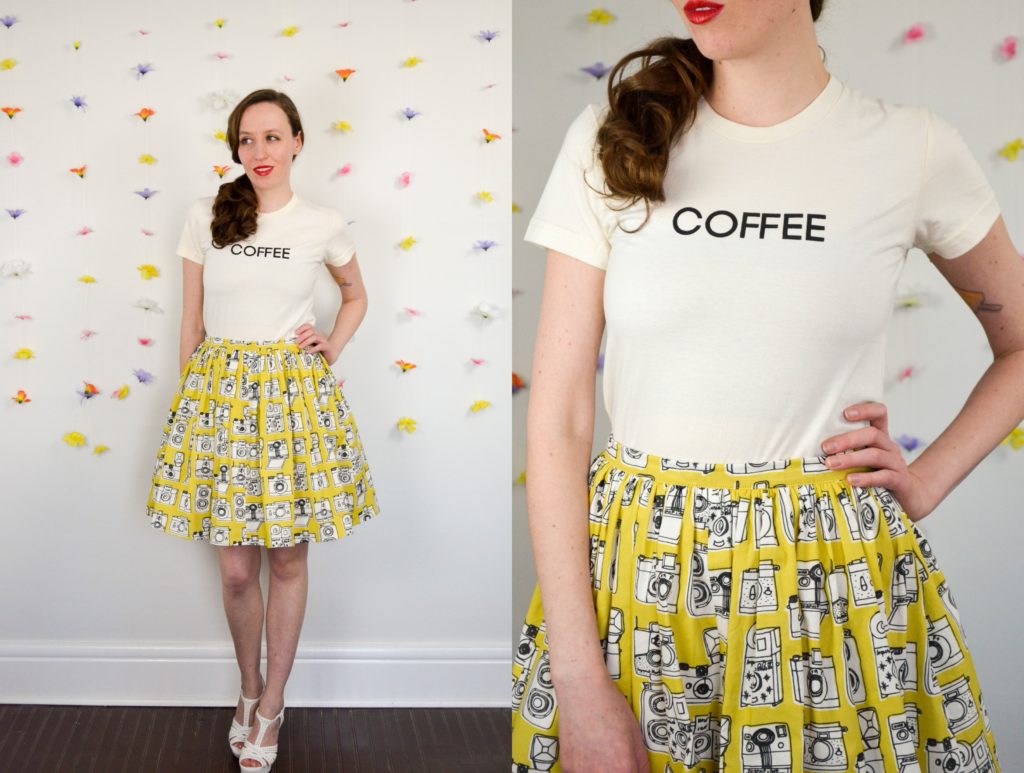
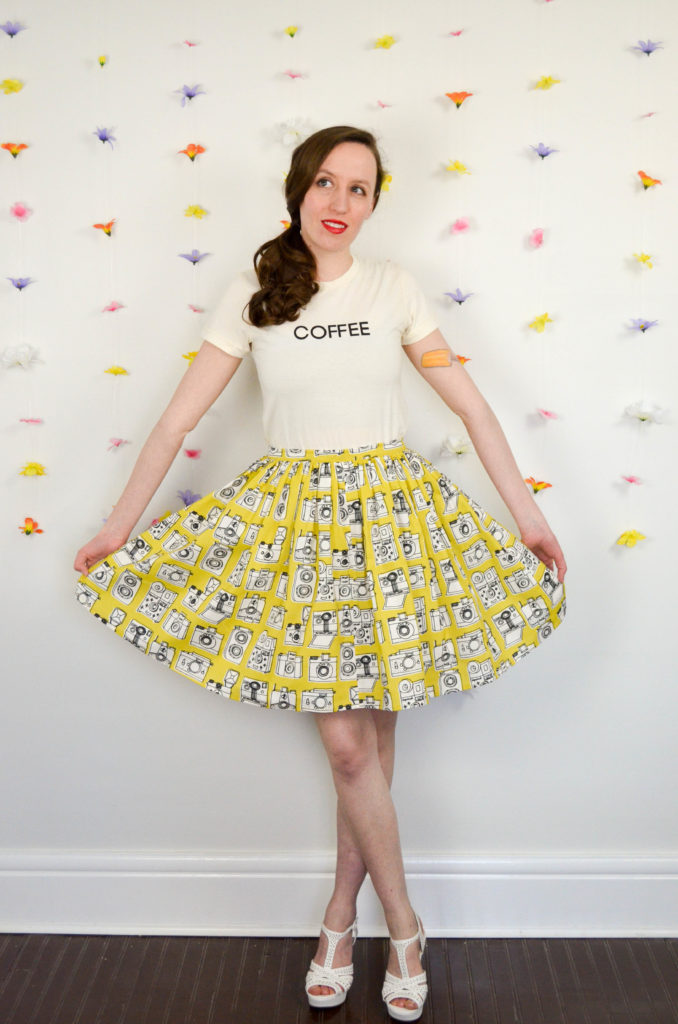
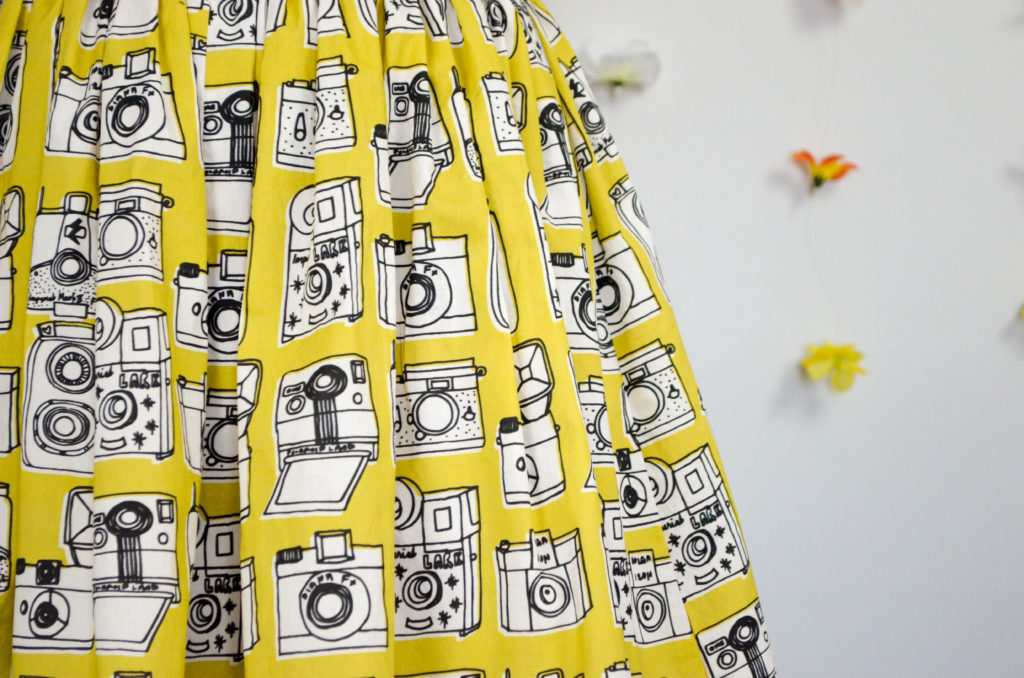
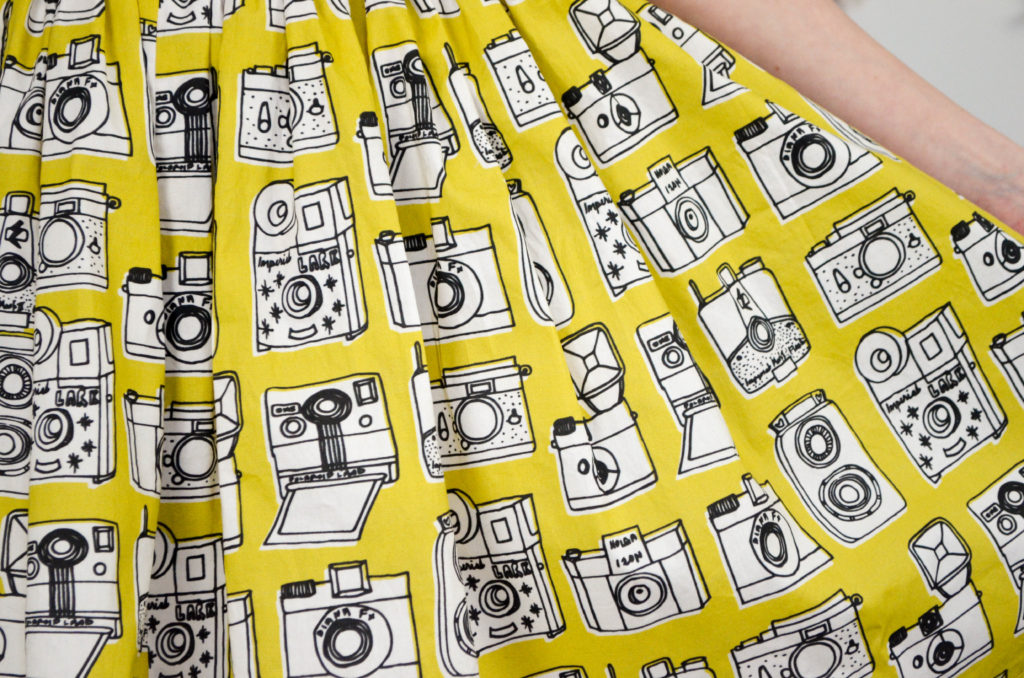
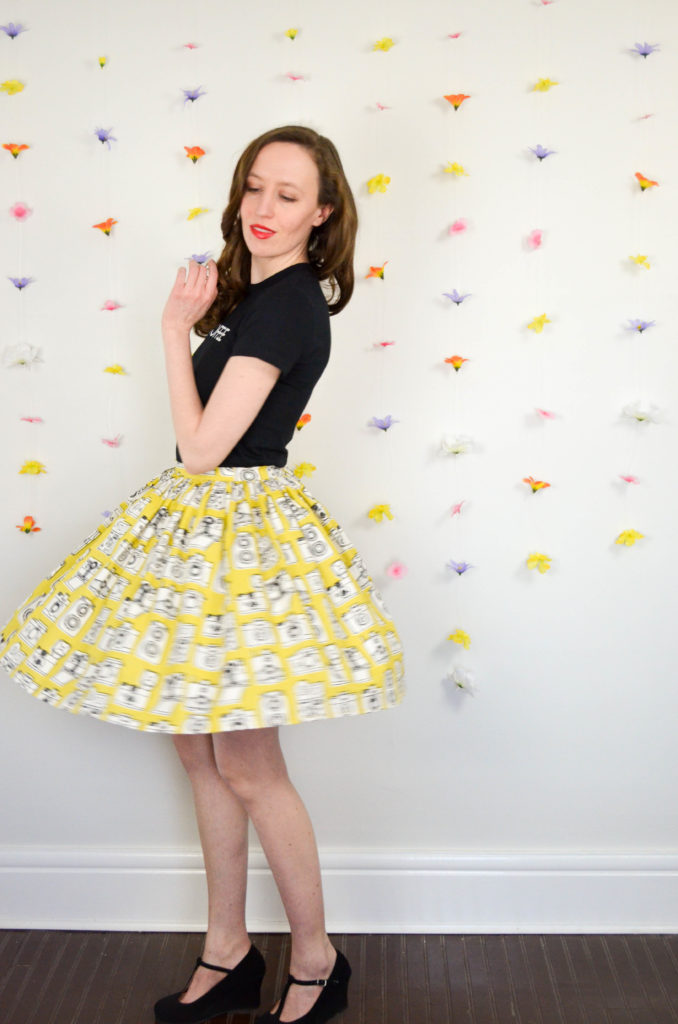
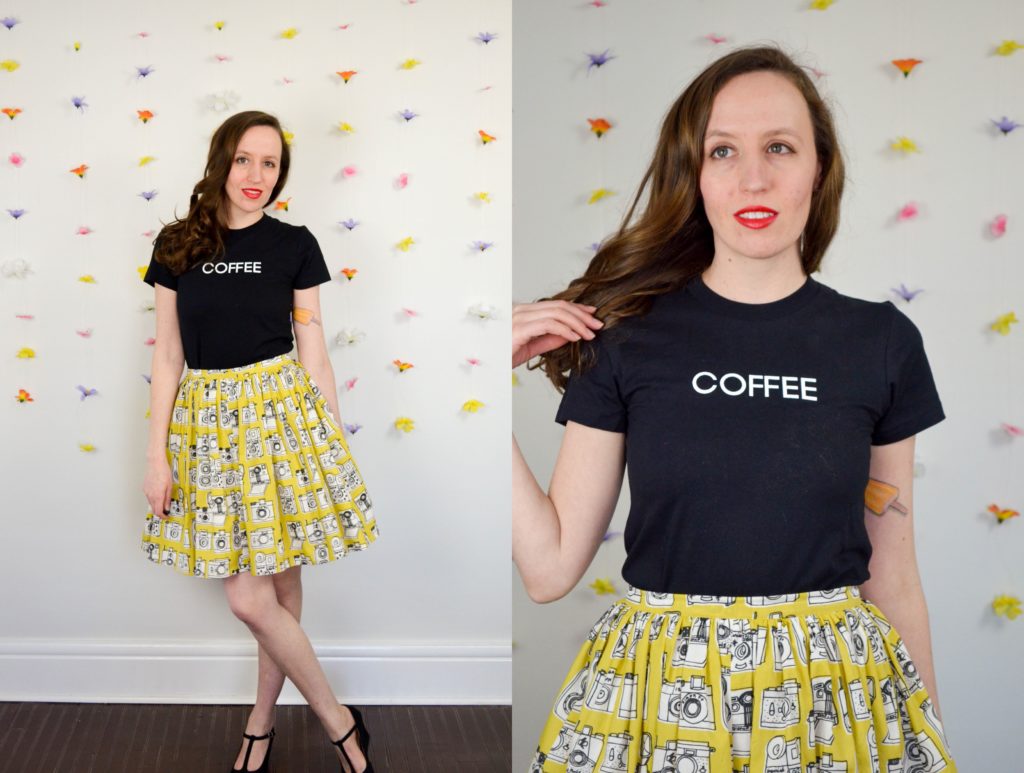
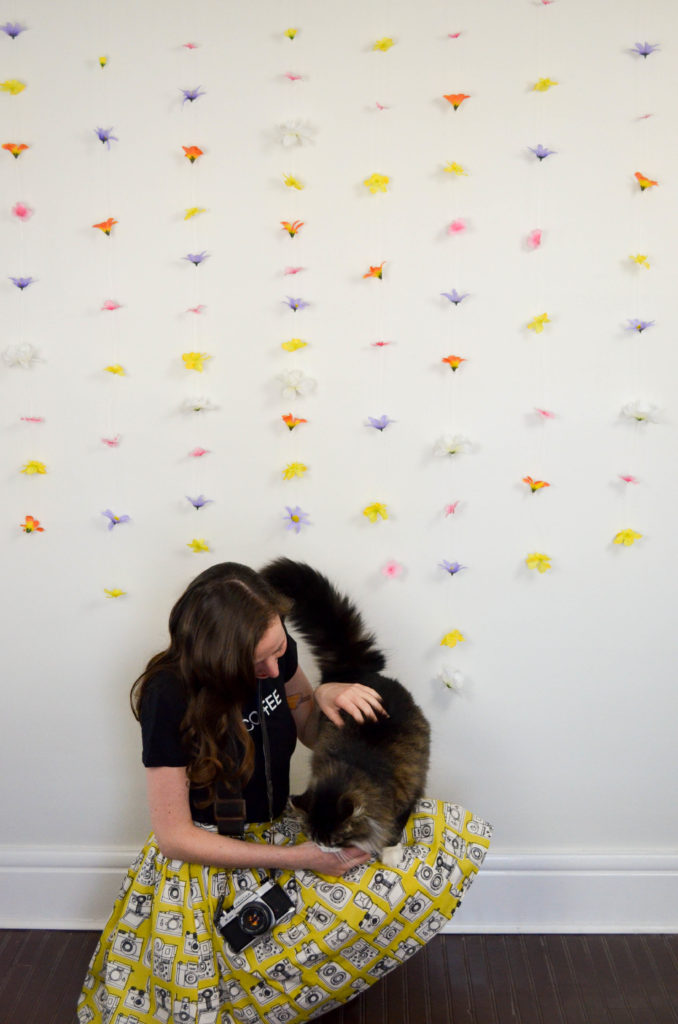
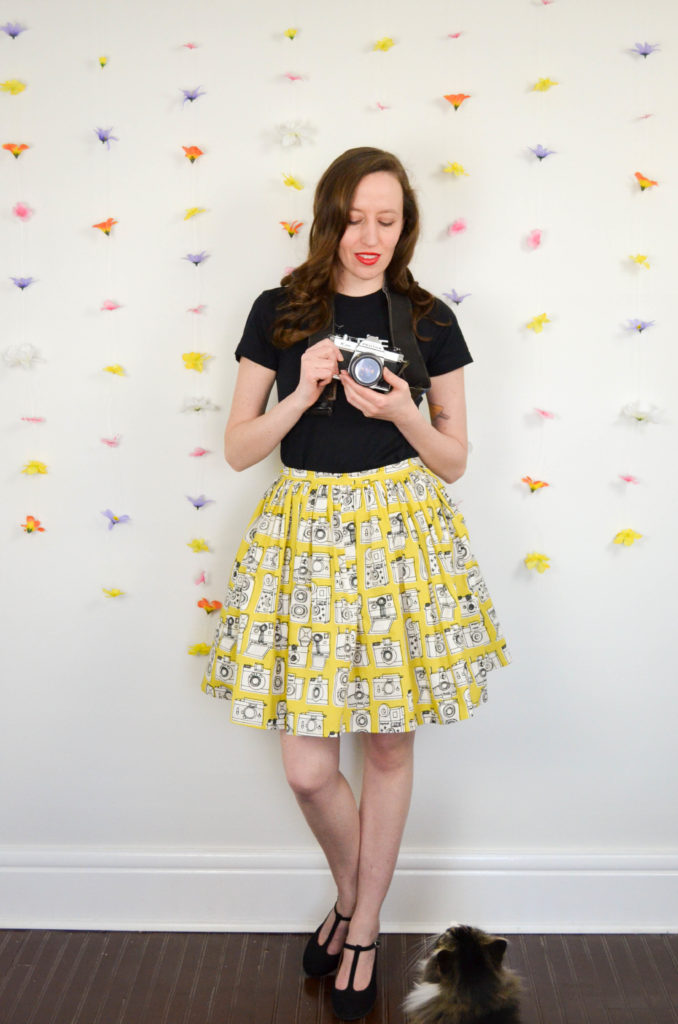
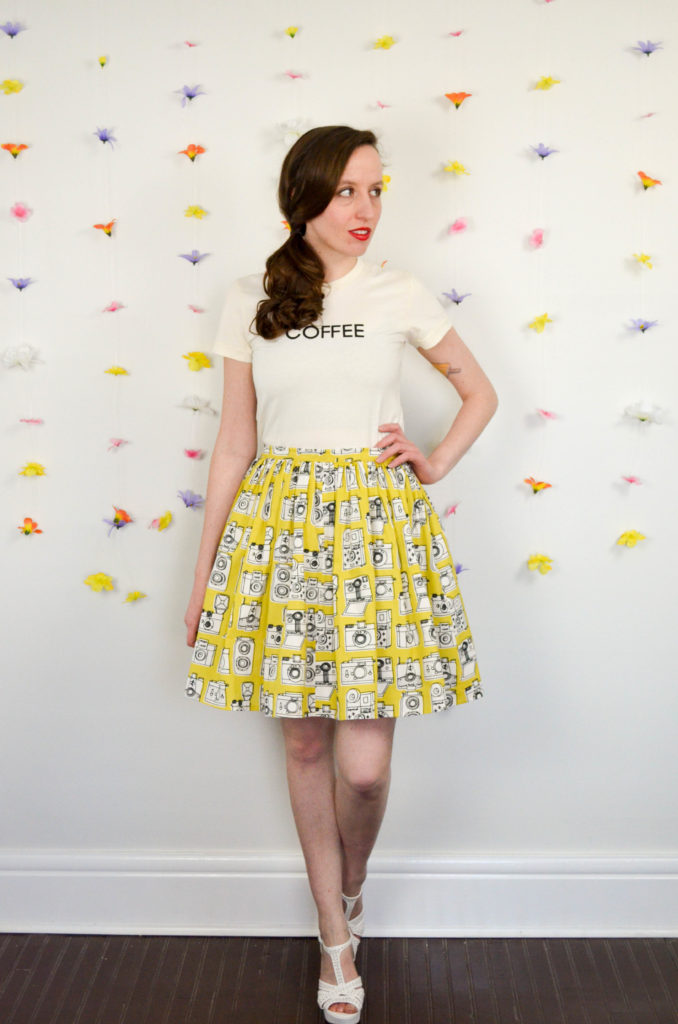
I know I say this a lot, but I think this new skirt is my favourite thing I’ve ever made. I saw it as a shorter length skirt from day one but I was nervous about making such a full skirt hemmed about knee length, and I started to doubt myself. I ultimately decided to trust my instincts, and I’m so glad I did! I actually love the cut, drape and silhouette of this vintage cameras print skirt in the shorter, mini length so much, I decided to give it two photo sets: one with light pairings and one with dark.

Figuring I’m in a unique position of being able to make two nearly identical outfits in opposing colours with my natural cotton and black coloured Coffee Tees, I took the opportunity to try both out and see which I preferred. I definitely felt more confident and more like myself in the black – believing it to be more my colour – but I think I actually like the light outfit better when looking back at the photos.

Shutterbug Skirt Two Ways | Sophster-Toaster Blog Shutterbug Skirt Two Ways | Sophster-Toaster Blog Shutterbug Skirt Two Ways | Sophster-Toaster Blog Shutterbug Skirt Two Ways | Sophster-Toaster Blog Shutterbug Skirt Two Ways | Sophster-Toaster Blog Shutterbug Skirt Two Ways | Sophster-Toaster Blog Shutterbug Skirt Two Ways | Sophster-Toaster Blog Shutterbug Skirt Two Ways | Sophster-Toaster Blog Shutterbug Skirt Two Ways | Sophster-Toaster Blog Shutterbug Skirt Two Ways | Sophster-Toaster Blog Shutterbug Skirt Two Ways | Sophster-Toaster Blog

Skirt Sophster-Toaster
Light Tee Sophster-Toaster
Light Shoes ModCloth
Dark Tee Sophster-Toaster
Dark Shoes ModCloth

All photos by me.