Maybe it’s because I just turned 30, but I’ve been making a lot of changes lately. As the year, my age and the season have changed, I’ve been working hard to improve myself, my work and my art. I’ve made goals to be a better friend to the people I love, to distance myself from people whose choices and behaviours upset me, and to say yes to anything that could help me grow personally or professionally, even if it scares me. We’ve settled into the puppy routine and are slowing transitioning into a dog routine that’s taken a lot of hard work and sacrifice but has improved out lives in so many ways. I’ve committed to only spending my money on things I absolutely love and my personal style has become bolder, more deliberate and more expressive as a result.
I’ve been thinking about making another big change more and more over the past few weeks. I’ve been wanting to dye my hair a fun colour for a few years but have been to afraid to make such a drastic change to my physical appearance. I dyed it occasionally in high school and tried a lot of different colours, ranging from could-be natural to obviously fake, but stuck close to my natural colour and never really worried about finding it again in the end. I’ve been looking at some brightly coloured rainbow shades of semi-permanent hair dye recently, and although they sound reassuring and unintimidating, promising to fade out gracefully, there’s no way they are going to show up on my natural hair colour. I’m going to have to go light first.
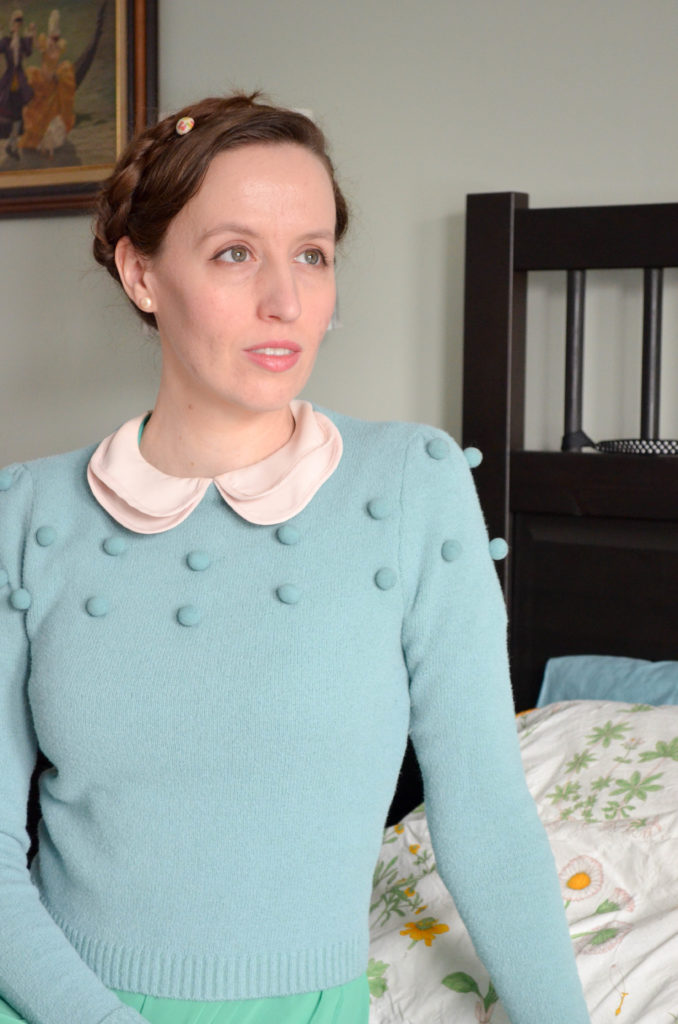
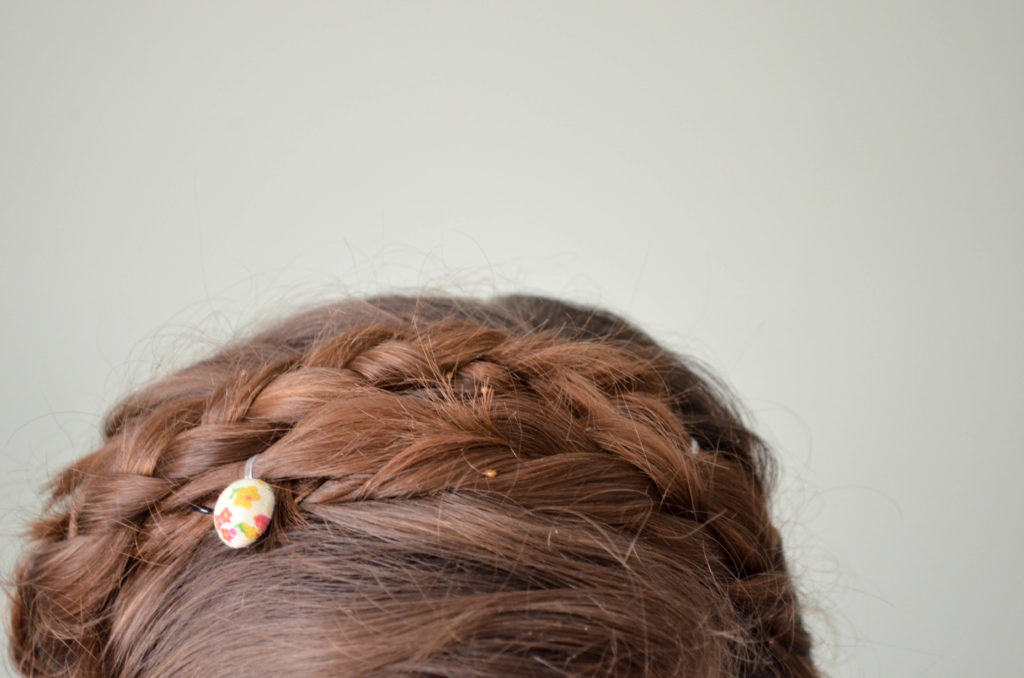
I take very good care of my hair, washing it only twice/week and avoiding heat styling, so I’m not too worried about the damage going light is going to cause; I’m mostly afraid I’m going to miss the old me. My hair is almost exactly the same colour now as it was when I had my first hair cut (I know because my mom kept a lock of it for my baby book) and I’ve always loved it. I love being a fearless brunette in a sea of women who seem to think blond is better. It almost feels like I’ll be betraying myself if I go blond, or ginger, or pink, or peach, but this is one of those things that scares me, one of those things I’m being trying to say yes to.
I want my hair to be in the best health possible when I start, so I’m waiting until after my appointment for the spring chop in a few weeks. I know I’m being bad by dying my hair at home, but I always loved the creative control and ritual of doing it that way. I’m thinking I’m going to be brave and aim for a dark strawberry blond to start. Then after a couple of weeks of shocking friends with that – and once my hair has recovered a bit – I’m going to try Lime Crime’s Unicorn Hair in Strawberry Jam. I’m looking forward to trying a few of their magical colours and maybe hitting a natural ginger orange/red before going back to brunette. Let’s see if i’m brave enough to say good bye to my beloved chestnut and hello to dreamy new tones.

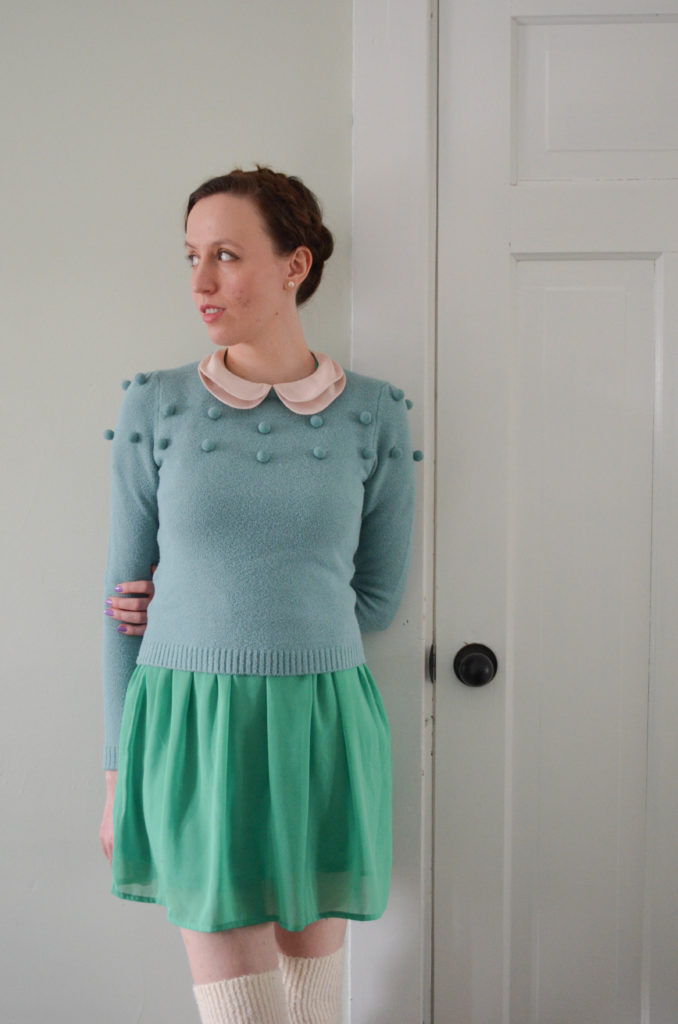

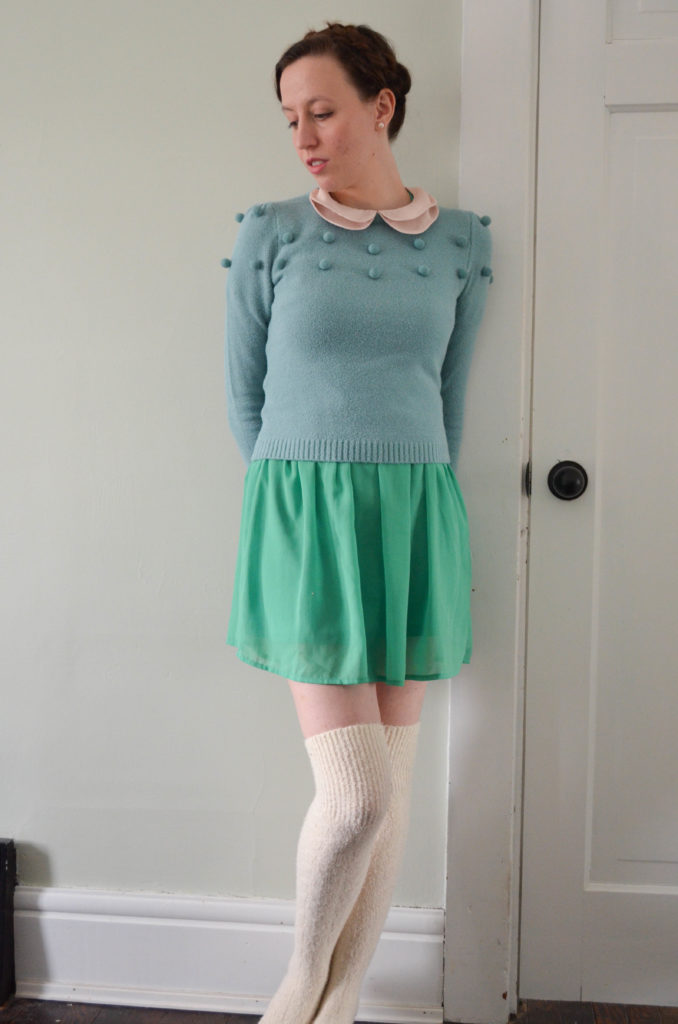
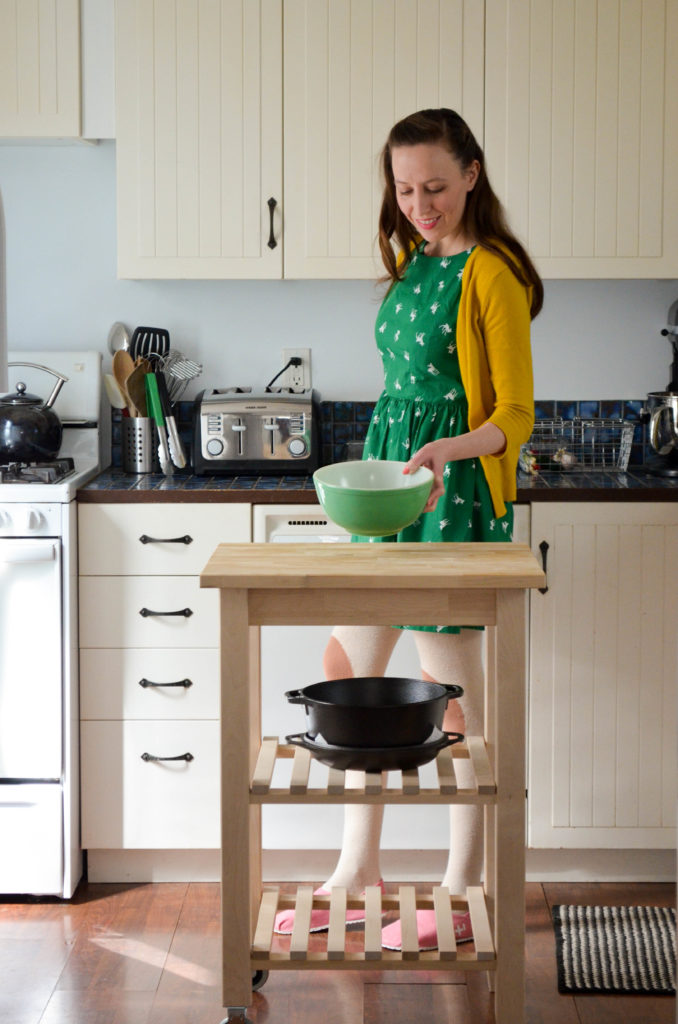
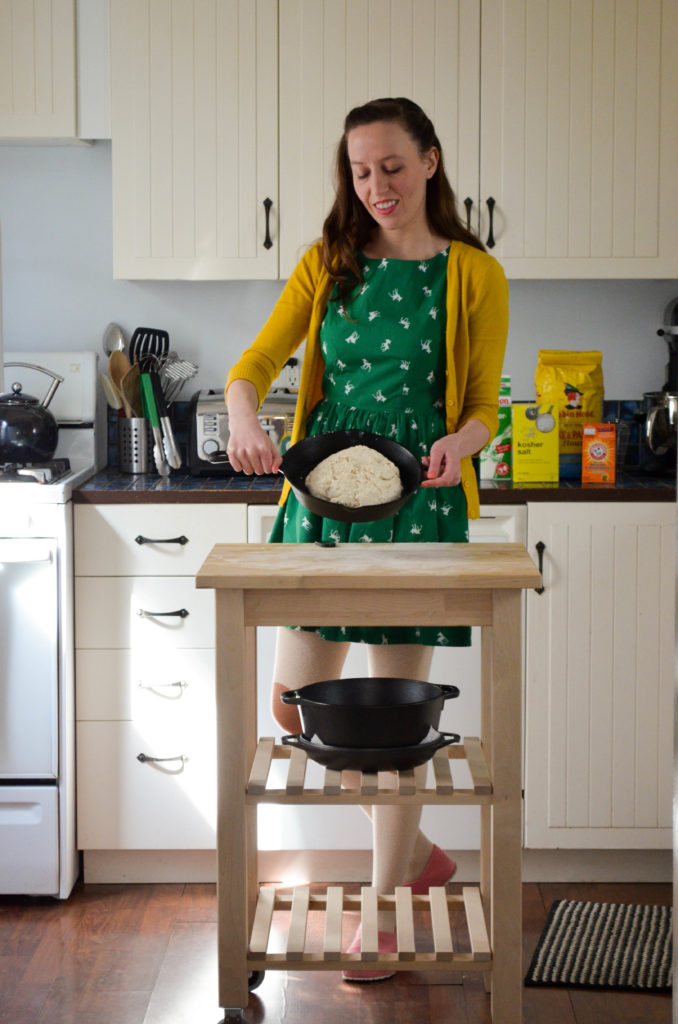
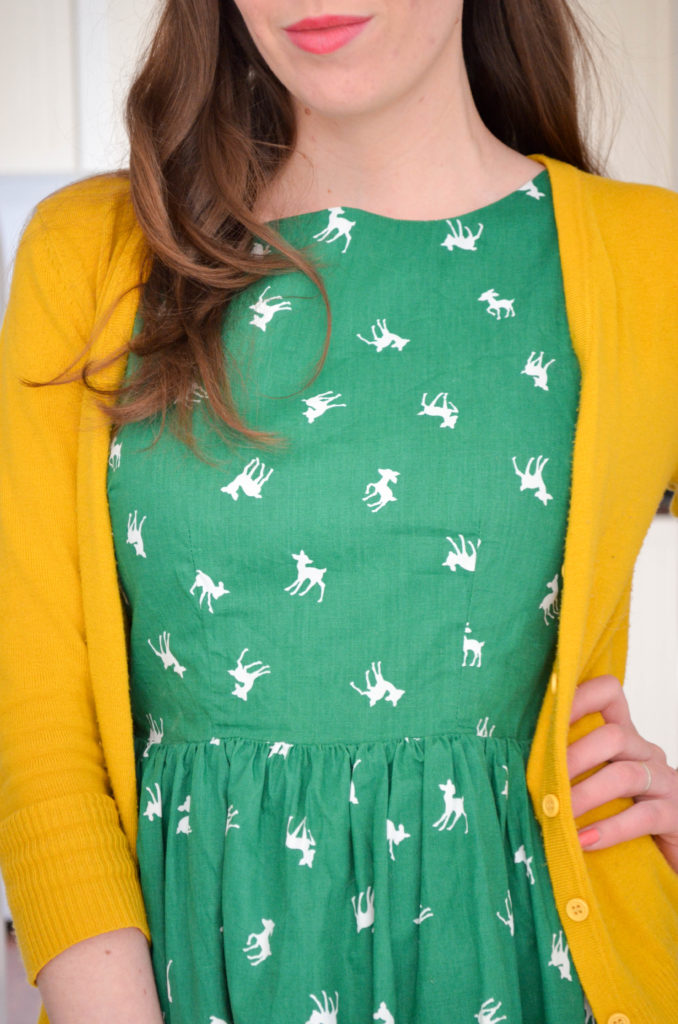
Dress ModCloth
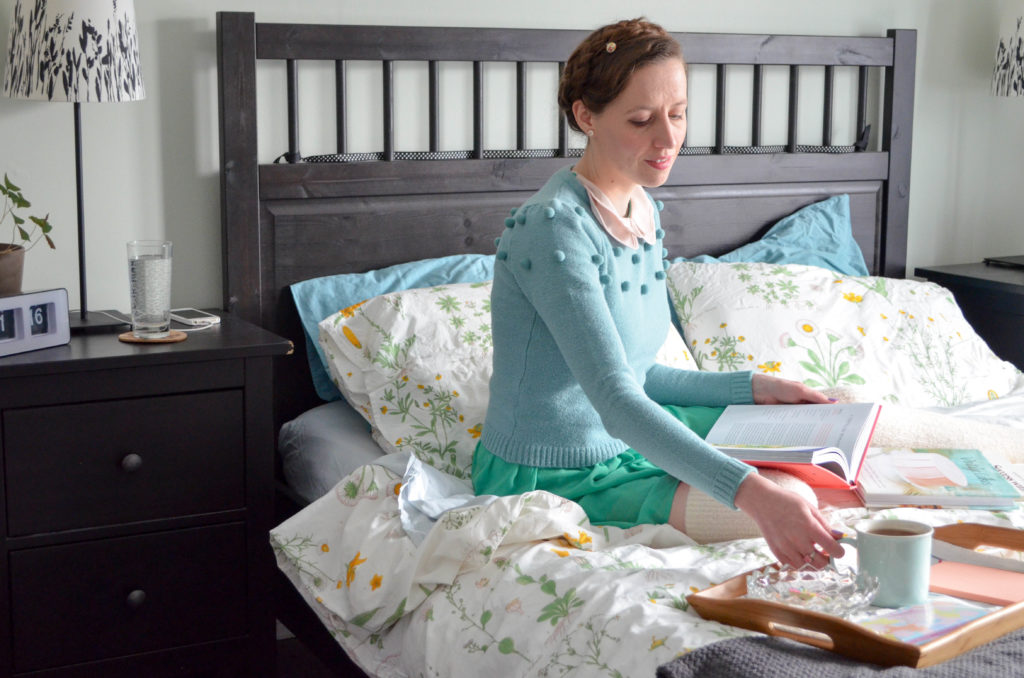
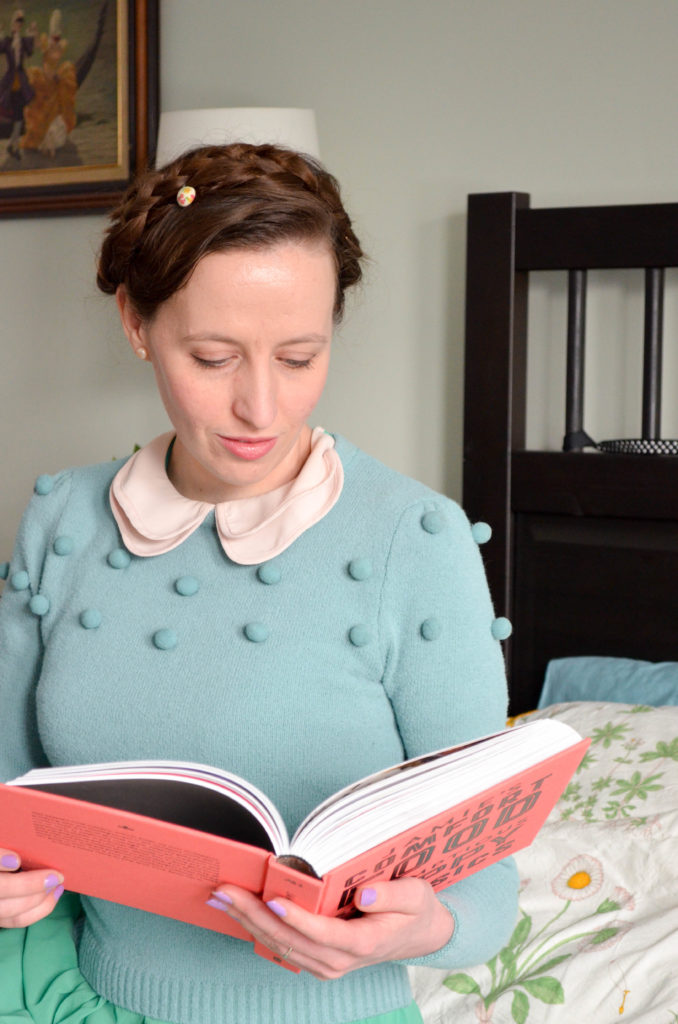
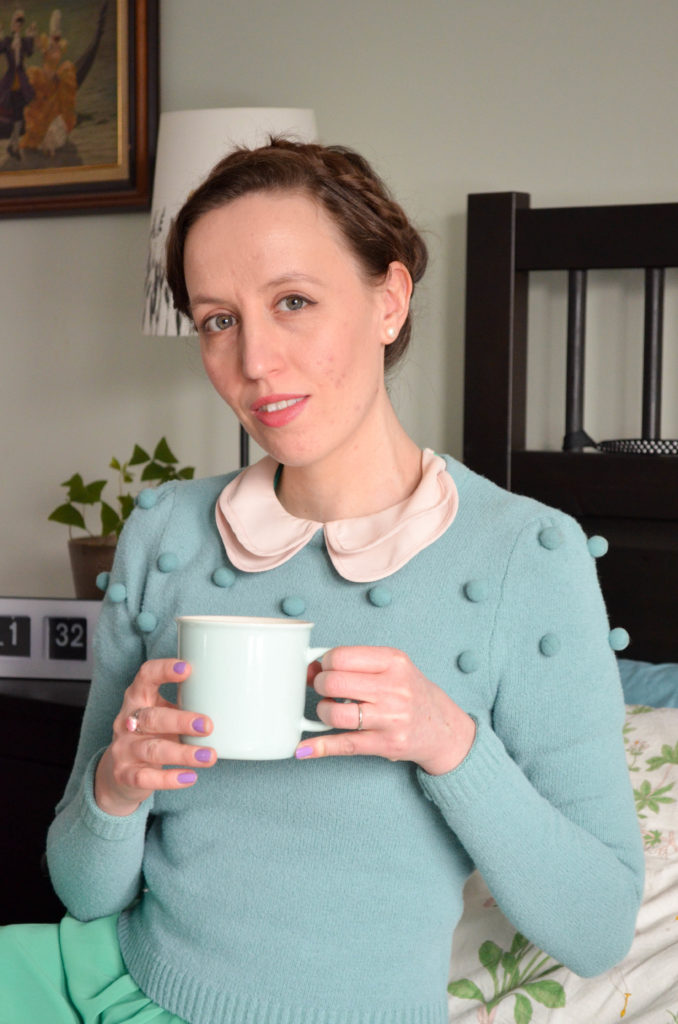
Sweater ModCloth
Socks Roots
Hair Pin gift
Earrings street market in Panama
Ring old
All photos be me.