The defining challenge that separates the novice photographer from the skilled hobbyist or professional lies in making the switch from flash to natural light. Anyone can invest in expensive equipment but that fancy camera body or editing software can only take you so far before you learn the limitations and exploitable facets of natural light sources.
I find that photographing in natural, diffused daylight is especially important when it comes to Etsy listing photos. The colour, texture and three-dimensional shape of your hand-crafted items need to be accurately represented in every photo – nobody likes surprises when it comes to shopping online. Most new Etsians seem to go through the same learning curve when they take their first leaps into product photography. They start like I did, photographing things in an unused corner of a tiny apartment; the lighting isn’t great and the space and budget are limited so they use the on-board flash to light the tightly cropped scene, resulting in a brightly coloured but visually unappealing image. Next, they think they can solve every problem by moving to the exact opposite end of the lighting spectrum and taking things outdoors… into direct, harsh sunlight. Now they’ve got an image with high contrast where everything is a weird, warm yellowy-orange, casts a dark black shadow and makes your colour correction software cry. Eventually all serious Etsy sellers will figure out which lighting conditions work best, when and where they occur during the course of the day and year, and then, someday, how to tweak and tinker with the light to take full advantage of everything it’s got.
I am at the tweaking and tinkering phase. The budget is still low, as I’m sure it is with most people who are trying to get a small business off the ground, so I don’t have a sticky wad of cash to through at every photography tool that I decide I need. I’d rather save that for the important things like lenses and a sturdy tripod that won’t fall over and break those shiny new lenses. This is where DIYs come in.
I recently made a quick and cheap DIY bounce board to solve a problem I’d been frequently coming up against: my apartment, though it has many floor to ceiling windows, only has windows on one side of each room, and the rooms that I photograph in most, the kitchen and my office/studio, only have one skinny window each. I found it was hard to adequately light a scene without one side being washed out by being closer to the single light source. I wasn’t ready to invest in an professional quality artificial light source, so I needed something to help bounce the light around the room. This DIY bounce board did the trick and now I don’t take a single shot without it. Here’s how I made it:

Materials
- aluminum foil
- spray adhesive
- scissors
- foam board (white)
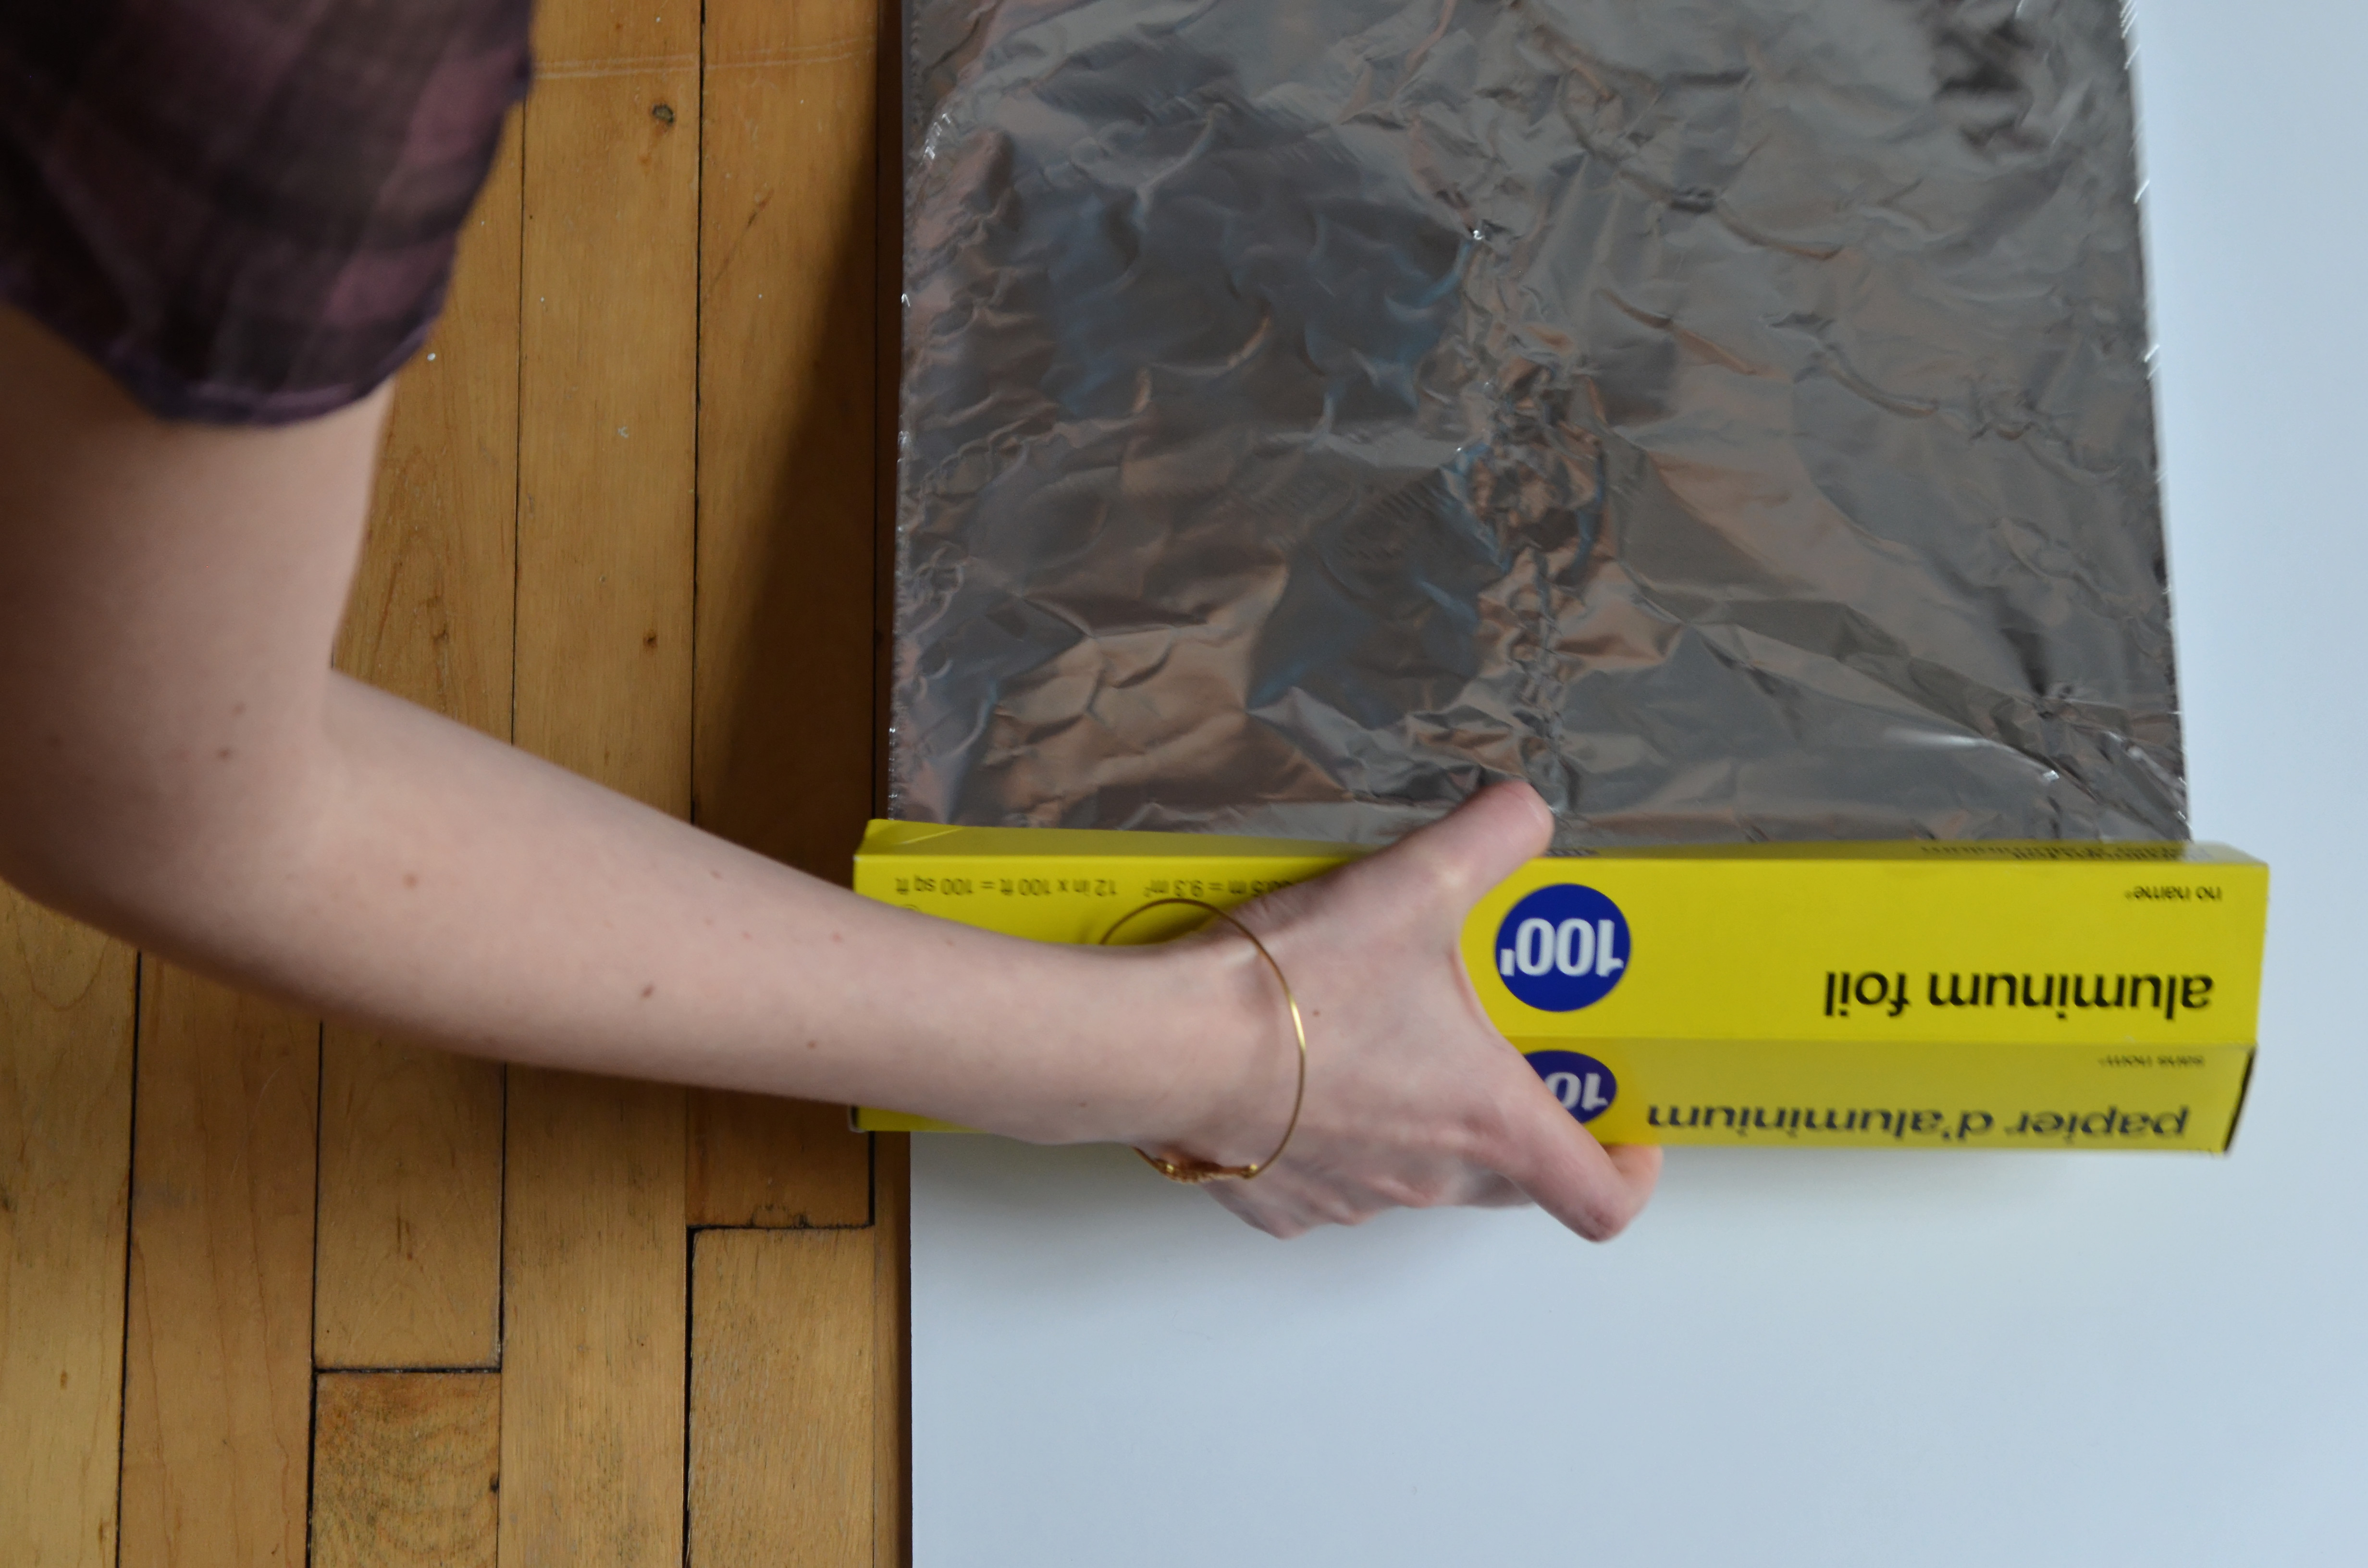
How to
Measure and cut the lengths of aluminum foil needed to cover one side of the foam board – we’ll leave the other side white so we can have a double sided bounce board to better control the light intensity.
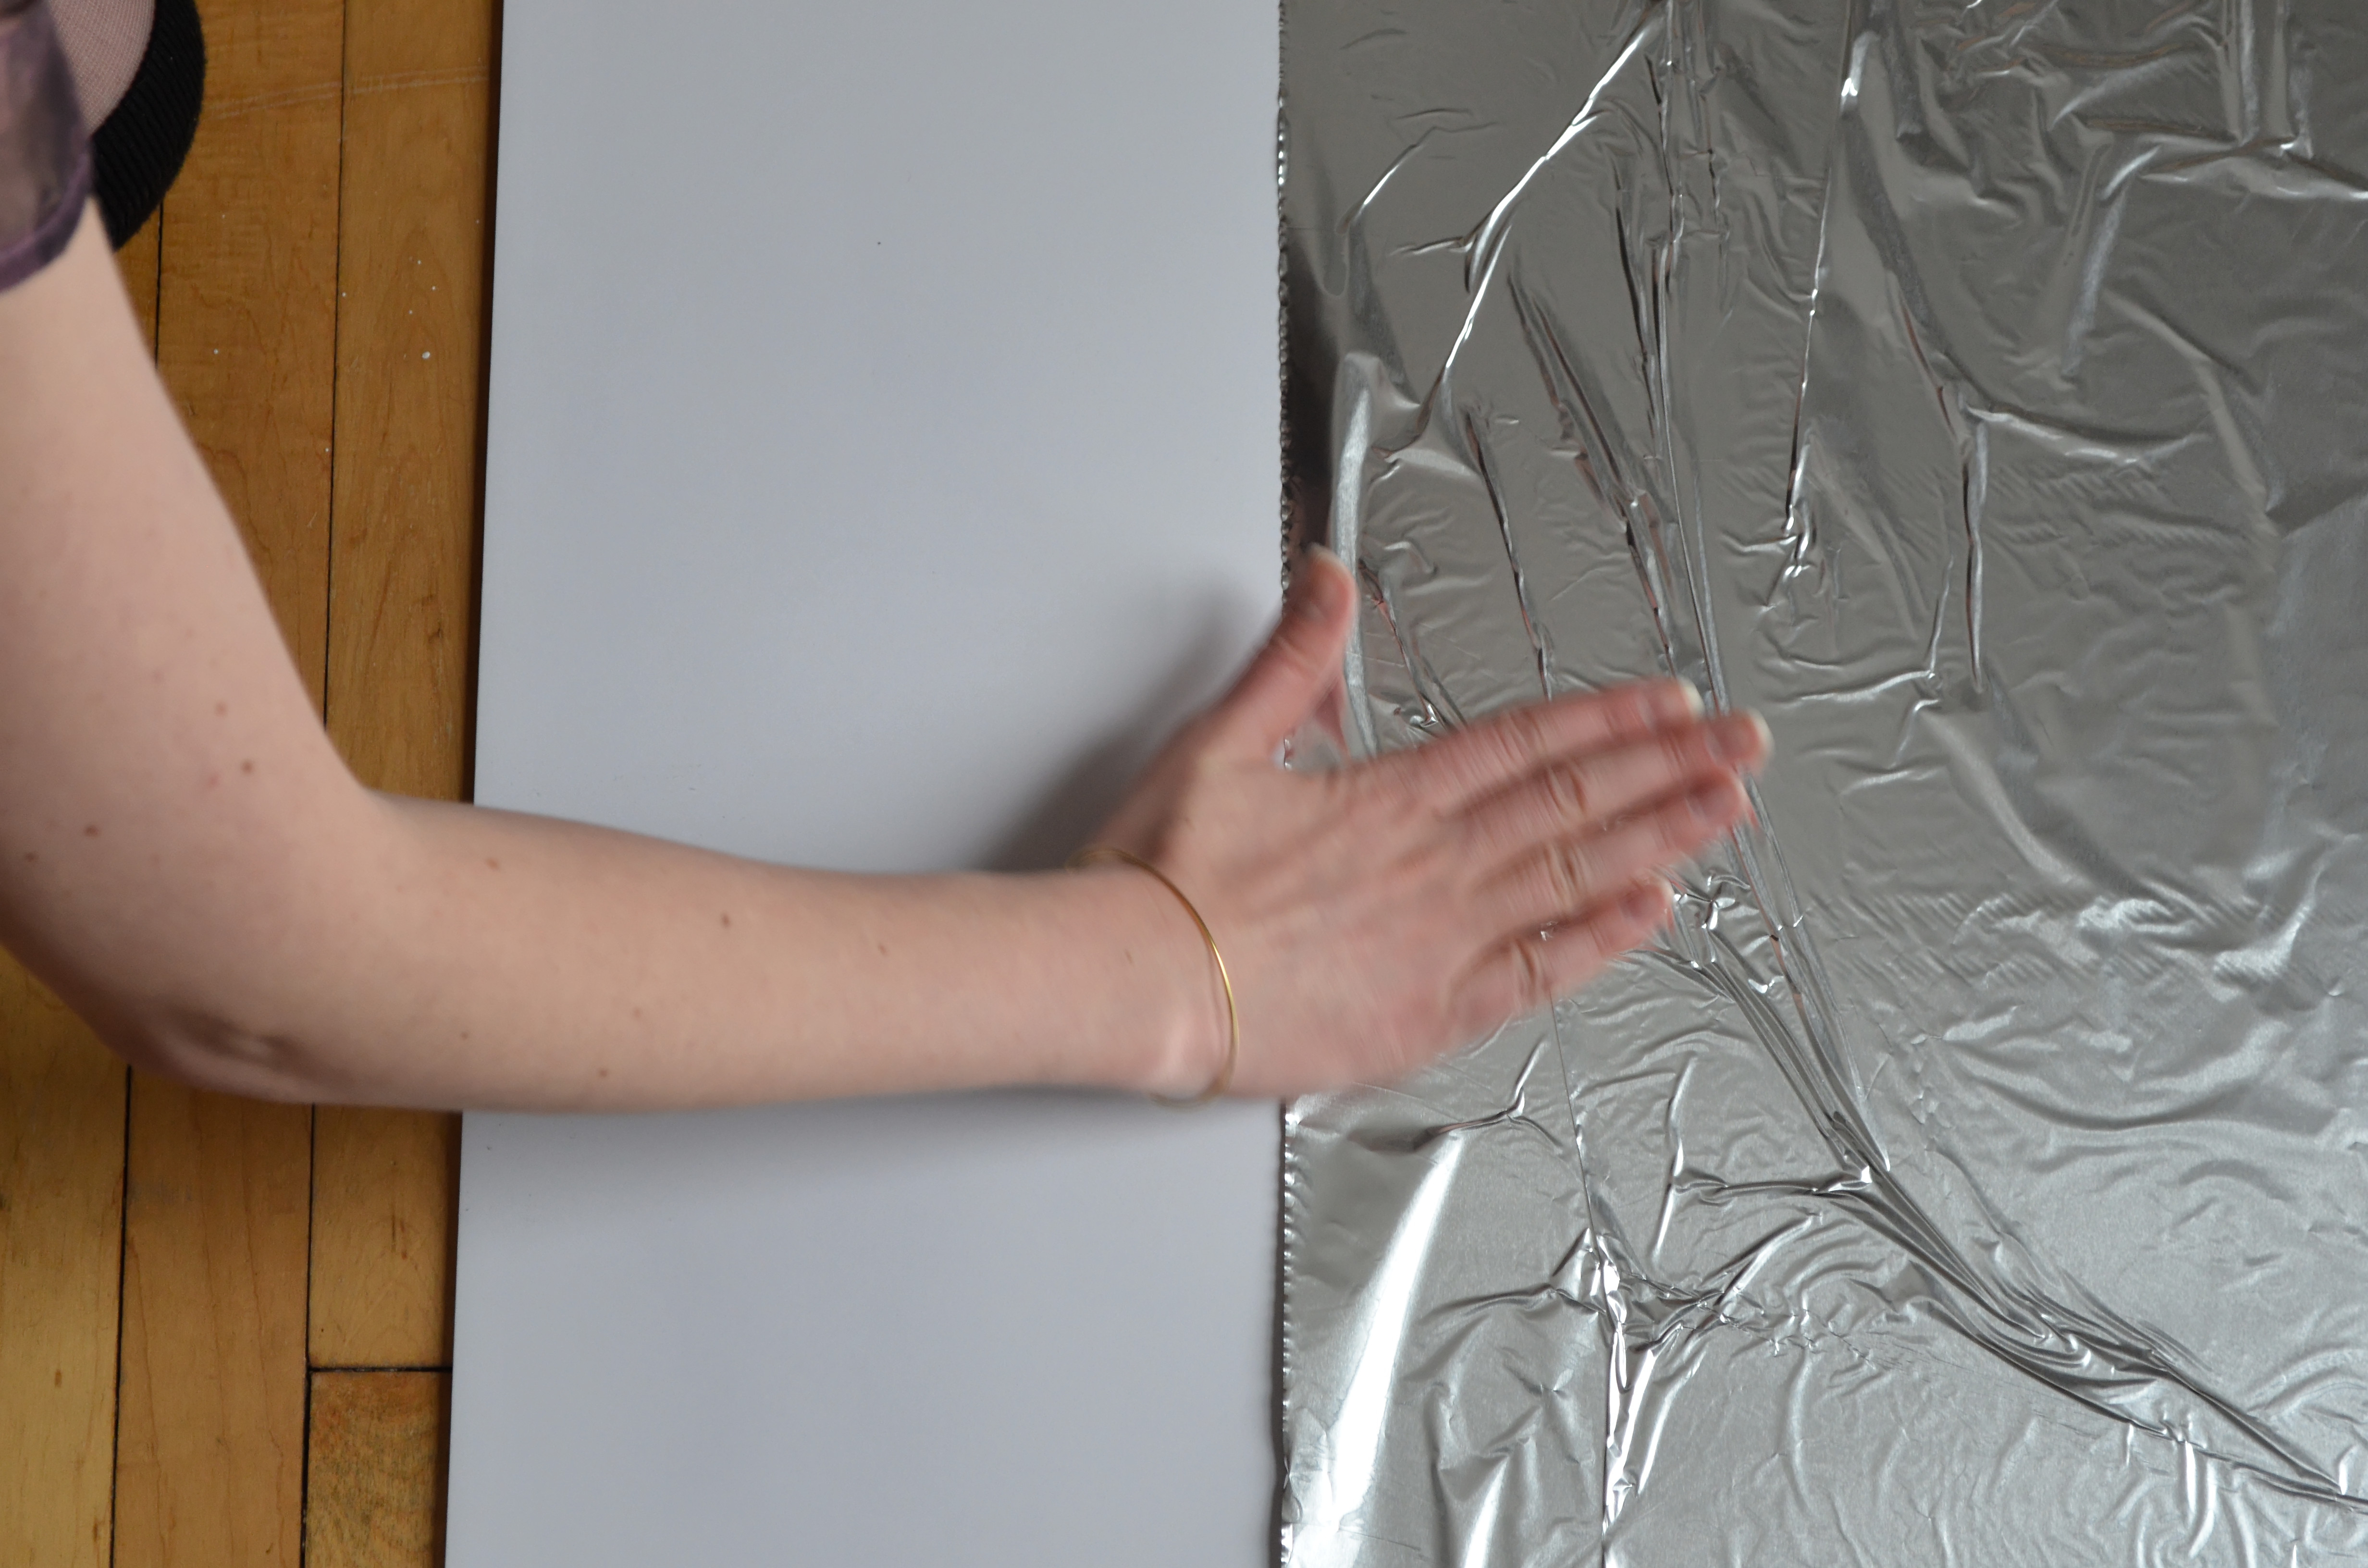
Spray one side of the foam board with spray adhesive, following the manufacturers instructions.
Carefully smooth the sheets of aluminum foil over the tacky (glue) side of the foam board. Trim the excess.
Then just set up where ever you can best catch the light. I’ve been propping it up on chairs, leaning it against my tripod and wedging it in closet doorways.