Adventures in Analogue

Adventures in Analogue | Sophster-Toaster Blog

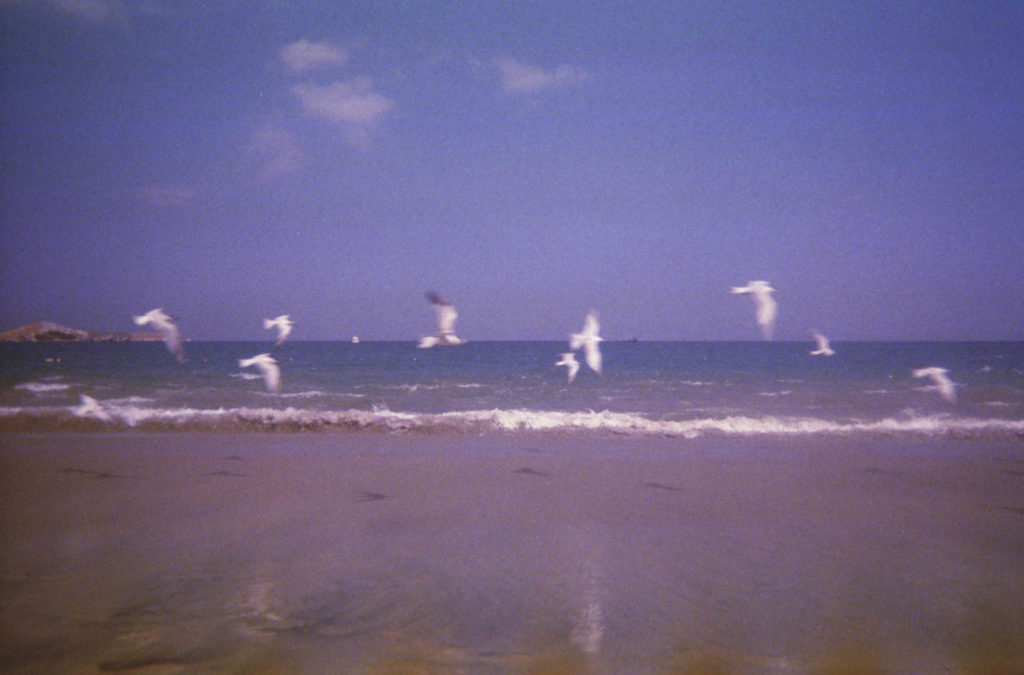
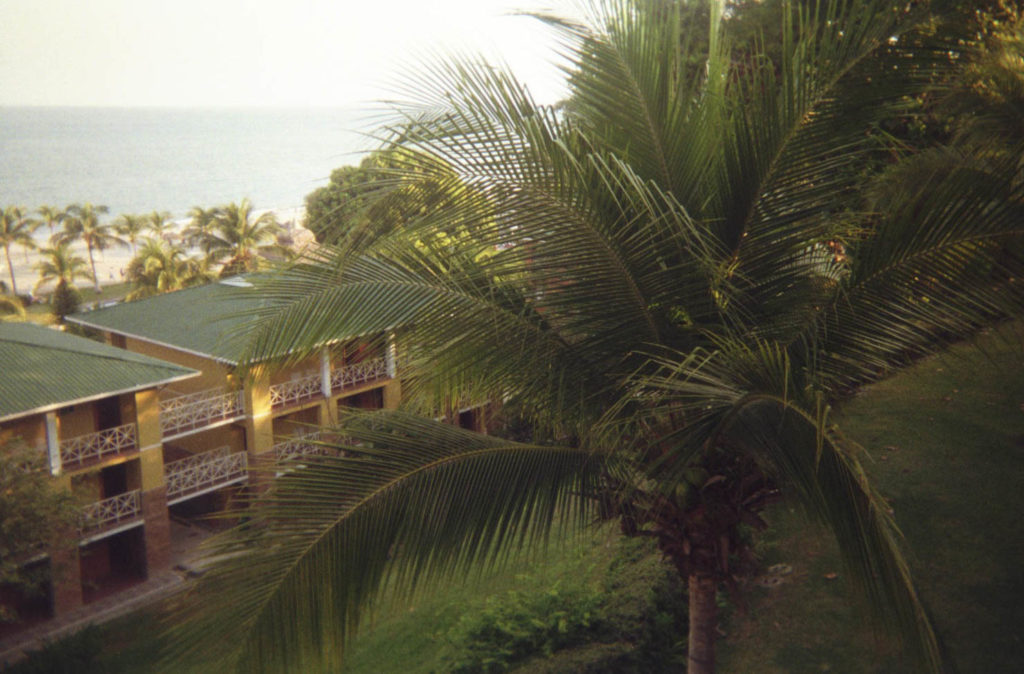
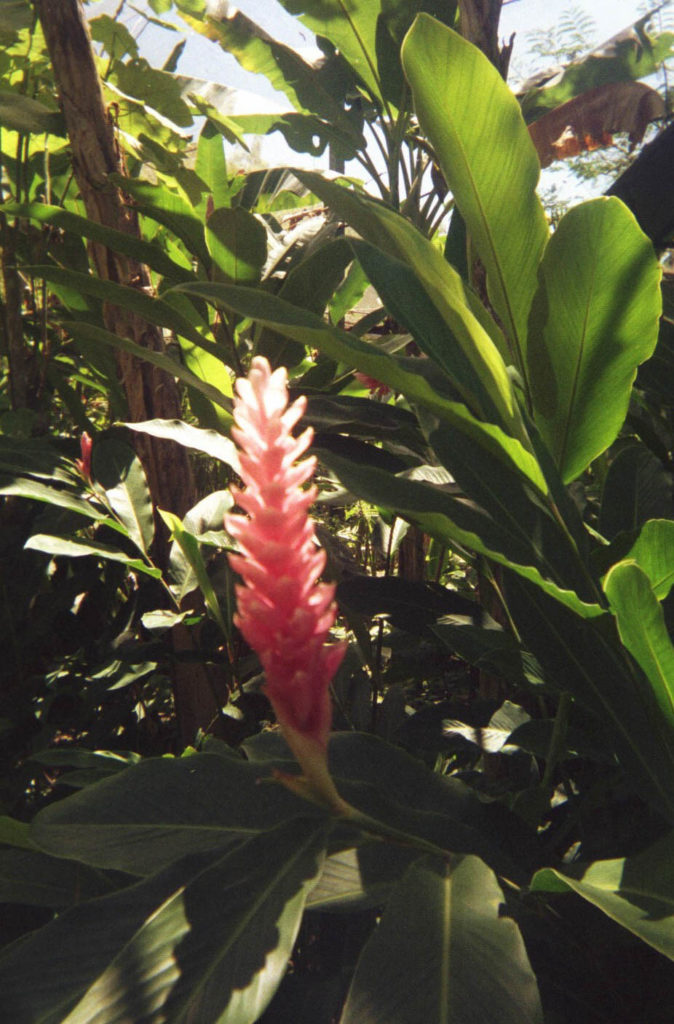
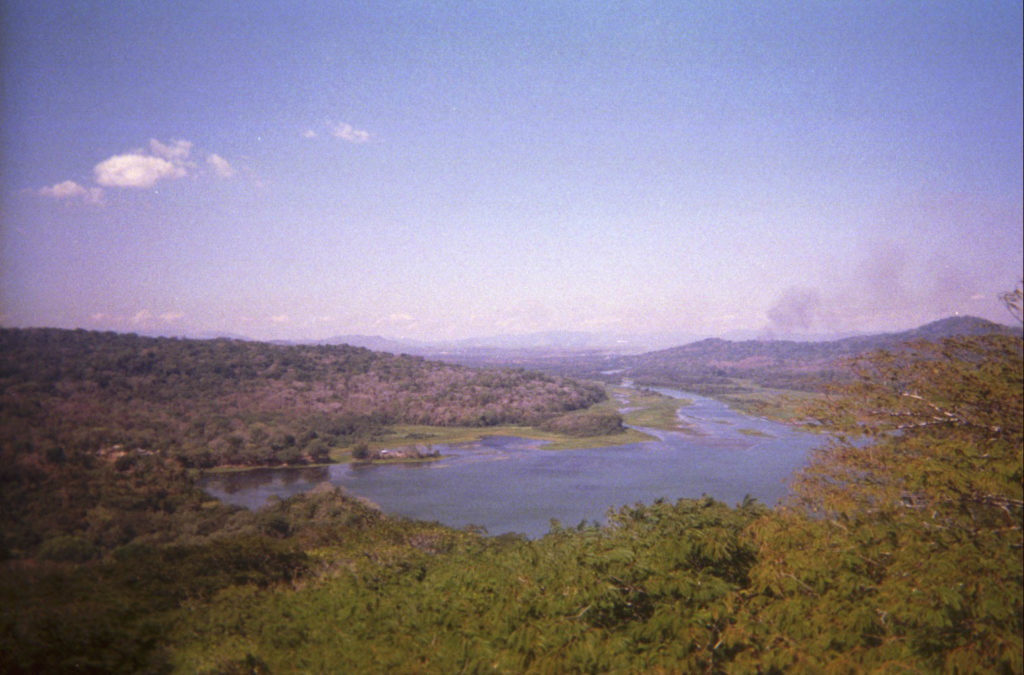
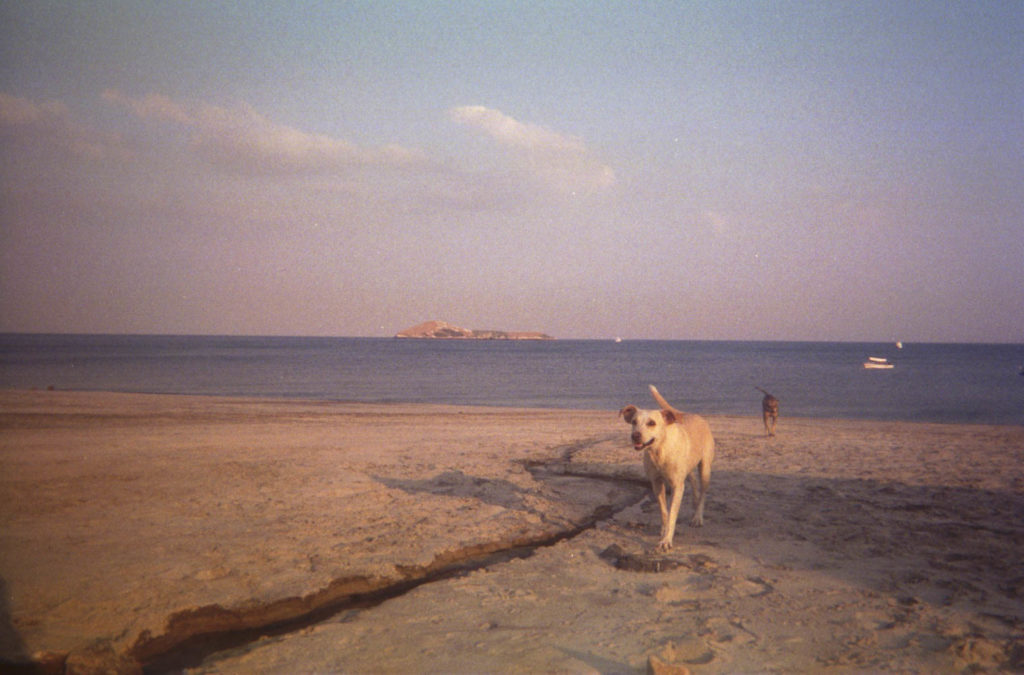
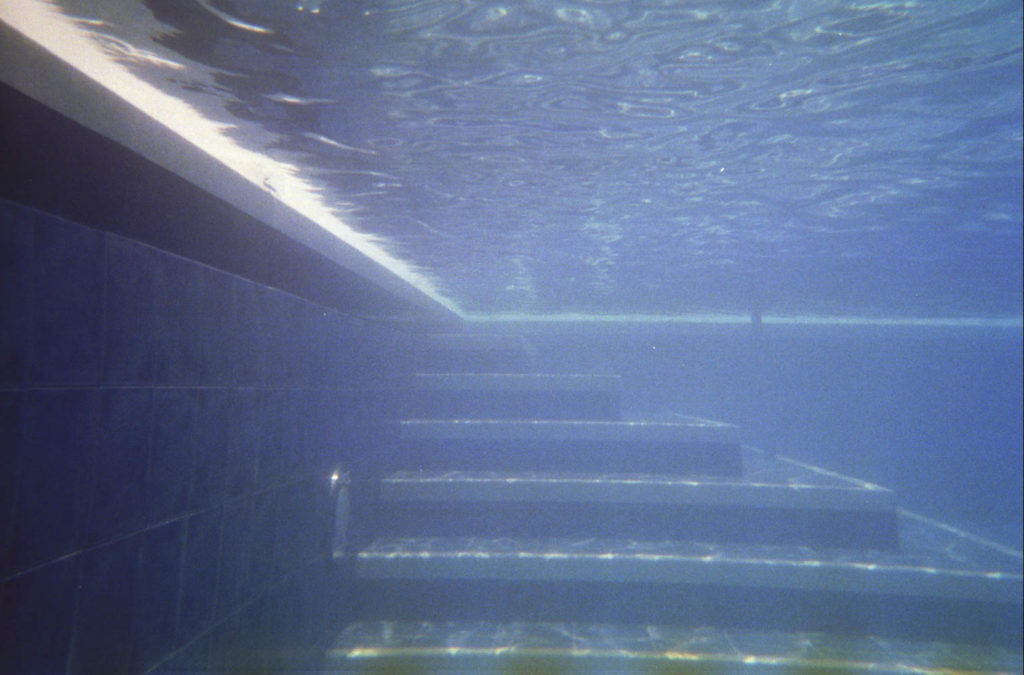
I visited Panama for a week with my mother last year. In addition to my fancy DSLR camera, I also picked up and packed a disposable, waterproof film camera on a whim. I carried the disposable camera around me for a bit most days and just took quick pictures of anything I found interesting. It was fun and relaxing to not be constantly adjusting the camera and lens settings or checking the screen to see if I got the shot. Not every photo came out the way I had envisioned it – going back to a set ASA (ISO) and static focal length forces you to put your photography knowledge to work – but the ones that did have that special quality to them that digital photography just can’t replicate.

Adventures in Analogue | Sophster-Toaster Blog Adventures in Analogue | Sophster-Toaster Blog Adventures in Analogue | Sophster-Toaster Blog

Getting my film developed was quite the process. First I had to find a shop/store that would do it. I settled on the Shopper’s Drug Mart across town (the only one that offered the service) after my mom assured me that the Shopper’s she works for, in a different town, does good work. I could have taken the film to a fancy camera shop but I figured I would keep the cheap train rolling and get my disposable camera developed on the cheap. This was probably a mistake. Once I finally found a store that would do it and found the convenient reason to drive across town, I was met by a young person who didn’t know what I was asking for. After showing him my camera and asking for my film to be developed, he continued to ask me if I wanted my passport photo taken. After my 6’4″ burly bearded husband stepped in, we discovered that this youth did not know what film was. Eventually, another employee came to help and knew exactly what we wanted and how to do it. My film was successfully sent away! I go home and eagerly await the phone call to tell me I can come pick it up. Two weeks pass and I get nervous. A month passes and I start to fear the worse. After several more weeks of preparing myself for the inevitability that my precious vacation photos are lost and trying to find another convenient time to drive across town, I go to inquire about my film. Luckily they have it! It is one of two packages waiting to be picked up. The same helpful employee who came to my rescue last time apologizes for the lack of a phone call and assures me that they usually call.

Adventures in Analogue | Sophster-Toaster Blog Adventures in Analogue | Sophster-Toaster Blog Adventures in Analogue | Sophster-Toaster Blog

Even after the ordeal of getting my photos back, shooting several days of my vacation on film was worth it. There is something special that happens when you return to the old technology. Even a year after my vacation, I remember the days I carried only my little disposable camera around so vividly. I was present in the moment and committing every sight, sound, smell and feeling to memory because I couldn’t rely on my camera to do it for me. The days I carried my DSLR are a little fuzzier, even though the photos are so much clearer. I spent more time looking down at the camera or through the lens, perfectly lining and timing my shots than I did experiencing the beauty around me. This was definitely a fun little experiment worth making a tradition out of. Maybe next time I’ll get a roll or two of film for my old camera and really test myself.

Adventures in Analogue | Sophster-Toaster Blog Adventures in Analogue | Sophster-Toaster Blog Adventures in Analogue | Sophster-Toaster Blog

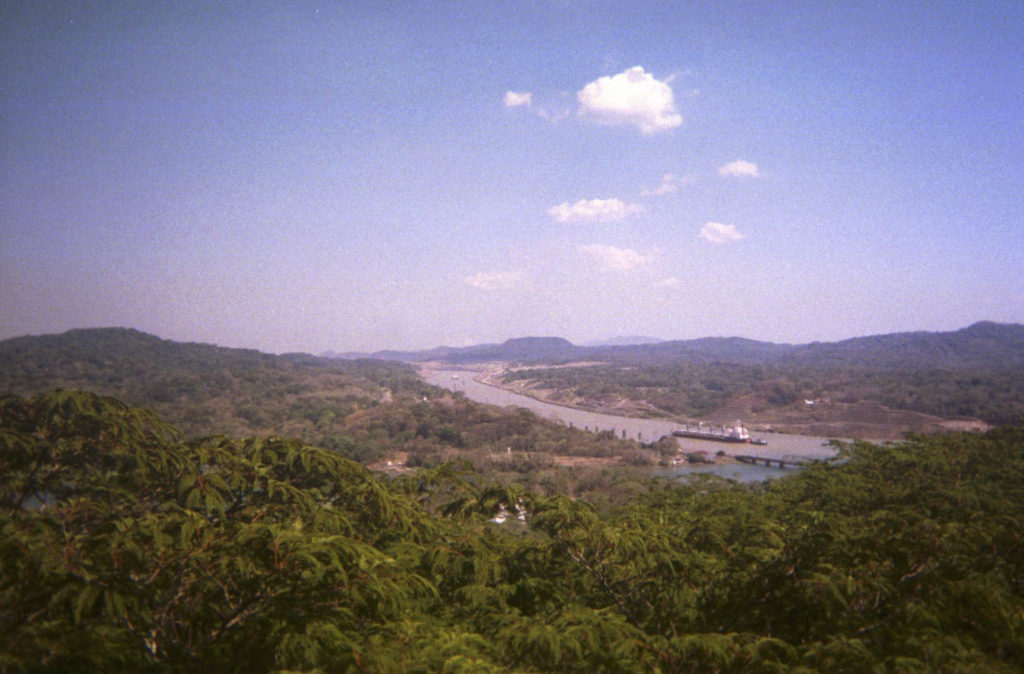
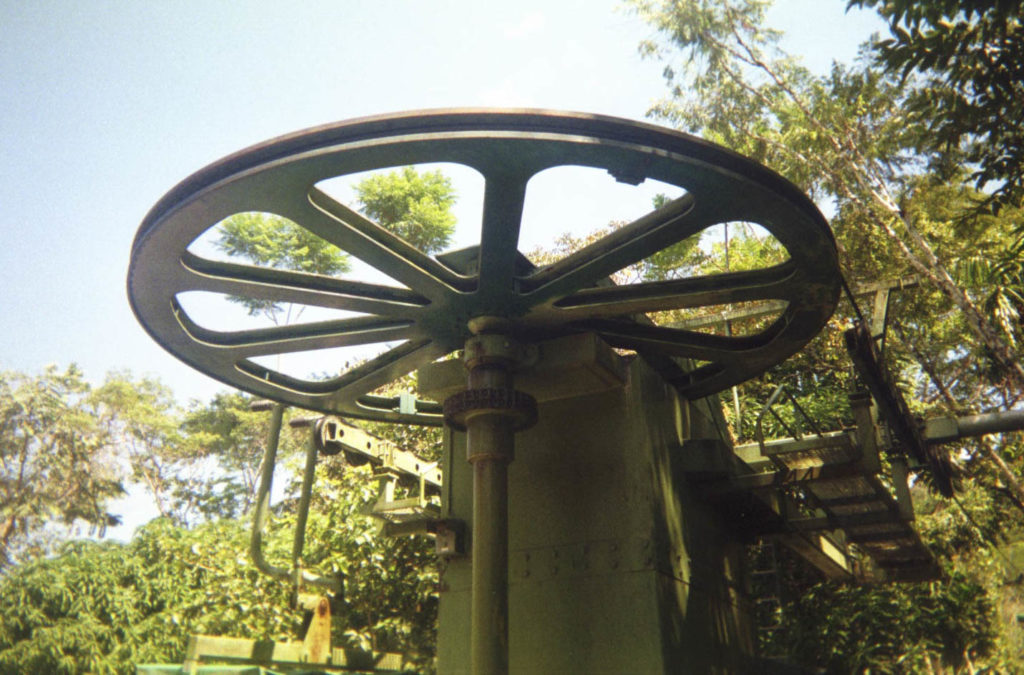
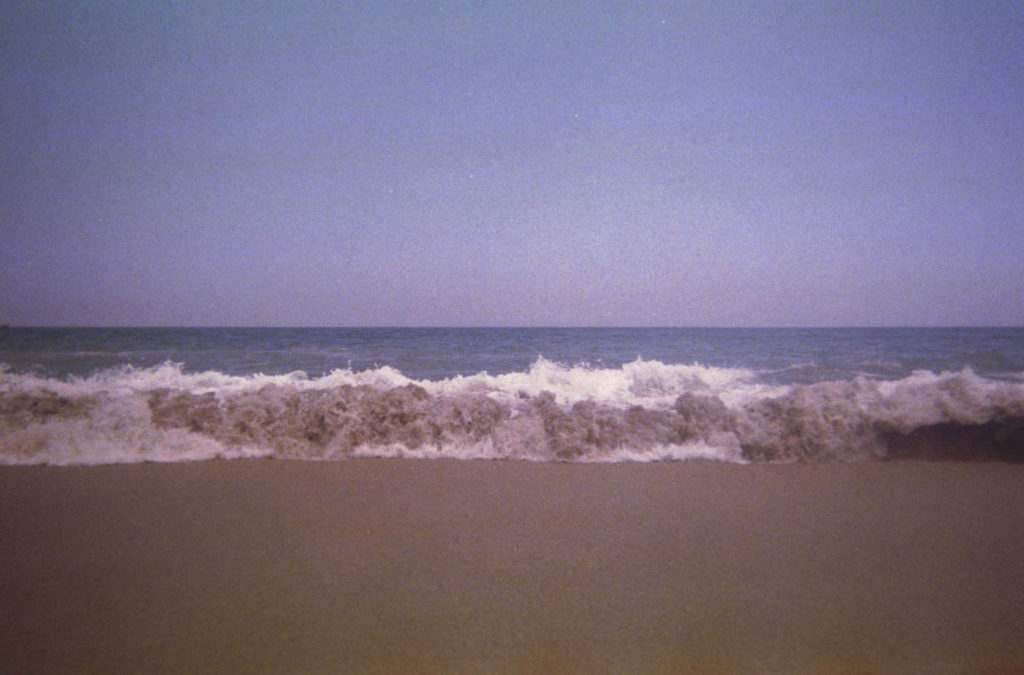
All photos by me, shot on a Fujifilm QuickSnap Waterproof Single Use Camera (ASA 800, 32mm, f/10).

DIY Bounce Board

The defining challenge that separates the novice photographer from the skilled hobbyist or professional lies in making the switch from flash to natural light. Anyone can invest in expensive equipment but that fancy camera body or editing software can only take you so far before you learn the limitations and exploitable facets of natural light sources.

I find that photographing in natural, diffused daylight is especially important when it comes to Etsy listing photos. The colour, texture and three-dimensional shape of your hand-crafted items need to be accurately represented in every photo – nobody likes surprises when it comes to shopping online. Most new Etsians seem to go through the same learning curve when they take their first leaps into product photography. They start like I did, photographing things in an unused corner of a tiny apartment; the lighting isn’t great and the space and budget are limited so they use the on-board flash to light the tightly cropped scene, resulting in a brightly coloured but visually unappealing image. Next, they think they can solve every problem by moving to the exact opposite end of the lighting spectrum and taking things outdoors… into direct, harsh sunlight. Now they’ve got an image with high contrast where everything is a weird, warm yellowy-orange, casts a dark black shadow and makes your colour correction software cry. Eventually all serious Etsy sellers will figure out which lighting conditions work best, when and where they occur during the course of the day and year, and then, someday, how to tweak and tinker with the light to take full advantage of everything it’s got.

I am at the tweaking and tinkering phase. The budget is still low, as I’m sure it is with most people who are trying to get a small business off the ground, so I don’t have a sticky wad of cash to through at every photography tool that I decide I need. I’d rather save that for the important things like lenses and a sturdy tripod that won’t fall over and break those shiny new lenses. This is where DIYs come in.

I recently made a quick and cheap DIY bounce board to solve a problem I’d been frequently coming up against: my apartment, though it has many floor to ceiling windows, only has windows on one side of each room, and the rooms that I photograph in most, the kitchen and my office/studio, only have one skinny window each. I found it was hard to adequately light a scene without one side being washed out by being closer to the single light source. I wasn’t ready to invest in an professional quality artificial light source, so I needed something to help bounce the light around the room. This DIY bounce board did the trick and now I don’t take a single shot without it. Here’s how I made it:

Photography Bounce Board DIYFoam Board Foam Board

Materials

  1. aluminum foil
  2. spray adhesive
  3. scissors
  4. foam board (white)

Photography Bounce Board DIY

How to

Measure and cut the lengths of aluminum foil needed to cover one side of the foam board – we’ll leave the other side white so we can have a double sided bounce board to better control the light intensity.

Spray one side of the foam board with spray adhesive, following the manufacturers instructions.

Carefully smooth the sheets of aluminum foil over the tacky (glue) side of the foam board. Trim the excess.

Photography Bounce Board DIY

Then just set up where ever you can best catch the light. I’ve been propping it up on chairs, leaning it against my tripod and wedging it in closet doorways.

Photography Bounce Board DIY

How to Take Decent Pictures: A Guide to Mediocre Photography

Don’t let the apathetic title fool you, I am quite passionate about photography, I am, however, also a realist – not to be confused with a pessimist – and I understand the limits of a shutter-happy society wielding what might as well be 0.2 megapixel potatoes. My goal is not to bring my reader to the level of someone who has been practicing for 20 years with one snappy article, but to give them the tips necessary to start the journey towards taking stunning photographs.

Continue reading