Peppermint Macarons

Peppermint Macarons | Sophster-Toaster

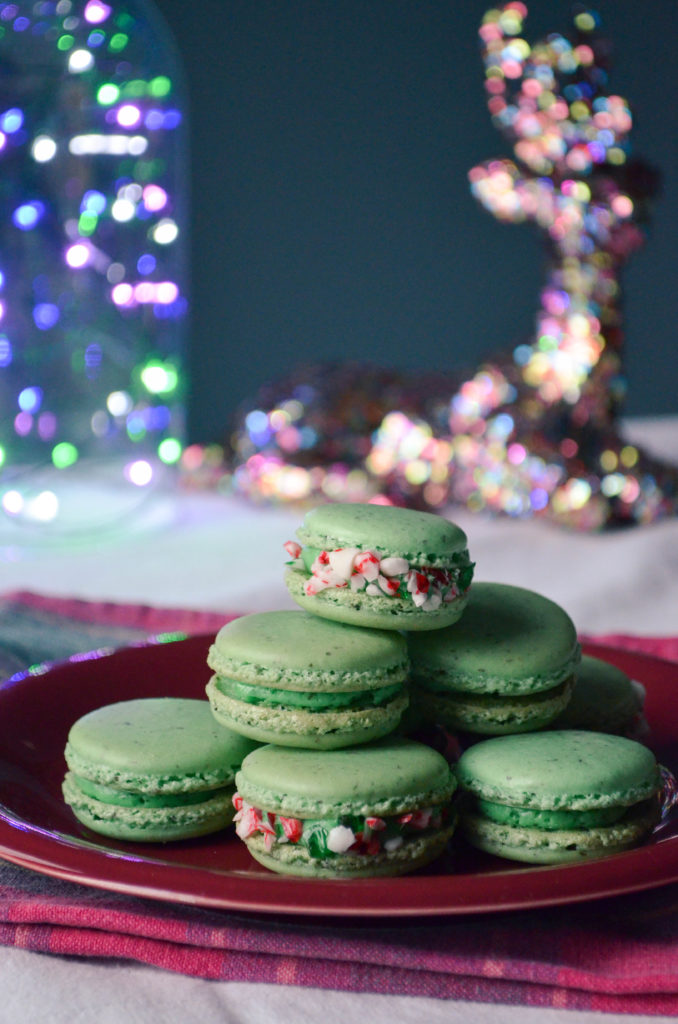
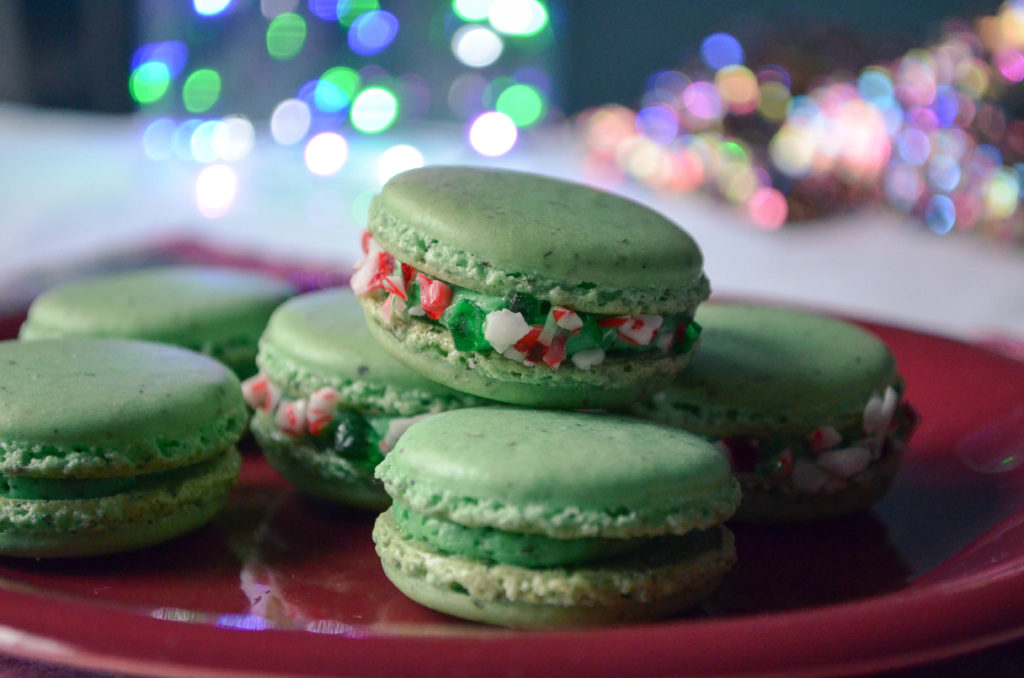
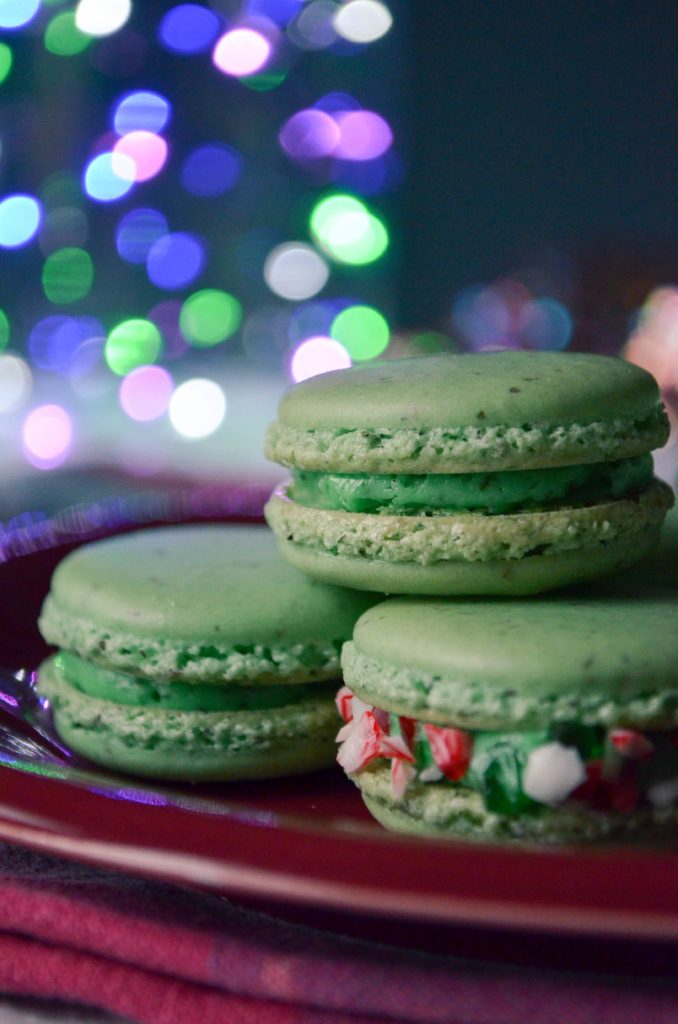
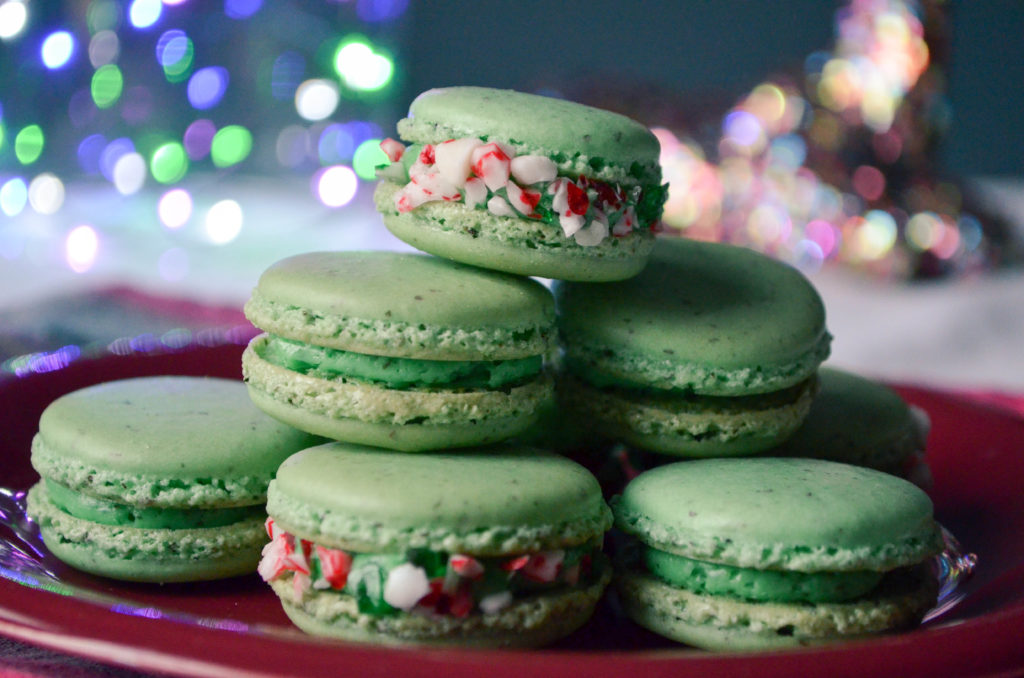
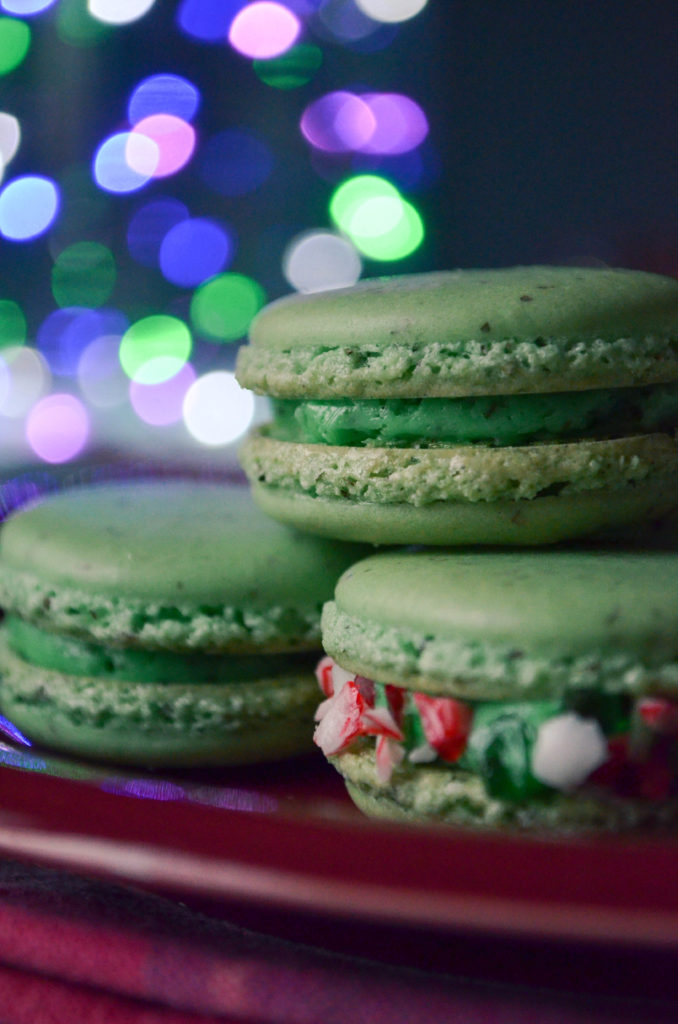
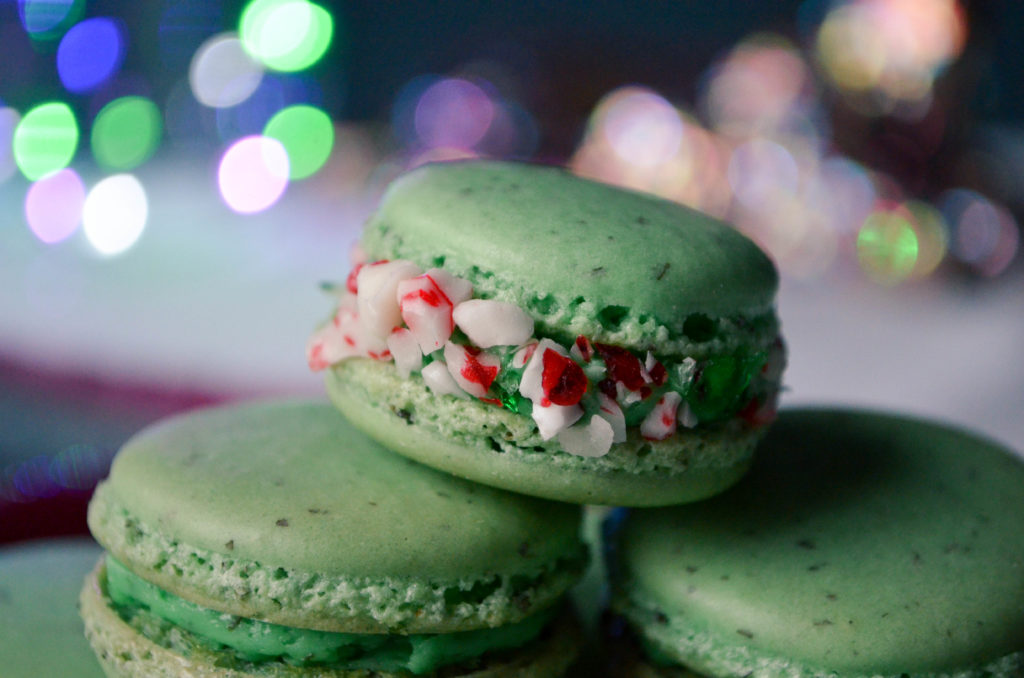
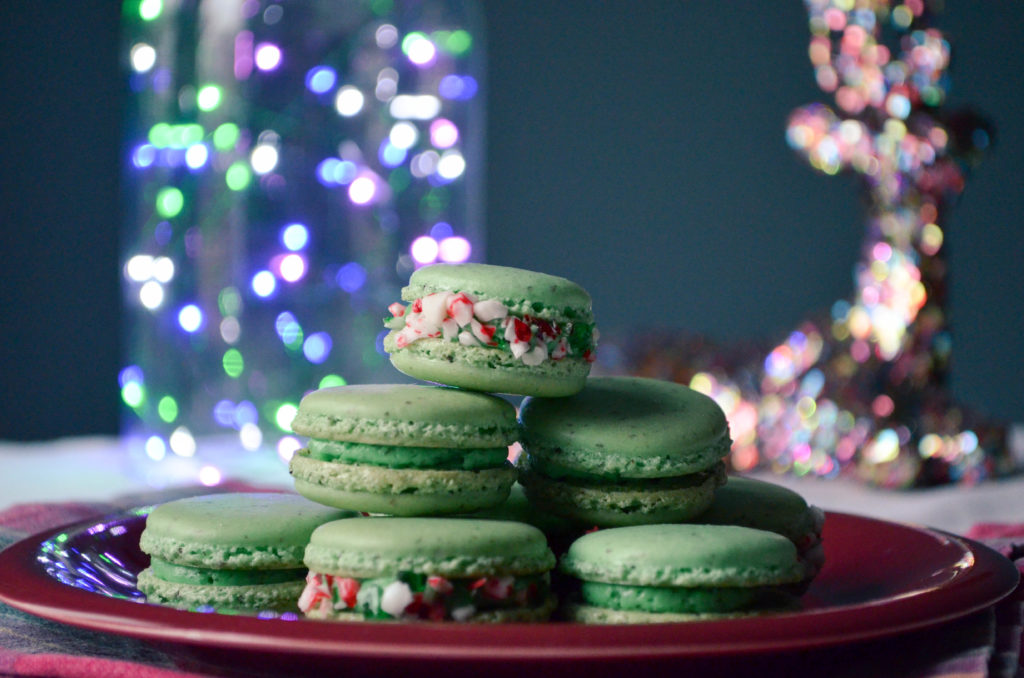
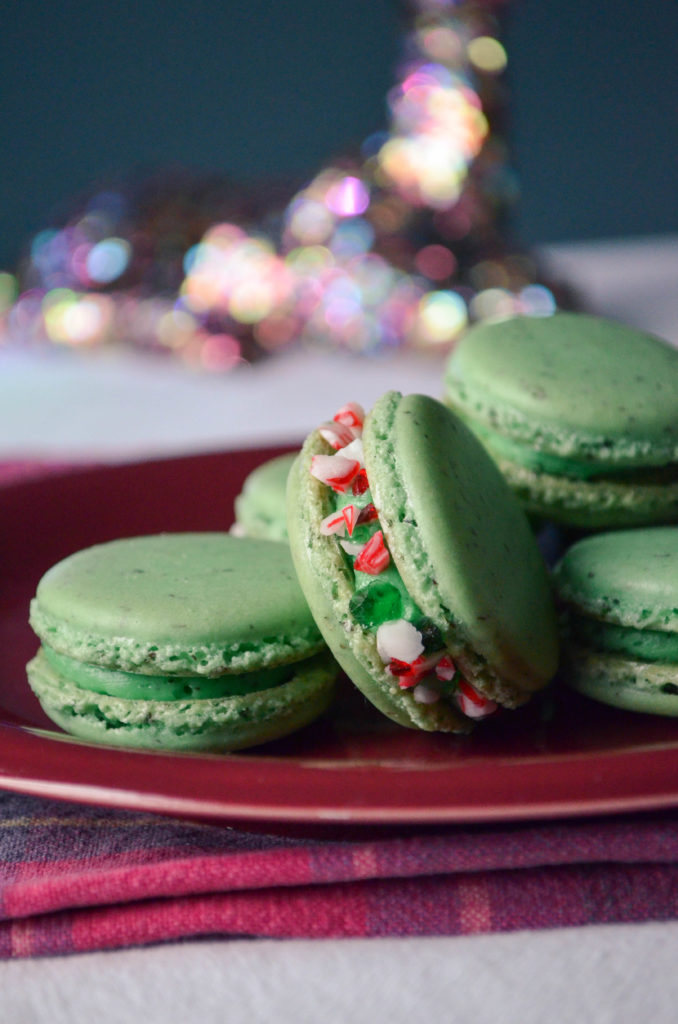
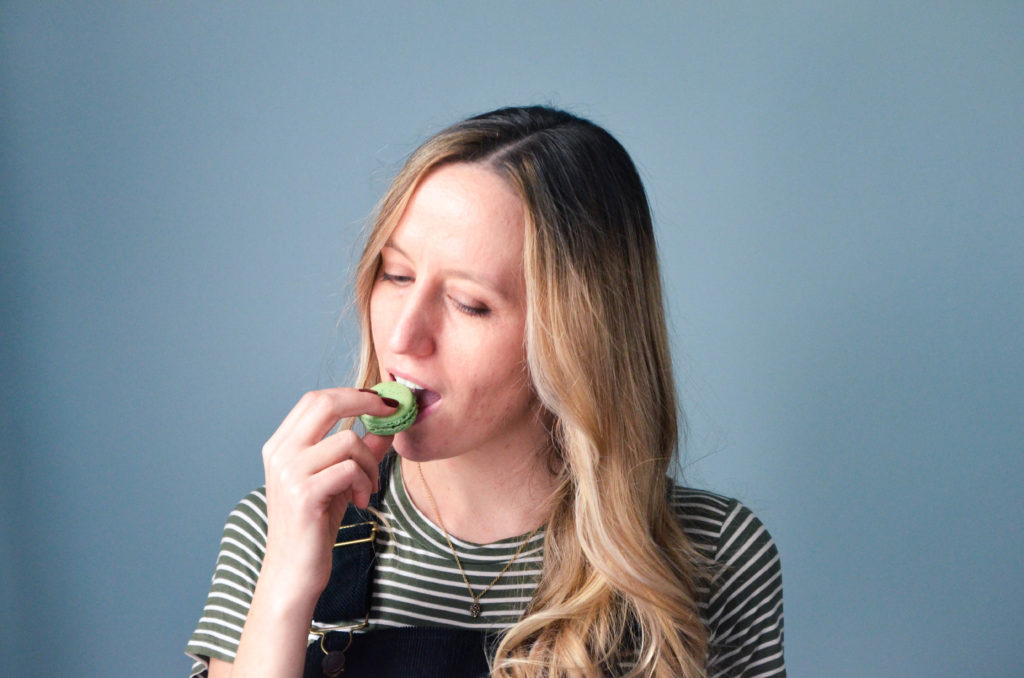
Flavoured with peppermint tea, these mint green, candy cane flavoured macarons are just the thing to get you (and your guests) into the holiday mood. Kept in an air tight container in the fridge, these cookies will keep for up to two weeks. Pull them out and let them come up to room temperature before serving.
Peppermint Macarons | Sophster-Toaster Peppermint Macarons | Sophster-Toaster Peppermint Macarons | Sophster-Toaster Peppermint Macarons | Sophster-Toaster Peppermint Macarons | Sophster-ToasterPeppermint Macarons | Sophster-Toaster

Ingredients

for the macaron shells

  • 1 cup ground almonds (as finely ground as you can find)
  • 1½ cup icing sugar
  • 3 large egg whites, at room temperature
  • 1/3 cup sugar
  • 1 tbsp peppermint tea leaves
  • Kelly green gel food colouring

for the buttercream filling

  • 7 tbsp unsalted butter
  • 3½ tbsp milk
  • 2 tsp peppermint tea leaves
  • 2 egg yolks
  • ¼ cup sugar
  • Kelly green gel food colouring
  • crushed candy cane

Peppermint Macarons | Sophster-Toaster

Method

for the macaron shells

  1. Prepare your parchment sheets by drawing 1″ circles, ½” apart across the entire sheet (or using silicon baking mats with the circles already printed on them) and placing them on a large flat surface suitable for drying your batter, like a dining table. You will need 2-3 half sheet pan size pieces.
  2. Sift ground almonds and icing sugar together, twice. Set aside.
  3. Mix the peppermint tea leaves into the almond and sugar mixture.
  4. In a large stainless steel mixing bowl, beat egg whites with a hand or stand mixer on high speed until you have a foam with no liquid remaining.
  5. Slowly add the sugar while continuing to beat the egg whites. Beat on high speed until the egg whites reach stiff peaks. You’ve made meringue!
  6. Add a tiny bit of Kelly green gel food colouring and gently beat in.
  7. Fold your almond and icing sugar mixture into the meringue in two parts.
  8. Here’s the part that takes practice: it’s time for the macaronnage! With a spatula, spread the batter, with some force, against the side of the bowl. Then scoop it up by running the spatula along the side of the bowl again and try to flip it all over and sort-of lightly smack it back into the bottom of the bowl. Gather the batter up again and repeat 15 times. It takes some time to figure out the best way to do this, don’t be afraid to play around with it. When doing the macaronnage correctly, repeating more than 20 times can result in oily, blotchy macarons, but I’ve found that doing it incorrectly doesn’t count towards this limit. If you are doing it right, the batter will take on a noticeable and somewhat sudden change in consistency, this means you are about half-way to that limit. When finished, the batter should be thickened and drip slowly from the spatula. You will have to pipe it onto your baking sheets/mats and it won’t work if the batter is too runny. This is the technique that defines macarons, this is what makes mastery of them impressive.
  9. For perfectly round macarons, use a large, 0.4″ plain tip with a pastry bag, or do it the lazy way and cut a corner off a zip top bag for mostly round macarons. Twist (or don’t yet cut) the bag at the tip and place it, tip side down, in a tall glass. Fill with your batter and twist, close or clip the other end to help keep the messy batter moving in the right direction. Pipe the batter into the centre of the circles on your sheets/mats and stop before reaching the edges as the batter will spread out a bit.
  10. Once finished piping, carefully pick the sheets/mats up and drop them back on to the table from a height of a couple of inches. The theory is that this helps the cookies keep their round shape and form the little bubbles around the bottom (the pied) when you put them in the oven.
  11. Leave the cookies on the table, uncovered, for 15-30 minutes to dry (or more on a humid day). This is a good time to preheat your oven to 350°F. You will know the macarons are dry when they look smooth and are no longer sticky to the touch.
  12. Place an oven rack in the centre of your oven. Place a sheet of macarons on two stacked sheet pans (this will stop the bottoms from getting too hot, resulting in cracked macarons) and bake for about 15 minutes. Rotate the pan half way through baking. At this point, if you want to try to keep your cookies light in colour, place a second oven rack directly below the first and move your cookies down to it, then place a third sheet pan above the cookies on the higher rack to protect them from the heat above. It can be hard to tell when the macaron are done. I pull them out when the kitchen smells sweet and the cookies look crisp, have just started to brown, and don’t look blotchy in the middle.
  13. As soon as the parchment sheet/baking mat is cool enough to handle, take it out of the pan with all the cookies on top and place it on a cooling rack. The macarons will be too sticky to remove from the sheet/mat now; once cooled, they should peel off easily. I usually wait a few minutes for the pans to cool a bit and for the oven to come back to a steady temperature before moving the next sheet to the pans and baking the next round.

for the buttercream

  1. Warm the butter in a double boiler or in the microwave until it is soft but not melted. Beat until creamy.
  2. In a small saucepan, bring milk to a boil and add the peppermint tea leaves. Cover and steep for 10 minutes.
  3. Meanwhile, place the egg yolks in a small bowl and whisk lightly. Add the sugar and beat with a whisk until they are a pale yellow in colour.
  4. Slowly pour the steeped milk mixture into the egg mixture, whisking constantly.
  5. Strain this mixture back into the saucepan and discard the peppermint tea leaves.
  6. Simmer over low heat until the mixture has thickened.
  7. Now pour the mixture into a clean bowl and beat with a whisk until it has cooled and become thick and custard-like.
  8. Add the butter in three parts and whisk until smooth with each addition.
  9. Add a tiny bit of Kelly green gel food colouring and whisk through.
  10. Once everything has cooled, place your buttercream in a zip-top bag, snip the corner off  and pipe it onto half of your shells. Then place a similarly sized shell on top and gently press them together. Roll the finished macarons in crushed candy cane, if desired.
Peppermint Macarons | Sophster-Toaster

All photos by me.
Absinthe Macarons

Absinthe Macarons | Sophster-Toaster

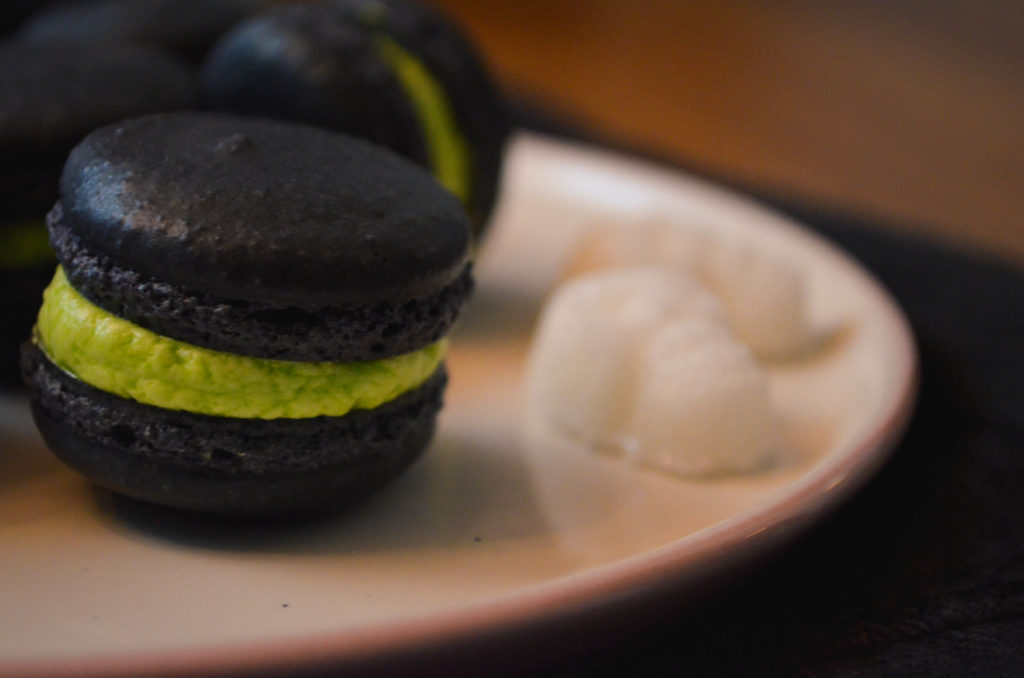
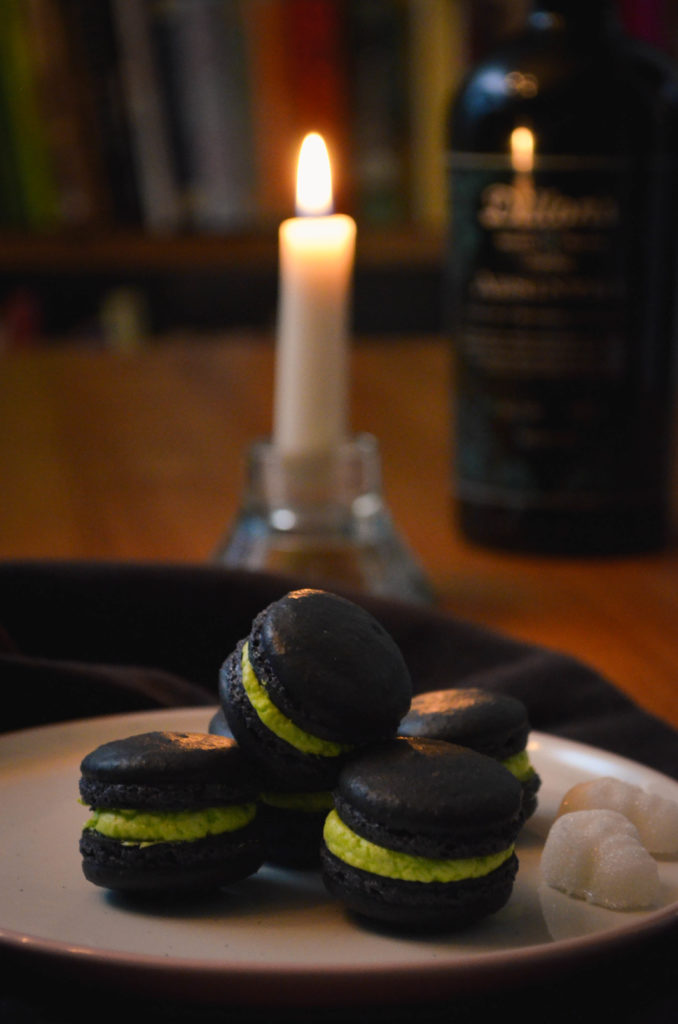
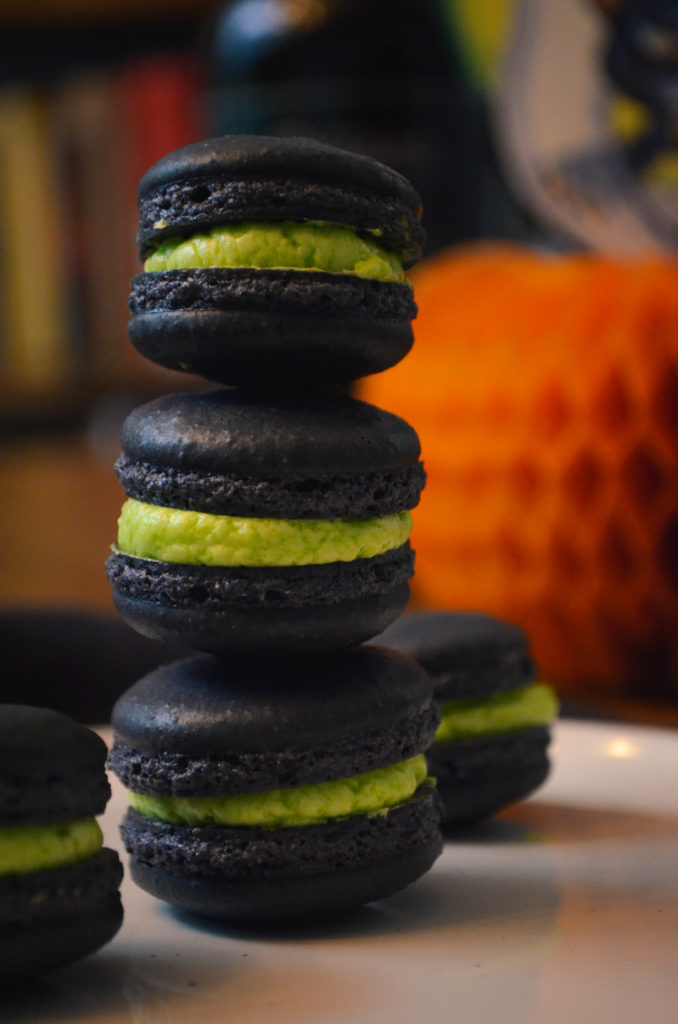
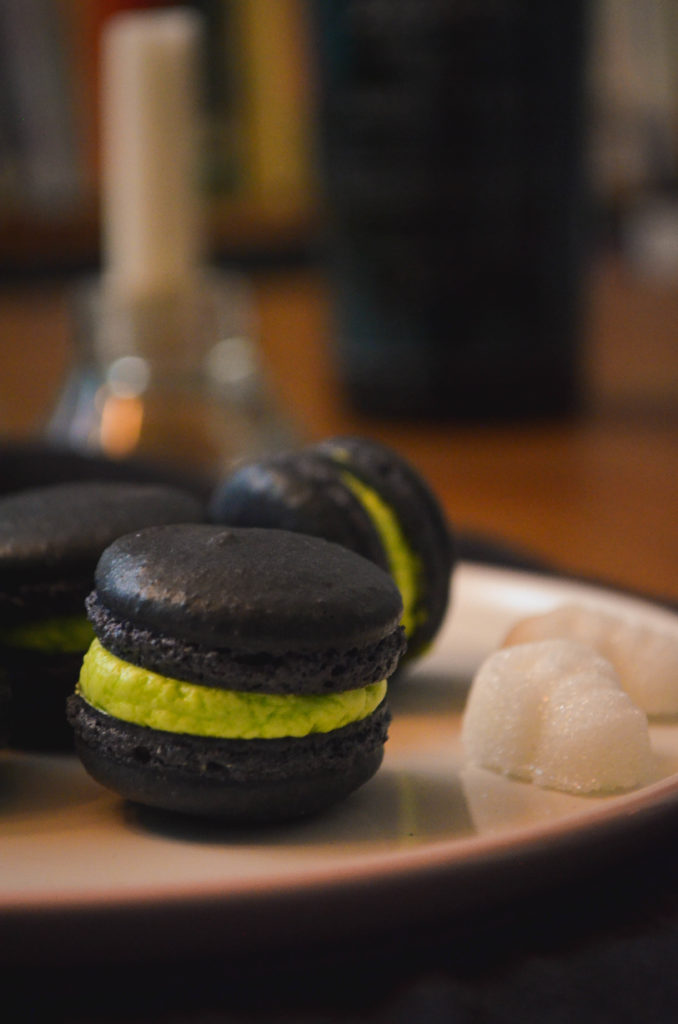
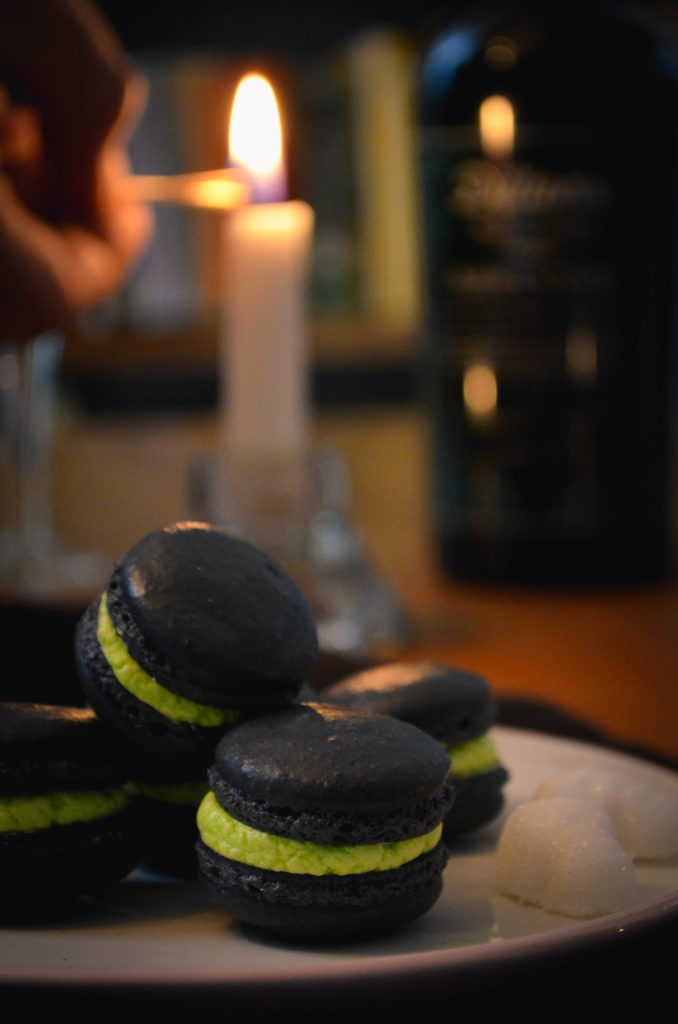
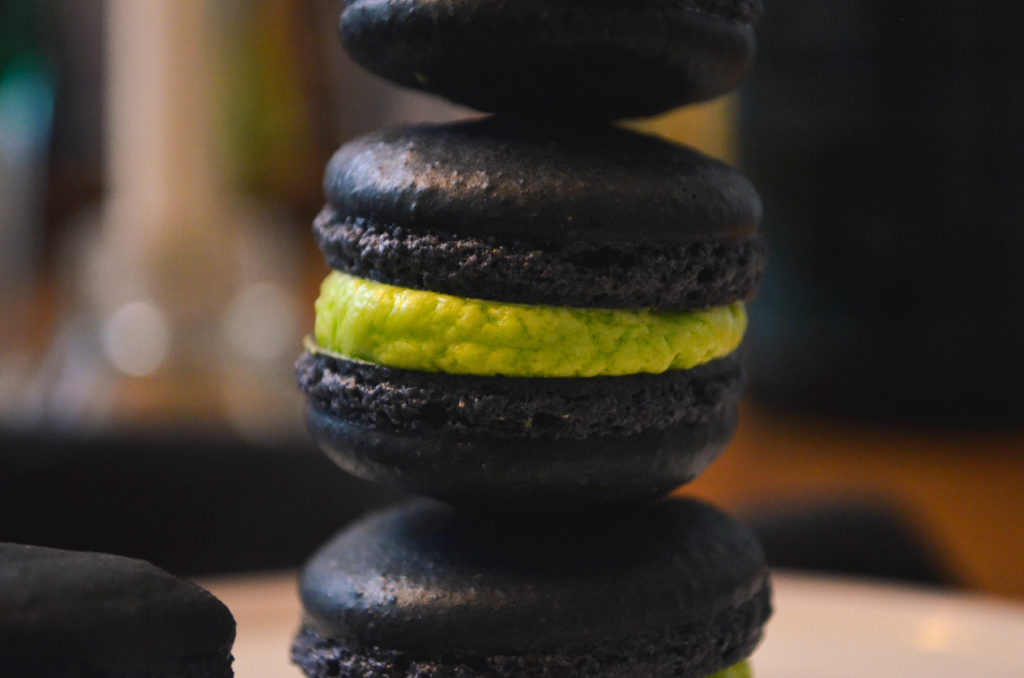
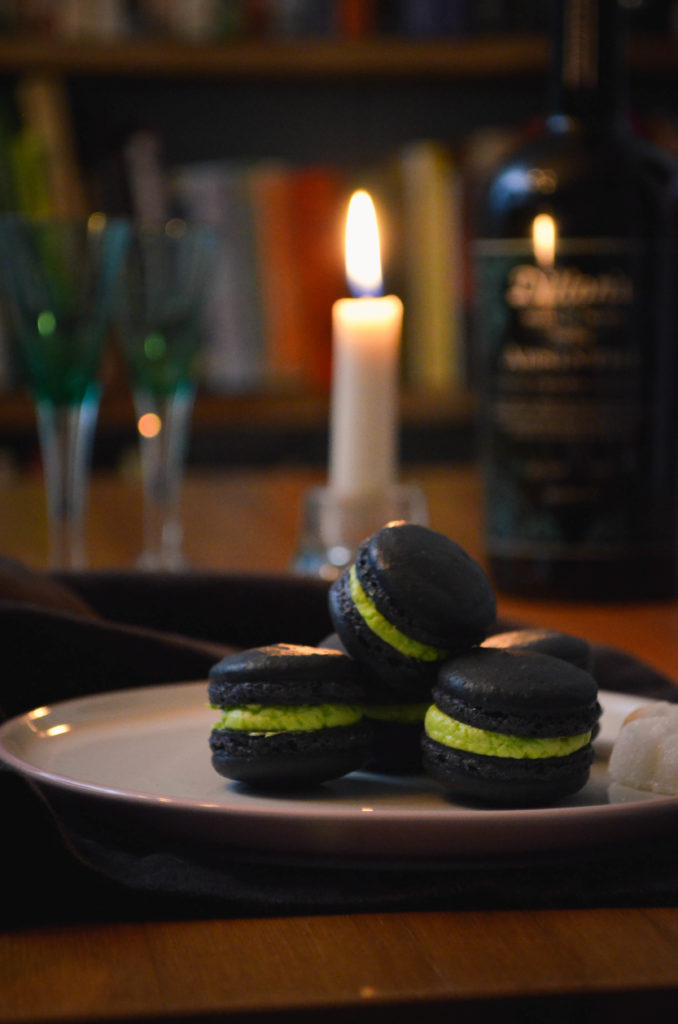
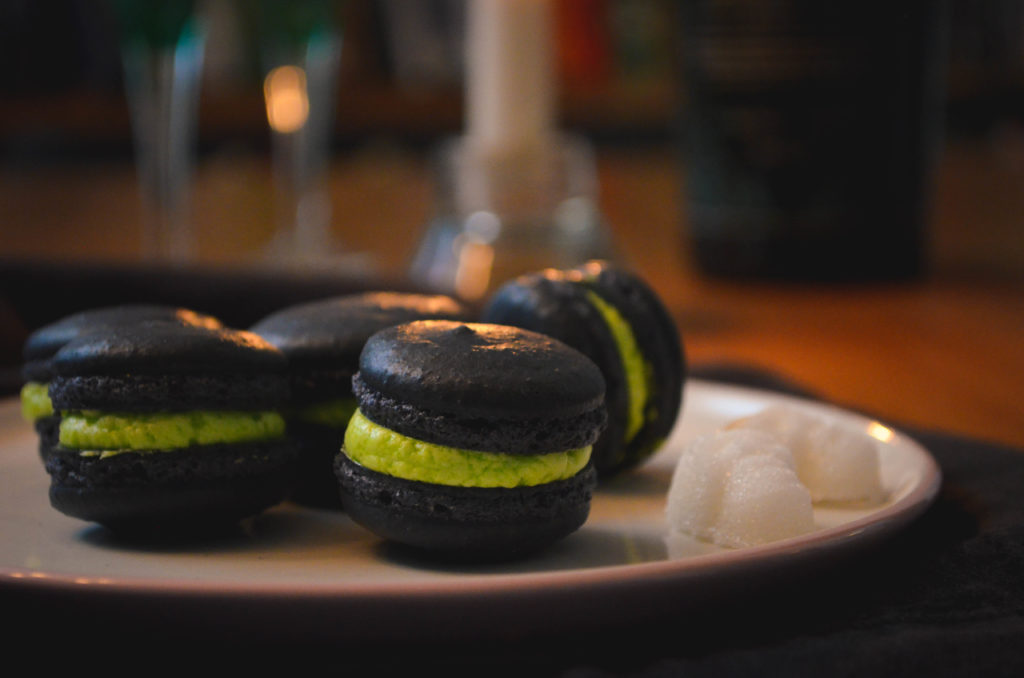
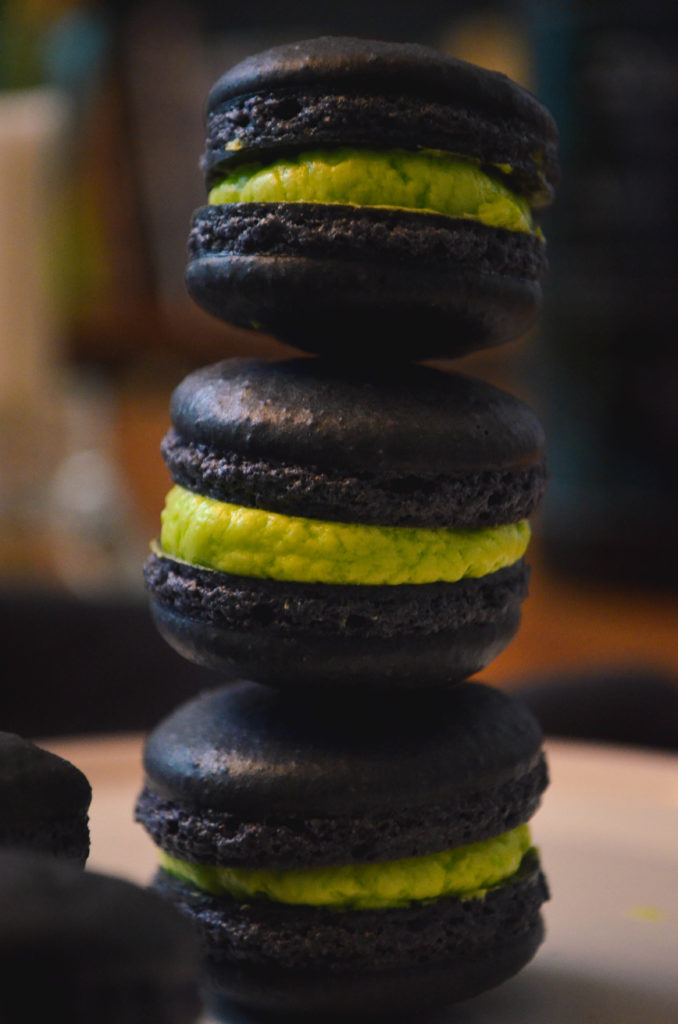
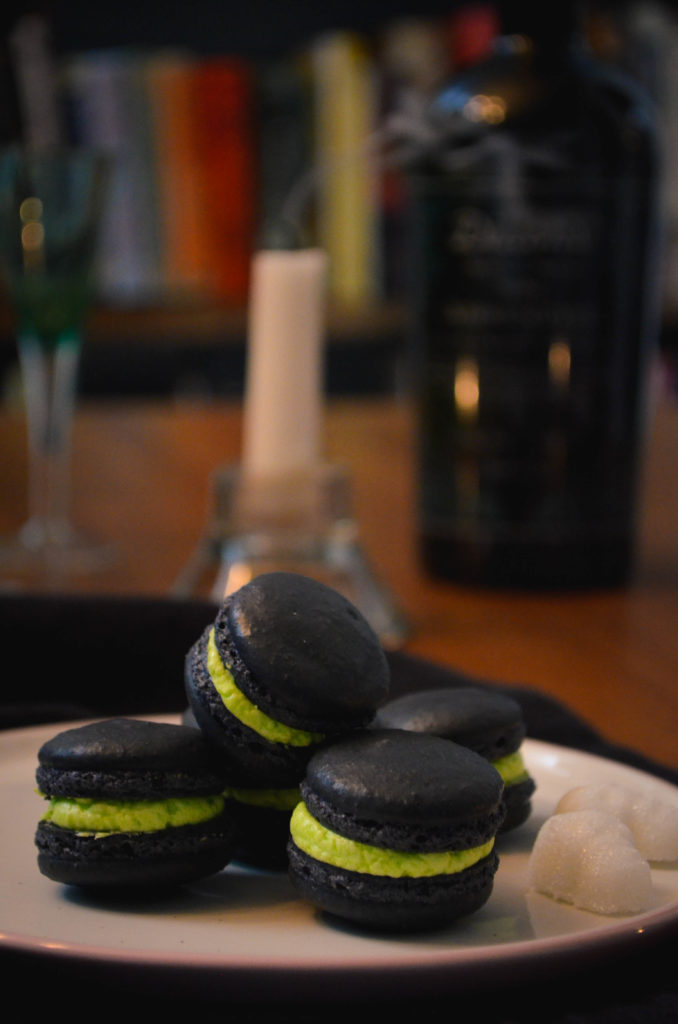
Everyone tastes absinthe a touch differently. I taste licorice, black cherry and freshly ground nutmeg in this absinthe from Dillon’s that I’m using today, while my husband describes flavours of anise and marzipan. Absinthe is fairly strong on its own. When preparing a glass of absinthe to drink, one dilutes it with cool water slowly poured over a sugar cube.  When used as a flavouring in baking, it acts more like an extract. Just like the water and sugar in the glass, the unique, bewitching flavours of the absinthe are tempered and diluted in the sweet buttercream. When paired with a classic almond and vanilla flavoured macaron shell, it creates a mysteriously timeless treat.

Absinthe Macarons | Sophster-ToasterAbsinthe Macarons | Sophster-Toaster Absinthe Macarons | Sophster-Toaster Absinthe Macarons | Sophster-Toaster Absinthe Macarons | Sophster-Toaster Absinthe Macarons | Sophster-Toaster Absinthe Macarons | Sophster-Toaster

Ingredients

for the macaron shells

  • 1 cup ground almonds (as finely ground as you can find)
  • 1½ cup icing sugar
  • 3 large egg whites, at room temperature
  • 1/3 cup sugar
  • 1 tsp vanilla
  • black gel food colouring

for the buttercream filling

  • 7 tbsp unsalted butter, softened
  • 3 tbsp water
  • 3 tbsp sugar
  • 1 egg, at room temperature
  • 2 tbsp absinthe
  • green food colouring

Absinthe Macarons | Sophster-Toaster

Method

for the macaron shells

  1. Prepare your parchment sheets by drawing 1″ circles, ½” apart across the entire sheet (or using silicon baking mats with the circles already printed on them) and placing them on a large flat surface suitable for drying your batter, like a dining table. You will need 2-3 half sheet pan size pieces.
  2. Sift ground almonds and icing sugar together, twice. Set aside.
  3. In a large stainless steel mixing bowl, beat egg whites with a hand or stand mixer on high speed until you have a foam with no liquid remaining.
  4. Slowly add the sugar while continuing to beat the egg whites. Beat on high speed until the egg whites reach stiff peaks. You’ve made meringue!
  5. Add vanilla and gently beat in.
  6. Add food colouring and gently beat in. The batter will darken as you work it and the cookies will come out darker still, so don’t worry about getting a true black right now.
  7. Fold your almond and icing sugar mixture into the meringue in two parts.
  8. Here’s the part that takes practice: it’s time for the macaronnage! With a spatula, spread the batter, with some force, against the side of the bowl. Then scoop it up by running the spatula along the side of the bowl again and try to flip it all over and sort-of lightly smack it back into the bottom of the bowl. Gather the batter up again and repeat 15 times. It takes some time to figure out the best way to do this, don’t be afraid to play around with it. When doing the macaronnage correctly, repeating more than 20 times can result in oily, blotchy macarons, but I’ve found that doing it incorrectly doesn’t count towards this limit. If you are doing it right, the batter will take on a noticeable and somewhat sudden change in consistency, this means you are about half-way to that limit. When finished, the batter should be thickened and drip slowly from the spatula. You will have to pipe it onto your baking sheets/mats and it won’t work if the batter is too runny. This is the technique that defines macarons, this is what makes mastery of them impressive.
  9. For perfectly round macarons, use a large, 0.4″ plain tip with a pastry bag, or do it the lazy way and cut a corner off a zip top bag for mostly round macarons. Twist (or don’t yet cut) the bag at the tip and place it, tip side down, in a tall glass. Fill with your batter and twist, close or clip the other end to help keep the messy batter moving in the right direction. Pipe the batter into the centre of the circles on your sheets/mats and stop before reaching the edges as the batter will spread out a bit.
  10. Once finished piping, carefully pick the sheets/mats up and drop them back on to the table from a height of a couple of inches. The theory is that this helps the cookies keep their round shape and form the little bubbles around the bottom (the pied) when you put them in the oven.
  11. Leave the cookies on the table, uncovered, for 15-30 minutes to dry (or more on a humid day). This is a good time to preheat your oven to 350°F. You will know the macarons are dry when they look smooth and are no longer sticky to the touch.
  12. Place an oven rack in the centre of your oven. Place a sheet of macarons on two stacked sheet pans (this will stop the bottoms from getting too hot, resulting in cracked macarons) and bake for about 15 minutes. Rotate the pan half way through baking. It can be hard to tell when the macaron are done. I pull them out when the kitchen smells sweet and the cookies look crisp, have just started to brown, and don’t look blotchy in the middle.
  13. As soon as the parchment sheet/baking mat is cool enough to handle, take it out of the pan with all the cookies on top and place it on a cooling rack. The macarons will be too sticky to remove from the sheet/mat now; once cooled, they should peel off easily. I usually wait a few minutes for the pans to cool a bit and for the oven to come back to a steady temperature before moving the next sheet to the pans and baking the next round.

for the buttercream

  1. Warm the butter in a double boiler or in the microwave until it is soft but not melted and beat until creamy.
  2. Break the egg into a large heat-resistant mixing bowl and beat lightly with a hand mixer. Set aside.
  3. Add water and sugar to a small saucepan and place over medium-low heat. Bring to a simmer and stir until thick and syrupy, about 7 minutes. You’ve made simple syrup!
  4. Slowly pour your simple syrup into the beaten egg while beating with a hand mixer on as high a speed as you can without flinging syrup everywhere, remember it is hot and sticky. Once all the syrup is in, beat the mixture on high speed, slowly reducing speed until it is thick, light in colour and the bowl is no longer hot.
  5. Add the butter to this mixture in two or three parts and beat on medium speed until fully incorporated and creamy. If the buttercream splits and continuing to beat doesn’t bring it back together, it has likely become too cold. Pop it in the warm oven for 30 seconds and try beating it again. Continue doing this until it comes together.
  6. Add the absinthe and beat until mixed in.
  7. Add food colouring

Once everything has cooled, place your buttercream in a piping or zip-top bag and pipe onto half of your shells. Then place another similarly sized shell on top and gently press them together.

Absinthe Macarons | Sophster-Toaster

All photos by me.
Peanut Butter & Chocolate Macarons

Peanut Butter & Chocolate Macarons | Sophster-Toaster

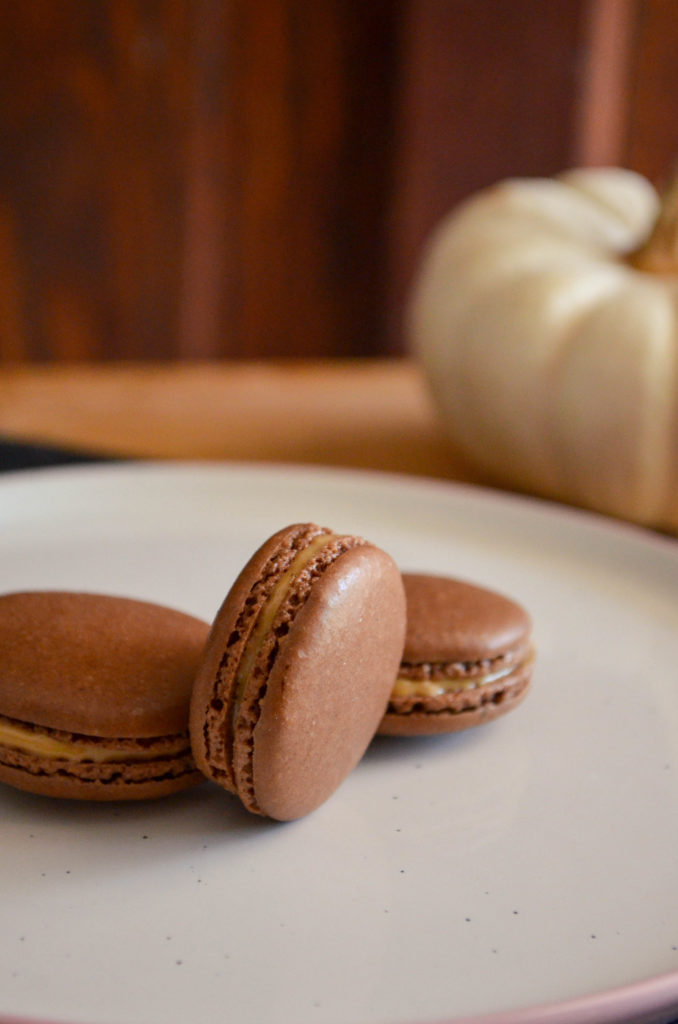
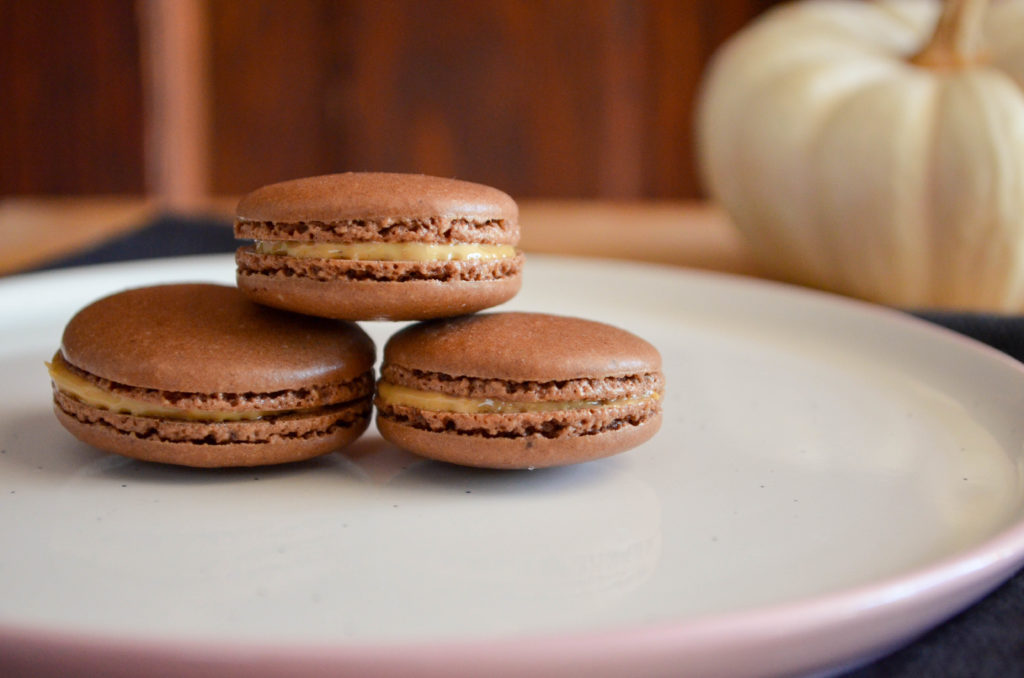
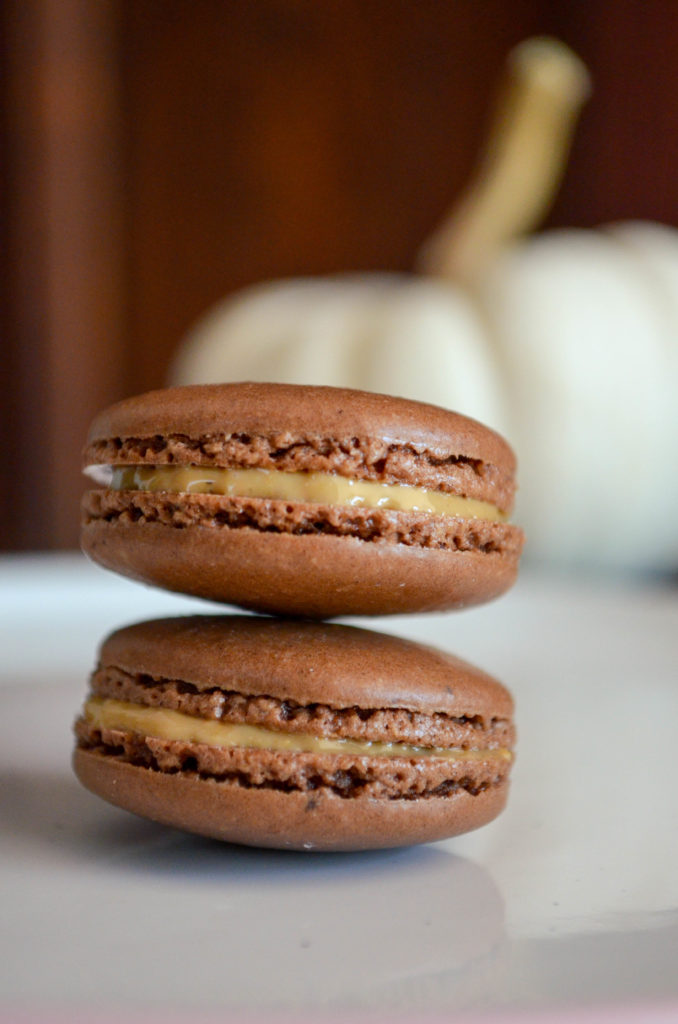
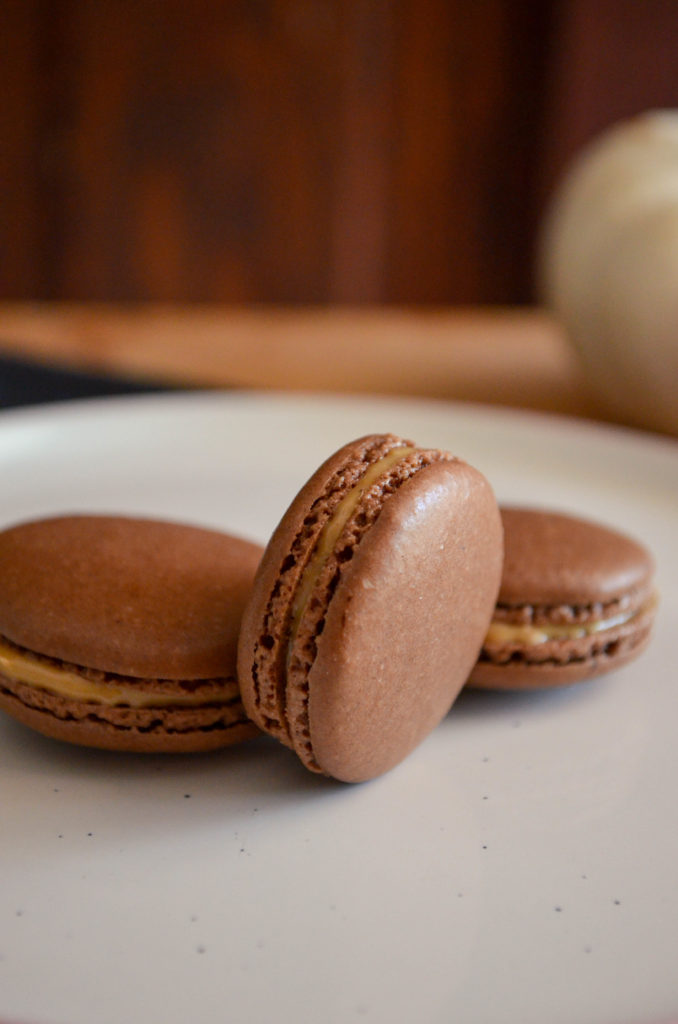
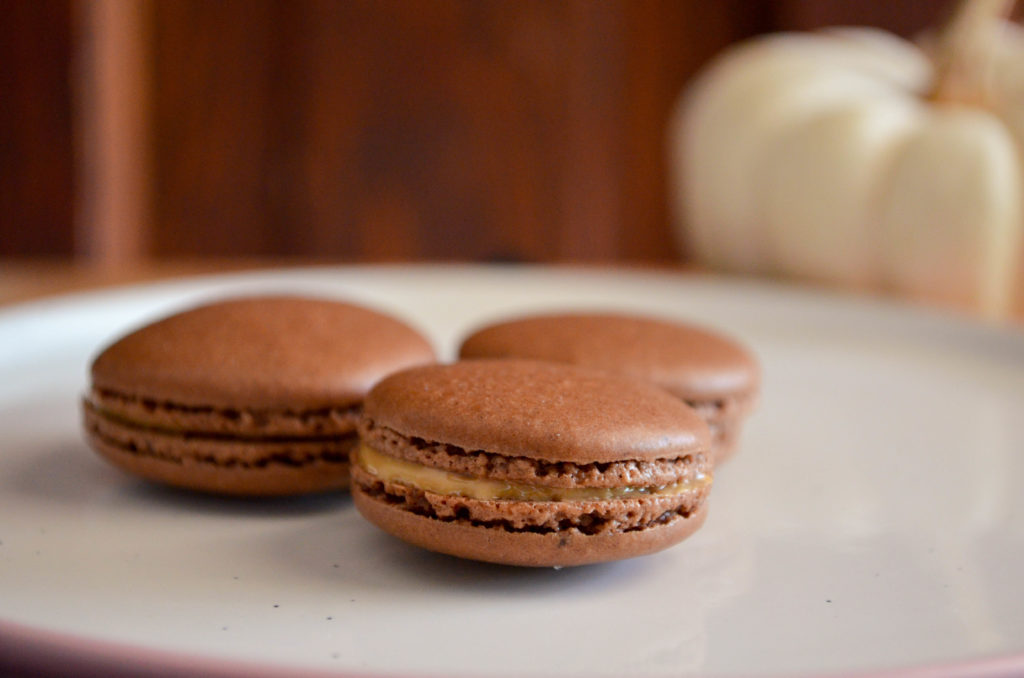
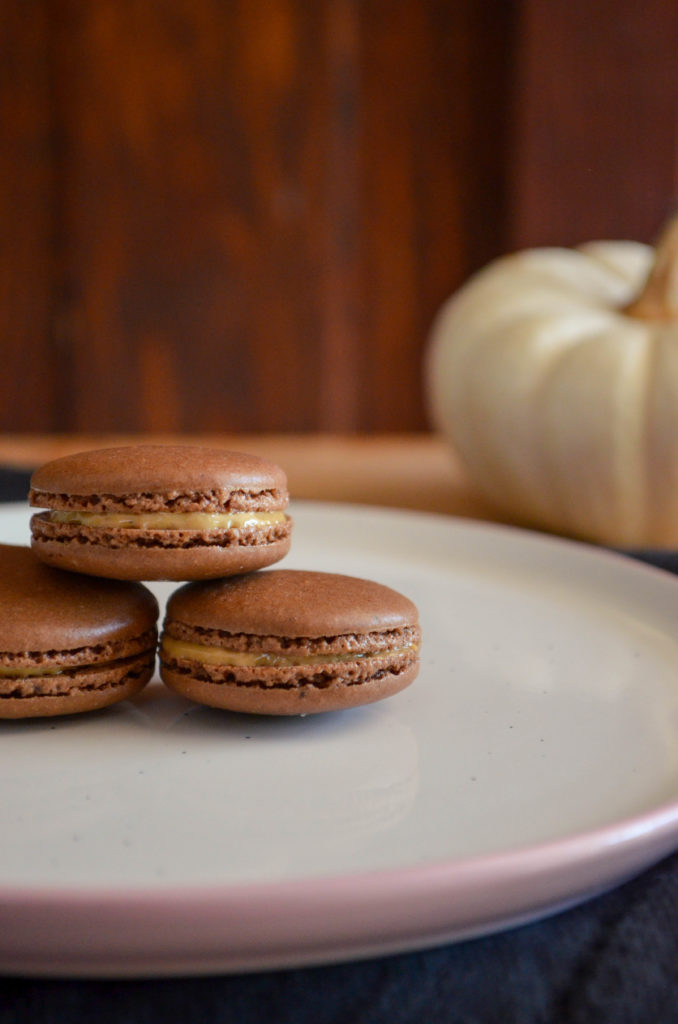
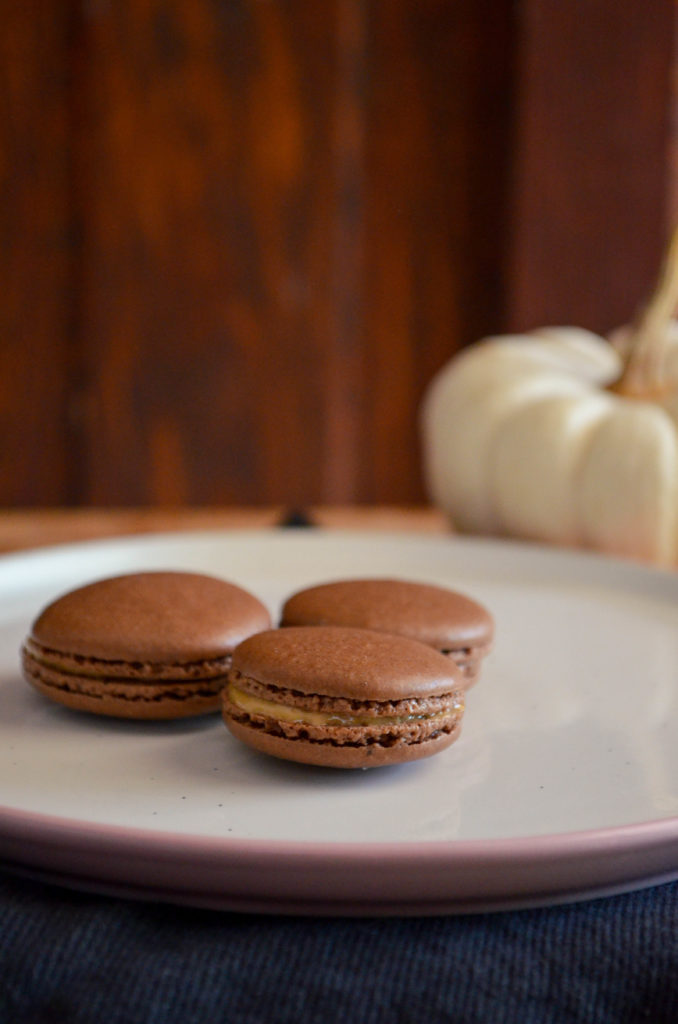
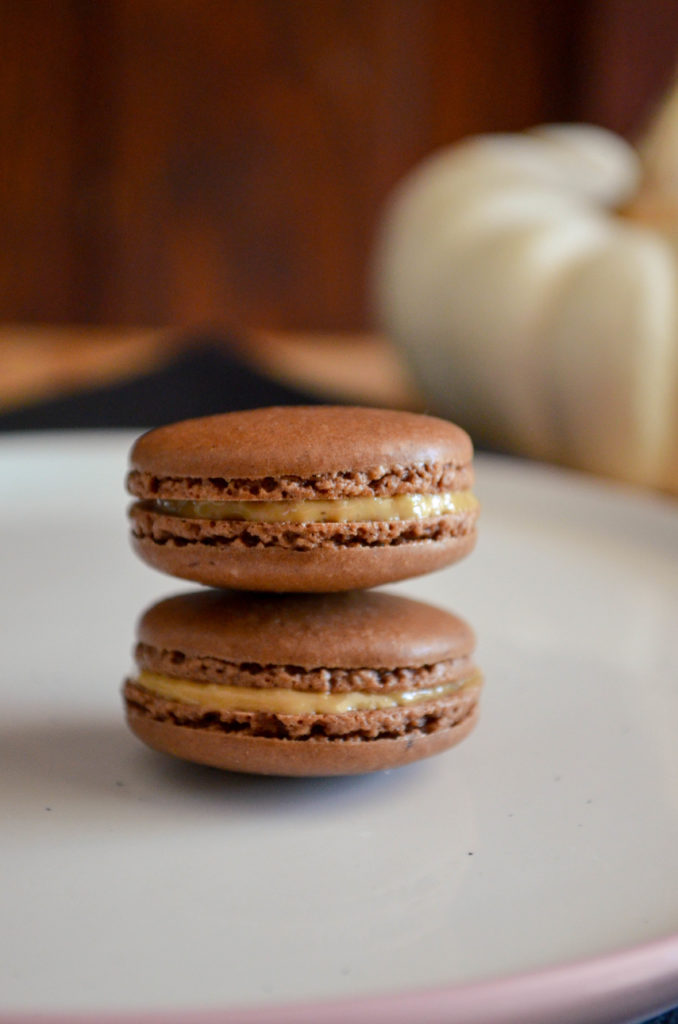
I’ve been on a bit of a peanut butter kick lately. More like nut and seed spreads that resemble peanut butter, since I’m sadly allergic to the real thing. As Halloween approaches, I start to really miss the holy grail of trick or treating candy: Reese Peanut Butter cups. A candy so good, you just accept the struggle of getting that smushed and half melted chocolate out of its wrapper as part of the trials you must face to earn it.  That longing for the perfect combination of peanut butter and chocolate inspired this month’s macaron recipe for a cookie with chocolate shells and an easy cashew butter filling.

Peanut Butter & Chocolate Macarons | Sophster-Toaster Peanut Butter & Chocolate Macarons | Sophster-Toaster Peanut Butter & Chocolate Macarons | Sophster-Toaster Peanut Butter & Chocolate Macarons | Sophster-Toaster Peanut Butter & Chocolate Macarons | Sophster-Toaster

Ingredients

for the macaron shells

(dryer version for the humid months)

  • ¾ cup ground almonds (as finely ground as you can find)
  • 1 cup icing sugar
  • 3 tbsp cocoa powder
  • 2 large egg whites, at room temperature
  • 3 tbsp + 1 tsp sugar
  • 1 tsp vanilla

for the filling

  • ¼-½ cup peanut butter or substitute (I’m using cashew butter)

Peanut Butter & Chocolate Macarons | Sophster-Toaster

Method

for the macaron shells

  1. Prepare your parchment sheets by drawing 1″ circles, ½” apart across the entire sheet (or using silicon baking mats with the circles already printed on them) and placing them on a large flat surface suitable for drying your batter, like a dining table. You will need 2-3 half sheet pan size pieces.
  2. Sift ground almonds, icing sugar and cocoa powder together, twice. Set aside.
  3. In a large stainless steel mixing bowl, beat egg whites with a hand or stand mixer on high speed until you have a foam with no liquid remaining.
  4. Slowly add the sugar while continuing to beat the egg whites. Beat on high speed until the egg whites reach stiff peaks. You’ve made meringue!
  5. Add vanilla and gently beat in.
  6. Fold your almond and icing sugar mixture into the meringue in two parts.
  7. Here’s the part that takes practice: it’s time for the macaronnage! With a spatula, spread the batter, with some force, against the side of the bowl. Then scoop it up by running the spatula along the side of the bowl again and try to flip it all over and sort-of lightly smack it back into the bottom of the bowl. Gather the batter up again and repeat 15 times. It takes some time to figure out the best way to do this, don’t be afraid to play around with it. When doing the macaronnage correctly, repeating more than 20 times can result in oily, blotchy macarons, but I’ve found that doing it incorrectly doesn’t count towards this limit. If you are doing it right, the batter will take on a noticeable and somewhat sudden change in consistency, this means you are about half-way to that limit. When finished, the batter should be thickened and drip slowly from the spatula. You will have to pipe it onto your baking sheets/mats and it won’t work if the batter is too runny. This is the technique that defines macarons, this is what makes mastery of them impressive.
  8. For perfectly round macarons, use a large, 0.4″ plain tip with a pastry bag, or do it the lazy way and cut a corner off a zip top bag for mostly round macarons. Twist (or don’t yet cut) the bag at the tip and place it, tip side down, in a tall glass. Fill with your batter and twist, close or clip the other end to help keep the messy batter moving in the right direction. Pipe the batter into the centre of the circles on your sheets/mats and stop before reaching the edges as the batter will spread out a bit.
  9. Once finished piping, carefully pick the sheets/mats up and drop them back on to the table from a height of a couple of inches. The theory is that this helps the cookies keep their round shape and form the little bubbles around the bottom (the pied) when you put them in the oven.
  10. Leave the cookies on the table, uncovered, for 15-30 minutes to dry (or more on a humid day). This is a good time to preheat your oven to 350°F. You will know the macarons are dry when they look smooth and are no longer sticky to the touch.
  11. Place an oven rack in the centre of your oven. Place a sheet of macarons on two stacked sheet pans (this will stop the bottoms from getting too hot, resulting in cracked macarons) and bake for about 15 minutes. Rotate the pan half way through baking. It can be hard to tell when the macaron are done. I pull them out when the kitchen smells sweet and the cookies look crisp, have just started to brown, and don’t look blotchy in the middle.
  12. As soon as the parchment sheet/baking mat is cool enough to handle, take it out of the pan with all the cookies on top and place it on a cooling rack. The macarons will be too sticky to remove from the sheet/mat now; once cooled, they should peel off easily. I usually wait a few minutes for the pans to cool a bit and for the oven to come back to a steady temperature before moving the next sheet to the pans and baking the next round.

Once everything has cooled spread your peanut butter (or substitute) onto half of your shells. Then place another similarly sized shell on top and gently press them together.

Peanut Butter & Chocolate Macarons | Sophster-Toaster

All photos by me.
Butterscotch & Seed Butter Cookies (Nut Free)

Butterscotch & Seed Butter Cookies (Nut Free) | Sophster-Toaster

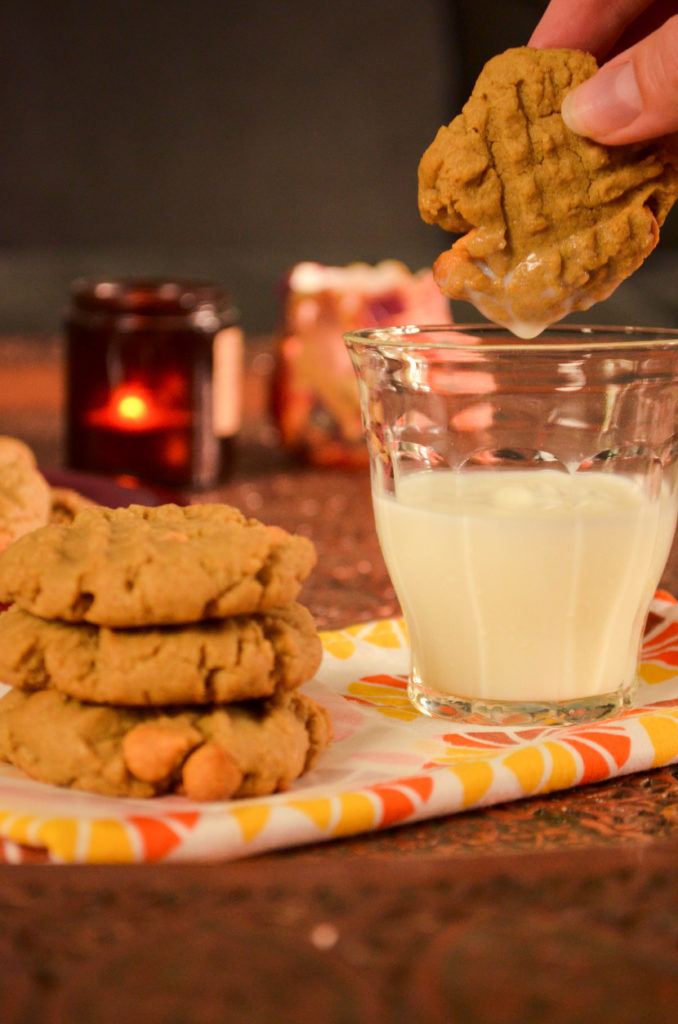
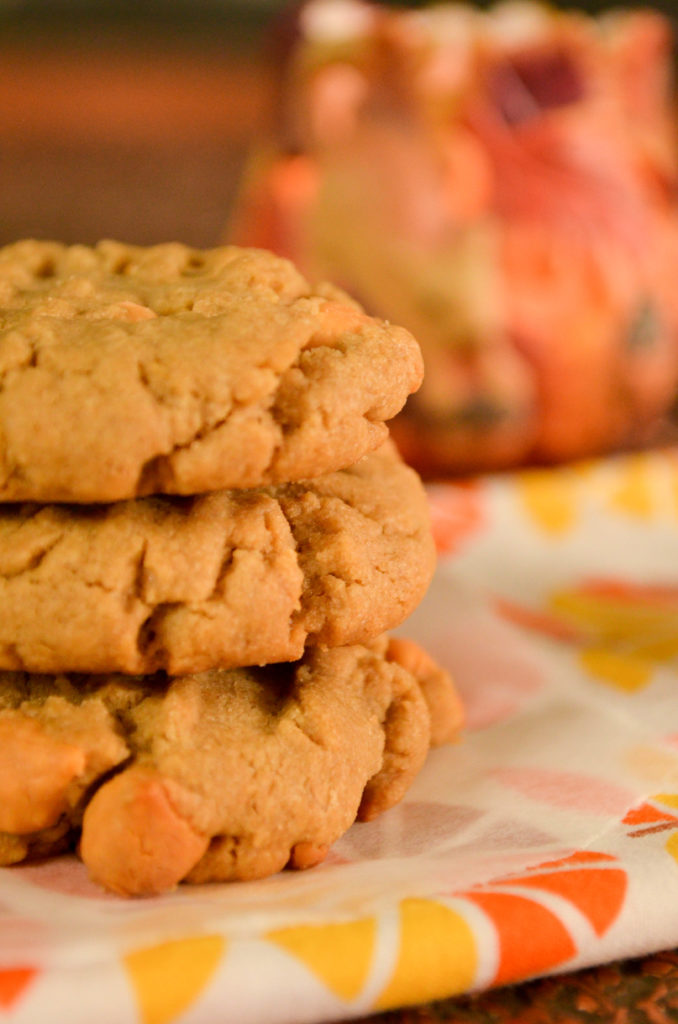
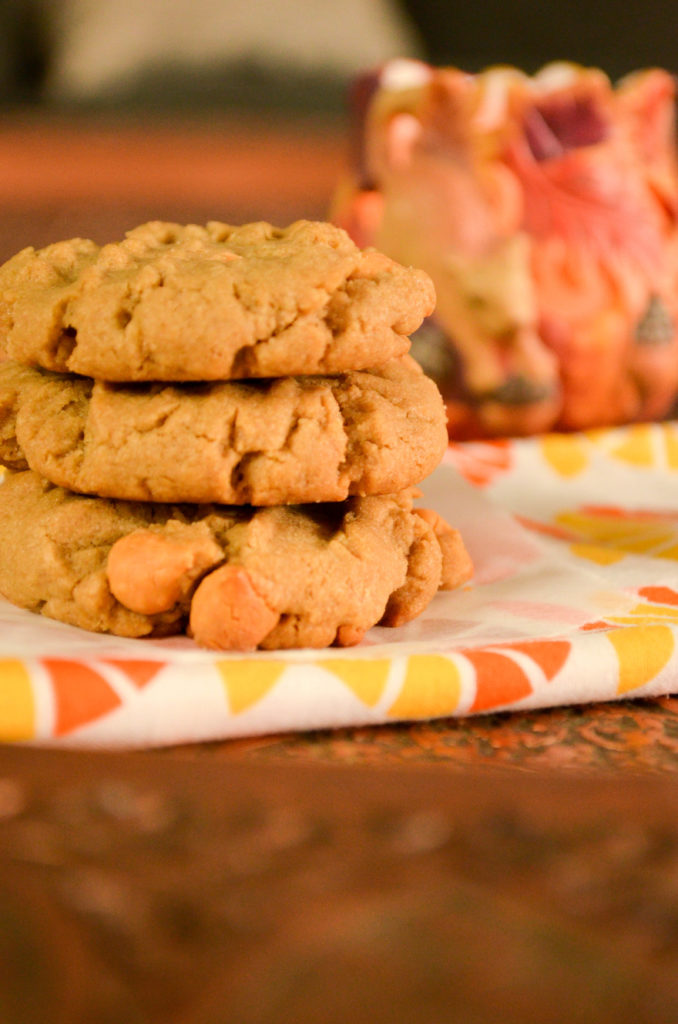
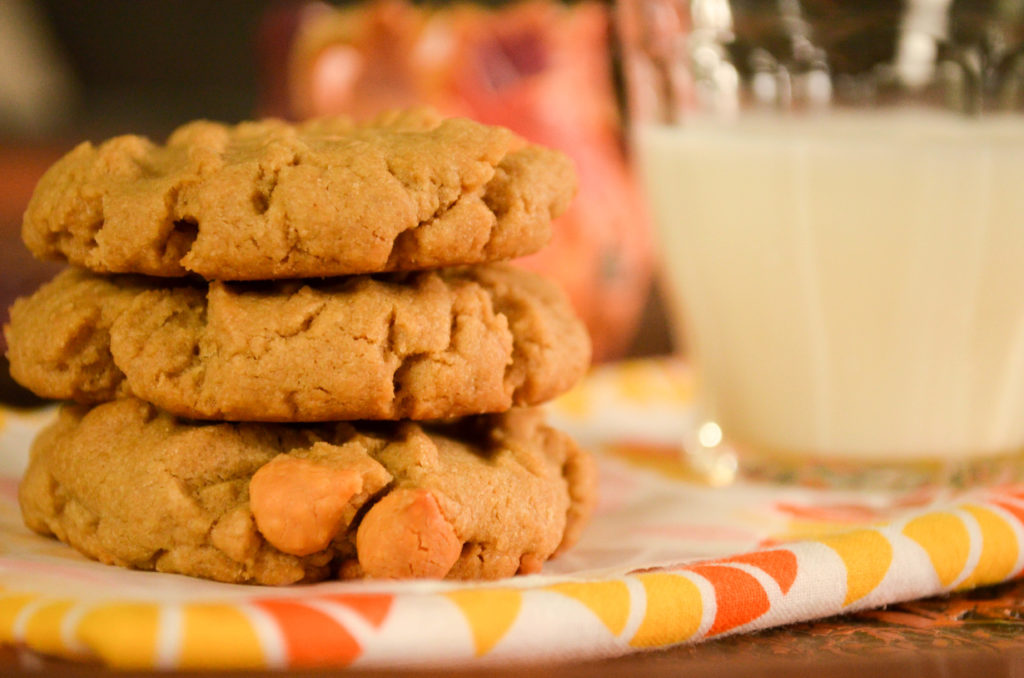
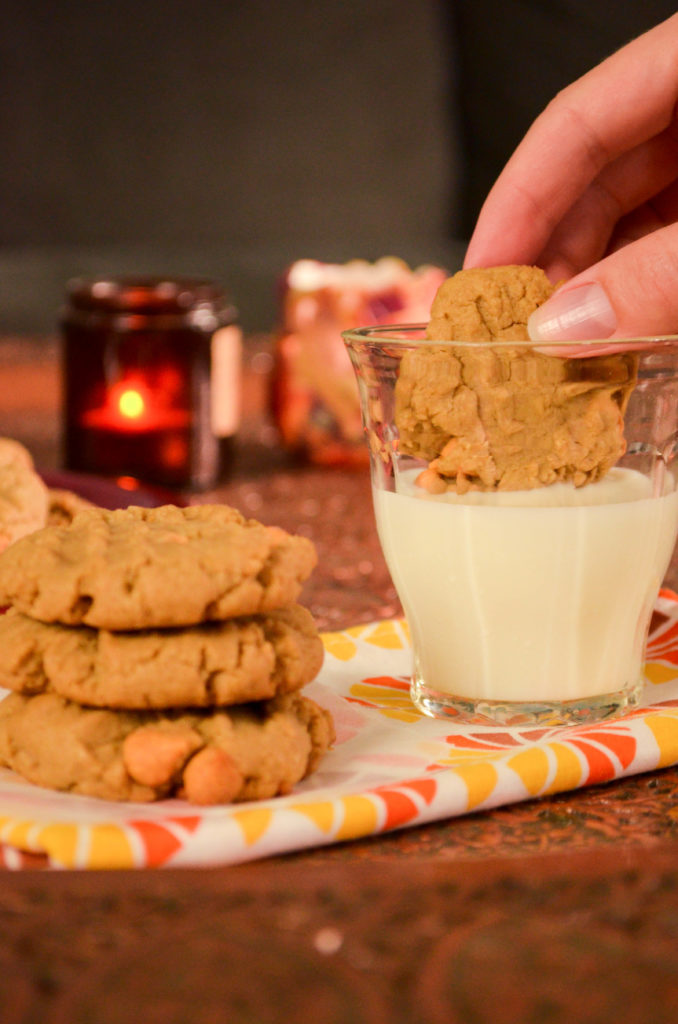
When I moved away from home to start college, my mom sent me off with a batch of homemade peanut butter cookies. They provided a comforting taste of home as I was adjusting to my new home, school and city. I think about them often as that was the last time I tasted peanut butter cookies. I started developing a peanut allergy shortly after and haven’t been able to eat any amount of peanuts for the last decade.

I’ve found myself craving peanut butter cookies more and more over the past few months, even though I can’t fully remember what they taste like. I’ve put off trying to replace these cookies – one of my favourites – fearing it was impossible. Then, last week, I found myself longing to have these cookies again and decided to try making them with one of my favourite peanut butter substitutes for baking: sunflower seed butter.

It worked! I can’t say if they taste just like peanut butter cookies, but they’re utterly delicious as they are. The texture is dead on and exactly what I needed. ♥

Butterscotch & Seed Butter Cookies (Nut Free) | Sophster-Toaster Butterscotch & Seed Butter Cookies (Nut Free) | Sophster-Toaster Butterscotch & Seed Butter Cookies (Nut Free) | Sophster-Toaster

Adapted from Joy of Cooking

Ingredients

  • 1½ cups flour
  • ½ tsp baking soda
  • 1/3 cup unsalted butter, softened
  • ½ cup sugar
  • ½ cup brown sugar
  • 1 egg
  • 1 cup sunflower seed butter
  • ½ tsp vanilla
  • 1 cup butterscotch chips

Method

  1. Preheat oven to 375°F and line two sheet pans.
  2. Whisk flour and baking soda together in a medium bowl. Set aside.
  3. Beat butter and sugars together in a large bowl until well blended.
  4. Beat in the egg, sunflower seed butter and vanilla.
  5. Stir in the flour mixture. When almost mixed, stir in the butterscotch chips until everything is well blended.
  6. Shape into balls and arrange 12 to a half sheet pan. Press with a fork to flatten.
  7. Bake 10-12 minutes. Let cool a few minutes then transfer to a cooling rack.

Butterscotch & Seed Butter Cookies (Nut Free) | Sophster-Toaster

All photos by me.