Sweet Potato & Marshmallow Macarons

Sweet Potato & Marshmallow Macarons | Sophster-Toaster

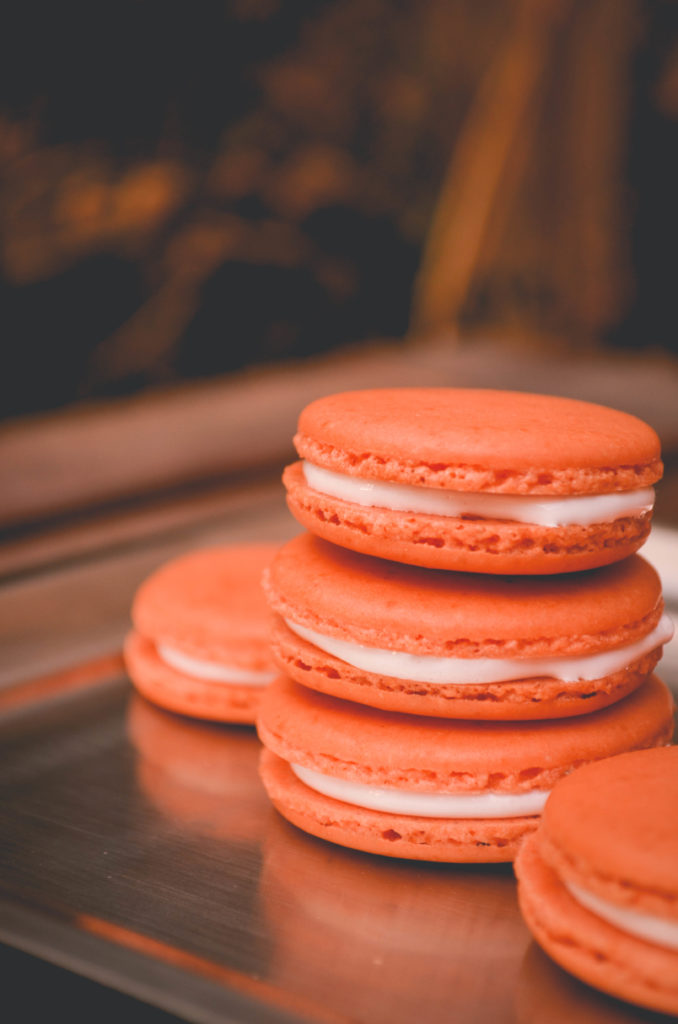
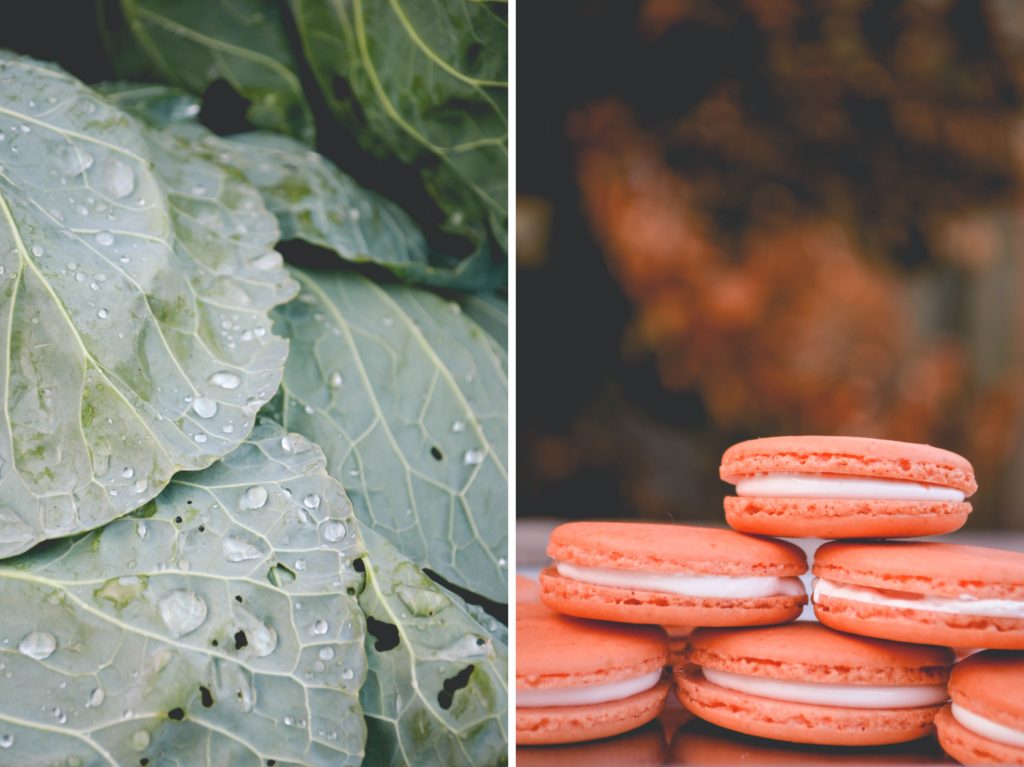
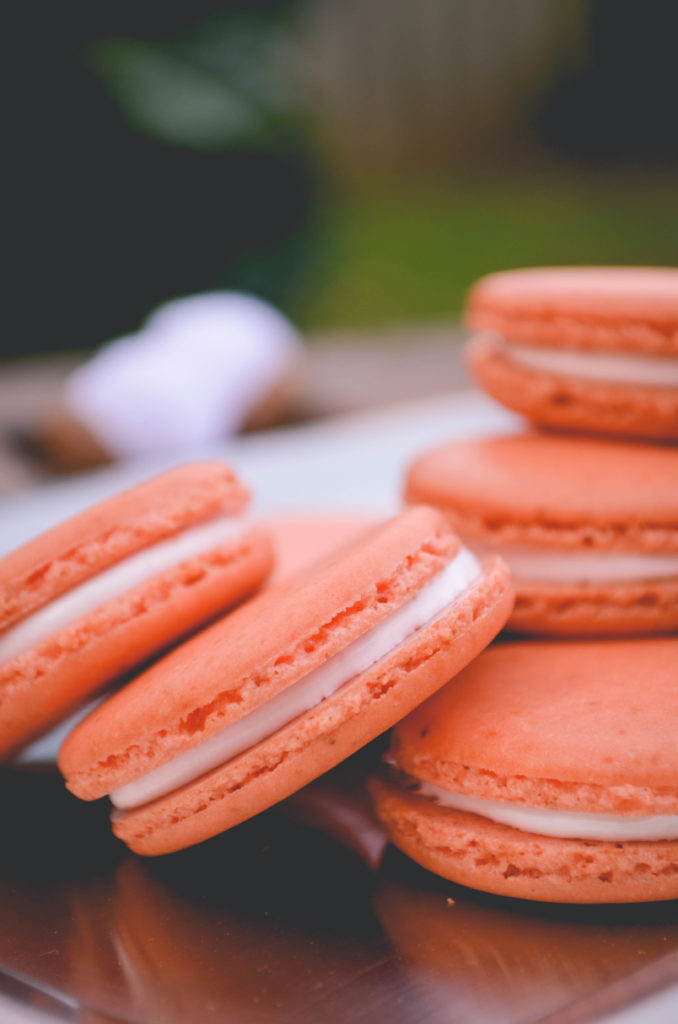
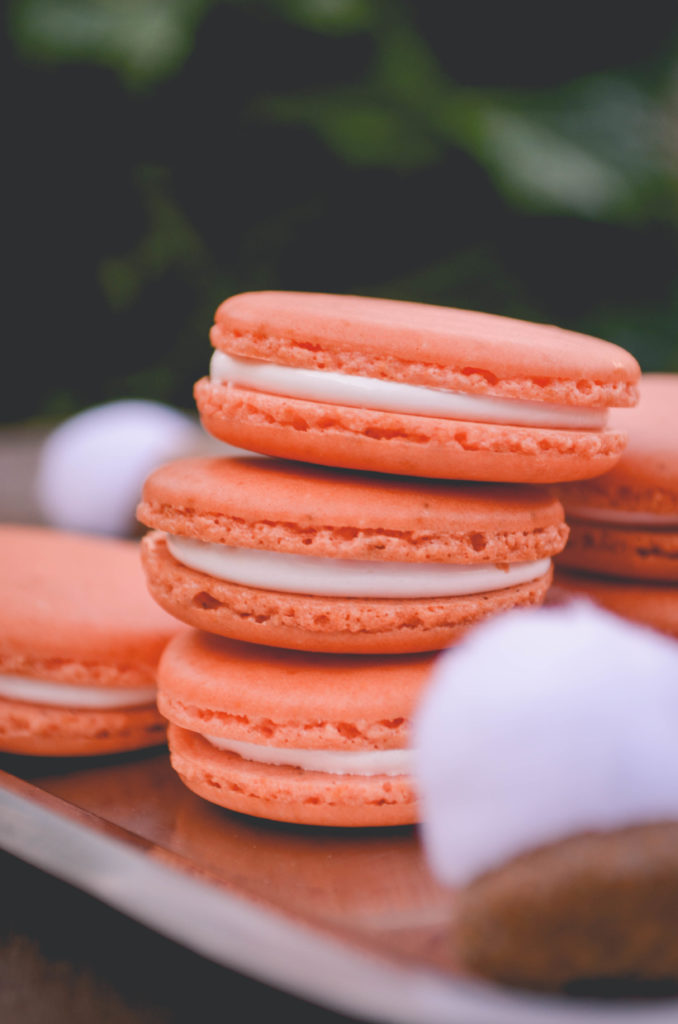
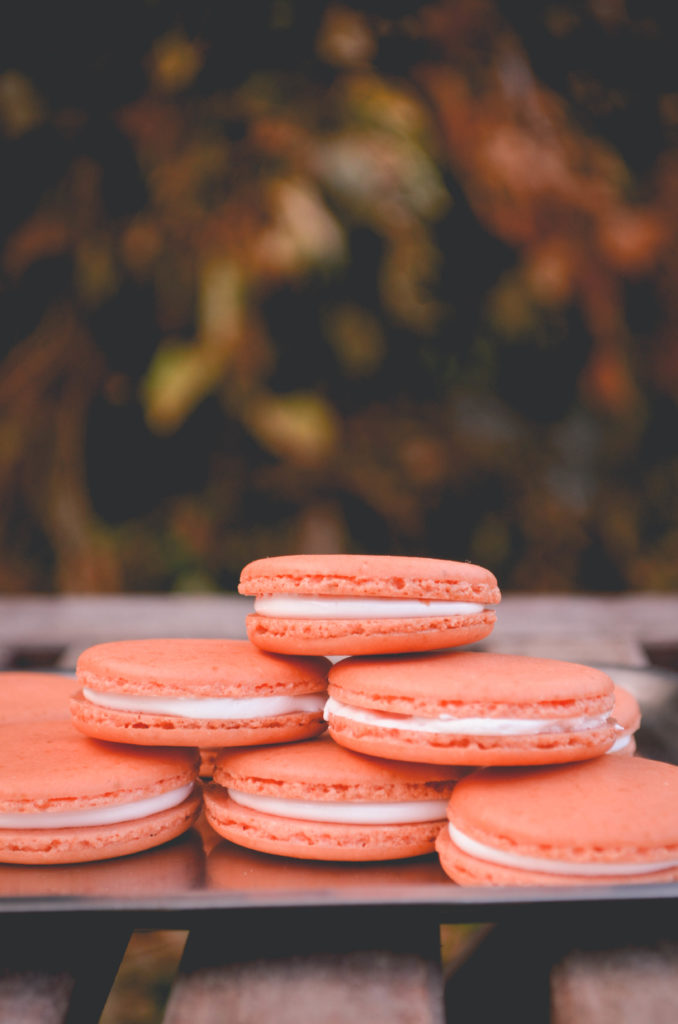
After a year of writing macarons recipes with classic buttercream fillings, I wanted to try to come up with an interesting filling I had never used before. I could think of a few, but the most unusual, and therefore my favourite, idea was marshmallow fluff! The plan to pair it with seasonal, American Thanksgiving inspired, sweet potato immediately followed and I knew I had an exciting idea on my hands.
Sweet Potato & Marshmallow Macarons | Sophster-Toaster Sweet Potato & Marshmallow Macarons | Sophster-Toaster Sweet Potato & Marshmallow Macarons | Sophster-Toaster Sweet Potato & Marshmallow Macarons | Sophster-Toaster Sweet Potato & Marshmallow Macarons | Sophster-Toaster Sweet Potato & Marshmallow Macarons | Sophster-Toaster Sweet Potato & Marshmallow Macarons | Sophster-Toaster

Ingredients

for the macaron shells

  • ¾ cup ground almonds (as finely ground as you can find)
  • 1 cup icing sugar
  • 3 tbsp sweet potato flour
  • 2 large egg whites, at room temperature
  • 3 tbsp + 1 tsp sugar
  • peach gel food colouring

for the filling

  • ~1/4 of a 213g jar of marshmallow fluff

Method

for the macaron shells

  1. Prepare your parchment sheets by drawing 1″ circles, ½” apart across the entire sheet (or using silicon baking mats with the circles already printed on them) and placing them on a large flat surface suitable for drying your batter, like a dining table. You will need 2-3 half sheet pan size pieces.
  2. Sift ground almond, icing sugar and sweet potato flour together, twice. Set aside.
  3. In a large stainless steel mixing bowl, beat egg whites with a hand or stand mixer on high speed until you have a foam with no liquid remaining.
  4. Slowly add the sugar while continuing to beat the egg whites. Beat on high speed until the egg whites reach stiff peaks. You’ve made meringue!
  5. Add your food colouring now and gently beat in.
  6. Fold your almond, icing sugar and sweet potato mixture into the meringue in two parts.
  7. Here’s the part that takes practice: it’s time for the macaronnage! With a spatula, spread the batter, with some force, against the side of the bowl. Then scoop it up by running the spatula along the side of the bowl again and try to flip it all over and sort-of lightly smack it back into the bottom of the bowl. Gather the batter up again and repeat 12-15 times. It takes some time to figure out the best way to do this, don’t be afraid to play around with it. When doing the macaronnage correctly, repeating more than 20 times can result in oily, blotchy macarons, but I’ve found that doing it incorrectly doesn’t count towards this limit. If you are doing it right, the batter will take on a noticeable and somewhat sudden change in consistency, this means you are about half-way to that limit. When finished, the batter should be thickened and drip slowly and smoothly from the spatula. You will have to pipe it onto your baking sheets/mats and it won’t work if the batter is too runny. This is the technique that defines macarons, this is what makes mastery of them impressive.
  8. For perfectly round macarons, use a large, 0.4″ plain tip with a pastry bag, or do it the lazy way and cut a corner off a zip top bag for mostly round macarons. Twist (or don’t yet cut) the bag at the tip and place it, tip side down, in a tall glass. Fill with your batter and twist, close or clip the other end to help keep the messy batter moving in the right direction. Pipe the batter into the centre of the circles on your sheets/mats and stop before reaching the edges as the batter will spread out a bit.
  9. Once finished piping, carefully pick the sheets/mats up and drop them back on to the table from a height of a couple of inches. The theory is that this helps the cookies keep their round shape and form the little bubbles around the bottom (the pied) when you put them in the oven.
  10. Leave the cookies on the table, uncovered, to dry – this could take 20-30 minutes on a dry day or a couple of hours on a humid day. You will know the macarons are dry when they look smooth, less glossy and are no longer sticky to the touch.
  11. Preheat your oven to 350°F. Place an oven rack in the centre of your oven. Place a sheet of macarons on two stacked sheet pans (this will stop the bottoms from getting too hot, resulting in cracked macarons) and bake for 15-18 minutes. Rotate the pan half way through baking. It can be hard to tell when the macaron are done. I pull them out when the kitchen smells sweet and the cookies look crisp, have just started to brown, and don’t look blotchy in the middle.
  12. As soon as the parchment sheet/baking mat is cool enough to handle, take it out of the pan with all the cookies on top and place it on a cooling rack. The macarons will be too sticky to remove from the sheet/mat now; once cooled, they should peel off easily. I usually wait a few minutes for the pans to cool a bit and for the oven to come back to a steady temperature before moving the next sheet to the pans and baking the next round.

for the filling

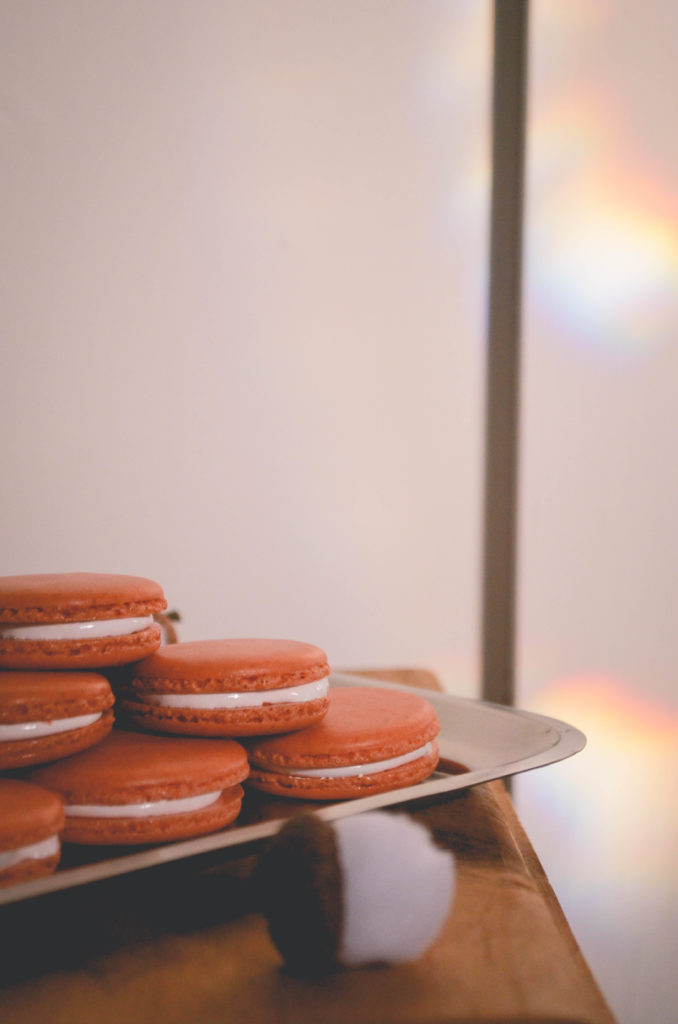
  1. Once the shells have cooled, plop some marshmallow fluff onto half of them. Then place another similarly sized shell on top and gently press them together. You’ve made macarons!
Sweet Potato & Marshmallow Macarons | Sophster-Toaster Sweet Potato & Marshmallow Macarons | Sophster-Toaster

All photos by me.
Boozy Chai Tea & Baileys Ice Cream

Chai Tea & Baileys Ice Cream | Sophster-Toaster Blog

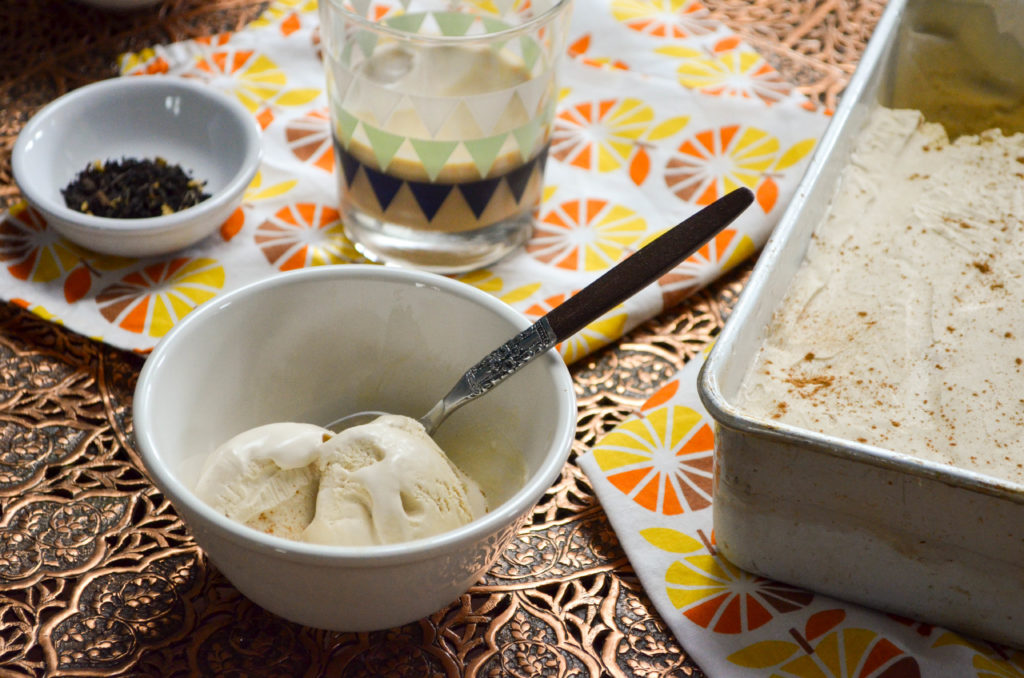
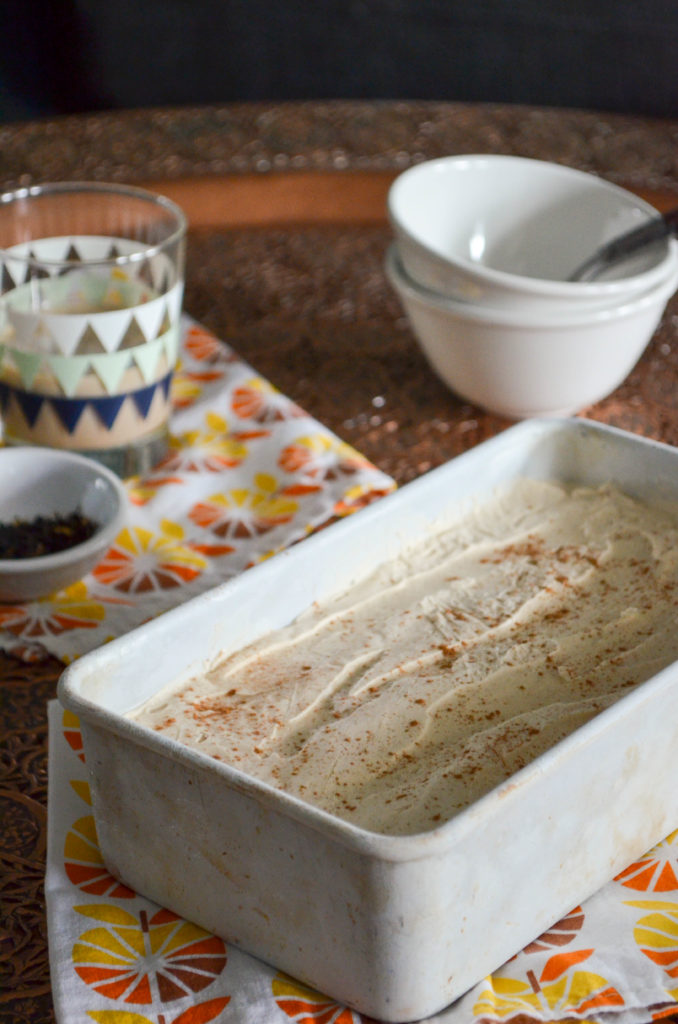
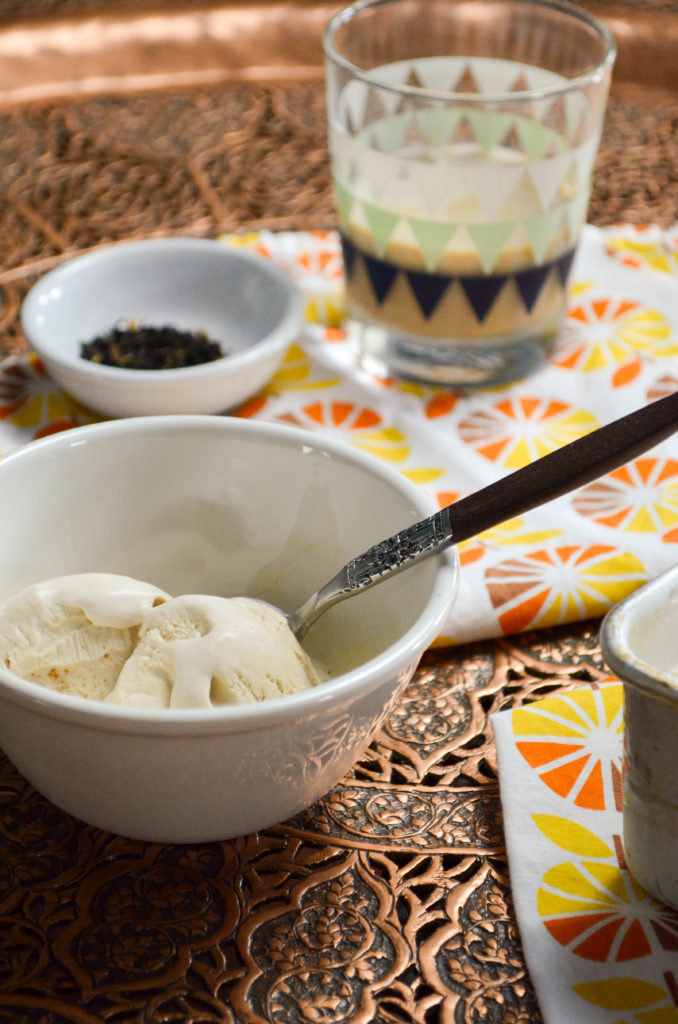
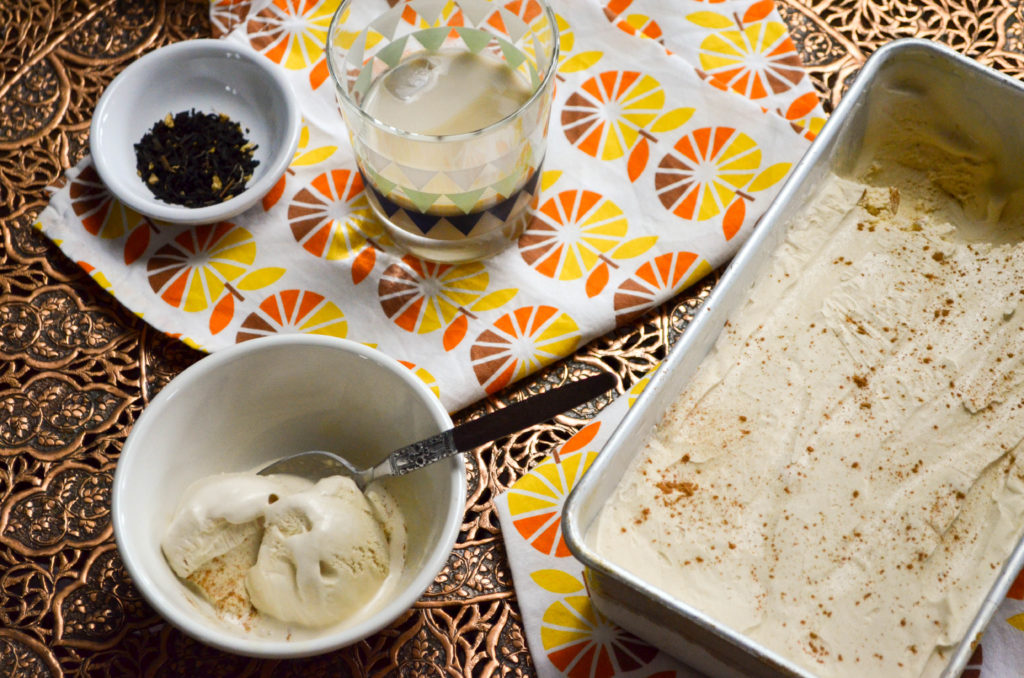
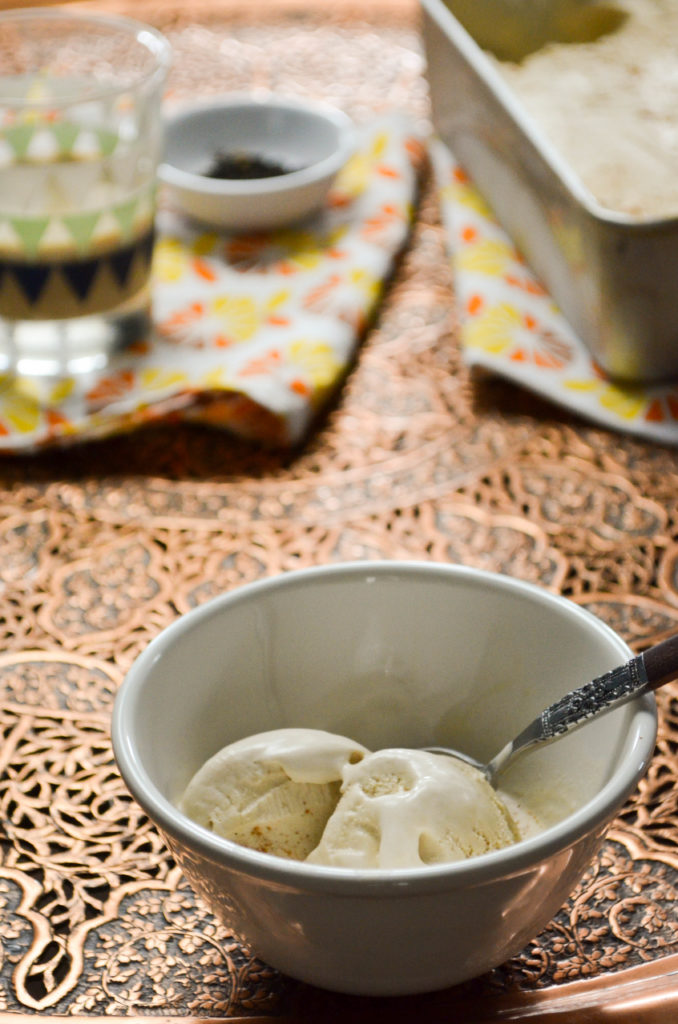
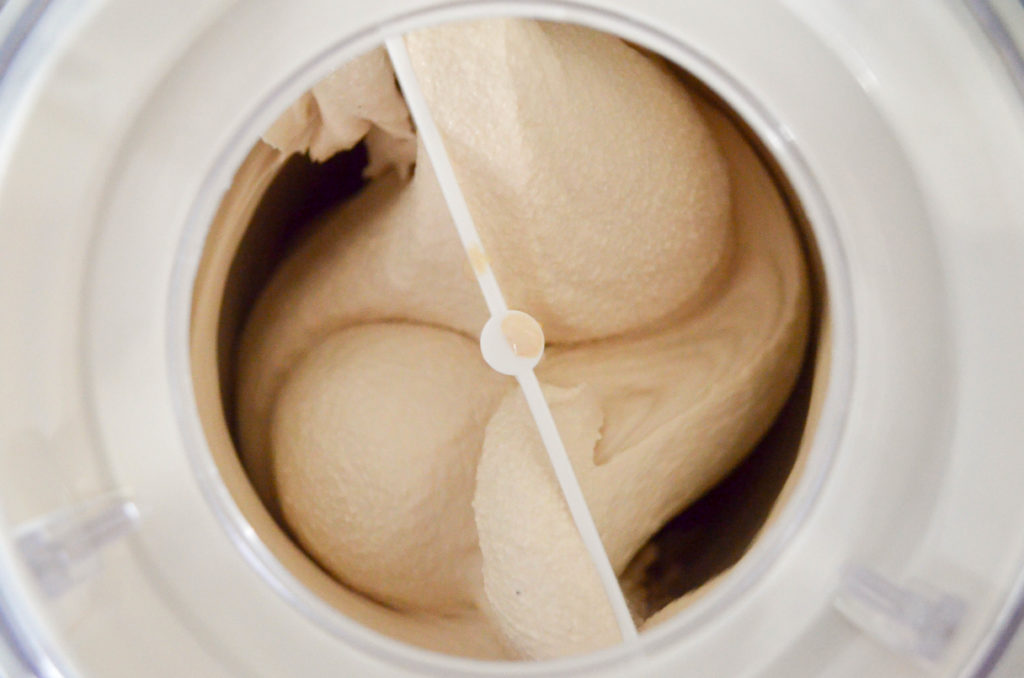
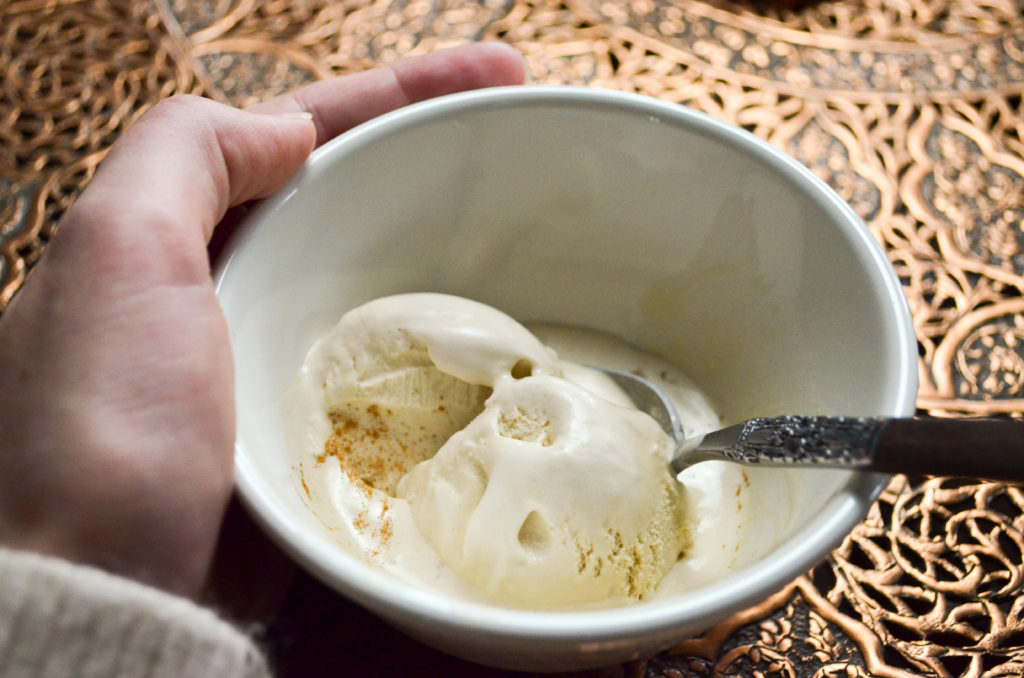
I bought an ice cream maker last week and got experimenting right away! While trying to come up with the perfect fall flavour to bring to Friendsgiving potluck this weekend, one that wasn’t too obvious (looking at you, pumpkin spice), couldn’t be found at the store, and wouldn’t be out of place next to a slice of pie, I eventually landed on chai tea & Baileys. I’m glad I waited for the perfect idea, because this one’s a real winner! It tastes just like the holidays.

Chai Tea & Baileys Ice Cream | Sophster-Toaster Blog Chai Tea & Baileys Ice Cream | Sophster-Toaster Blog Chai Tea & Baileys Ice Cream | Sophster-Toaster Blog

Ingredients

  • 1½ cups whole milk
  • ¾ cup sugar
  • 1/8 tsp salt
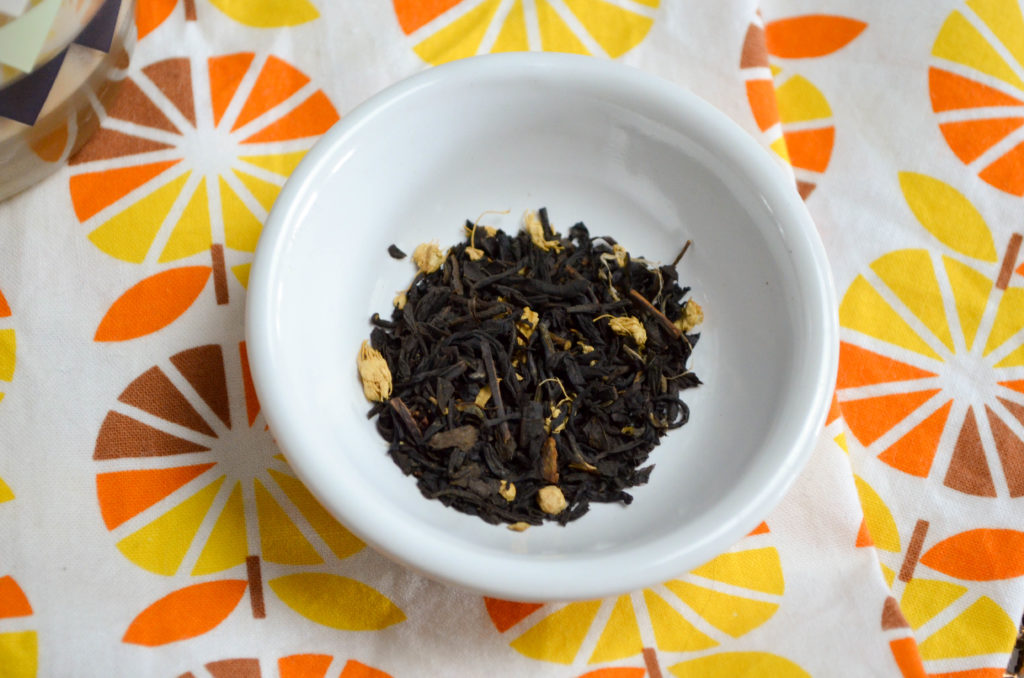
  • ½ cup loose leaf chai tea
    • fairly inexpensive at Bulk Barn
  • 2 large egg yolks
  • 1/3 cup Baileys Irish Cream
  • 1-2/3 cup heavy cream

Method

  1. Add milk, sugar and salt to a small saucepan over medium-low heat. Stir to dissolve the sugar while bringing to a simmer.
  2. Remove mixture from heat and stir in the tea leaves. Cover and let steep for 15 minutes.
  3. Strain mixture into a clean, medium sized saucepan, making sure to press the tea leaves to get every bit of liquid out.
  4. Bring back to a simmer.
  5. Beat the egg yolks in small bowl and temper with the milk mixture. (Slowly stir about ½ cup of milk mixture into the egg yolks, then add the egg mixture back to the milk to slowly bring the eggs up to temperature and not curdle them. Don’t worry if some curdles, we’ll strain again later.)
  6.  Cook over low heat, stirring almost constantly, until you have a nice custard thick enough to coat the back of a spoon (or until it reaches 175○F). Do not allow custard to come to a boil. Strain into a medium bowl and chill in the fridge until cold.
  7. Stir in the Baileys and heavy cream.
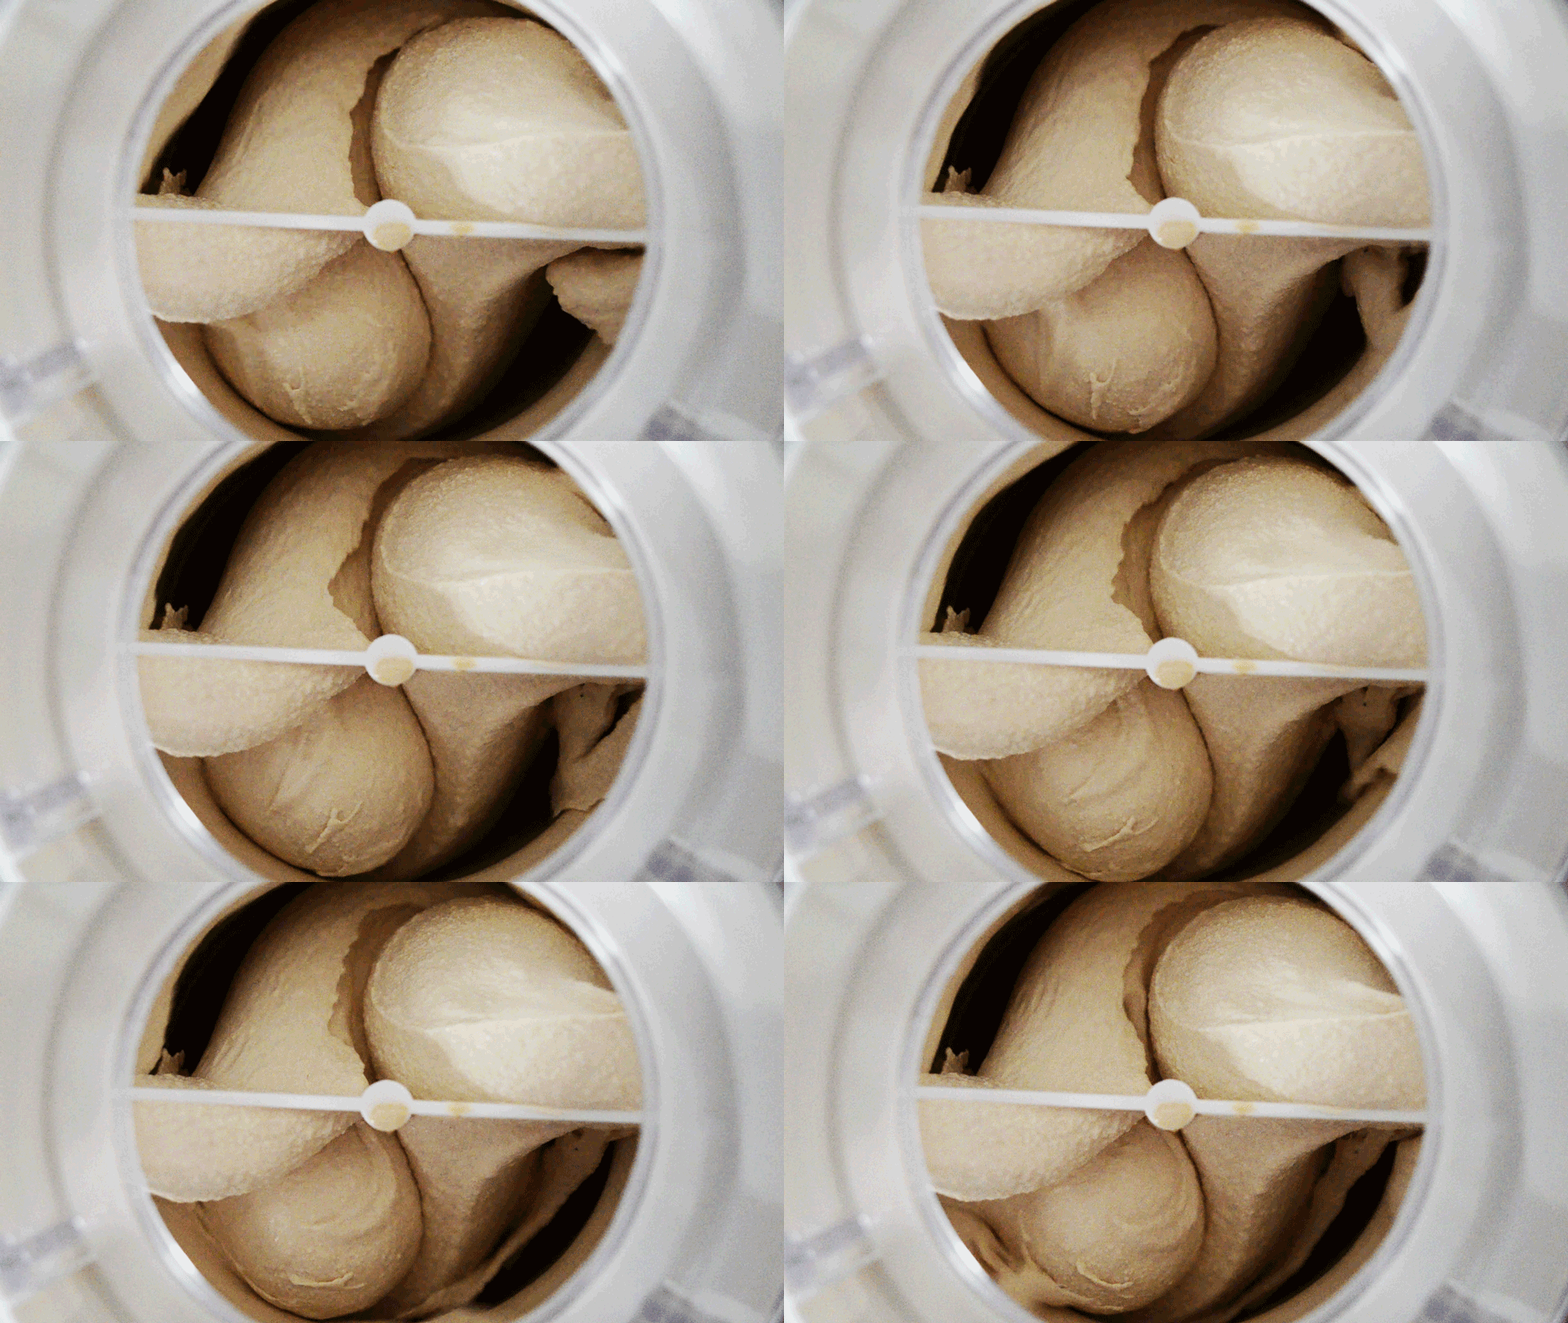
  8. Churn in your ice cream maker according to manufacturer’s instructions. (I got my ice cream maker here.)
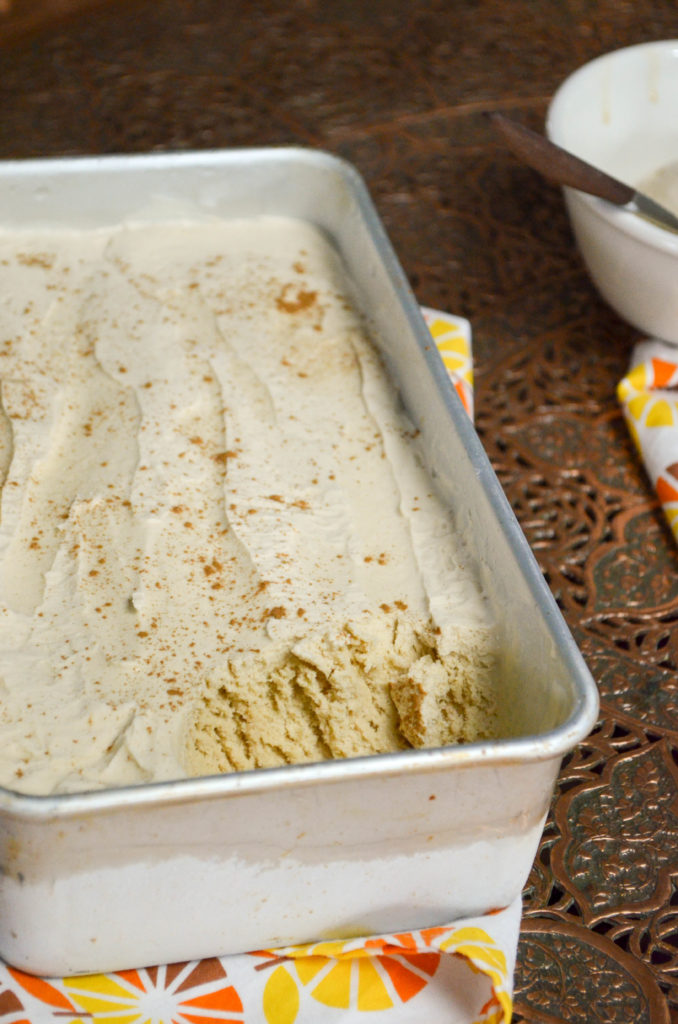
  9. You can eat it now but it will be better if you freeze it overnight. Scoop into a suitable container and press cling wrap down onto the surface.
  10. Optional: garnish with cinnamon.

Chai Tea & Baileys Ice Cream | Sophster-Toaster Blog Chai Tea & Baileys Ice Cream | Sophster-Toaster Blog Chai Tea & Baileys Ice Cream | Sophster-Toaster Blog Chai Tea & Baileys Ice Cream | Sophster-Toaster Blog Chai Tea & Baileys Ice Cream | Sophster-Toaster Blog Chai Tea & Baileys Ice Cream | Sophster-Toaster Blog

All photos by me.
Friendsgiving at the Cottage

Friendsgiving at the Cottage \\ Sophster-Toaster Blog

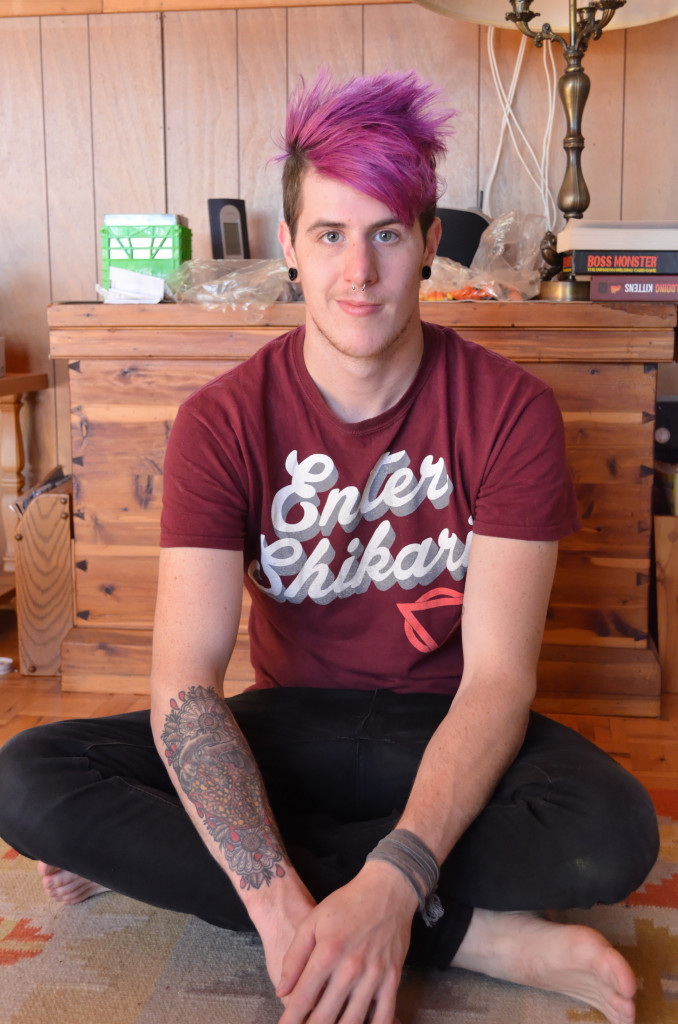
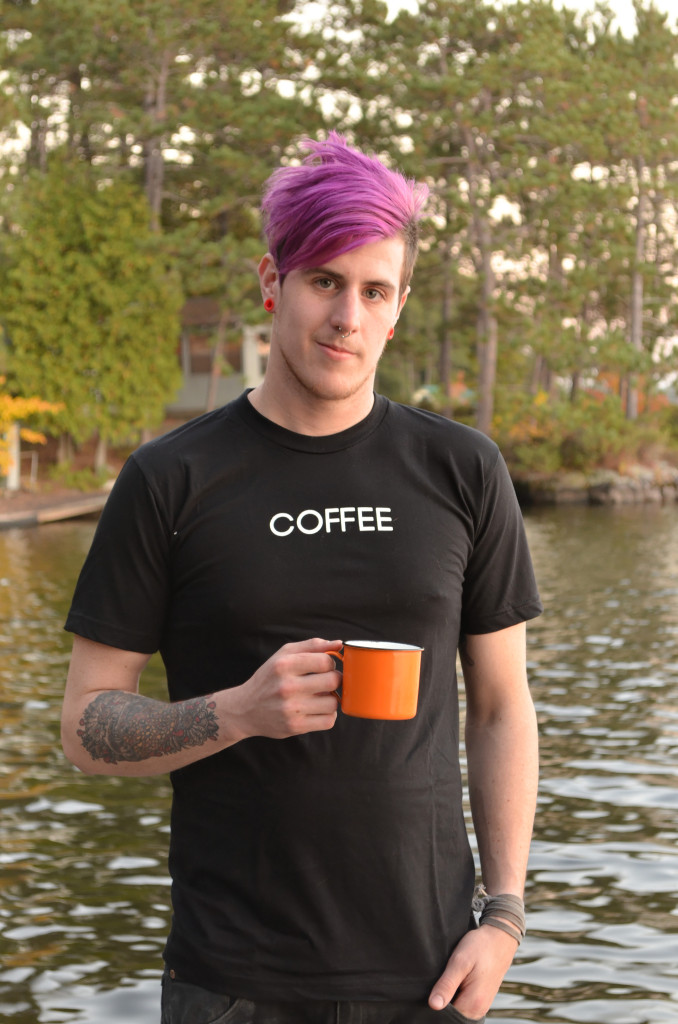
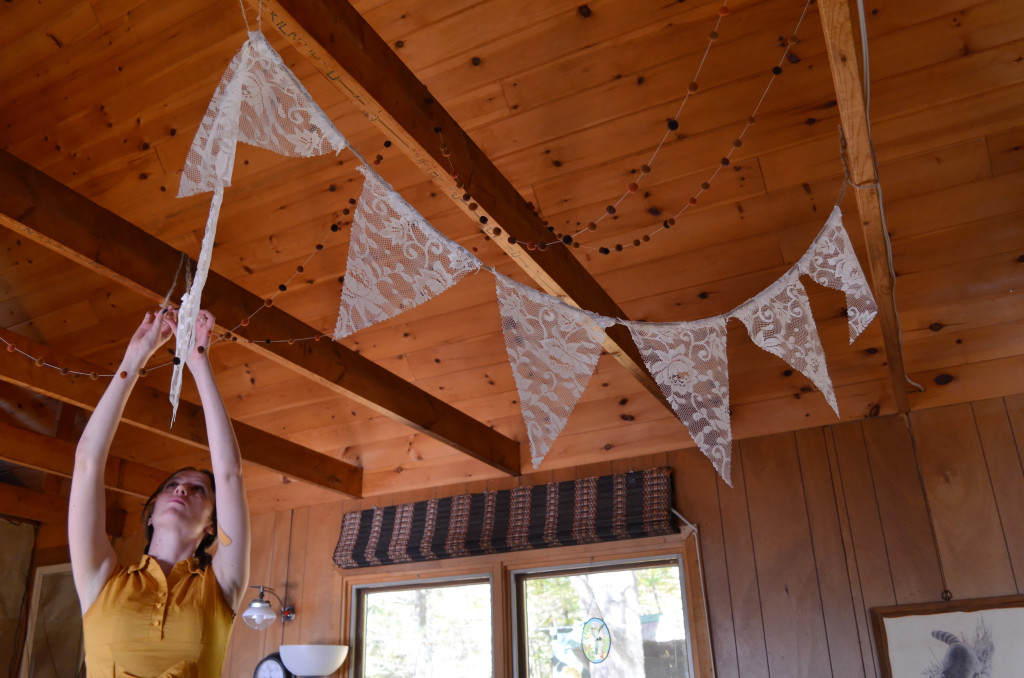
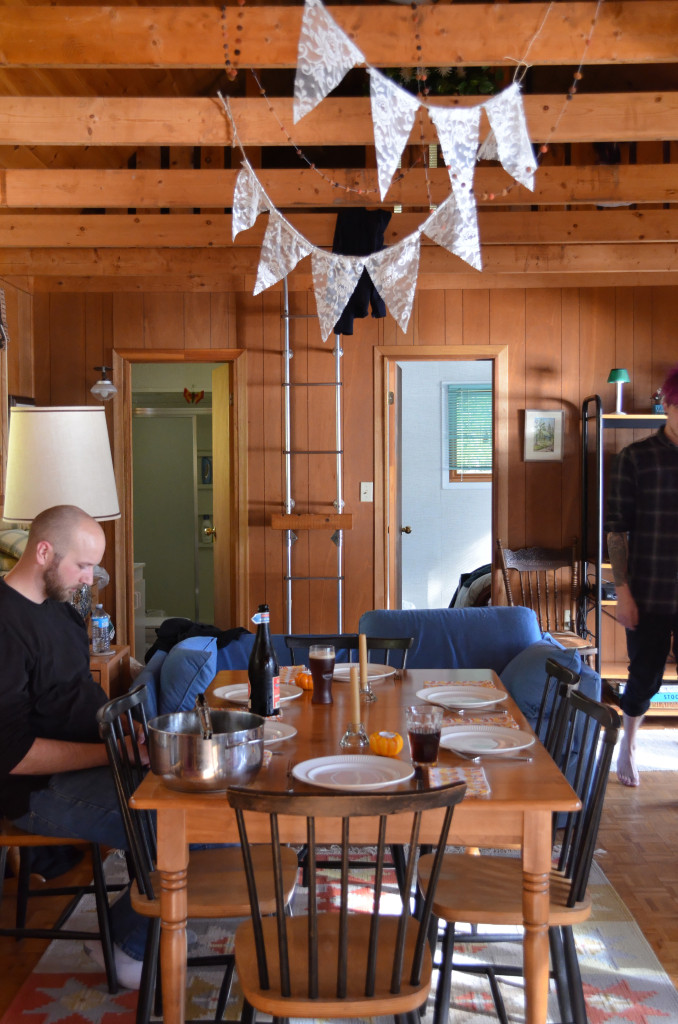
For the past three years, the hubs and I have been spending Thanksgiving weekend at the cottage with our closest friends. For this reason, it has since become my favourite holiday.

The tradition started when the hubs and I were newly married and facing the annual decision to stay home and do a small fancier-than-usual dinner for two, or travel back home to be interlopers at the homes and developing traditions of cousins who had become the keystones of new family units, aunts who had become the new matriarchs of their families, or a step-relations who hadn’t formally invited us. Neither of us really enjoyed Thanksgiving that much growing up and we didn’t have many memories of the holiday so we decided to change that by doing what we really wanted to for the holiday. We agreed that the people we wanted to spend the day with were our friends and the place we wanted to spend it at was our beloved cottage.

Friendsgiving at the Cottage \\ Sophster-Toaster Blog

Photo by Mitch Hanna.

Friendsgiving at the Cottage \\ Sophster-Toaster BlogFriendsgiving at the Cottage \\ Sophster-Toaster Blog

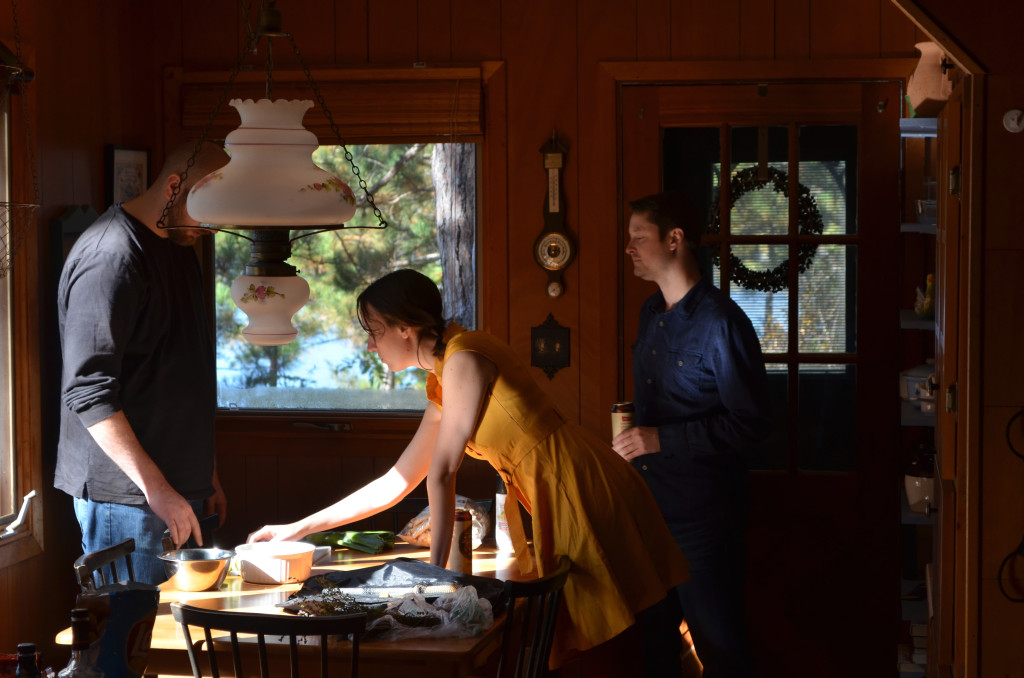
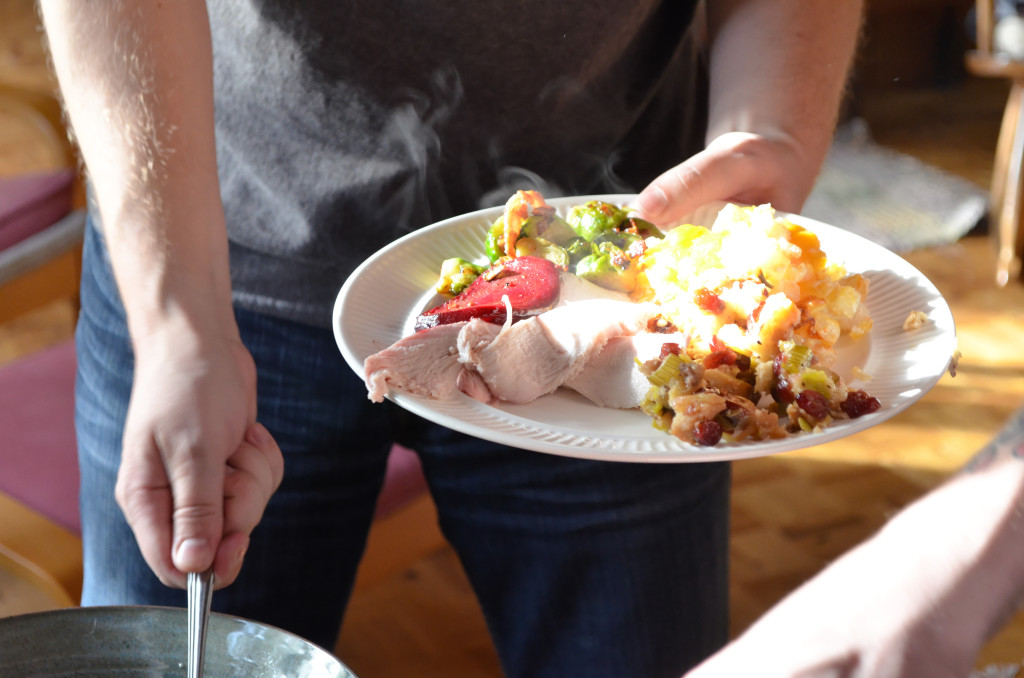
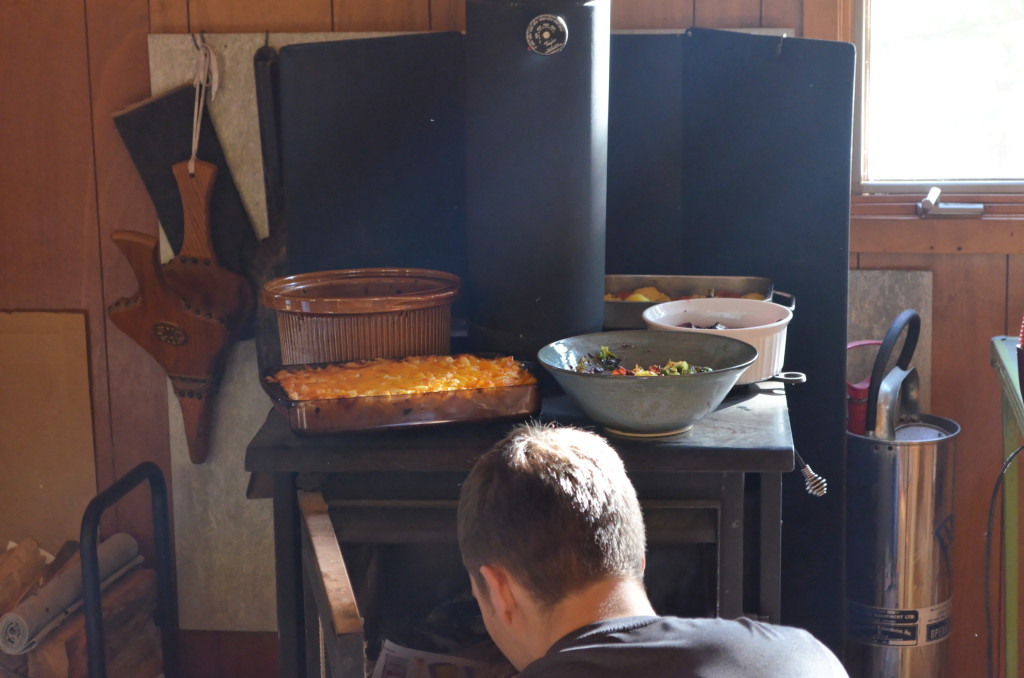
We invited a large selection of friends the first year, hoping to find at least one or two people who would also be spending the holiday alone. Two people is exactly how many we found. We spent the long weekend, Saturday to Monday, together in my husband’s grandmother’s cottage next door because the cottage we usually stay in (and are currently trying to buy) is much more rustic and not yet insulated against the cold October nights. We cooked a modest meal, played board games and learned that we shouldn’t do puzzles together.

Friendsgiving at the Cottage \\ Sophster-Toaster BlogFriendsgiving at the Cottage \\ Sophster-Toaster Blog

News and pictures from our first real adult Thanksgiving spread and the next year more friends were looking to give up their childhood obligations of gathering around an overcooked turkey with people they only talk to when they have to in favour of what we had now started calling Friendsgiving. In the second year, we added two more friends – one being my brother – and an extra day. On the last evening, my mother-in-law and her husband joined us to have their own Thanksgiving during the week.

Friendsgiving at the Cottage \\ Sophster-Toaster Blog

Photo by Brett Didemus.

DSC_0075_DxO Friendsgiving at the Cottage \\ Sophster-Toaster Blog

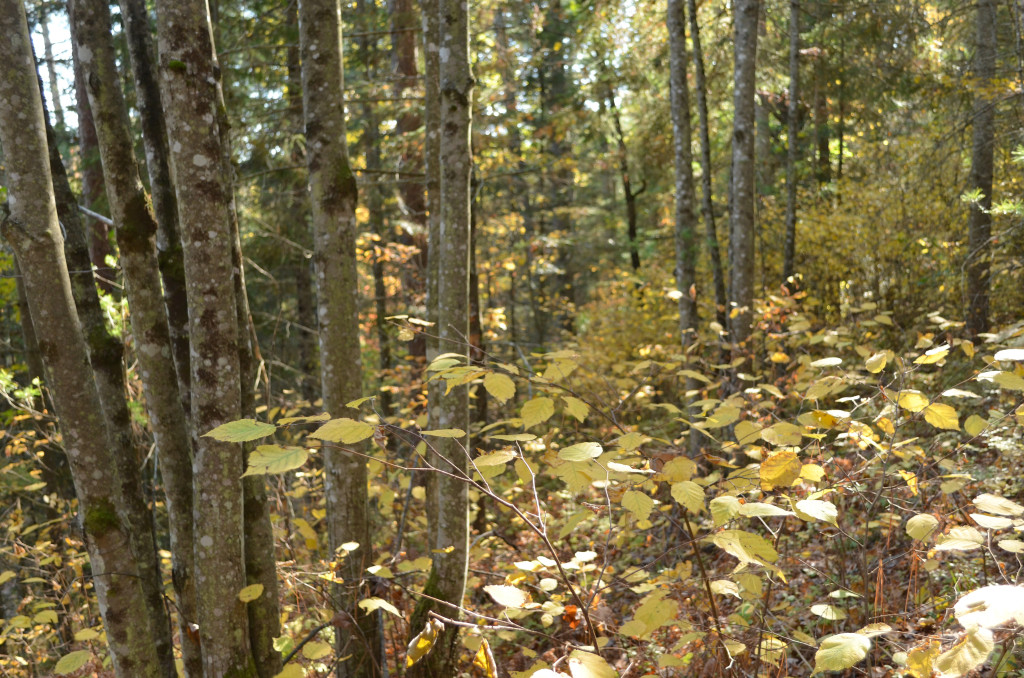
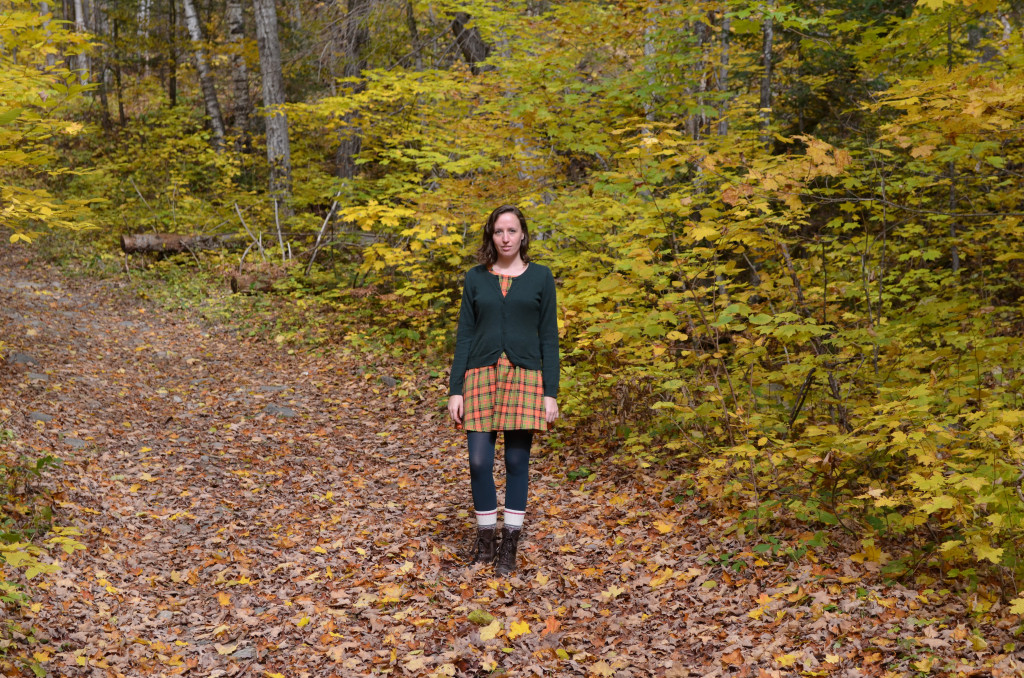
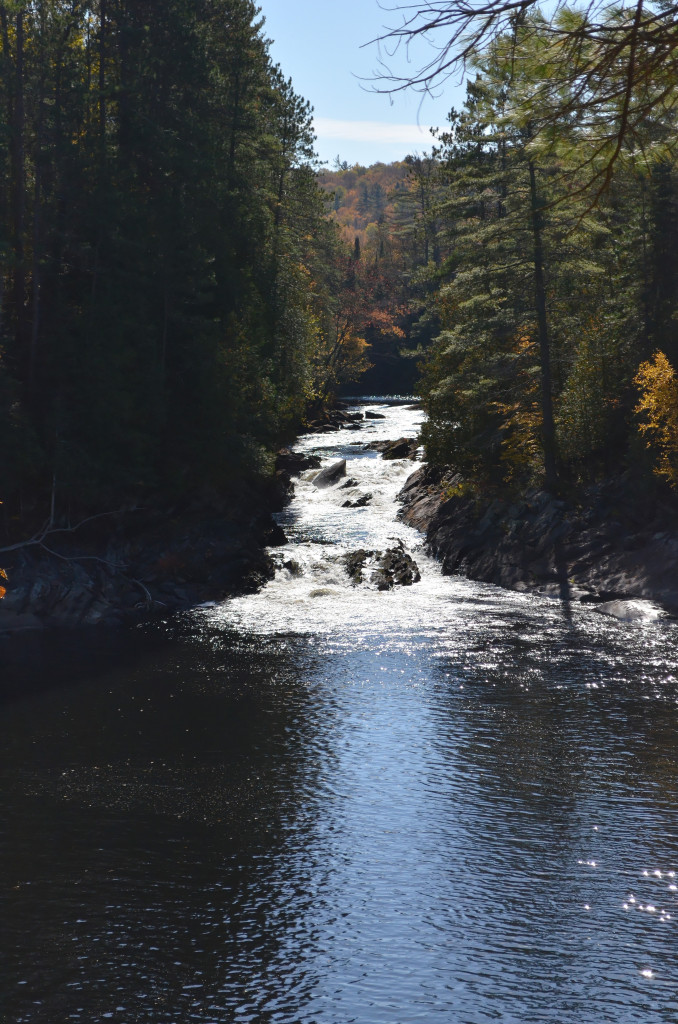
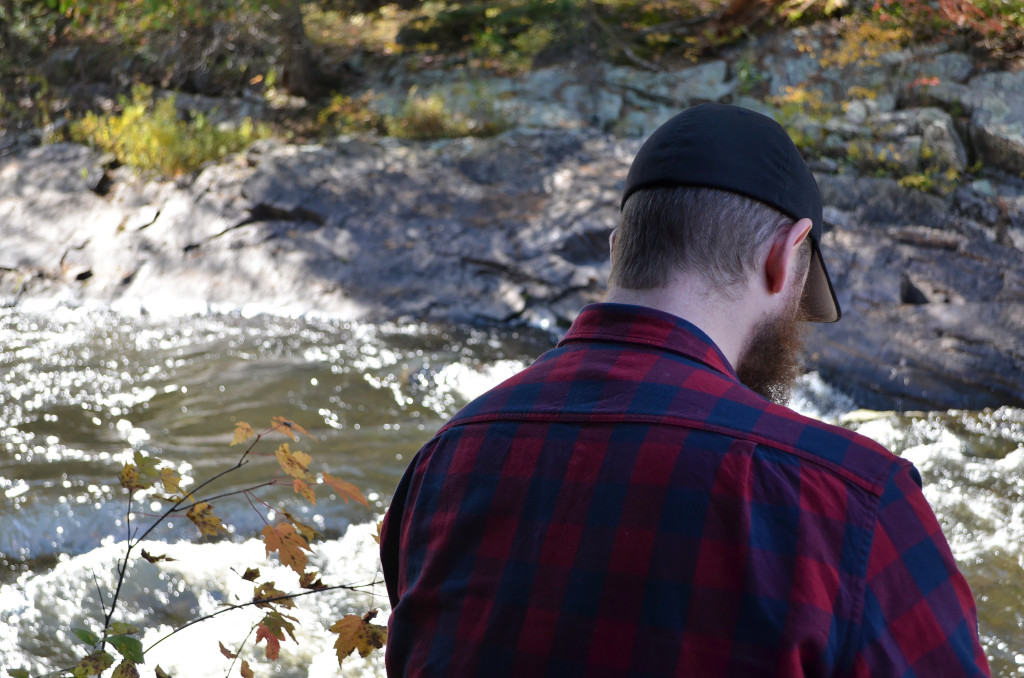
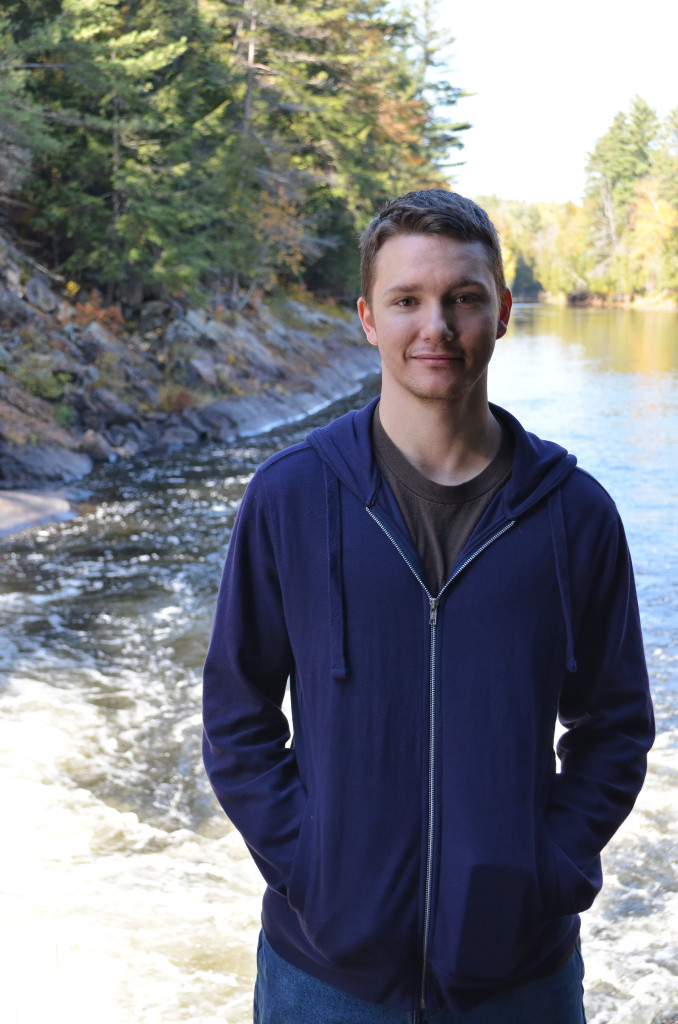
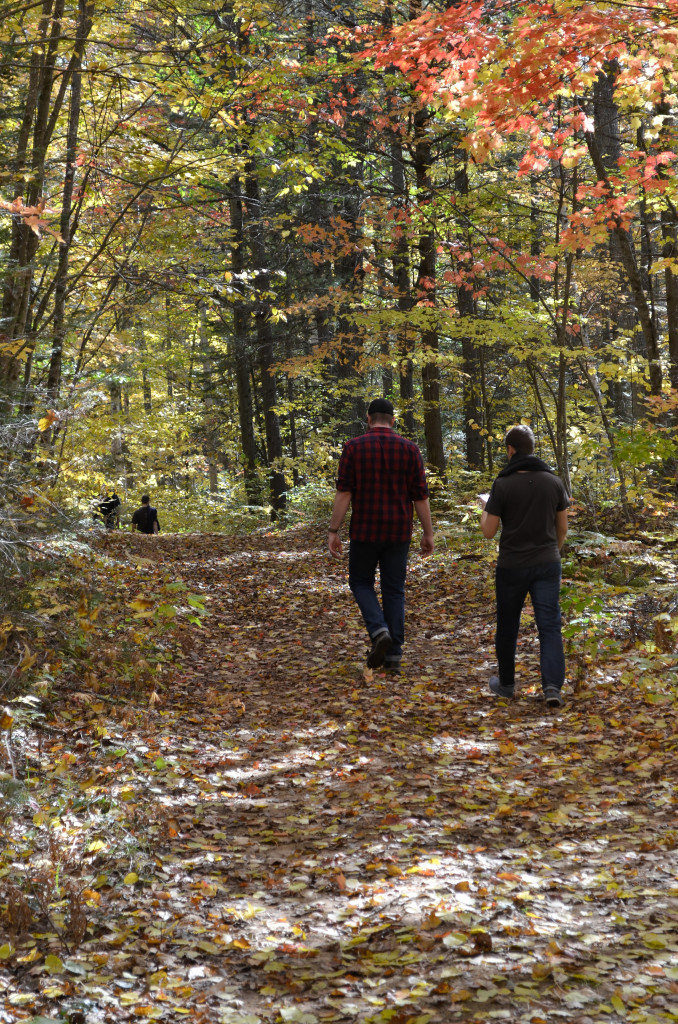
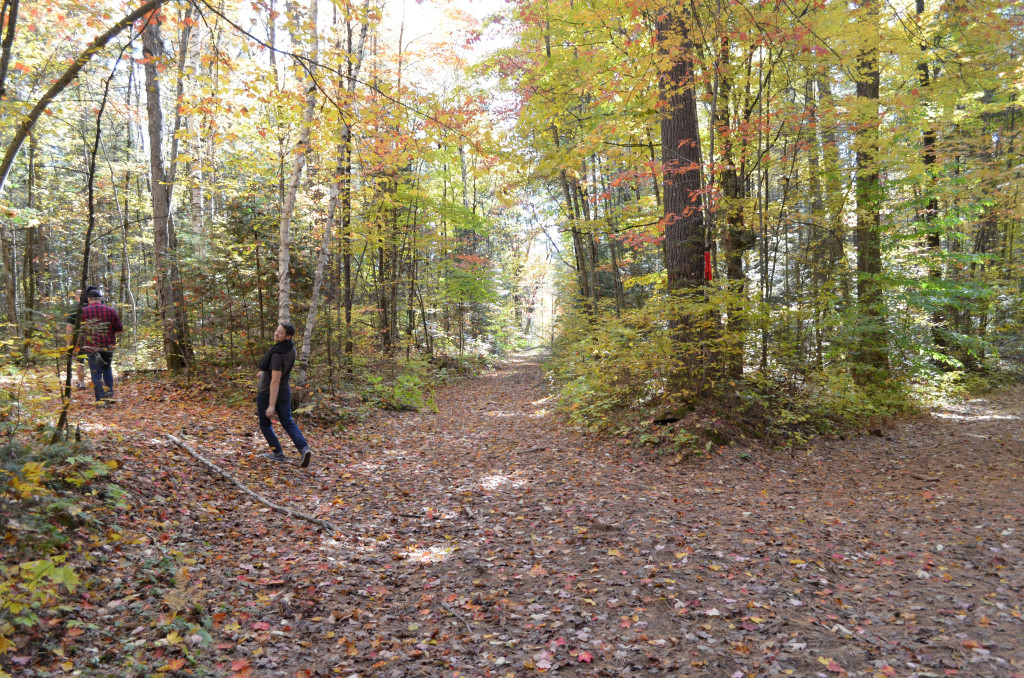
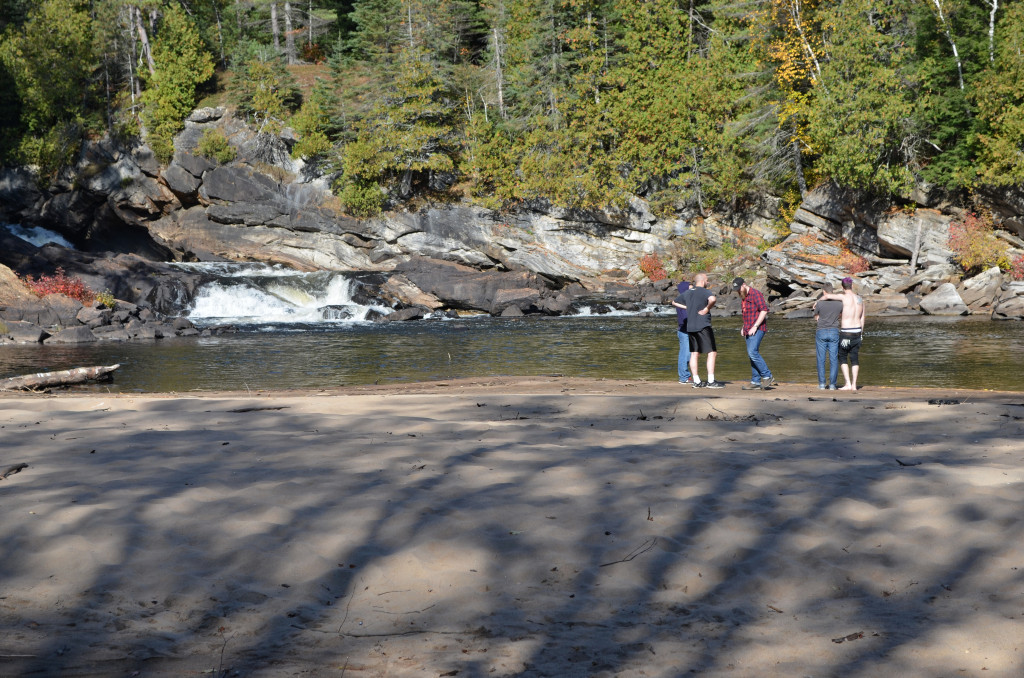
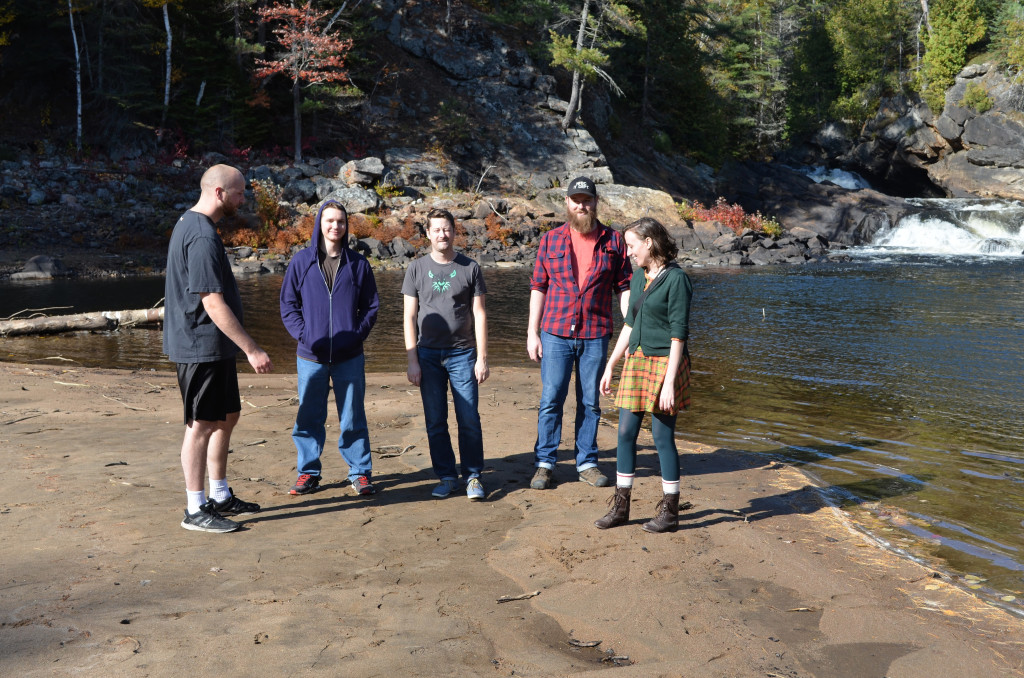
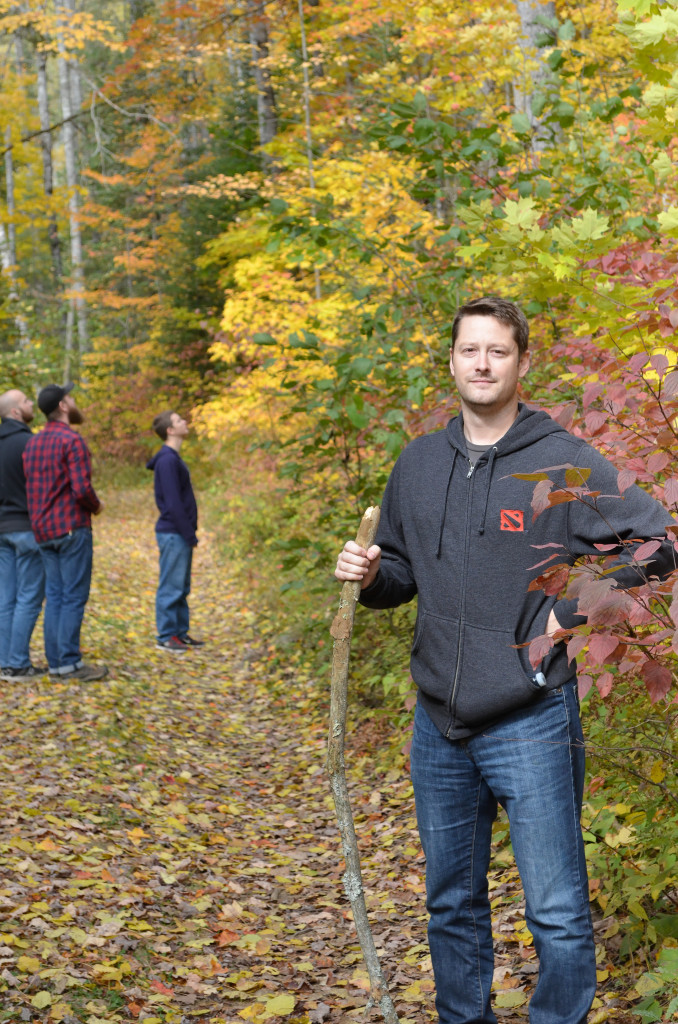
This year, we had one regular attendee who couldn’t make it and gained a new first-timer. My in-laws enjoyed being part of our celebration so much that they decided to overlap with us again this year. The hubs and I have recently taken up a regular hiking hobby so we choose one of the many trails surrounding the small town nearest the cottage and invited our guests to join us. Surprisingly, everyone took us up on the invitation, the whole time saying, “we’ve got to do this again next year”.

Friendsgiving at the Cottage \\ Sophster-Toaster Blog Friendsgiving at the Cottage \\ Sophster-Toaster Blog

Photo by Matt Harrison.

Friendsgiving at the Cottage \\ Sophster-Toaster Blog Friendsgiving at the Cottage \\ Sophster-Toaster Blog Friendsgiving at the Cottage \\ Sophster-Toaster Blog Friendsgiving at the Cottage \\ Sophster-Toaster Blog Friendsgiving at the Cottage \\ Sophster-Toaster Blog Friendsgiving at the Cottage \\ Sophster-Toaster Blog Friendsgiving at the Cottage \\ Sophster-Toaster Blog Friendsgiving at the Cottage \\ Sophster-Toaster Blog Friendsgiving at the Cottage \\ Sophster-Toaster Blog

Photo by Mitch Hanna.

All others by me.