Playing Cameras

Playing Cameras | Sophster-Toaster

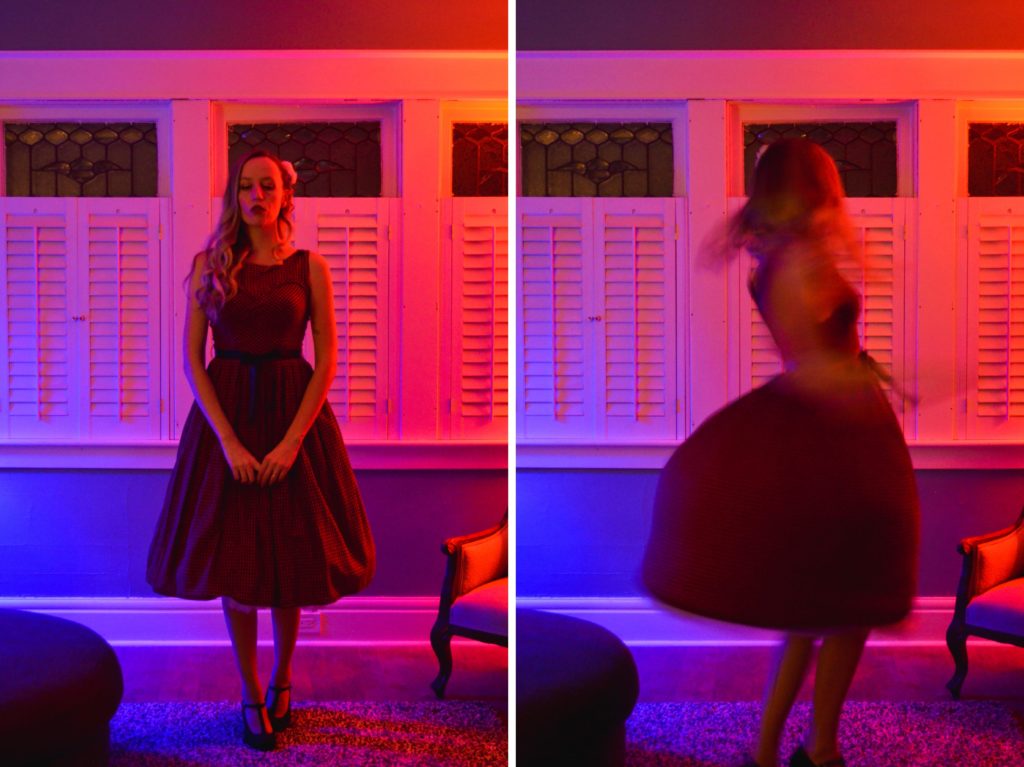
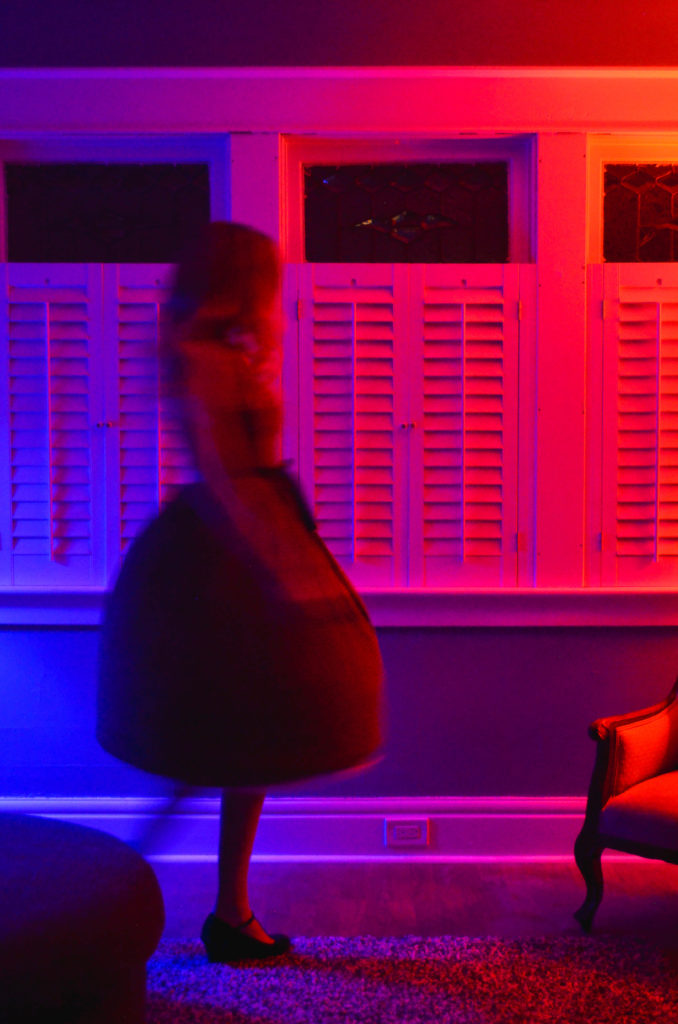
Sometime, over last spring and summer, we started referring to what I do when I grab a camera and start messing around with it as “playing cameras”. When I’m feeling bored or restless, I have a habit of picking up a camera and wandering around; I bother pets, play with the different settings on my cameras, annoy unwitting models, try to sneak up on new angles, painstakingly craft composition, shoot from the hip, and generally experiment to see if I get anything interesting. I started doing it so much, and with so little warning to the people around me, that it got a name.

Playing Cameras | Sophster-Toaster

I used to think, when I first started taking self portraits, that what I was doing wasn’t real, or legitimate, or of any value unless I did it a certain way. I thought I had to set up my tripod, ready my timer or remote shutter release, and stand on my mark to be a photographer. I convinced myself that if I had any skill, I could do it blind; that using the “live view” feature on my DSLR was cheating. I don’t think I could explain that clearly to myself now if I tried all day.

Playing Cameras | Sophster-Toaster

Now, I set up my camera, dial in the settings that I want, flip the screen around and switch it on – so I can actually see what I’m doing – pick up my remote shutter release and start messing around. On this frigid, windy, ice-encased, day after a storm in January, I played cameras indoors in the winter sunshine and learned more about light and shadow.

Playing Cameras | Sophster-Toaster Playing Cameras | Sophster-Toaster Playing Cameras | Sophster-Toaster Playing Cameras | Sophster-Toaster

Sweater ModCloth (different colour)
Glasses Warby Parker 
Dainty Ring Blue Ridge Notions

All photos by me.

New Year

New Year | Sophster-Toaster Blog

I’m not quite sure if I needed a break from blogging to recharge my creativity or just to work on other projects. Perhaps one achieved the other. I missed photographing the most beautiful season, but I found a lot of time to explore and build other hobbies, interests and skills.

I read books about kalsarikännit, photography and a good chunk of a Russian novel, learned how to be more eco-friendly, studied another language, watched movies, hiked, skated, worked on the house and started developing a whole new product for my shop. I tried to figure out where I want to go personally, professionally, physically in 2020: a year that sounds so futuristic child-me thought I’d never get here.

I don’t often take breaks, but I think this one really did me some good. I’m ready to work hard, rest when I need to, and take on whatever the new year has in store for me.

New Year | Sophster-Toaster Blog New Year | Sophster-Toaster Blog New Year | Sophster-Toaster Blog New Year | Sophster-Toaster Blog

Sweater thrifted
Jeans Angry Rabbit
Glasses Warby Parker
Earrings Just A Little This That (other colours)
Socks Roots

New Year | Sophster-Toaster Blog

All photos by me.

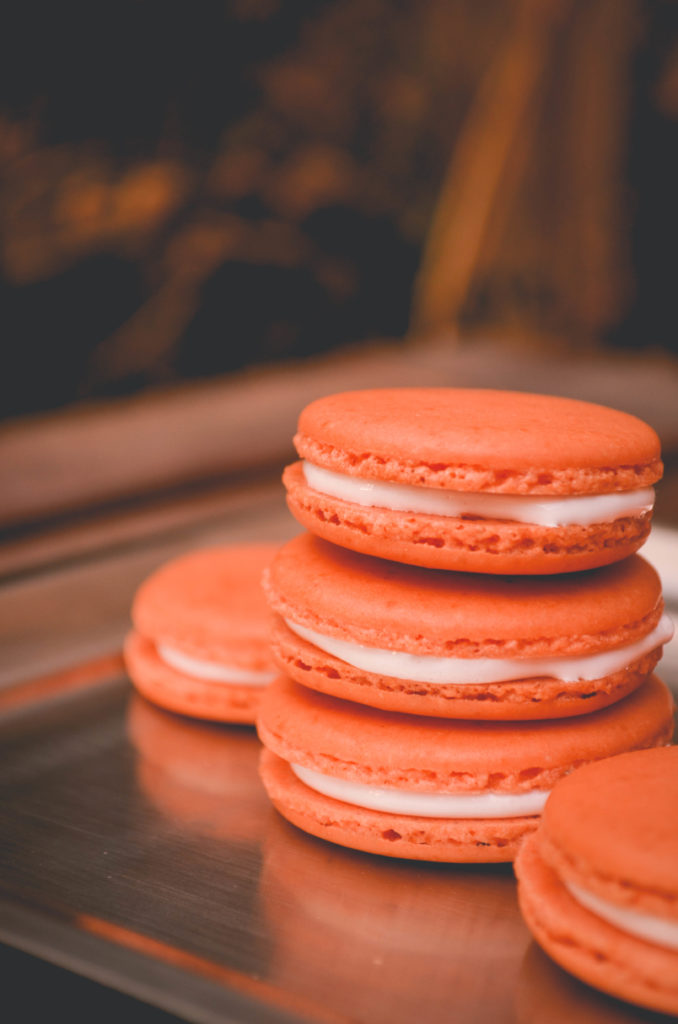
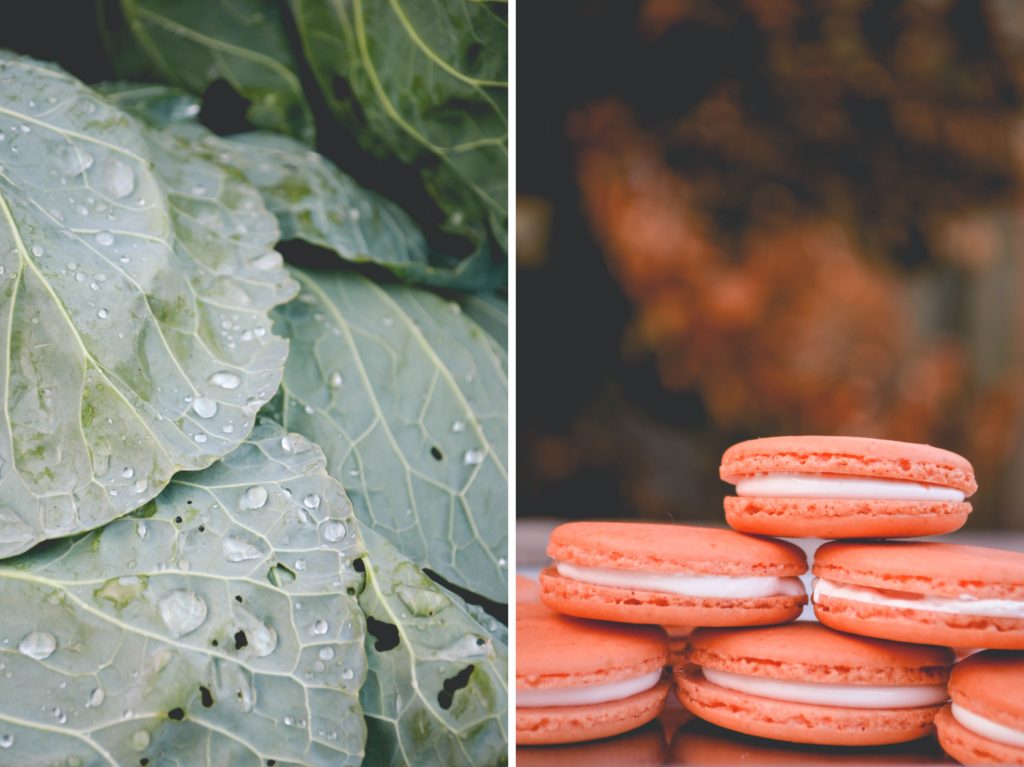
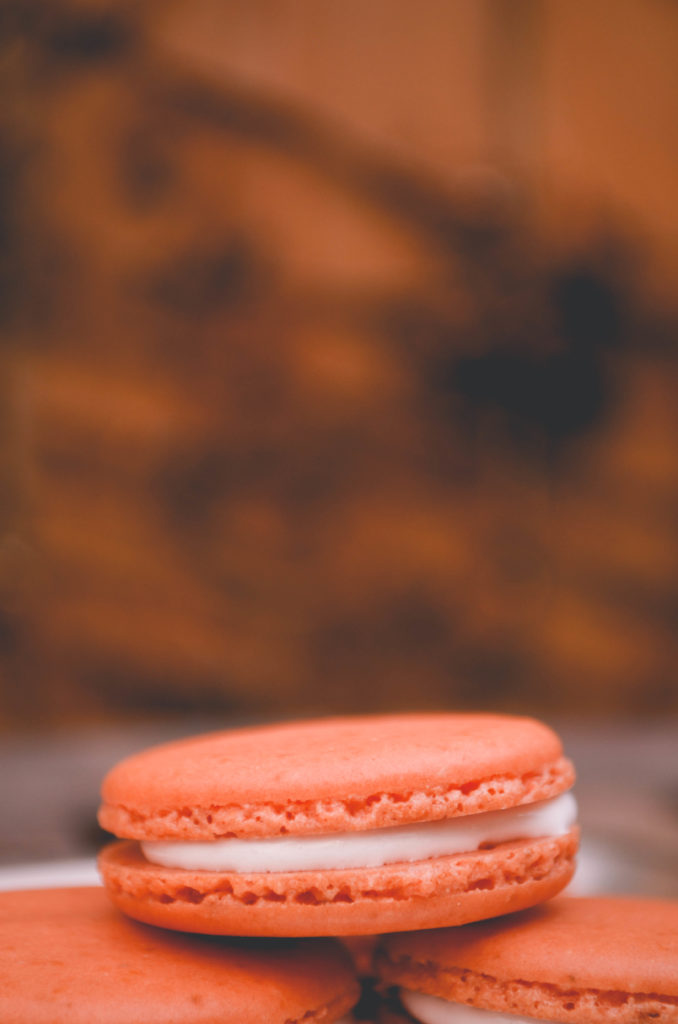
Sweet Potato & Marshmallow Macarons

Sweet Potato & Marshmallow Macarons | Sophster-Toaster

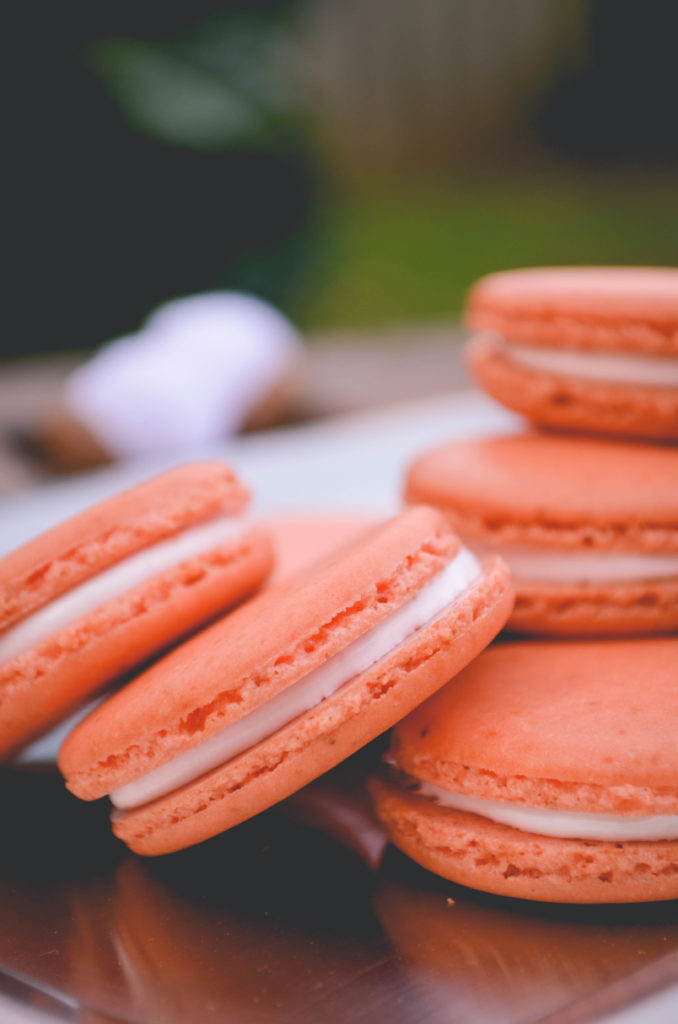
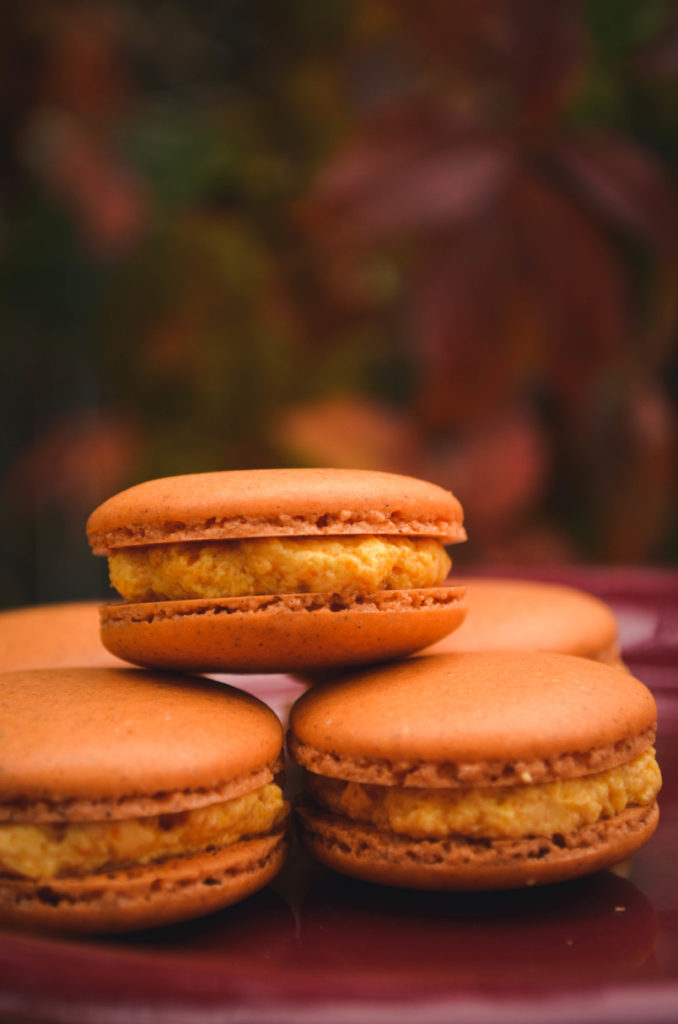
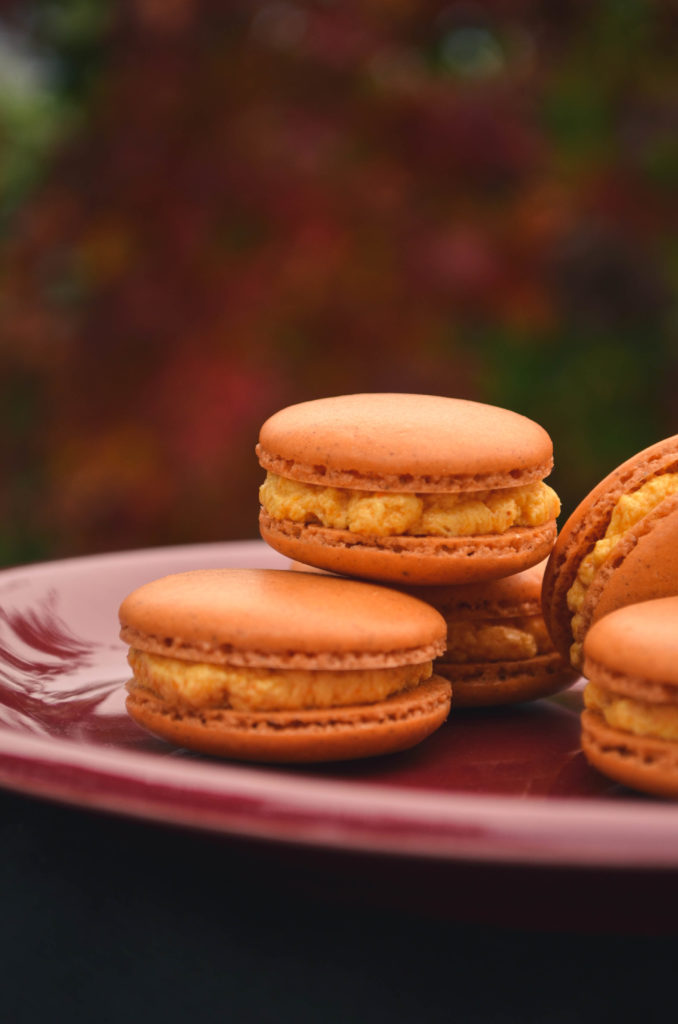
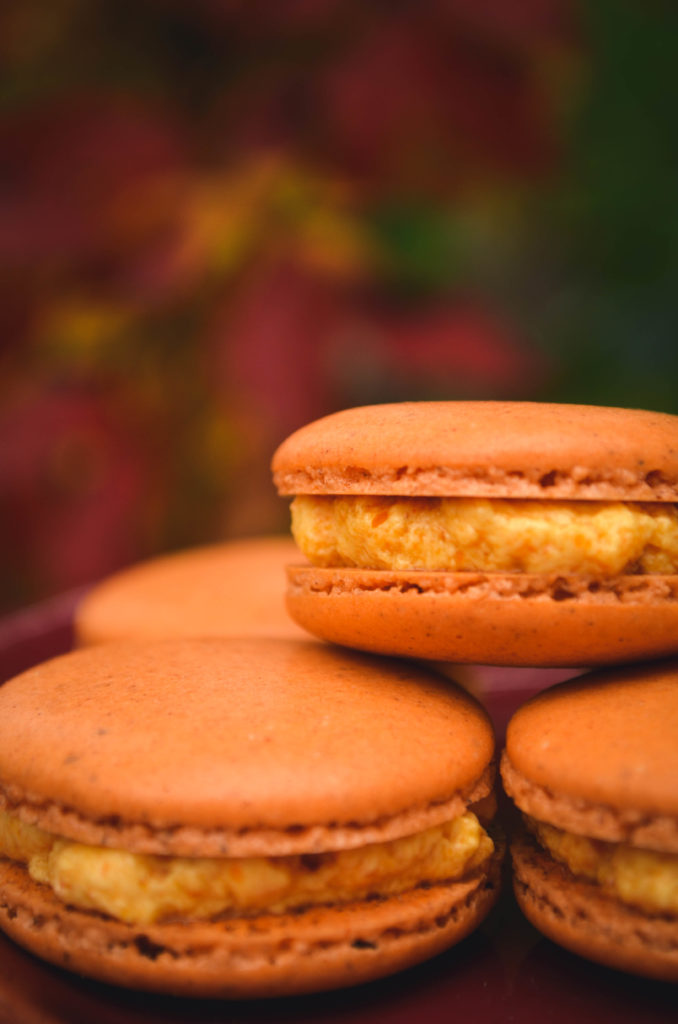
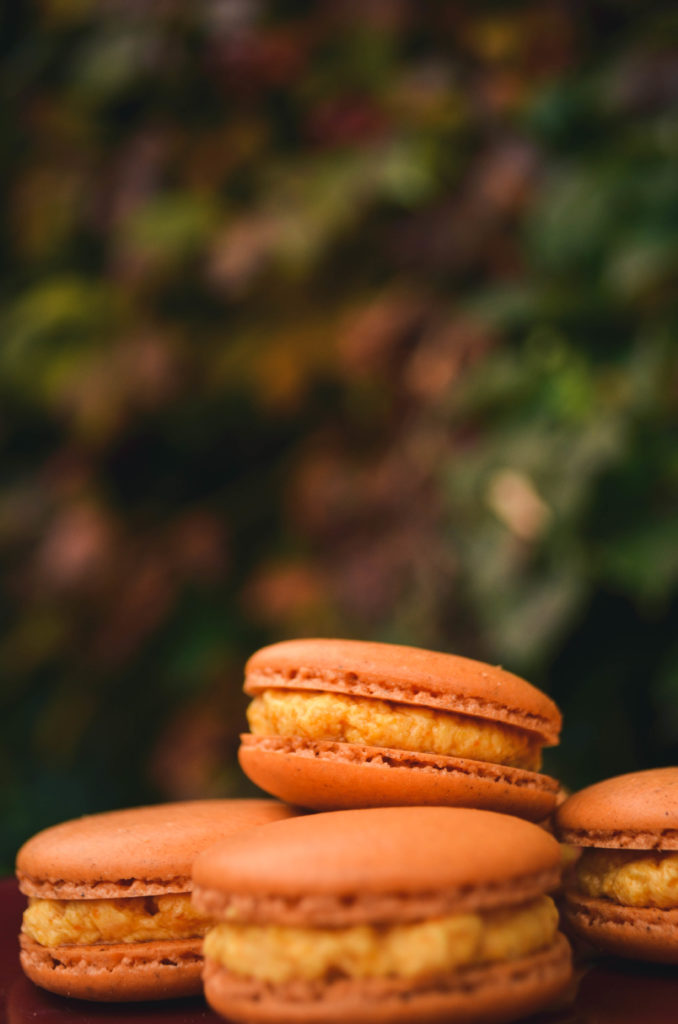
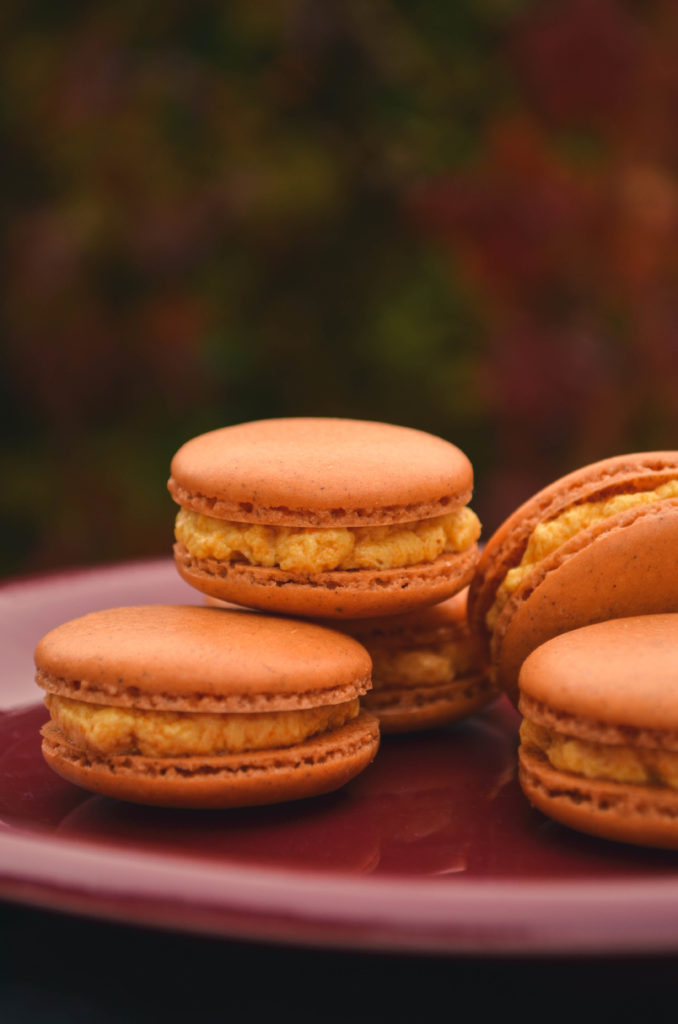
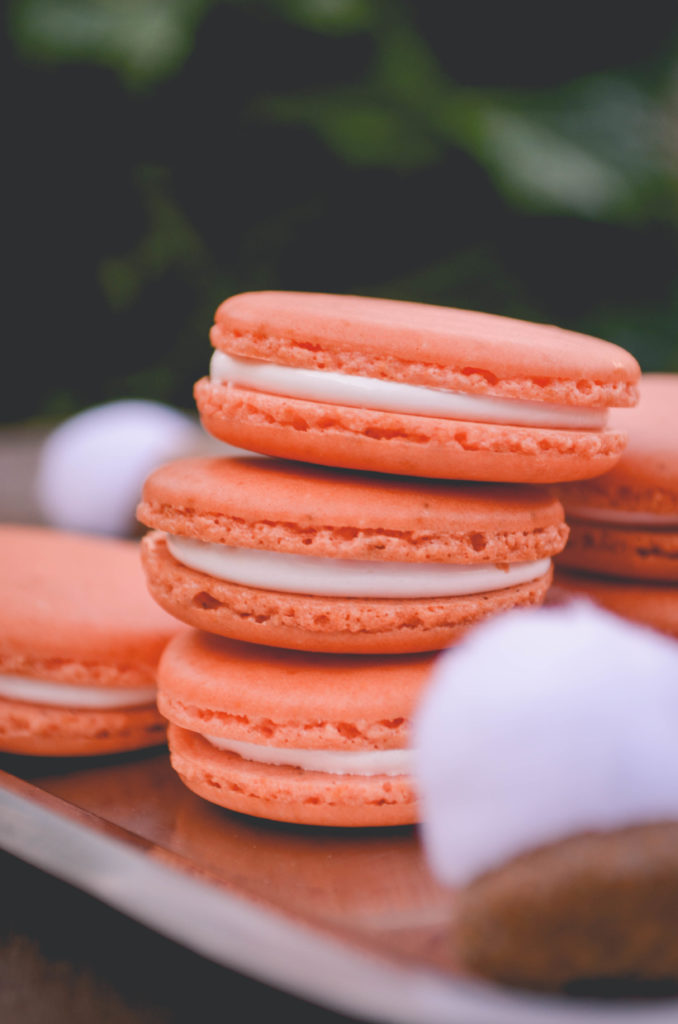
After a year of writing macarons recipes with classic buttercream fillings, I wanted to try to come up with an interesting filling I had never used before. I could think of a few, but the most unusual, and therefore my favourite, idea was marshmallow fluff! The plan to pair it with seasonal, American Thanksgiving inspired, sweet potato immediately followed and I knew I had an exciting idea on my hands.
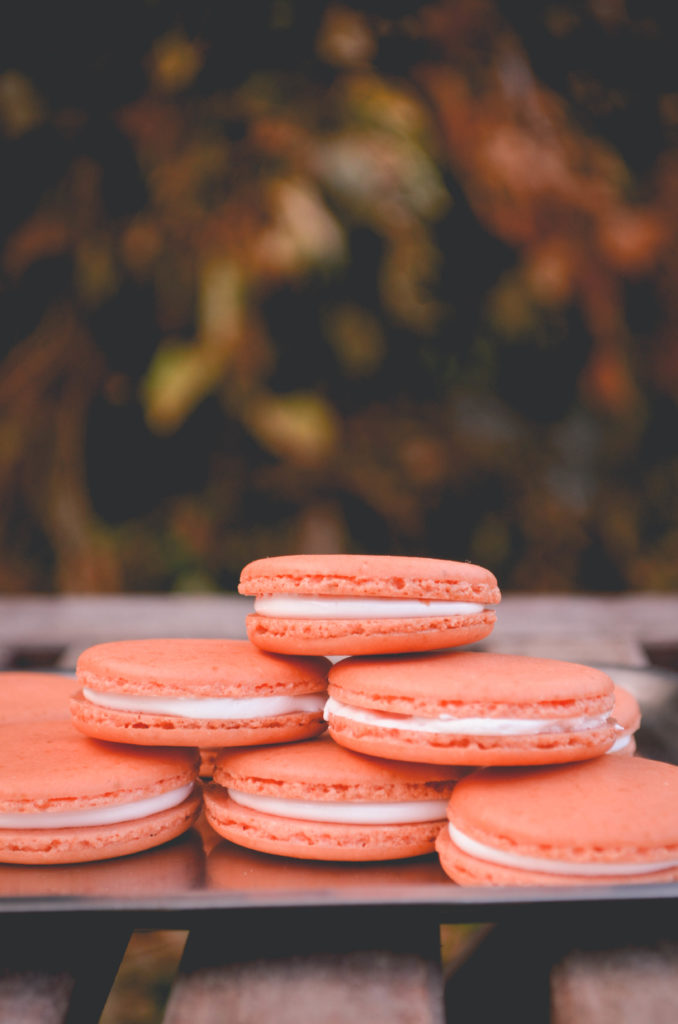
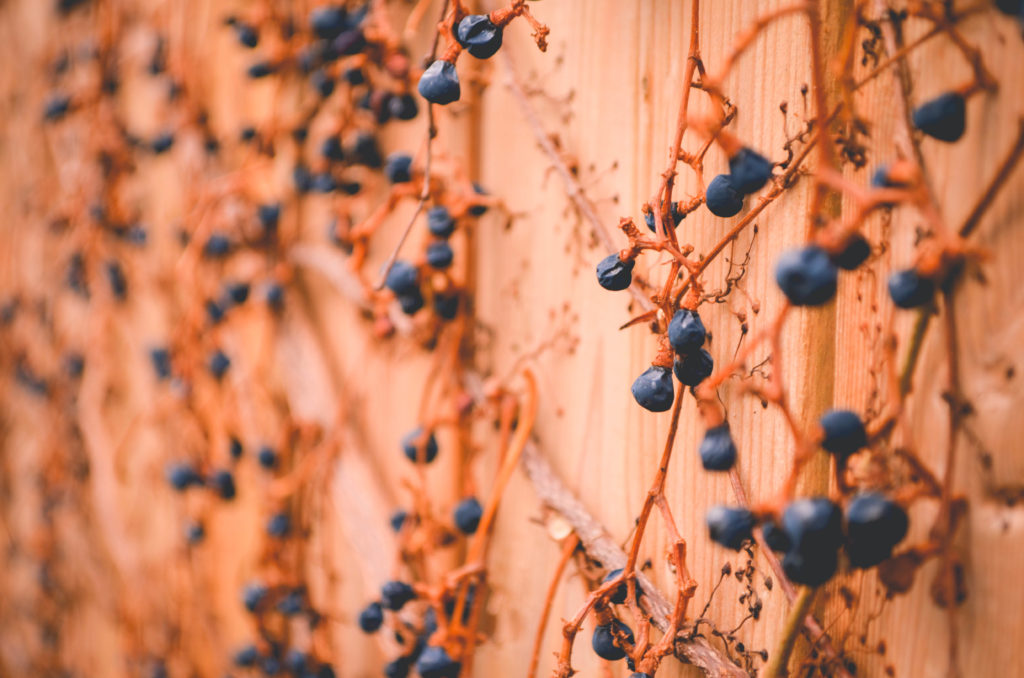
Sweet Potato & Marshmallow Macarons | Sophster-Toaster Sweet Potato & Marshmallow Macarons | Sophster-Toaster Sweet Potato & Marshmallow Macarons | Sophster-Toaster Sweet Potato & Marshmallow Macarons | Sophster-Toaster Sweet Potato & Marshmallow Macarons | Sophster-Toaster Sweet Potato & Marshmallow Macarons | Sophster-Toaster Sweet Potato & Marshmallow Macarons | Sophster-Toaster

Ingredients

for the macaron shells

  • ¾ cup ground almonds (as finely ground as you can find)
  • 1 cup icing sugar
  • 3 tbsp sweet potato flour
  • 2 large egg whites, at room temperature
  • 3 tbsp + 1 tsp sugar
  • peach gel food colouring

for the filling

  • ~1/4 of a 213g jar of marshmallow fluff

Method

for the macaron shells

  1. Prepare your parchment sheets by drawing 1″ circles, ½” apart across the entire sheet (or using silicon baking mats with the circles already printed on them) and placing them on a large flat surface suitable for drying your batter, like a dining table. You will need 2-3 half sheet pan size pieces.
  2. Sift ground almond, icing sugar and sweet potato flour together, twice. Set aside.
  3. In a large stainless steel mixing bowl, beat egg whites with a hand or stand mixer on high speed until you have a foam with no liquid remaining.
  4. Slowly add the sugar while continuing to beat the egg whites. Beat on high speed until the egg whites reach stiff peaks. You’ve made meringue!
  5. Add your food colouring now and gently beat in.
  6. Fold your almond, icing sugar and sweet potato mixture into the meringue in two parts.
  7. Here’s the part that takes practice: it’s time for the macaronnage! With a spatula, spread the batter, with some force, against the side of the bowl. Then scoop it up by running the spatula along the side of the bowl again and try to flip it all over and sort-of lightly smack it back into the bottom of the bowl. Gather the batter up again and repeat 12-15 times. It takes some time to figure out the best way to do this, don’t be afraid to play around with it. When doing the macaronnage correctly, repeating more than 20 times can result in oily, blotchy macarons, but I’ve found that doing it incorrectly doesn’t count towards this limit. If you are doing it right, the batter will take on a noticeable and somewhat sudden change in consistency, this means you are about half-way to that limit. When finished, the batter should be thickened and drip slowly and smoothly from the spatula. You will have to pipe it onto your baking sheets/mats and it won’t work if the batter is too runny. This is the technique that defines macarons, this is what makes mastery of them impressive.
  8. For perfectly round macarons, use a large, 0.4″ plain tip with a pastry bag, or do it the lazy way and cut a corner off a zip top bag for mostly round macarons. Twist (or don’t yet cut) the bag at the tip and place it, tip side down, in a tall glass. Fill with your batter and twist, close or clip the other end to help keep the messy batter moving in the right direction. Pipe the batter into the centre of the circles on your sheets/mats and stop before reaching the edges as the batter will spread out a bit.
  9. Once finished piping, carefully pick the sheets/mats up and drop them back on to the table from a height of a couple of inches. The theory is that this helps the cookies keep their round shape and form the little bubbles around the bottom (the pied) when you put them in the oven.
  10. Leave the cookies on the table, uncovered, to dry – this could take 20-30 minutes on a dry day or a couple of hours on a humid day. You will know the macarons are dry when they look smooth, less glossy and are no longer sticky to the touch.
  11. Preheat your oven to 350°F. Place an oven rack in the centre of your oven. Place a sheet of macarons on two stacked sheet pans (this will stop the bottoms from getting too hot, resulting in cracked macarons) and bake for 15-18 minutes. Rotate the pan half way through baking. It can be hard to tell when the macaron are done. I pull them out when the kitchen smells sweet and the cookies look crisp, have just started to brown, and don’t look blotchy in the middle.
  12. As soon as the parchment sheet/baking mat is cool enough to handle, take it out of the pan with all the cookies on top and place it on a cooling rack. The macarons will be too sticky to remove from the sheet/mat now; once cooled, they should peel off easily. I usually wait a few minutes for the pans to cool a bit and for the oven to come back to a steady temperature before moving the next sheet to the pans and baking the next round.

for the filling

  1. Once the shells have cooled, plop some marshmallow fluff onto half of them. Then place another similarly sized shell on top and gently press them together. You’ve made macarons!
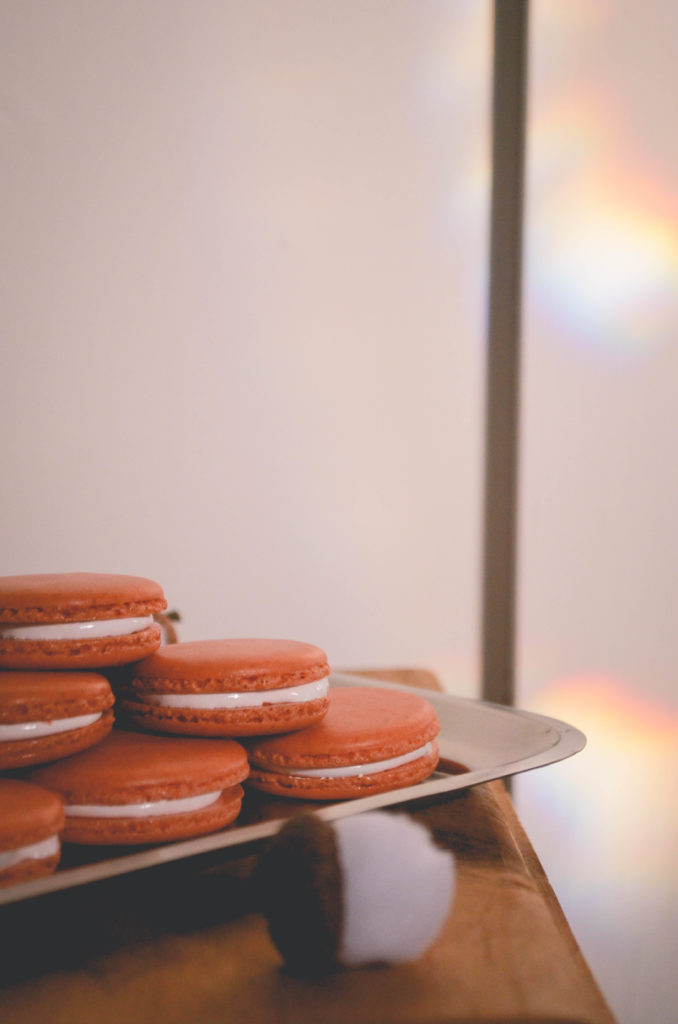
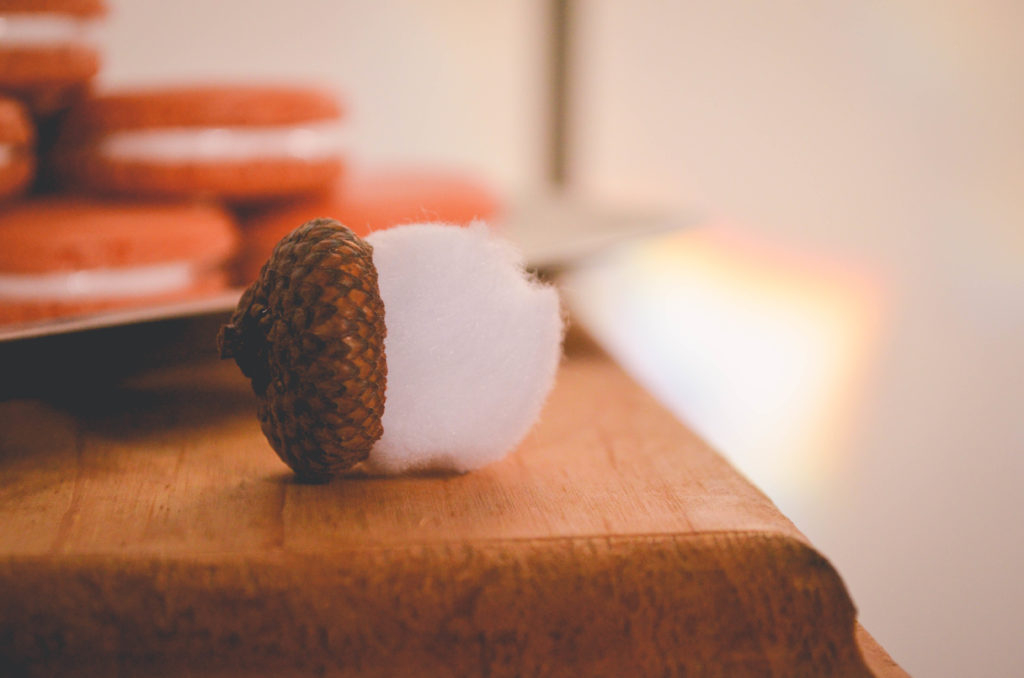
Sweet Potato & Marshmallow Macarons | Sophster-Toaster Sweet Potato & Marshmallow Macarons | Sophster-Toaster

All photos by me.
Handmade Holiday Gift Guide: For the Host & Hostess

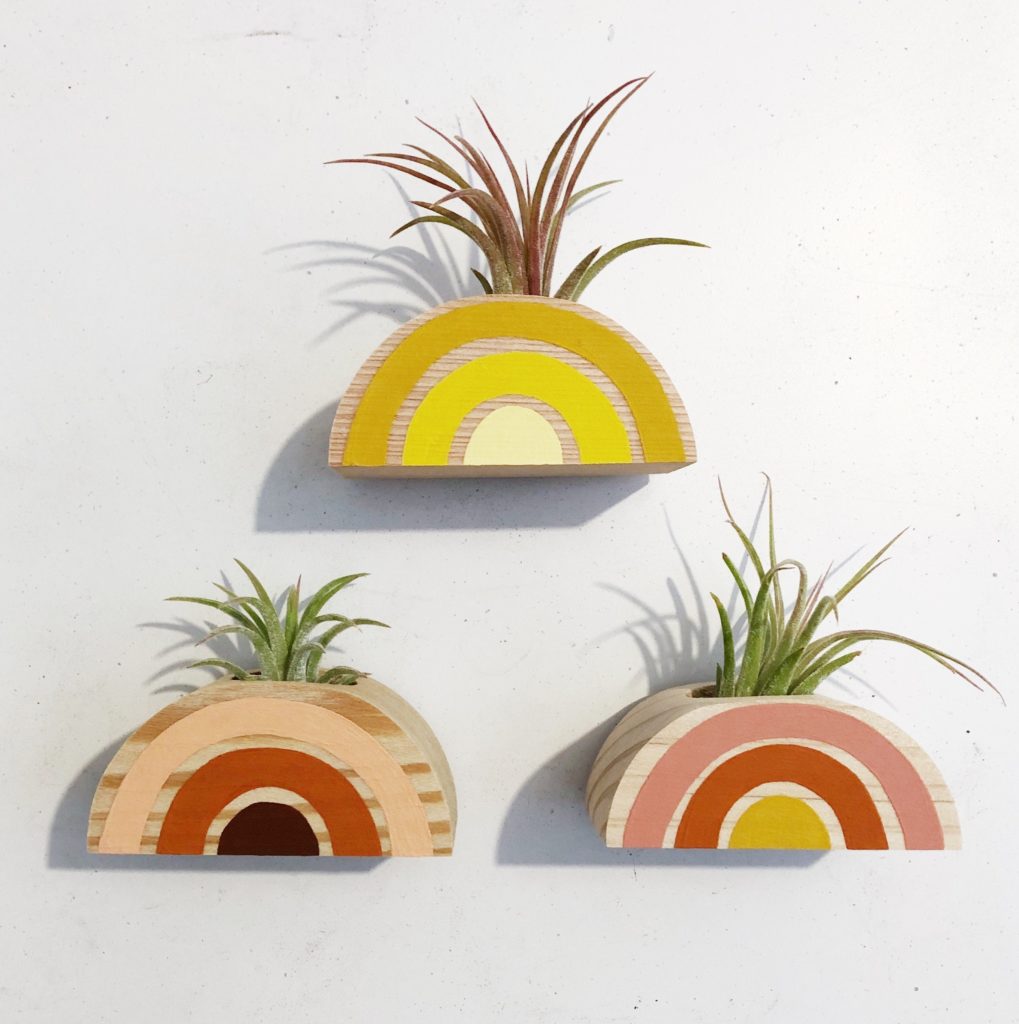
1. A retro rainbow planter + air plant magnet for the host with that kitchen the guests always gravitate towards.

Goldsmith

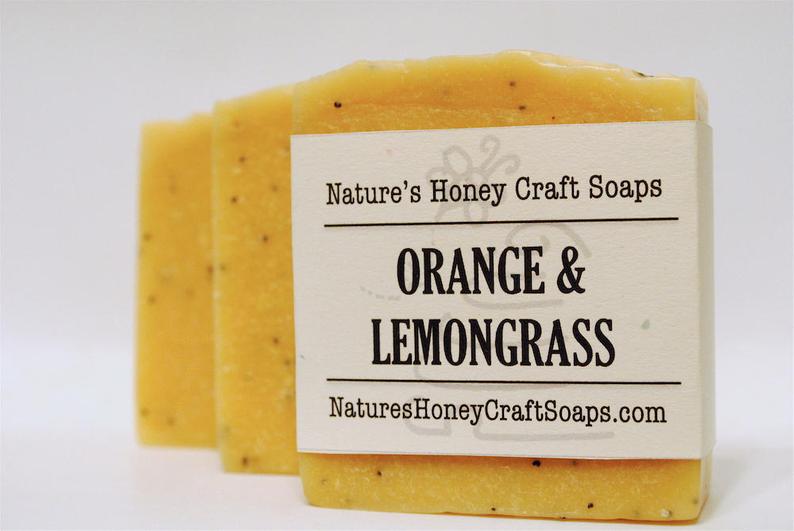
2. An exfoliating hand soap for the host with the cute guest bathroom.

Handmade Holiday Gift Guide: For the Host & Hostess | Sophster-Toaster

Nature’s Honey Craft Soaps

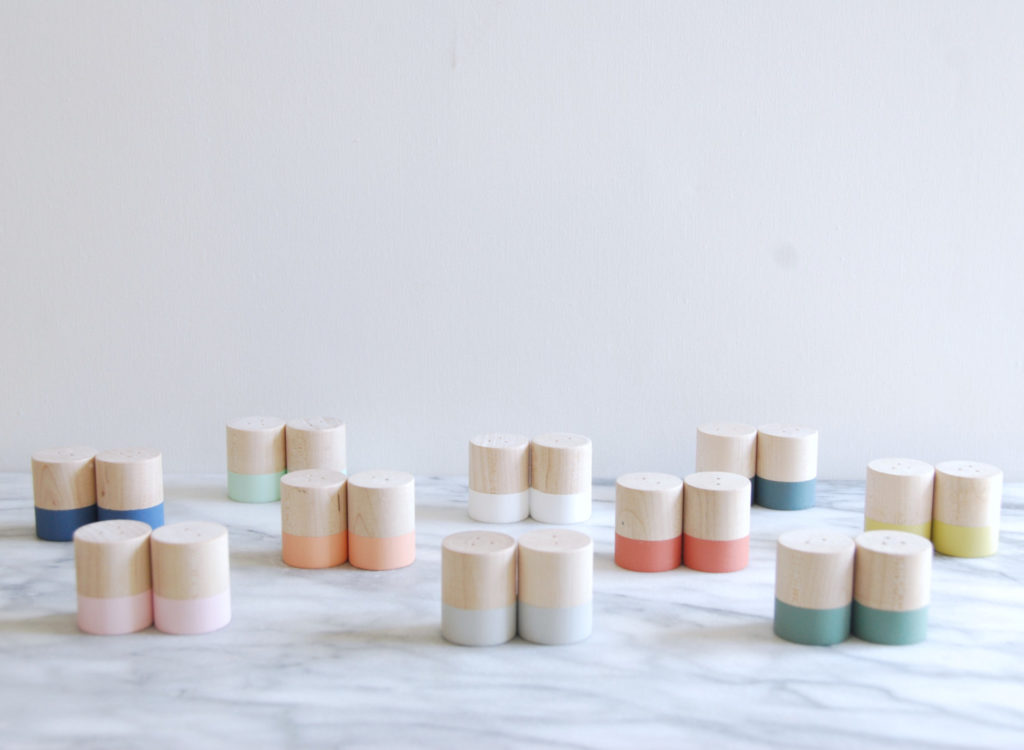
3. A tiny salt & pepper shaker set for the friend who loves to set the table.

Handmade Holiday Gift Guide: For the Host & Hostess | Sophster-Toaster

For the Host

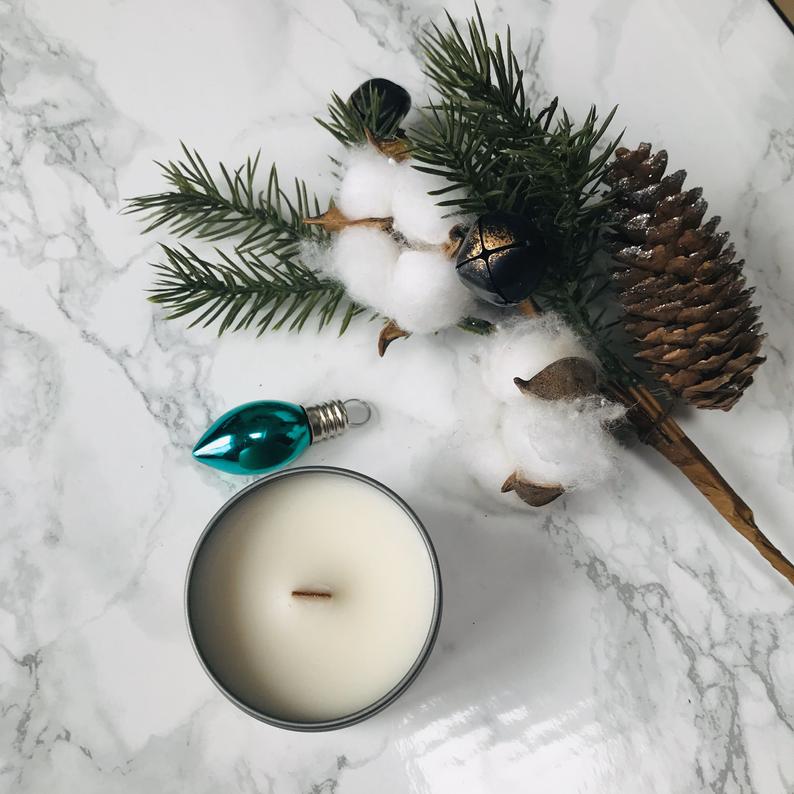
4. A Christmas tree scented candle with a crackling wood wick for that person who’s had the artificial tree up since November 1st.

Handmade Holiday Gift Guide: For the Host & Hostess | Sophster-Toaster

Wild Serenity

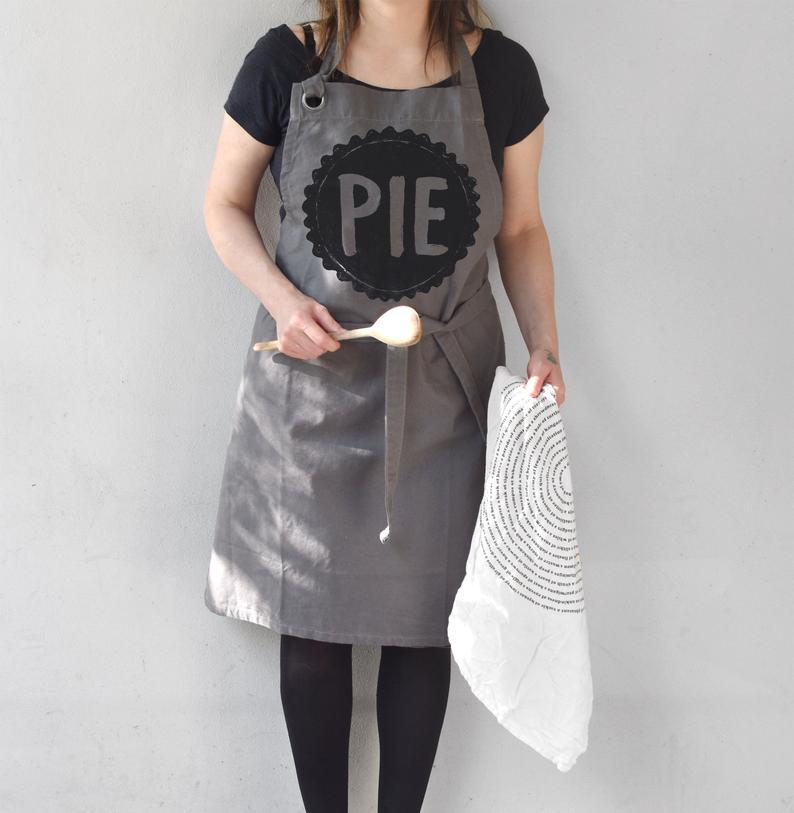
5. A cotton canvas apron for the one whose desserts you never forget to save room for.

Handmade Holiday Gift Guide: For the Host & Hostess | Sophster-Toaster

Xenotees

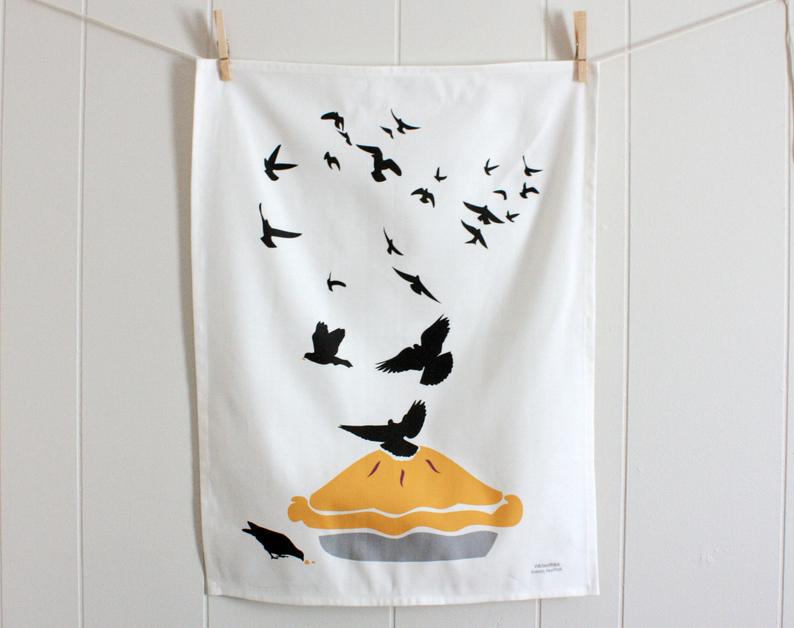
6. A linen cotton blend tea towel for the hero who always helps clean up.

Handmade Holiday Gift Guide: For the Host & Hostess | Sophster-Toaster

Wicked Mint

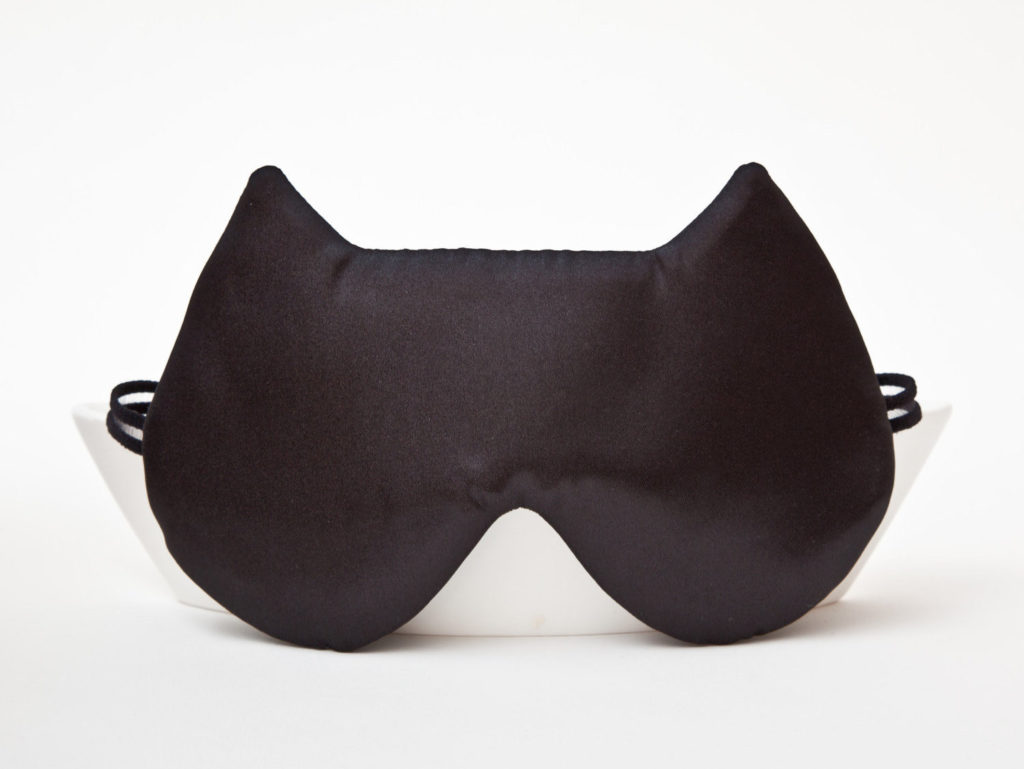
7. A satin sleep mask for the hostess who always goes out of her way.

Handmade Holiday Gift Guide: For the Host & Hostess | Sophster-Toaster

Julia Wine

8. A hand painted mug for the wildcard in your life.

Handmade Holiday Gift Guide: For the Host & Hostess | Sophster-Toaster

Kitties and Cabernet

All photos courtesy of makers.