Core Aesthetic

I was compensated for this post. This post also contains affiliate links and I will be compensated if you make a purchase after clicking on my links.

Something I’ve noticed, in 10+ years of being a part time glasses wearer plus almost 2 more of being a full time four eyes, is that, more than anything else, glasses really become the core piece of one’s aesthetic. There’s no getting around the dual facts that you have to wear them all day, everyday and they are, generally, the first thing people see when they talk to you. My current big, vaguely 80s glasses came along while my wardrobe was right at the beginning of a natural aesthetic evolution and replaced my sort-of 50s clubmaster glasses – jump starting my shift from 50s/60s fashions to a more 70s/80s style.

For most of my life, I was obsessed with all things mid-century. I loved the perfectly set hair, the fit and flare dresses with big, fluffy crinolines, the clean lines, the red lips and the contradictory understated elaborateness of it all. Mid-century style became trendy and I filled my closet and home with vintage and reproduction pieces. I felt so lucky. I clung to my liquid liner cat eyes and hoped the good times would never end.

Then, one day, I started admiring campy 70s and 80s colours and prints from the corner of my eye. I resisted their call at first. With still vivid memories of all the not-so-great 80s stuff I grew up with and a solid investment already made in my mid-century-meets-modern aesthetic, I didn’t want to fall in love with something new. Nevertheless, things that leaned more towards the end of the mid-century era started slowly making their way into my life. I looked around my home and noticed that all the hand-me-down items I had rescued from the homes of older relatives while helping them downsize; all the things I had picked up at thrift stores; all the things I had collected and saved since childhood, just because I liked the way they looked, were all from the 70s and early 80s. I was shocked to learn that I had already been in love for years.

Now that my style is more broadly all things vintage/retro/nostalgic, and I’m worried about getting new glasses before my prescription expires during this pandemic, I need to chose between my two loves.

Do I follow my first love and choose the more classic, 50s/60s leaning frames from the new Warby Parker Summer 2020 Collection? Maybe get a second pair with blue light filtering for when I’m working at the computer, or some unabashedly bombshell sunglasses for glamorous dog walking.

Esme in Sesame Tortoise

Ida in Marzipan Tortoise

Or lean fully in, commit completely and indulge my new love: upgrading my current pair to an even more authentic 80s look and going whole hog with the sunglasses too?

Alston in Champagne

Rachel in Mesquite Tortoise

Photos courtesy of Warby Parker.

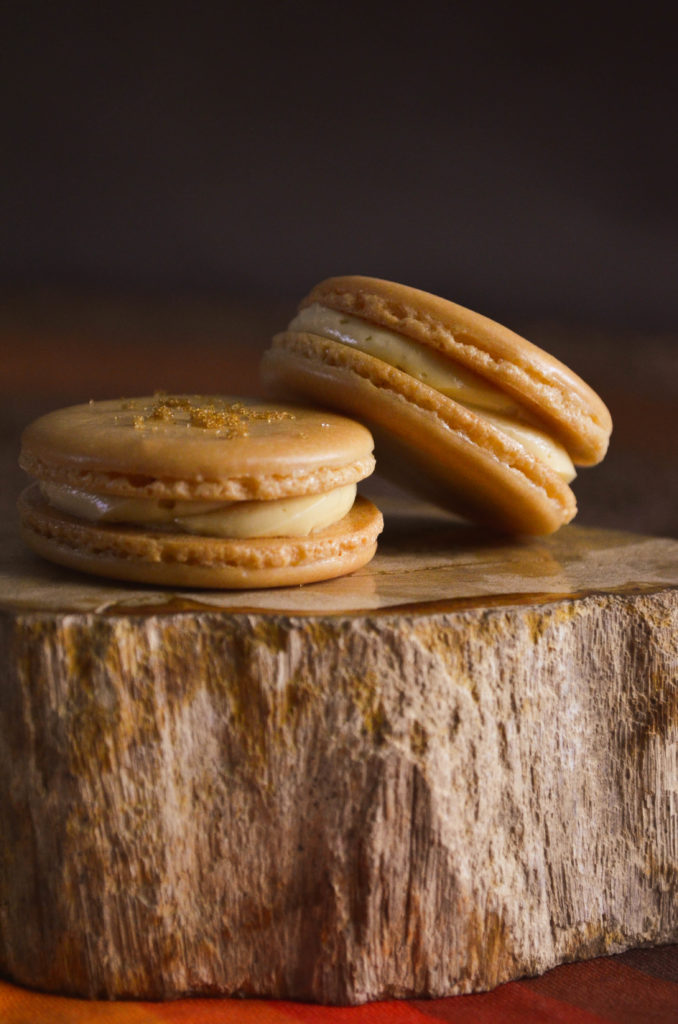
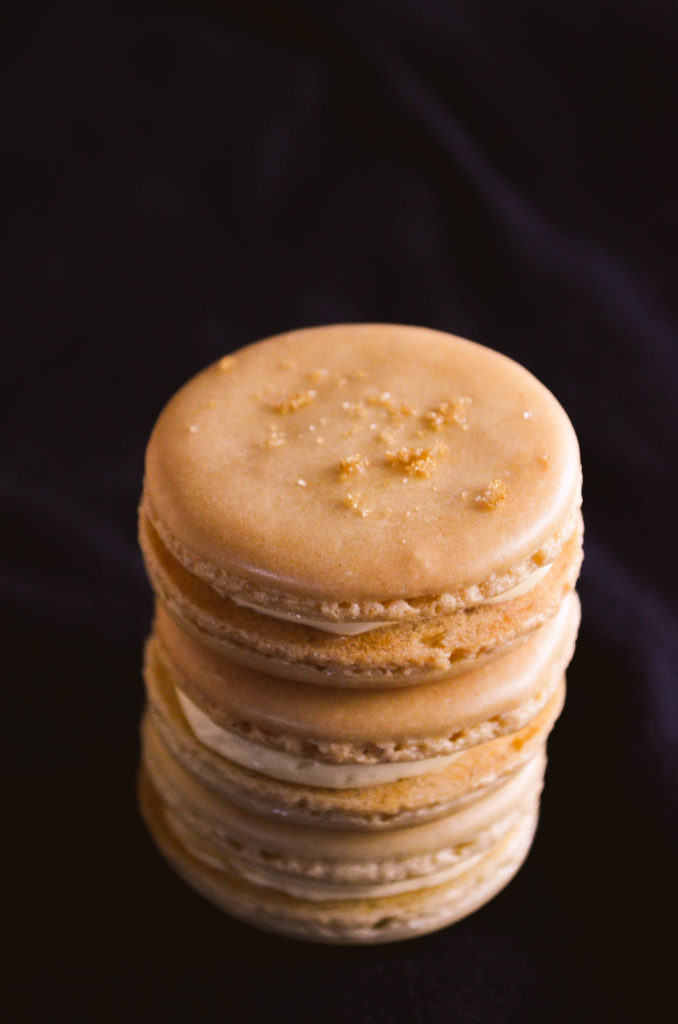
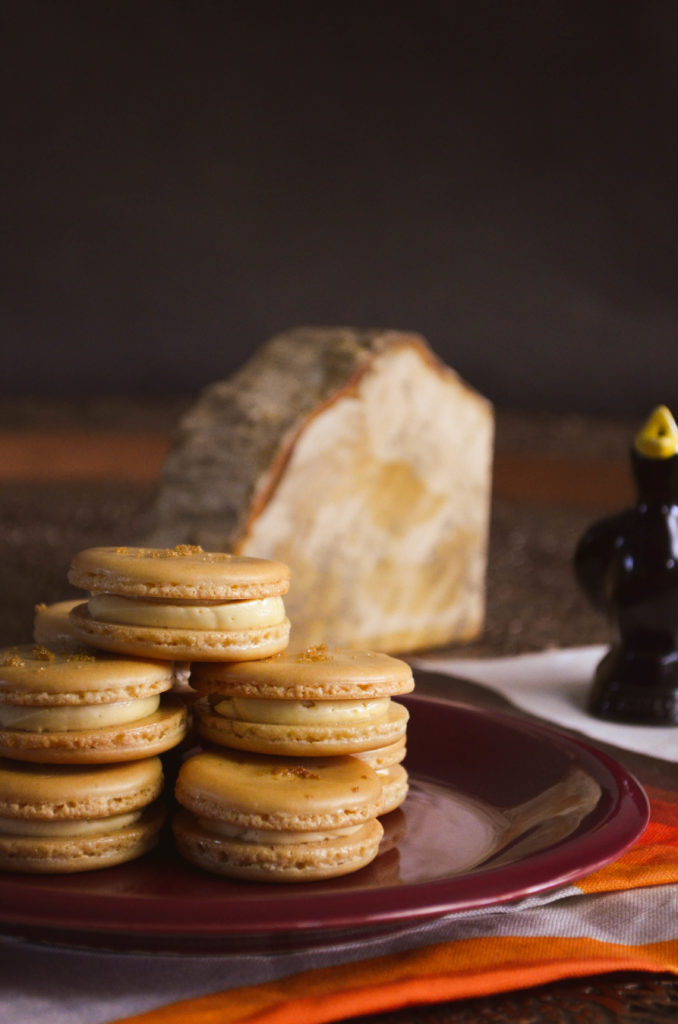
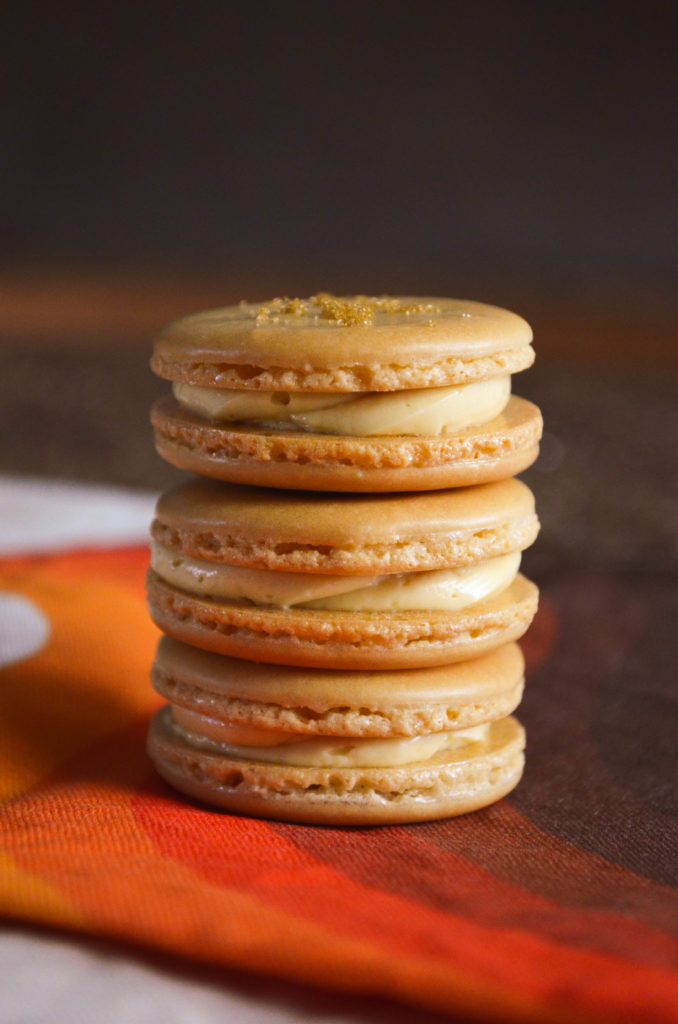
Coconut Macarons

Coconut Macarons | Sophster-Toaster

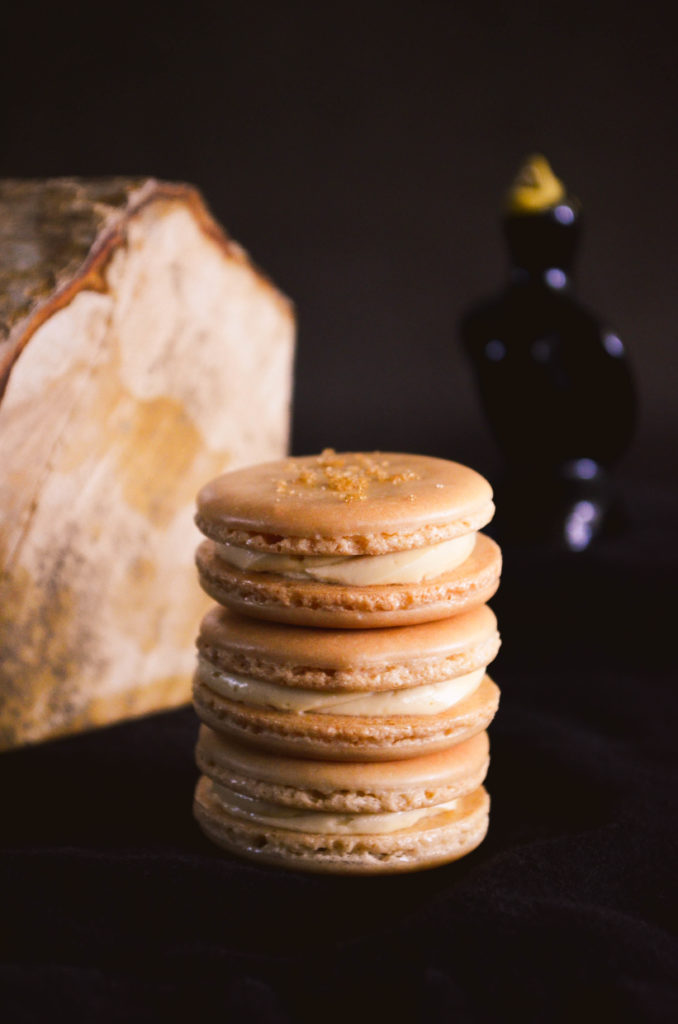
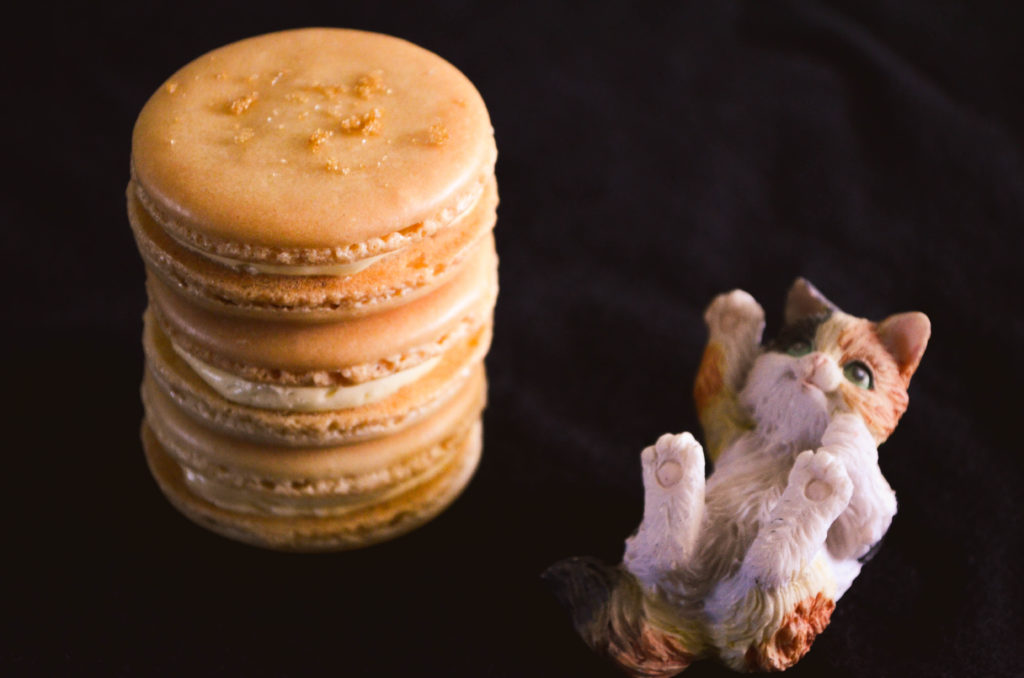
Summer has arrived! The afternoons are heating up, the humidity is palpable and I’m craving tropical flavours. It hasn’t been too difficult to find what we need at the grocery store but to keep trips shorter, less frequent and less stressful, I’m still keeping it simple with my macarons flavours. This month I choose another flavour inspired by a classic pantry staple: unsweetened shredded coconut. I’m also slightly amused that these are coconut macarons and not coconut macaroons.

Coconut Macarons | Sophster-Toaster Coconut Macarons | Sophster-Toaster Coconut Macarons | Sophster-Toaster Coconut Macarons | Sophster-Toaster Coconut Macarons | Sophster-Toaster

Ingredients

for the macaron shells

  • ¾ cup ground almonds (as finely ground as you can find)
  • 1 cup icing sugar
  • 3 tbsp unsweetened shredded coconut
  • 2 large egg whites, at room temperature
  • 3 tbsp + 1 tsp sugar
  • (sky blue gel food colouring)

for the filling

  • 7 tbsp unsalted butter
  • 7 tbsp milk
  • 2 tbsp unsweetened shredded coconut
  • 2 egg yolks
  • ¼ cup sugar

Method

for the macaron shells

  1. Prepare your parchment sheets by drawing 1″ circles, ½” apart across the entire sheet (or using silicon baking mats with the circles already printed on them) and placing them on a large flat surface suitable for drying your batter, like a dining table. You will need 2-3 half sheet pan size pieces.
  2. Sift ground almond and icing sugar together, twice. Add coconut. Set aside.
    1. Optional: grind the shredded coconut in a mortar and pestle or food processor before adding. It won’t look very different, but it will have noticeably better dispersion in your finished cookie.
  3. In a large stainless steel mixing bowl, beat egg whites with a hand or stand mixer on high speed until you have a foam with no liquid remaining.
  4. Slowly add the sugar while continuing to beat the egg whites. Beat on high speed until the egg whites reach stiff peaks. You’ve made meringue!
    1. Optional: add gel food colouring now and lightly beat in.
  5. Fold your almond and icing sugar mixture into the meringue in two parts.
  6. Here’s the part that takes practice: it’s time for the macaronnage! With a spatula, spread the batter, with some force, against the side of the bowl. Then scoop it up by running the spatula along the side of the bowl again and try to flip it all over and sort-of lightly smack it back into the bottom of the bowl. Gather the batter up again and repeat 12-15 times. It takes some time to figure out the best way to do this, don’t be afraid to play around with it. When doing the macaronnage correctly, repeating more than 20 times can result in oily, blotchy macarons, but I’ve found that doing it incorrectly doesn’t count towards this limit. If you are doing it right, the batter will take on a noticeable and somewhat sudden change in consistency, this means you are about half-way to that limit. When finished, the batter should be thickened and drip slowly and smoothly from the spatula. You will have to pipe it onto your baking sheets/mats and it won’t work if the batter is too runny. This is the technique that defines macarons, this is what makes mastery of them impressive.
  7. For perfectly round macarons, use a large, 0.4″ plain tip with a pastry bag, or do it the lazy way and cut a corner off a zip top bag for mostly round macarons. Twist (or don’t yet cut) the bag at the tip and place it, tip side down, in a tall glass. Fill with your batter and twist, close or clip the other end to help keep the messy batter moving in the right direction. Pipe the batter into the centre of the circles on your sheets/mats and stop before reaching the edges as the batter will spread out a bit.
  8. Once finished piping, carefully pick the sheets/mats up and drop them back on to the table from a height of a couple of inches. The theory is that this helps the cookies keep their round shape and form the little bubbles around the bottom (the pied) when you put them in the oven.
  9. Leave the cookies on the table, uncovered, to dry – this could take 20-30 minutes on a dry day or a couple of hours on a humid day. You will know the macarons are dry when they look smooth, less glossy and are no longer sticky to the touch.
  10. Sprinkle some shredded coconut on top – it’s going to toast up nicely in the oven.
  11. Preheat your oven to 350°F. Place an oven rack in the centre of your oven. Place a sheet of macarons on two stacked sheet pans (this will stop the bottoms from getting too hot, resulting in cracked macarons) and bake for 15-18 minutes. Rotate the pan half way through baking. It can be hard to tell when the macaron are done. I pull them out when the kitchen smells sweet and the cookies look crisp, have just started to brown, and don’t look blotchy in the middle.
  12. As soon as the parchment sheet/baking mat is cool enough to handle, take it out of the pan with all the cookies on top and place it on a cooling rack. The macarons will be too sticky to remove from the sheet/mat now; once cooled, they should peel off easily. I usually wait a few minutes for the pans to cool a bit and for the oven to come back to a steady temperature before moving the next sheet to the pans and baking the next round.

for the buttercream

  1. Warm the butter in a double boiler or in the microwave until it is soft but not melted. Beat until creamy.
  2. In a small saucepan, bring milk to a boil. Remove from heat and add the coconut. Cover and steep for 10 minutes.
  3. Meanwhile, place the egg yolks in a small bowl and whisk lightly. Add the sugar and beat lightly until they are a pale yellow.
  4. Slowly pour the steeped milk mixture into the egg mixture, beating continuously.
  5. Strain this mixture back into the saucepan and discard the coconut.
  6. Simmer over low heat, whisking frequently, until the mixture has thickened to a loose custard.
  7. Now pour the mixture into a clean bowl and beat lightly until it has thickened and cooled to about room temperature.
  8. Add the butter in three parts and beat until smooth with each addition. (If the buttercream bubbles and splits, keep beating until it becomes thick again.)

Once everything has cooled, place your buttercream in a piping (or zip-top) bag and pipe onto half of your shells. Then place another similarly sized shell on top and gently press them together. You’ve made macarons!

Coconut Macarons | Sophster-Toaster


All photos by me.

Ambivert

Ambivert | Sophster-Toaster

I can never quite figure out if I’m an introvert or an extrovert. Myers-Briggs tests always put me right down the middle of every category – I joke that, on paper, I have no personality. I know that I’m not nearly as introverted as others, because I need to connect with someone to find inspiration, bounce ideas off someone to focus my thoughts, and engage with others to feel relaxed. At the same time, I know I’m not quite as extroverted as the people in my life who, despite generally enjoying their company, can still make me feel bombarded and overwhelmed.

At first, I really enjoyed having my husband and neighbours around while I worked. It was a welcome change from working alone all day and having to connect with someone through text when I wasn’t feeling creative or motivated. Now, though, I’m really starting to struggle with the pressure of feeling like I have an audience every time I try to experiment with or explore my creativity. Taking pictures in front of curious neighbours and then editing at a desk I now share with my husband is exhausting me more than I thought it could. I’m going to share my finished product, and engage with the world, that’s the whole point of it, but there’s something about having my process exposed and intruded upon now that’s draining my muse.

I read that in isolation, people tend to double down on their personalities: introverts become more internally driven and extroverts need more outward stimulation to thrive. I’m not sure where this leaves the ambivert; how one becomes more ambiverted. There’s a shifting balance somewhere that I can’t seem to grasp just yet.
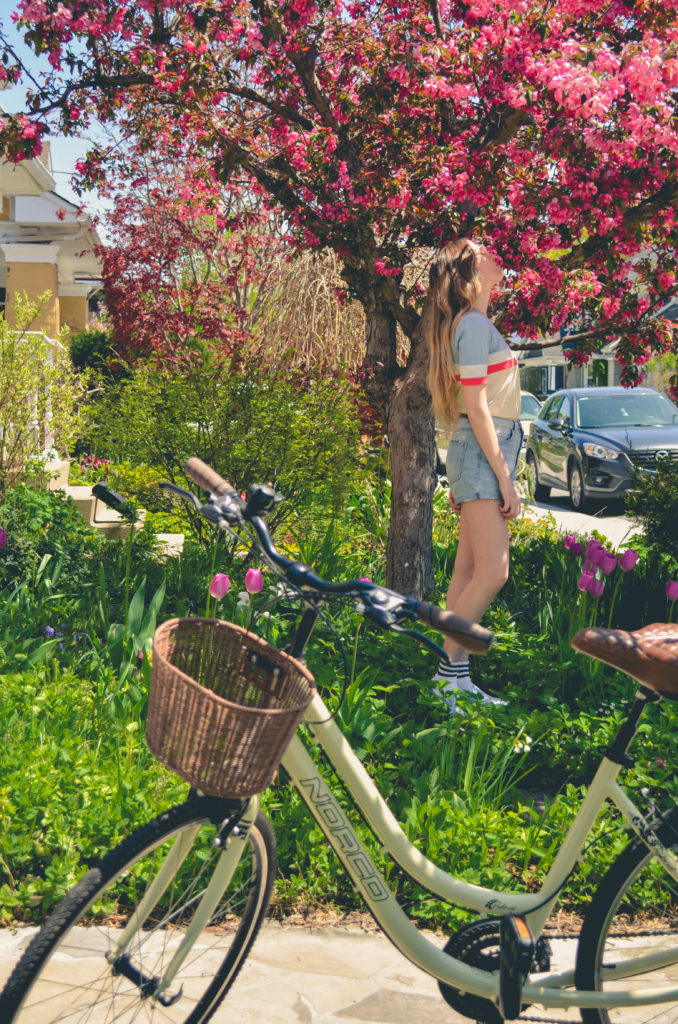
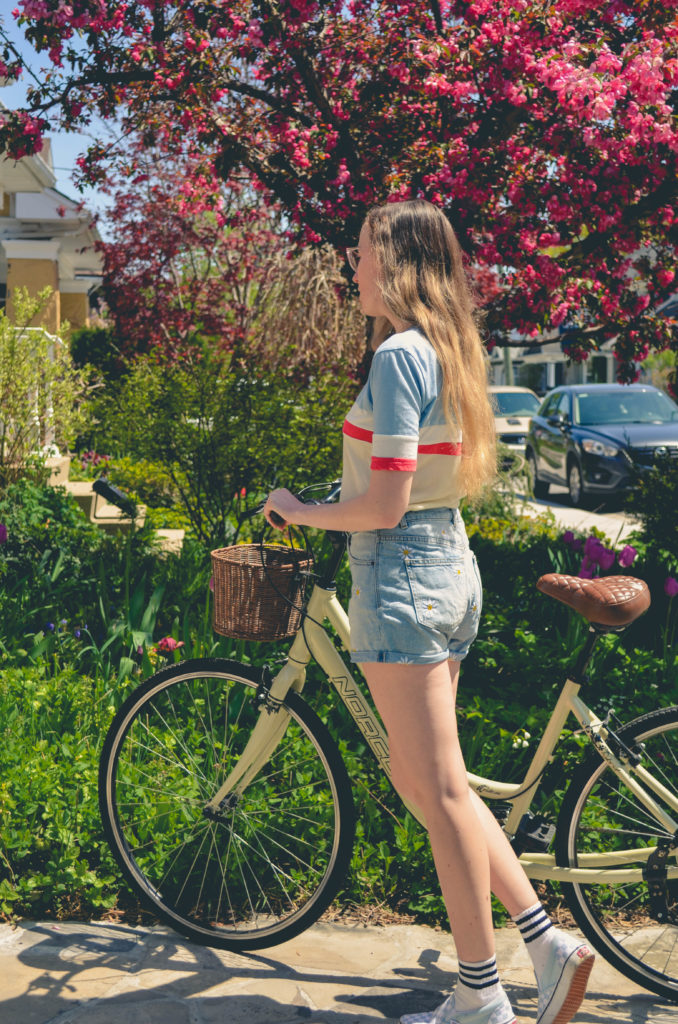
Ambivert | Sophster-Toaster Ambivert | Sophster-Toaster Ambivert | Sophster-Toaster Ambivert | Sophster-Toaster Ambivert | Sophster-Toaster Ambivert | Sophster-Toaster Ambivert | Sophster-Toaster Ambivert | Sophster-Toaster

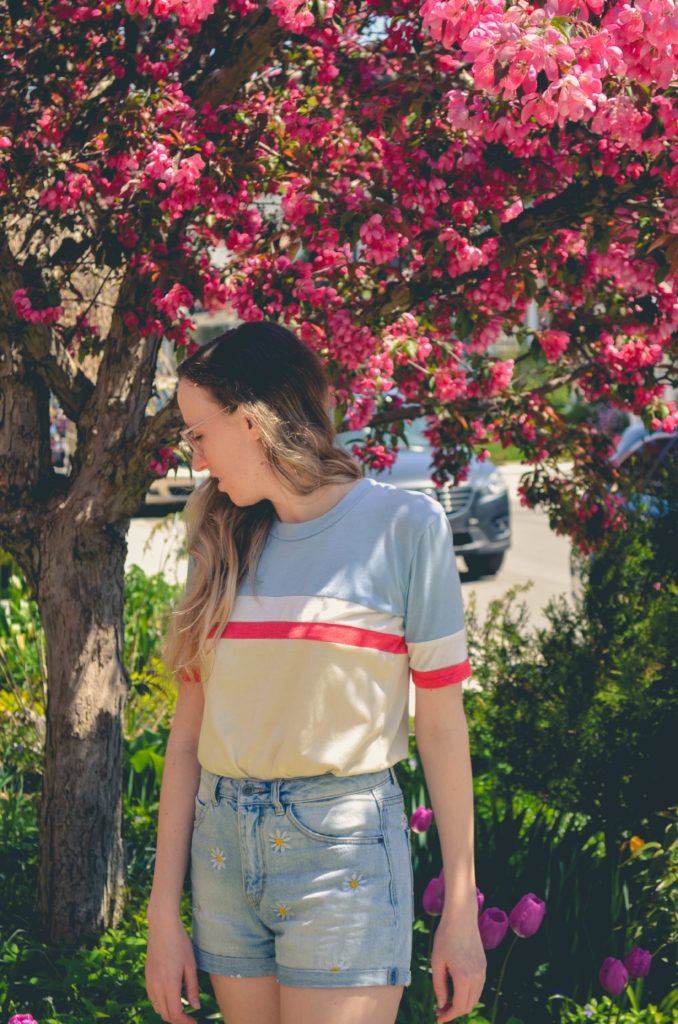
T-shirt Camp Collection (different colourway)
Glasses Warby Parker
Socks American Apparel
Shoes Vans

All photos by me.

Garden City

Garden City | Sophster-Toaster

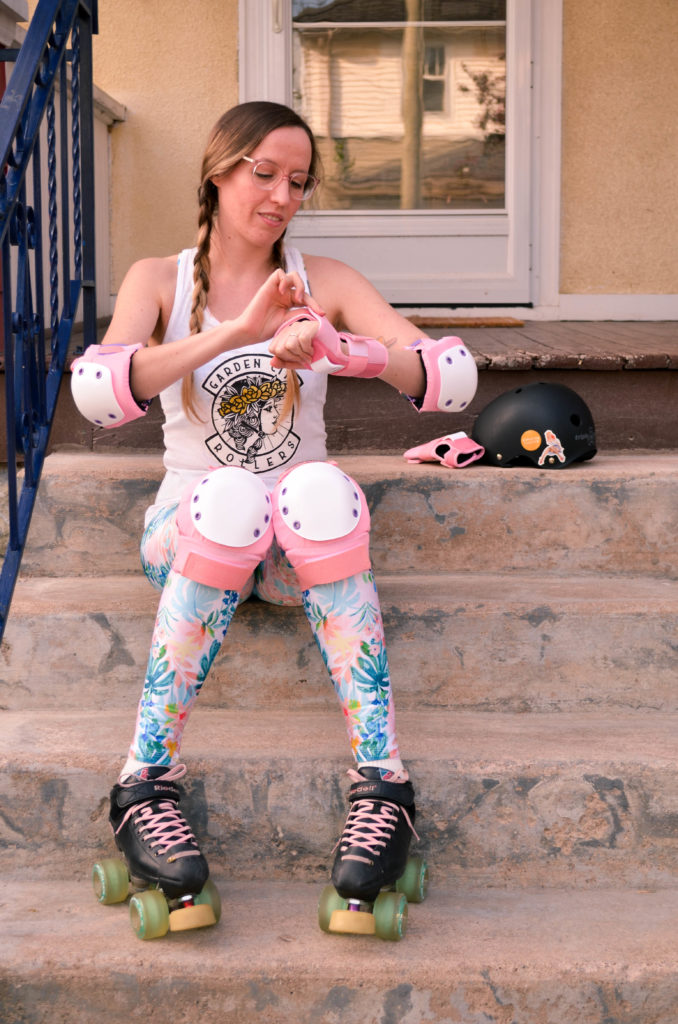
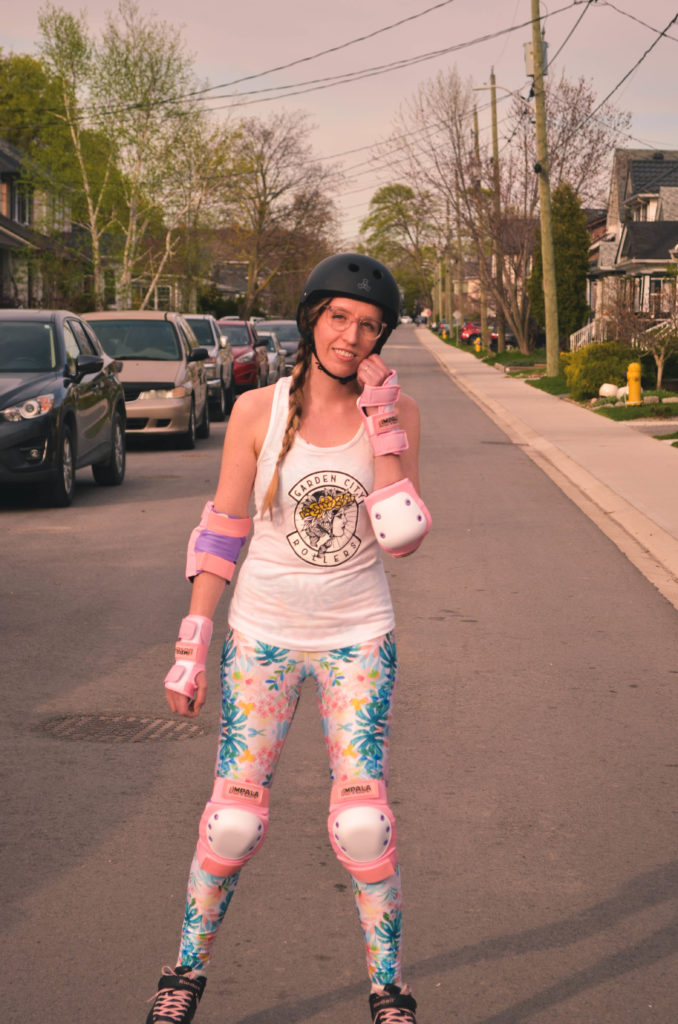
I’ve never owned nice workout clothes before. I’ve always just worn an old/free t-shirt and what ever pants I found in the discount bin, of an already discount store, while admiring the cute outfits other people assembled for themselves.

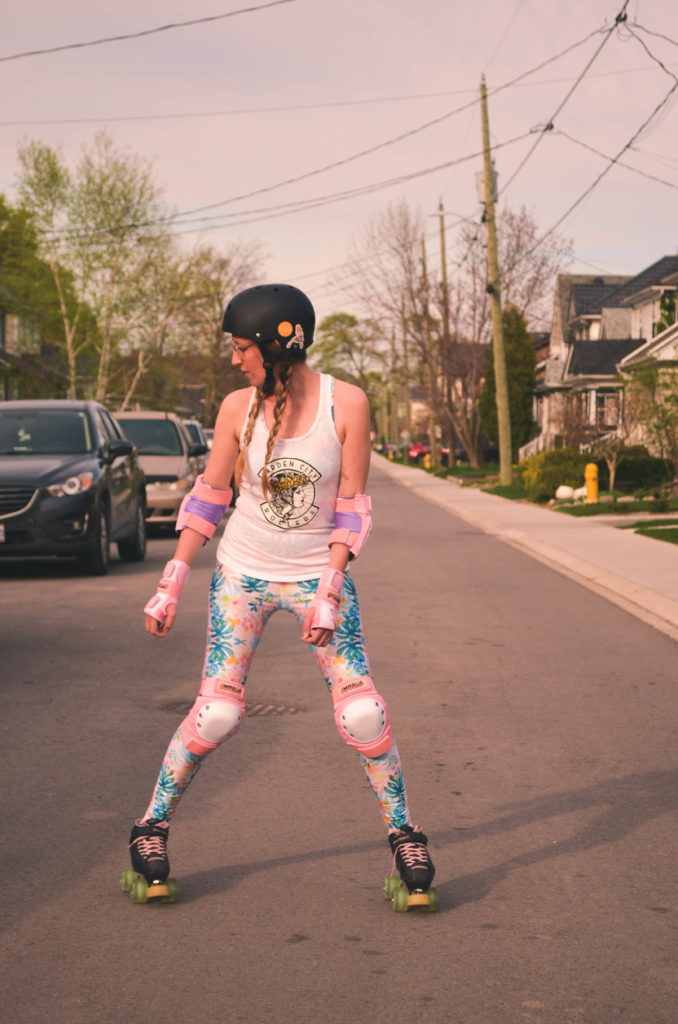
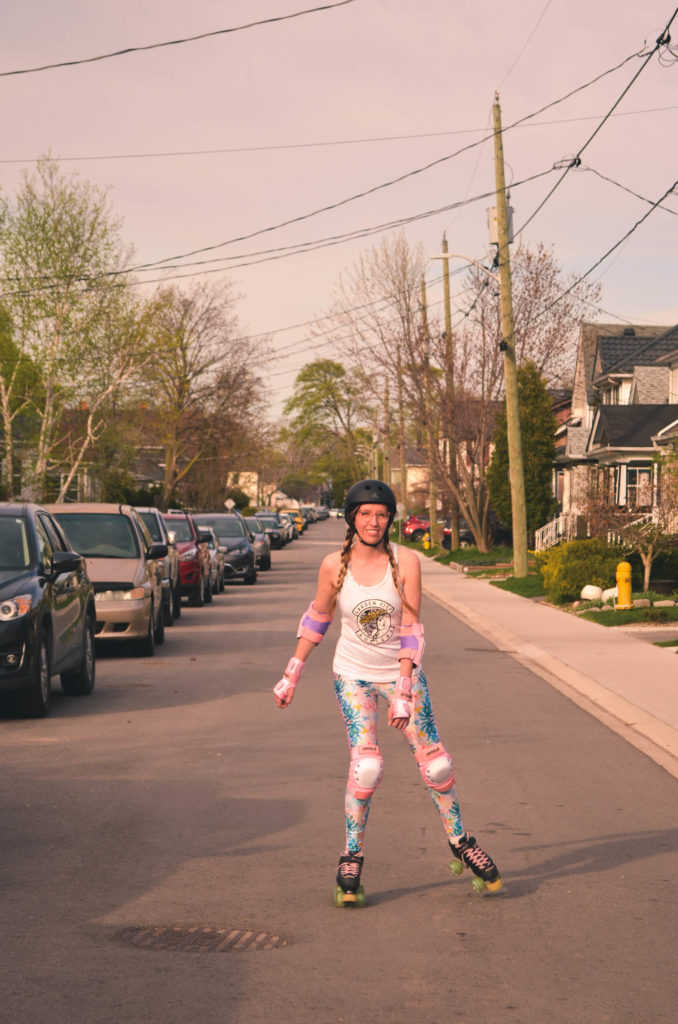
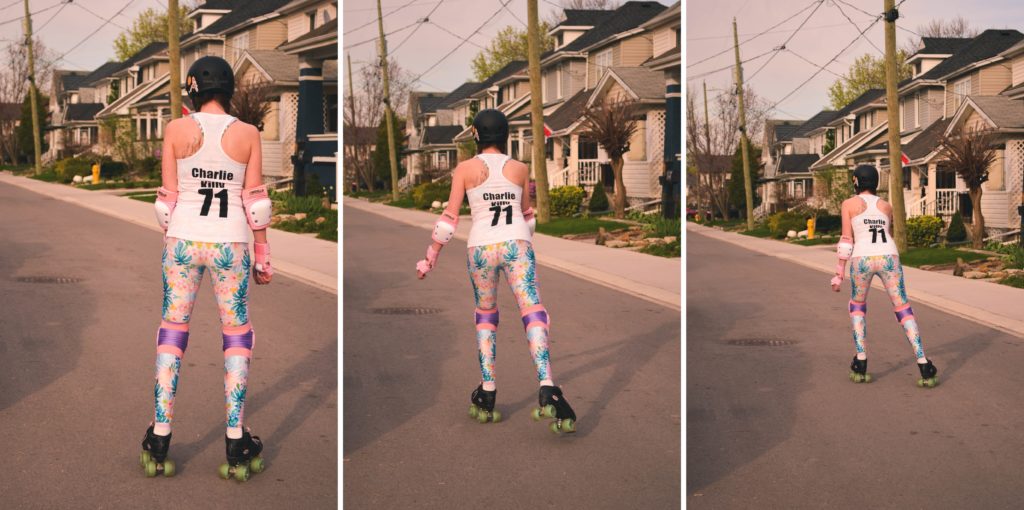
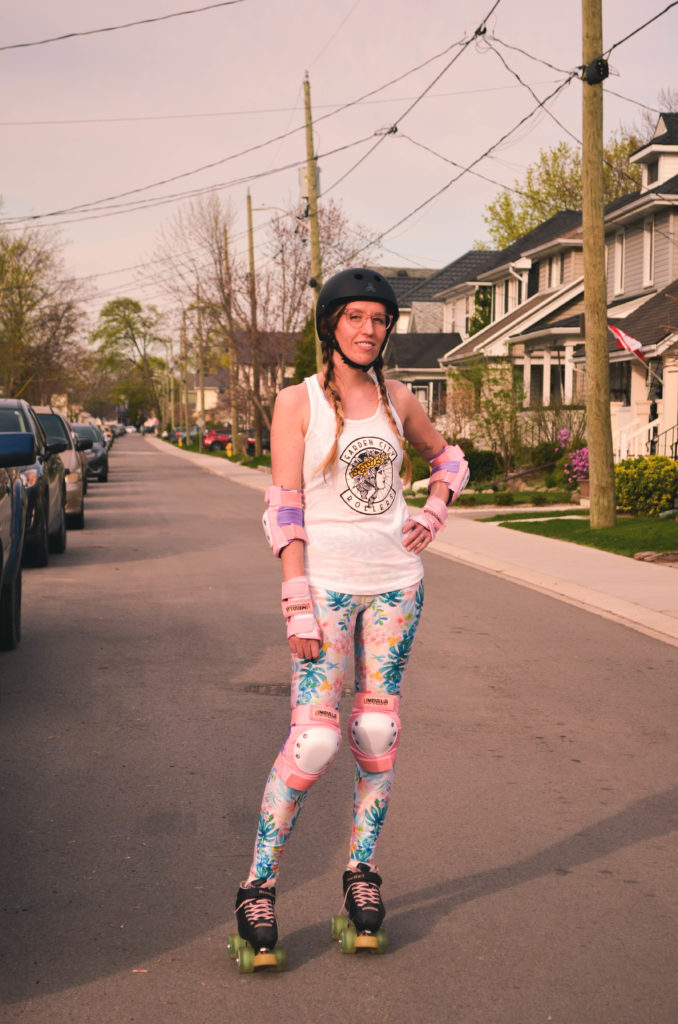
Last year, I started learning how to play roller derby. I had to invest in the gear so I couldn’t afford to give up my old top and cheap bottoms look just yet – I also wanted to make sure I was going to stick with new routine. This spring, after a year of intense weekly workouts, full contact scrimmages and lots of seasonal outdoor skating in my flimsy rags, I finally bought myself some cute, matching, well-made activewear.

Garden City | Sophster-Toaster

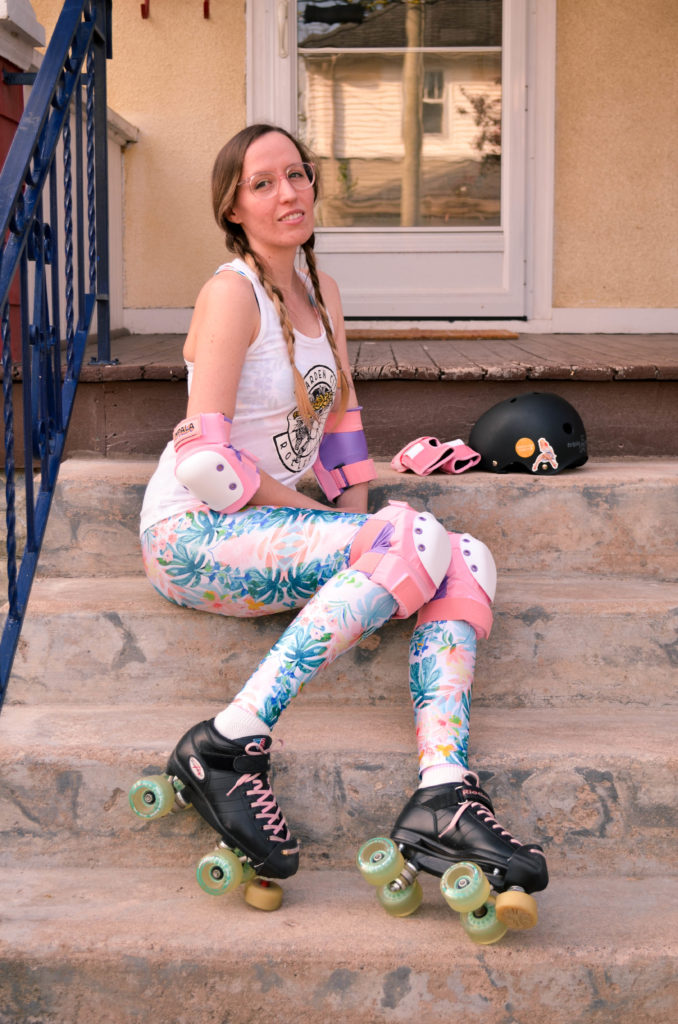
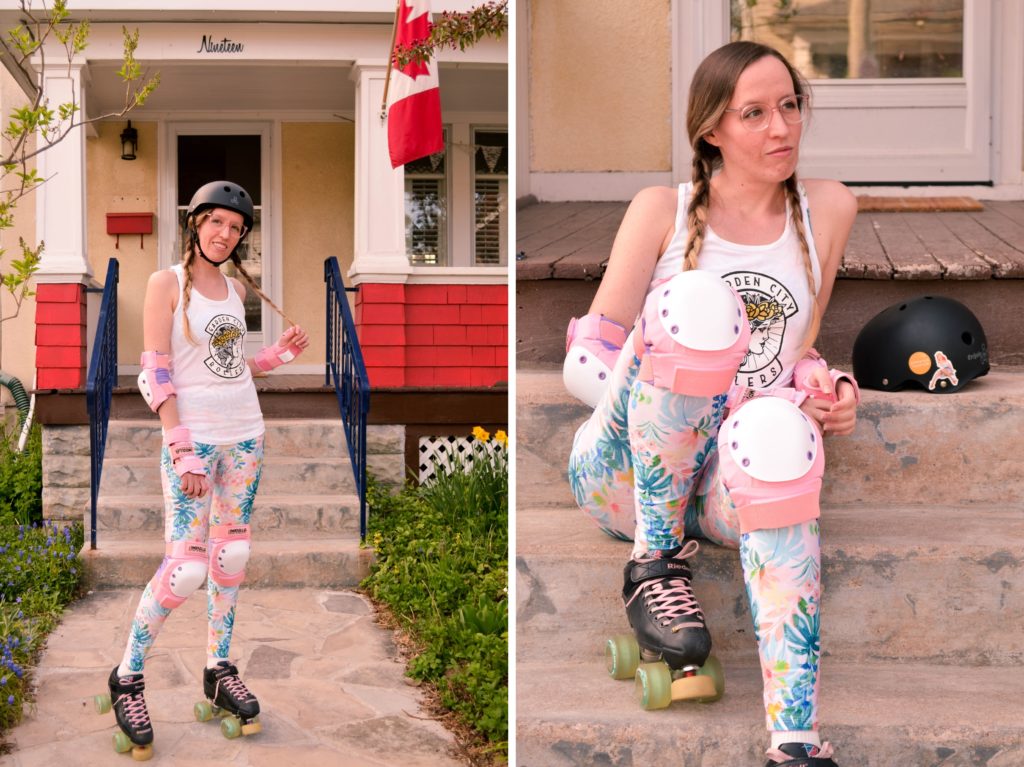
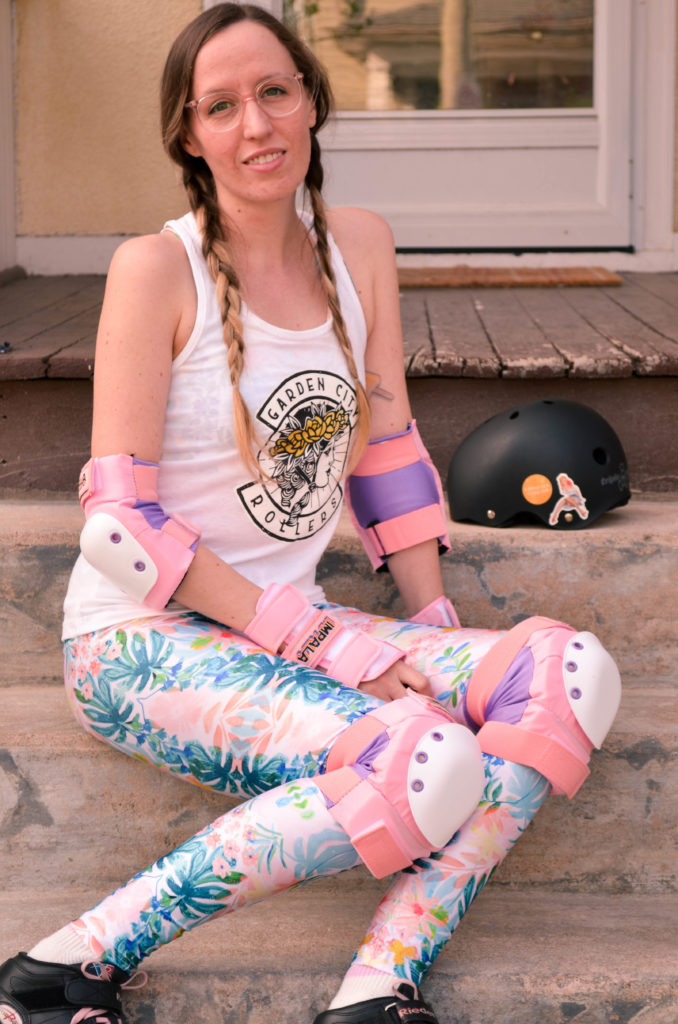
I was immediately drawn to the colours of these matching leggings and sports bra and then completely charmed by the garden print. They aren’t team colours, but they’re my colours – and I just adore that they are on theme for my team’s name. I also love that they are made in North America and come in a slew of beautiful prints for when I’m ready to add to my collection.

All I can do for now is skate around my neighbourhood in these gorgeous new duds, but I am so looking forward to wearing them to practices and games.

Garden City | Sophster-Toaster Garden City | Sophster-Toaster Garden City | Sophster-Toaster Garden City | Sophster-Toaster Garden City | Sophster-Toaster Garden City | Sophster-Toaster Garden City | Sophster-Toaster

Glasses Warby Parker
Leggings & Sports Bra Pineapple Clothing*
Protective Gear Impala Rollerskates

*Use coupon code “melihar” at checkout or click this link to get 20% off your own new spring activewear from Pineapple Clothing!

All photos by Matt Harrison.