Sophster-Toaster Shop Anniversary Giveaway

Today marks three full years since I opened the Sophster-Toaster shop. I’ve learned so much about myself, my craft and running a business since my first day that I sometimes feel like I’ve become an adult.

The past year has been very good to me. I’ve started selling my handmade clothing and accessories at Craft Arts Market in downtown St. Catharines; I’ve been able to turn my little dressmaking endeavour into a full time job; and I’ve meet some really neat customers, crafters and bloggers along the way. I think it’s time to celebrate.

I think a giveaway – a sweet prize pack including my most loved clothing and accessories of the year – will do nicely.

Sophster-Toaster Third Anniversary Giveaway

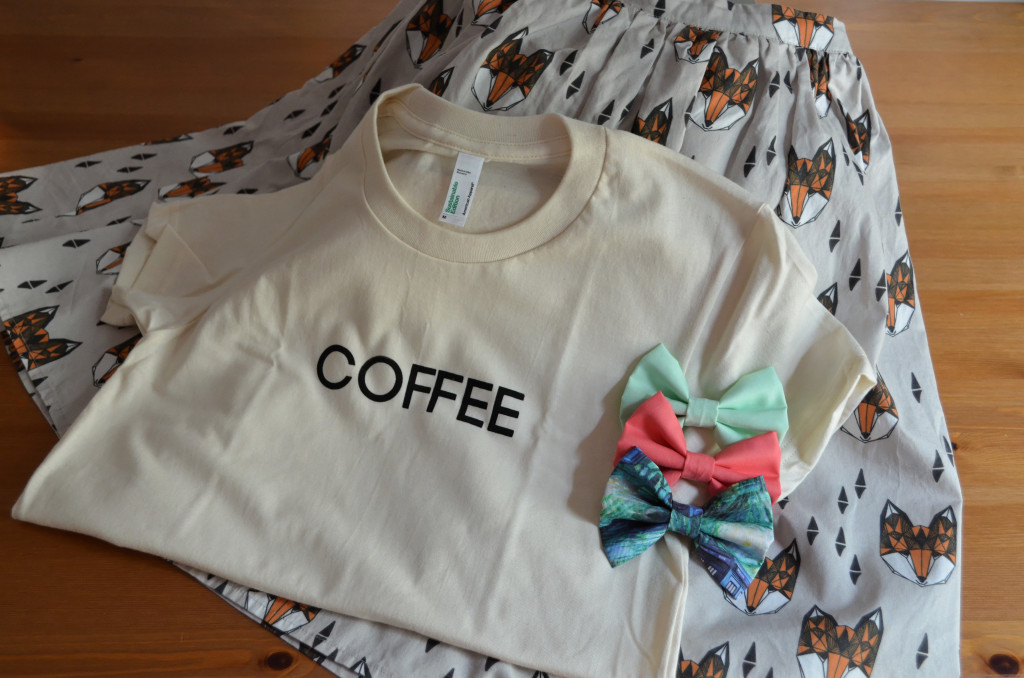
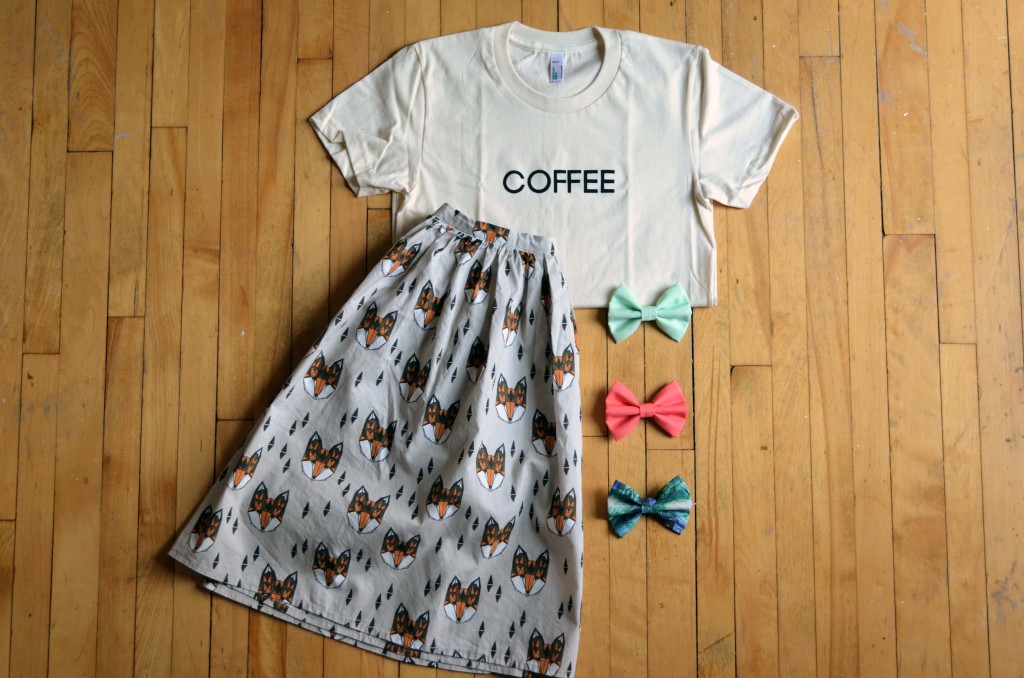
Want to win a Vixen Skirt, Coffee Tee, Mint Milkshake Bow, Coral Bow & Stitch in Time Bow prize pack valued at $96? Enter below!

a Rafflecopter giveaway

Skirt is available in sizes XS – XL and is also available in petite and tall sizes. T-shirt is available in women’s S – XL and men’s/unisex S – XL. Bows can be worn as hair clip or clip-on bow tie. All items are handmade by me and can be found in my shop at www.sophstertoaster.etsy.com.

The giveaway runs from Sunday, May 10, 2015 to Sunday, May 17, 2015 at midnight. The prize pack will ship for free to anywhere in the world! The lucky winner will be announced here, on the Sophster-Toaster Facebook page, on Twitter and contacted by email on Monday, May 18. Good Luck!

Sophster-Toaster Anniversary Giveaway

The Learning Curve

I recently realized that if one person – or two, or three – are asking for a custom item, there are probably scores of others who would also like this thing to exist. I don’t know why it takes me so long to learn these things, they seem so simple once I’ve figured them out.

A few of my friends started a smartphone app making business with the goal of growing it into a video game making business. They gave themselves a success deadline: if they didn’t have the funds to work on a game full time after about a year of trying, they would have to make it a hobby and pursue full time employment as a boring ol’ non-indie programmer with a cubicle and a health benefits package and all that gross, stable adult stuff. They didn’t succeed in the terms they laid out.

This has left me trying to rationalize and reconcile the knot between success and failure. I’ve always thought that anyone, reputed to be successful, who doesn’t admit that luck had at least a little to do with the way things worked out will be swiftly and severely punished for their hubris. Anyone who thinks it was all them, is a fool. And no one gets lucky on their first try. It seems the difference between successful people and everyone else is how afraid to fail they are and how many failures they have behind them. Successful people fail. They fail harder and more often than the average person, and that’s how they find success.

It took me a lot of tries to come up with designs that people responded to and a lot of time to learn that people will tell you exactly what they want – and even give you money – if you know how to listen. That’s how I winded up with some of my best selling designs.

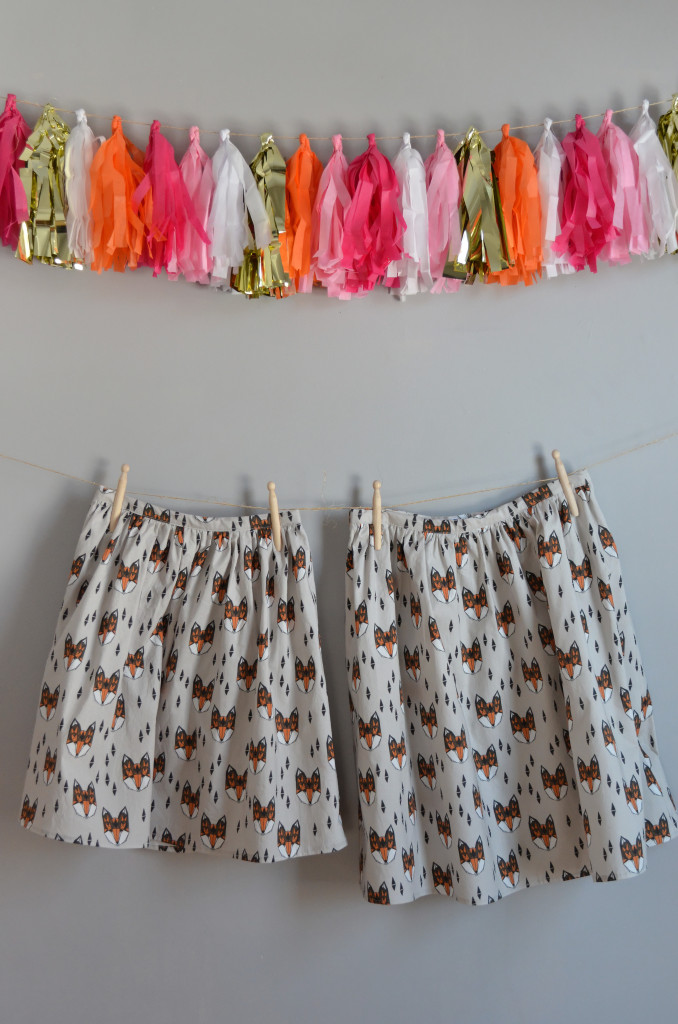
The Vixen Skirt \\ Sophster-Toaster

The Vixen Skirt in Long exists because someone loved the original but needed a longer length, and as it turned out, she wasn’t alone.

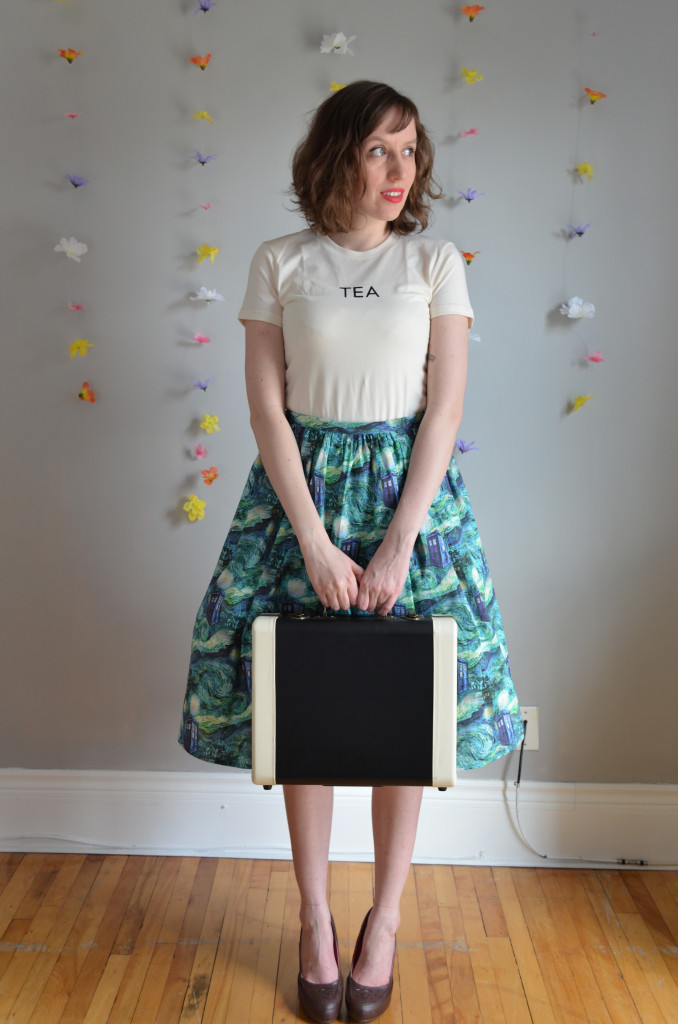
The Stitch in Time Skirt \\ Sophster-Toaster

The Stitch in Time Skirt exists because someone needed a size that could not be accommodated in the dress version, because someone loved the fabric and silhouette but needed a lower cost alternative, because someone just plain prefered skirts, and because I learned to listen.

Every time I feel successful, I have to redefine success and set harder goals because I’m one of those people who isn’t inspired or motivated by success. I need to keep falling to get higher.

Tee: Sophster-Toaster // Skirt: Sophster-Toaster // Petticoat: ModCloth // Shoes: ModCloth (old) // Record Player: Amazon

Garden Party

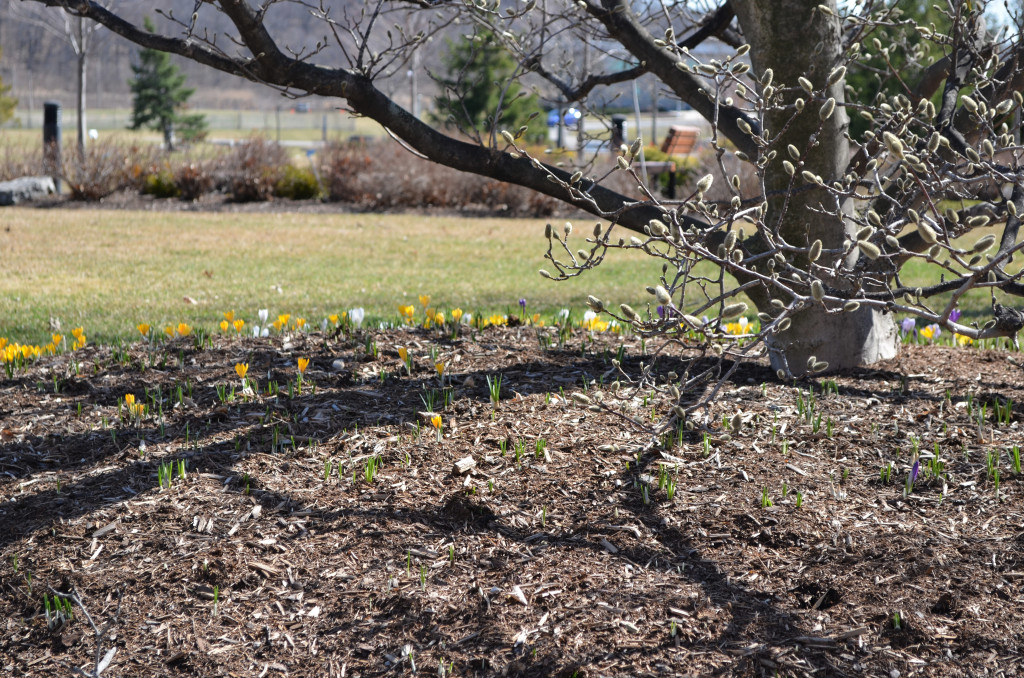
Last Saturday happened to be my husband’s birthday and the local college’s annual craft beer festival held to honour the teaching brewery’s graduation class. We spent the first day that was both warm and sunny outdoors sampling the students’ final assignment recipes, as well as some seasonal craft beer from local breweries.

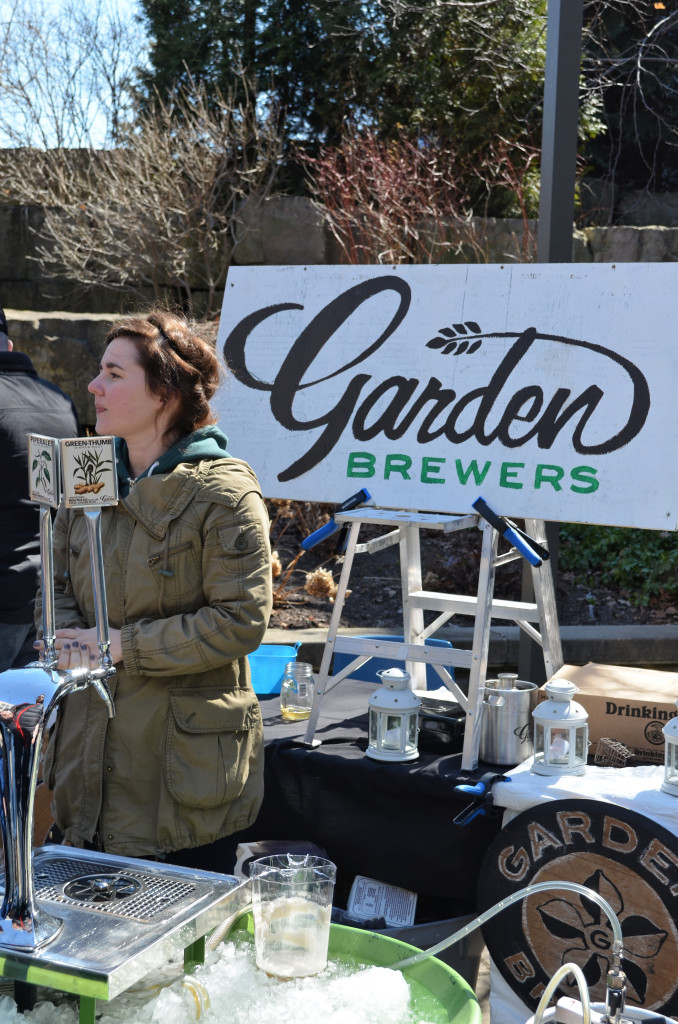
NC Beer FestivalGarden Brewers NC Beer Festival

Garden Brewers quickly became my new favourite. Their PiperAles, a smoked, black pepper amber ale, and Green-Thumb, an IPA with ginger, were unlike anything I’ve ever tasted before. My friends weren’t as into the ginger as I was – I think it was a bit too strong tasting for them –  but I loved it; it tasted like an entire garden and filled me with nostalgia, the same way smelling tomato stalks and basil bushes together always reminds me of summers past.

I wore a new dress that I picked up at a spring sale back when it was still winter, layered with some stay-warm pieces.

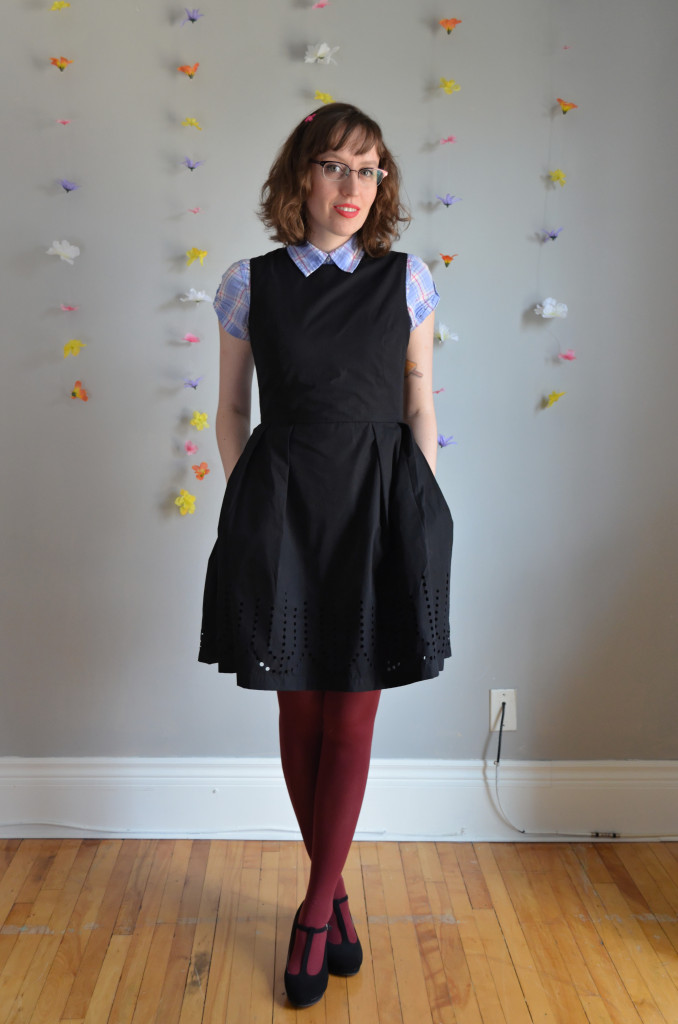
Early Spring Garden Party \\ Sophster-Toaster

Dress: Gap // Top: H&M (old) // Tights: Target // Shoes: ModCloth // Hair Clip: so old, I think it’s vintage now

We came home and grilled some steaks that were gifted by a friend. My husband said he would “do mushrooms and onions” and we all had a good laugh. All-in-all, a very good day.

DIY Bounce Board

The defining challenge that separates the novice photographer from the skilled hobbyist or professional lies in making the switch from flash to natural light. Anyone can invest in expensive equipment but that fancy camera body or editing software can only take you so far before you learn the limitations and exploitable facets of natural light sources.

I find that photographing in natural, diffused daylight is especially important when it comes to Etsy listing photos. The colour, texture and three-dimensional shape of your hand-crafted items need to be accurately represented in every photo – nobody likes surprises when it comes to shopping online. Most new Etsians seem to go through the same learning curve when they take their first leaps into product photography. They start like I did, photographing things in an unused corner of a tiny apartment; the lighting isn’t great and the space and budget are limited so they use the on-board flash to light the tightly cropped scene, resulting in a brightly coloured but visually unappealing image. Next, they think they can solve every problem by moving to the exact opposite end of the lighting spectrum and taking things outdoors… into direct, harsh sunlight. Now they’ve got an image with high contrast where everything is a weird, warm yellowy-orange, casts a dark black shadow and makes your colour correction software cry. Eventually all serious Etsy sellers will figure out which lighting conditions work best, when and where they occur during the course of the day and year, and then, someday, how to tweak and tinker with the light to take full advantage of everything it’s got.

I am at the tweaking and tinkering phase. The budget is still low, as I’m sure it is with most people who are trying to get a small business off the ground, so I don’t have a sticky wad of cash to through at every photography tool that I decide I need. I’d rather save that for the important things like lenses and a sturdy tripod that won’t fall over and break those shiny new lenses. This is where DIYs come in.

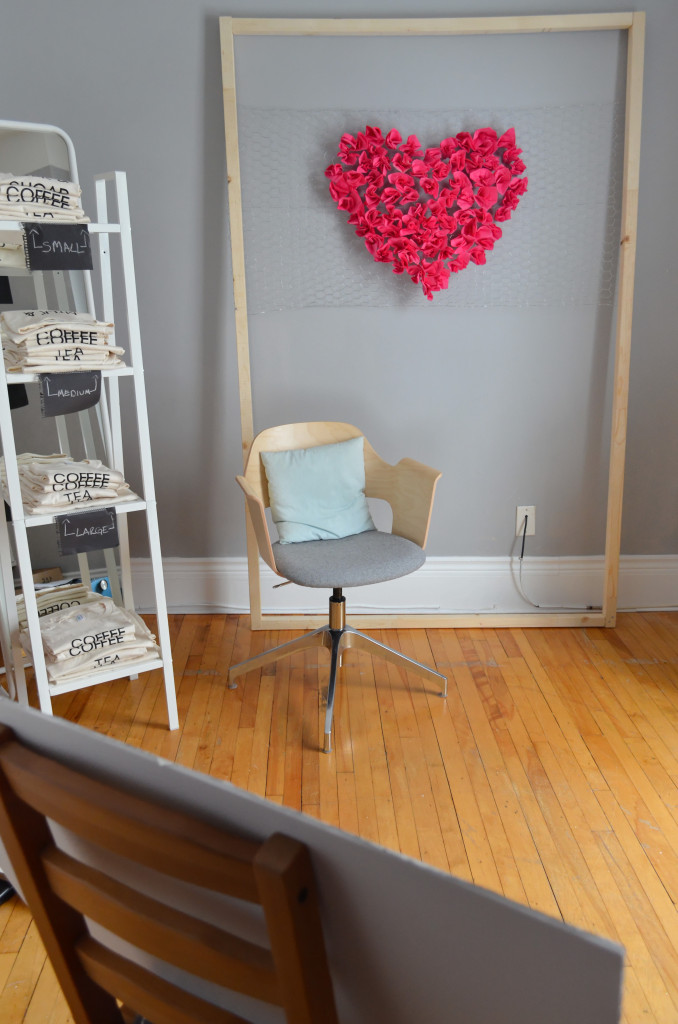
I recently made a quick and cheap DIY bounce board to solve a problem I’d been frequently coming up against: my apartment, though it has many floor to ceiling windows, only has windows on one side of each room, and the rooms that I photograph in most, the kitchen and my office/studio, only have one skinny window each. I found it was hard to adequately light a scene without one side being washed out by being closer to the single light source. I wasn’t ready to invest in an professional quality artificial light source, so I needed something to help bounce the light around the room. This DIY bounce board did the trick and now I don’t take a single shot without it. Here’s how I made it:
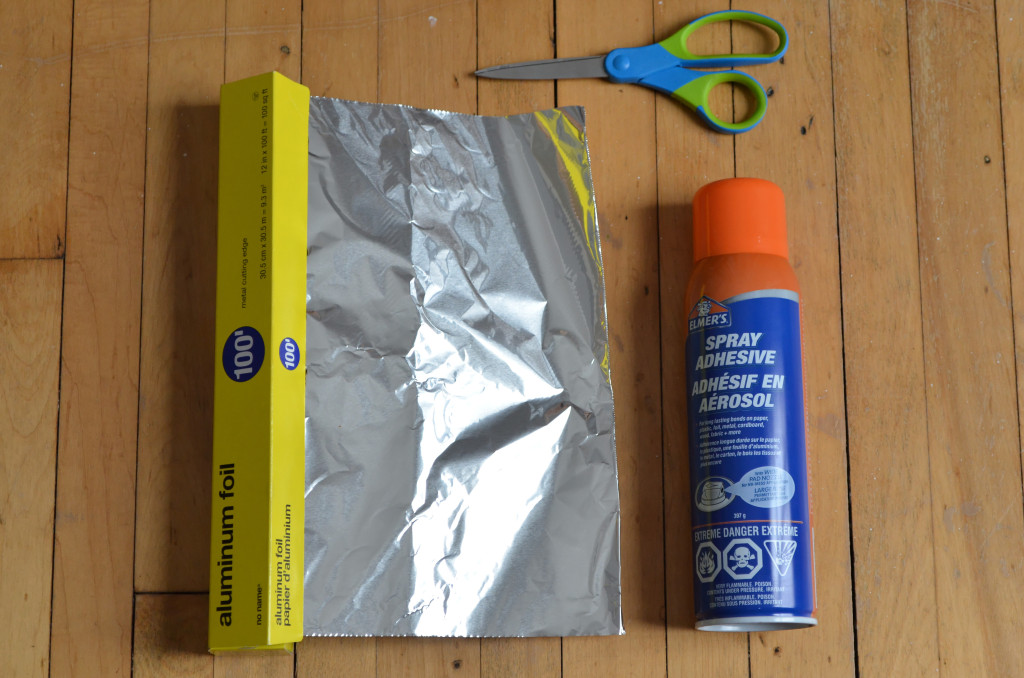

Photography Bounce Board DIYFoam Board Foam Board

Materials

  1. aluminum foil
  2. spray adhesive
  3. scissors
  4. foam board (white)

Photography Bounce Board DIY

How to

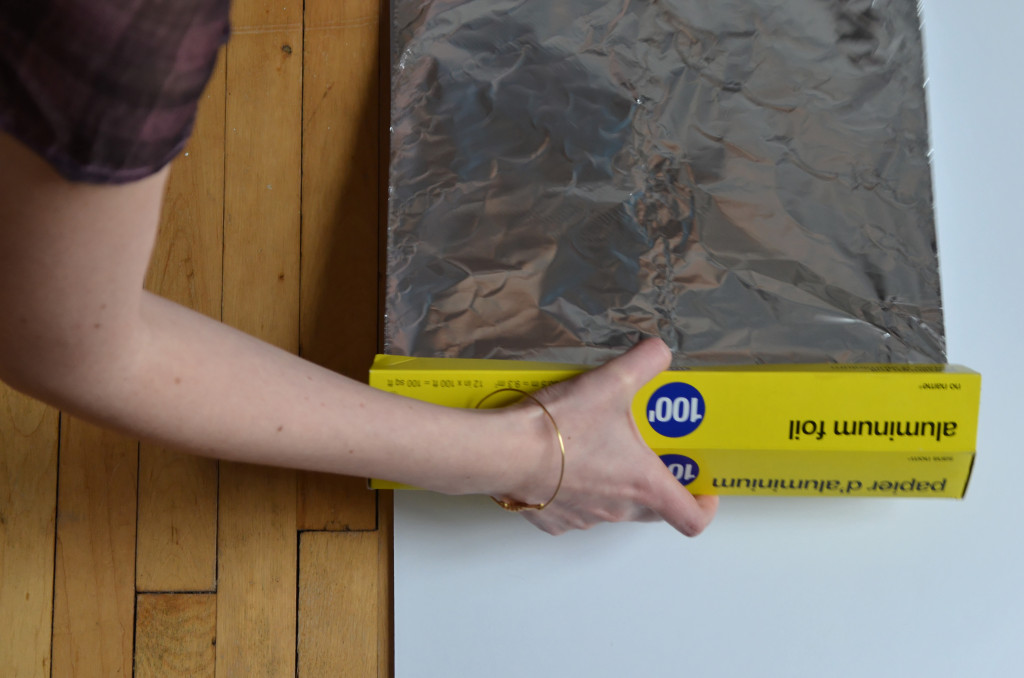
Measure and cut the lengths of aluminum foil needed to cover one side of the foam board – we’ll leave the other side white so we can have a double sided bounce board to better control the light intensity.

Spray one side of the foam board with spray adhesive, following the manufacturers instructions.

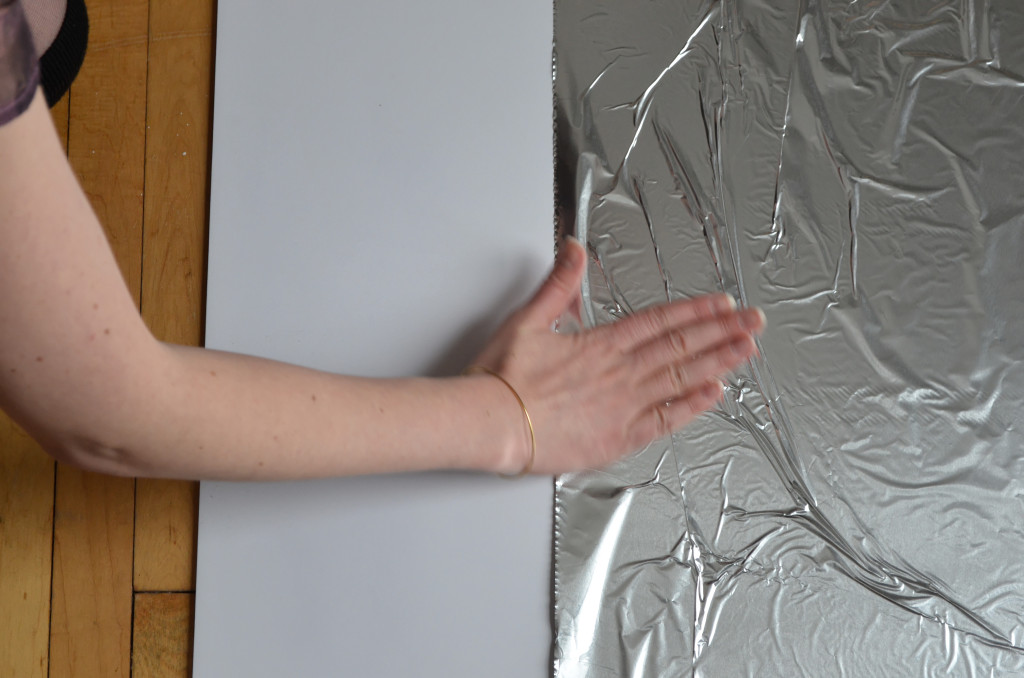
Carefully smooth the sheets of aluminum foil over the tacky (glue) side of the foam board. Trim the excess.
Photography Bounce Board DIY

Then just set up where ever you can best catch the light. I’ve been propping it up on chairs, leaning it against my tripod and wedging it in closet doorways.
Photography Bounce Board DIY