Garden Party

Last Saturday happened to be my husband’s birthday and the local college’s annual craft beer festival held to honour the teaching brewery’s graduation class. We spent the first day that was both warm and sunny outdoors sampling the students’ final assignment recipes, as well as some seasonal craft beer from local breweries.

NC Beer FestivalGarden Brewers NC Beer Festival

Garden Brewers quickly became my new favourite. Their PiperAles, a smoked, black pepper amber ale, and Green-Thumb, an IPA with ginger, were unlike anything I’ve ever tasted before. My friends weren’t as into the ginger as I was – I think it was a bit too strong tasting for them –  but I loved it; it tasted like an entire garden and filled me with nostalgia, the same way smelling tomato stalks and basil bushes together always reminds me of summers past.

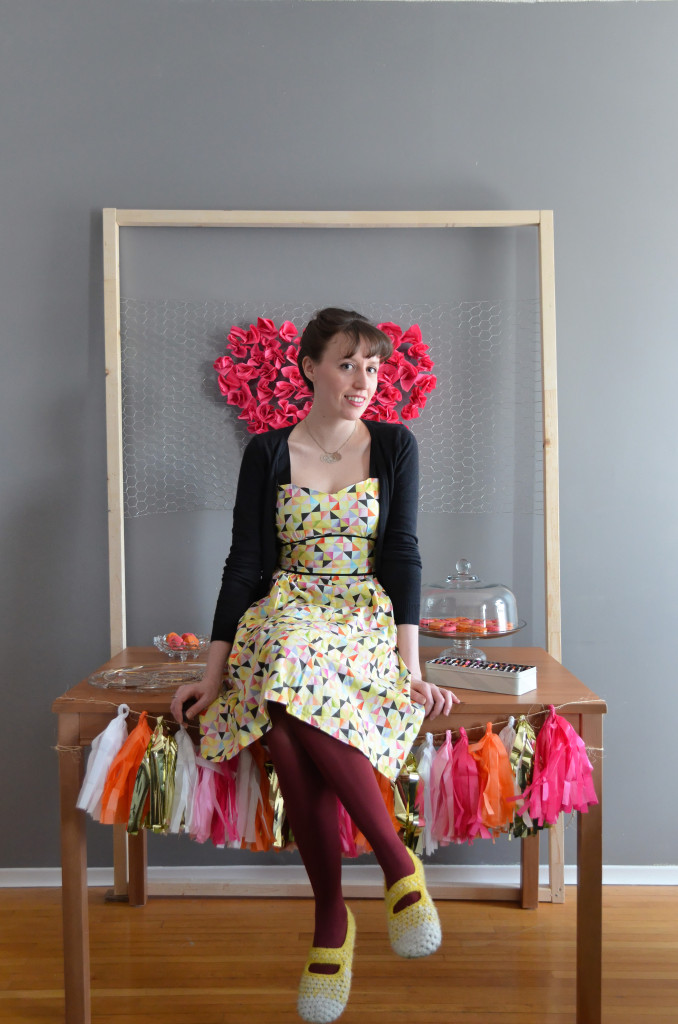
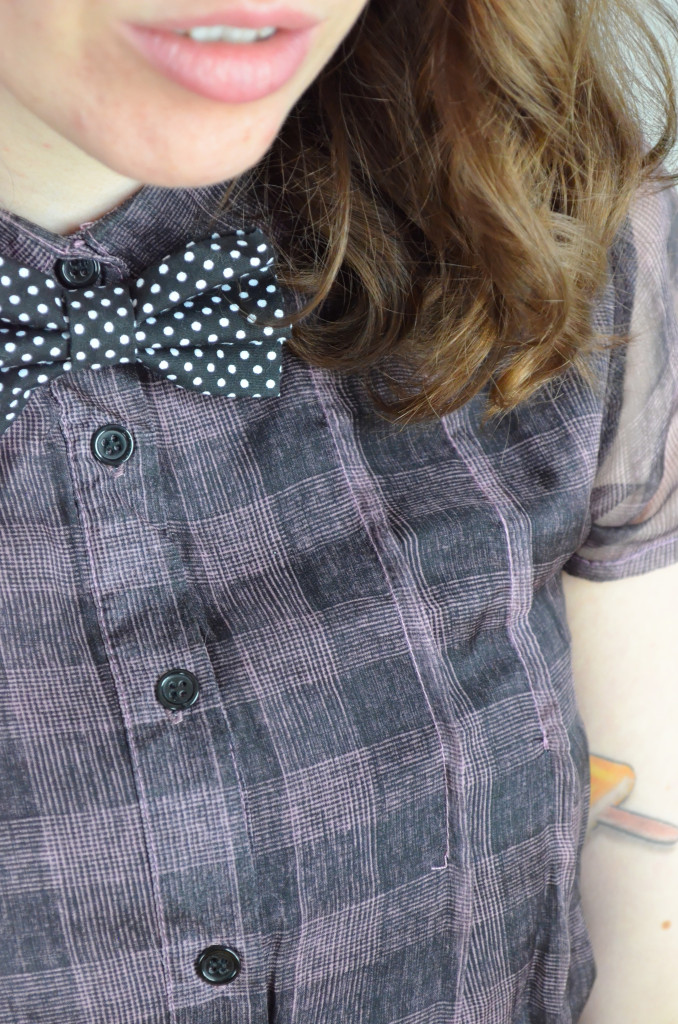
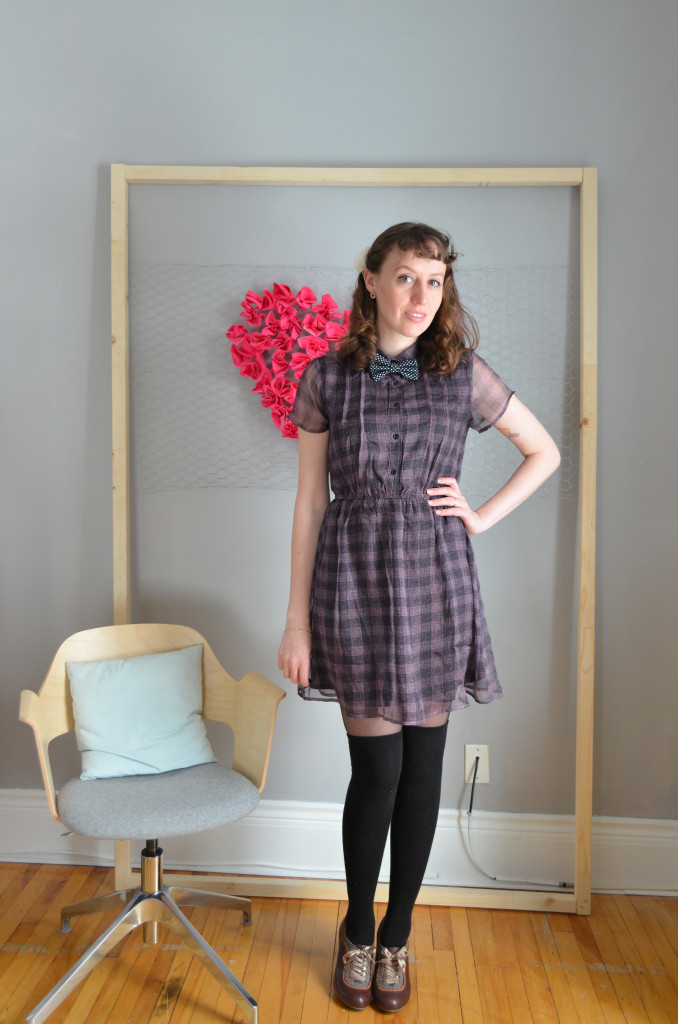
I wore a new dress that I picked up at a spring sale back when it was still winter, layered with some stay-warm pieces.

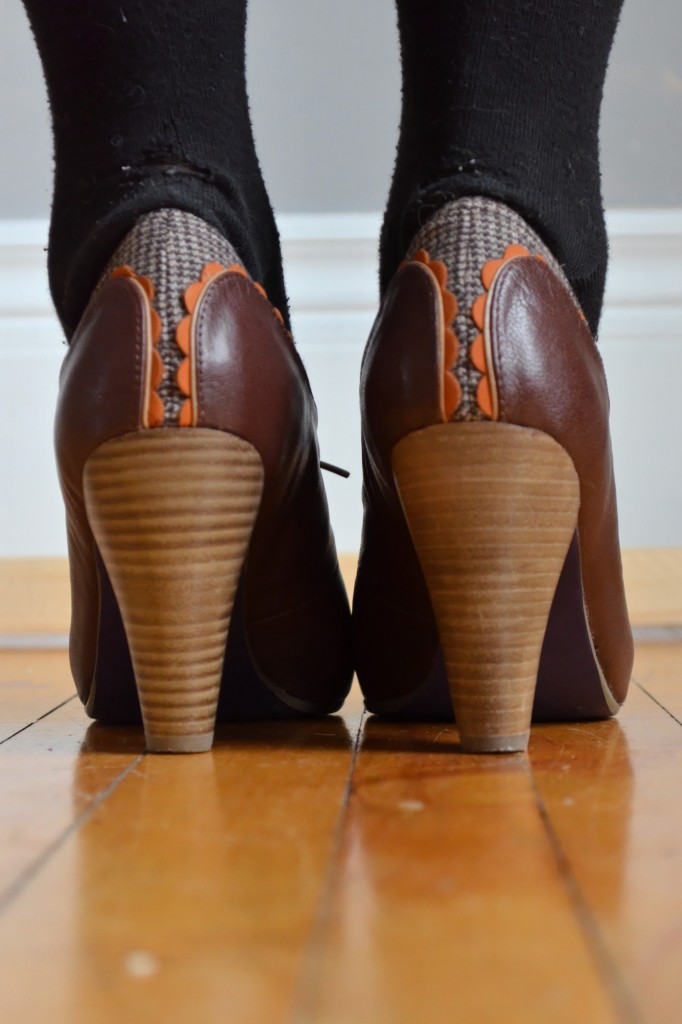
Early Spring Garden Party \\ Sophster-Toaster

Dress: Gap // Top: H&M (old) // Tights: Target // Shoes: ModCloth // Hair Clip: so old, I think it’s vintage now

We came home and grilled some steaks that were gifted by a friend. My husband said he would “do mushrooms and onions” and we all had a good laugh. All-in-all, a very good day.

DIY Bounce Board

The defining challenge that separates the novice photographer from the skilled hobbyist or professional lies in making the switch from flash to natural light. Anyone can invest in expensive equipment but that fancy camera body or editing software can only take you so far before you learn the limitations and exploitable facets of natural light sources.

I find that photographing in natural, diffused daylight is especially important when it comes to Etsy listing photos. The colour, texture and three-dimensional shape of your hand-crafted items need to be accurately represented in every photo – nobody likes surprises when it comes to shopping online. Most new Etsians seem to go through the same learning curve when they take their first leaps into product photography. They start like I did, photographing things in an unused corner of a tiny apartment; the lighting isn’t great and the space and budget are limited so they use the on-board flash to light the tightly cropped scene, resulting in a brightly coloured but visually unappealing image. Next, they think they can solve every problem by moving to the exact opposite end of the lighting spectrum and taking things outdoors… into direct, harsh sunlight. Now they’ve got an image with high contrast where everything is a weird, warm yellowy-orange, casts a dark black shadow and makes your colour correction software cry. Eventually all serious Etsy sellers will figure out which lighting conditions work best, when and where they occur during the course of the day and year, and then, someday, how to tweak and tinker with the light to take full advantage of everything it’s got.

I am at the tweaking and tinkering phase. The budget is still low, as I’m sure it is with most people who are trying to get a small business off the ground, so I don’t have a sticky wad of cash to through at every photography tool that I decide I need. I’d rather save that for the important things like lenses and a sturdy tripod that won’t fall over and break those shiny new lenses. This is where DIYs come in.

I recently made a quick and cheap DIY bounce board to solve a problem I’d been frequently coming up against: my apartment, though it has many floor to ceiling windows, only has windows on one side of each room, and the rooms that I photograph in most, the kitchen and my office/studio, only have one skinny window each. I found it was hard to adequately light a scene without one side being washed out by being closer to the single light source. I wasn’t ready to invest in an professional quality artificial light source, so I needed something to help bounce the light around the room. This DIY bounce board did the trick and now I don’t take a single shot without it. Here’s how I made it:

Photography Bounce Board DIYFoam Board Foam Board

Materials

  1. aluminum foil
  2. spray adhesive
  3. scissors
  4. foam board (white)

Photography Bounce Board DIY

How to

Measure and cut the lengths of aluminum foil needed to cover one side of the foam board – we’ll leave the other side white so we can have a double sided bounce board to better control the light intensity.

Spray one side of the foam board with spray adhesive, following the manufacturers instructions.

Carefully smooth the sheets of aluminum foil over the tacky (glue) side of the foam board. Trim the excess.

Photography Bounce Board DIY

Then just set up where ever you can best catch the light. I’ve been propping it up on chairs, leaning it against my tripod and wedging it in closet doorways.

Photography Bounce Board DIY

Enjoy Winter, While You Can

The other day, someone wrote into the radio station I was listening to to say, “winter’s almost over, enjoy it while you can”. It seemed like one of the most alien concepts a Canadian could encounter at the end of a particularly harsh February. It was in direct opposition to everything I had seen while wandering the Internet as I ate my breakfast. I had scrolled past three individual text-over-image posts conveying nothing other than, hey guys, remember bonfires? with thousands of likes each, an ad announcing that spring styles are in stores now!, a recipe for a summer cocktail, 11 Reasons Why We Hate Vancouver Right Now, and several other reminders of how much North America hates winter only a few hours earlier.

After my second year of trying, obstinately, to create an appreciation of winter so I could trick myself into liking it, thereby mitigating my winter sadness, I found this stranger’s words incredibly inspiring. It’s -12°C right now, -20°C with the windchill, but the sun is out and shining through the icicles that hang from every building in the city, the sky is that bright, crisp blue the you only get to see when it’s too cold to snow, the rich, dark brown branches of the bare trees are silhouetted against streets and houses covered in a downy blanket of blindingly bright white snow, I’m wearing a cardigan several sizes too big for me because I stole it from my husband’s side of the closet and I’m happy.

I think a huge part of embracing winter is getting out of the house, by choice, on days like these and spending some time soaking it all in. That’s why when my husband asked me what I wanted to do for my birthday this year, I said “go to the beach”.

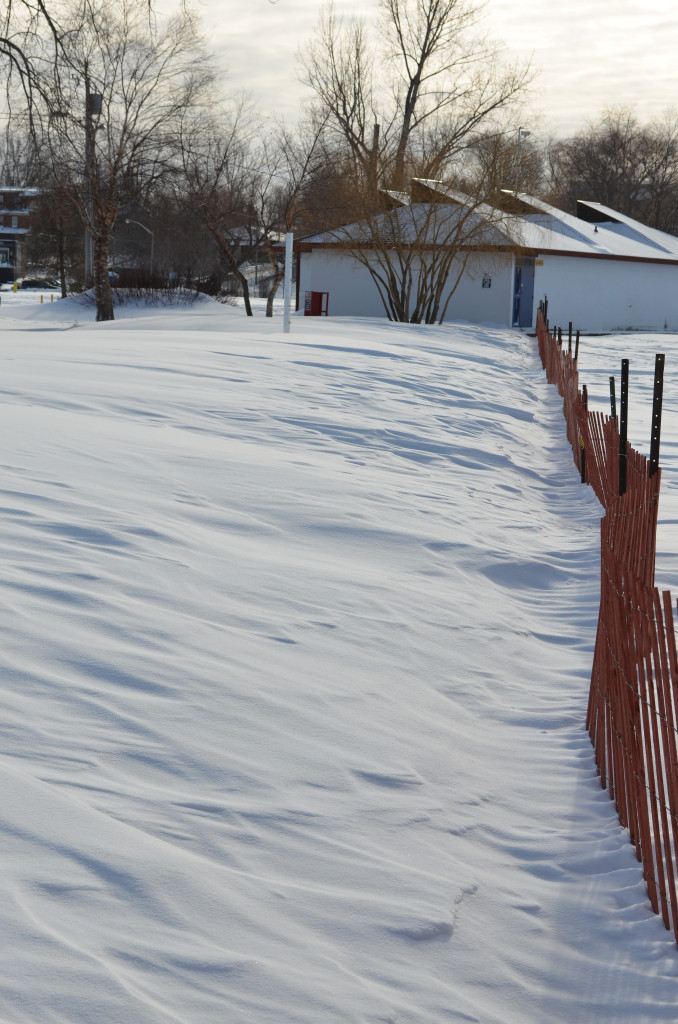
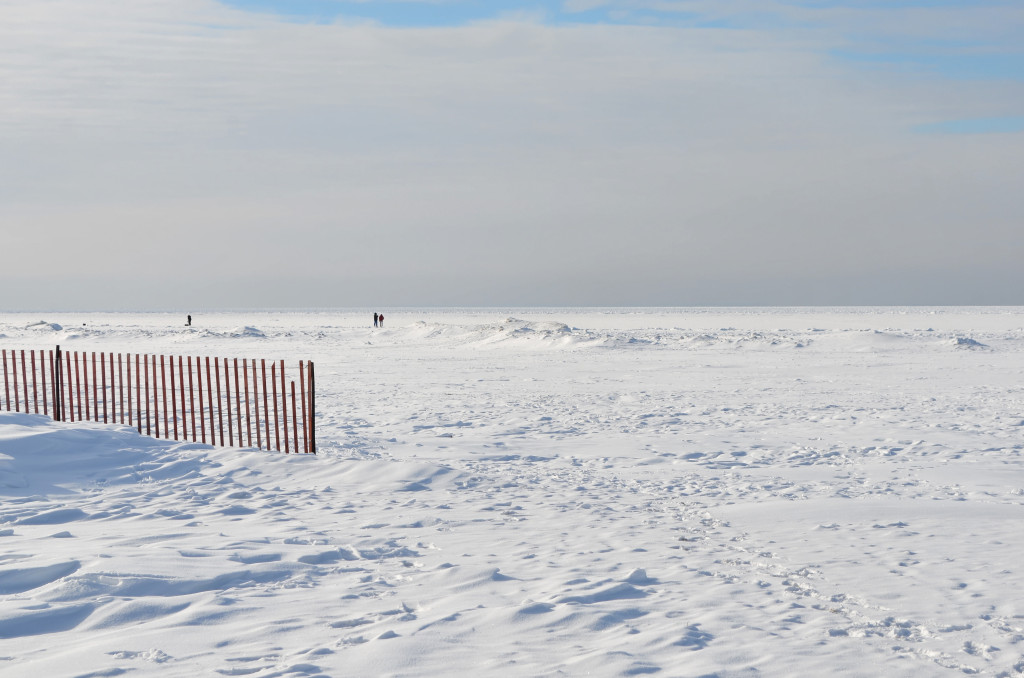
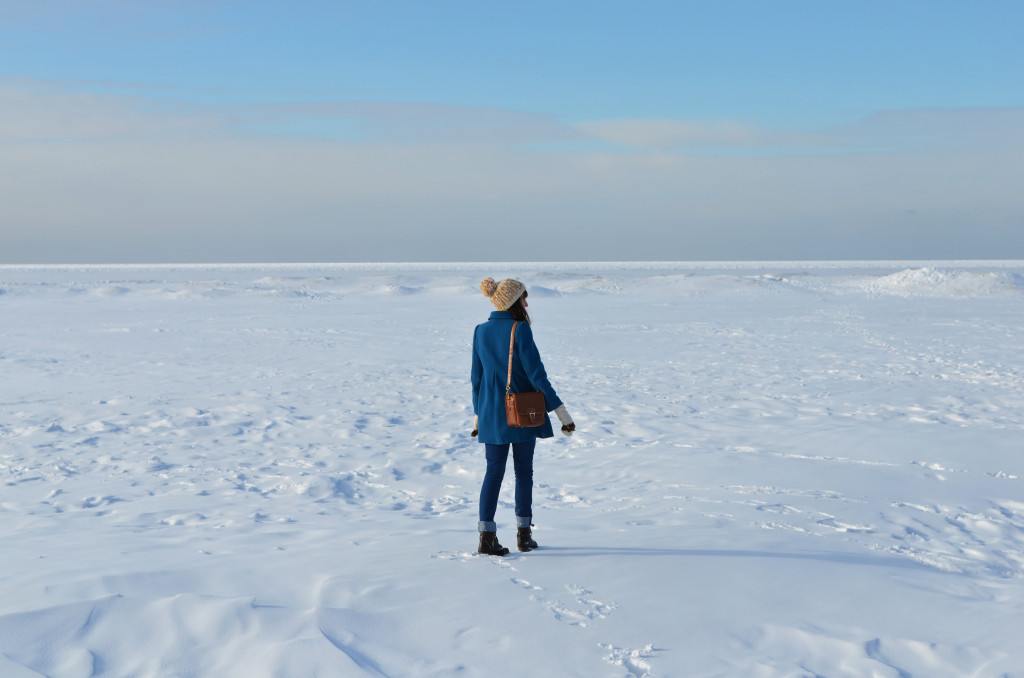
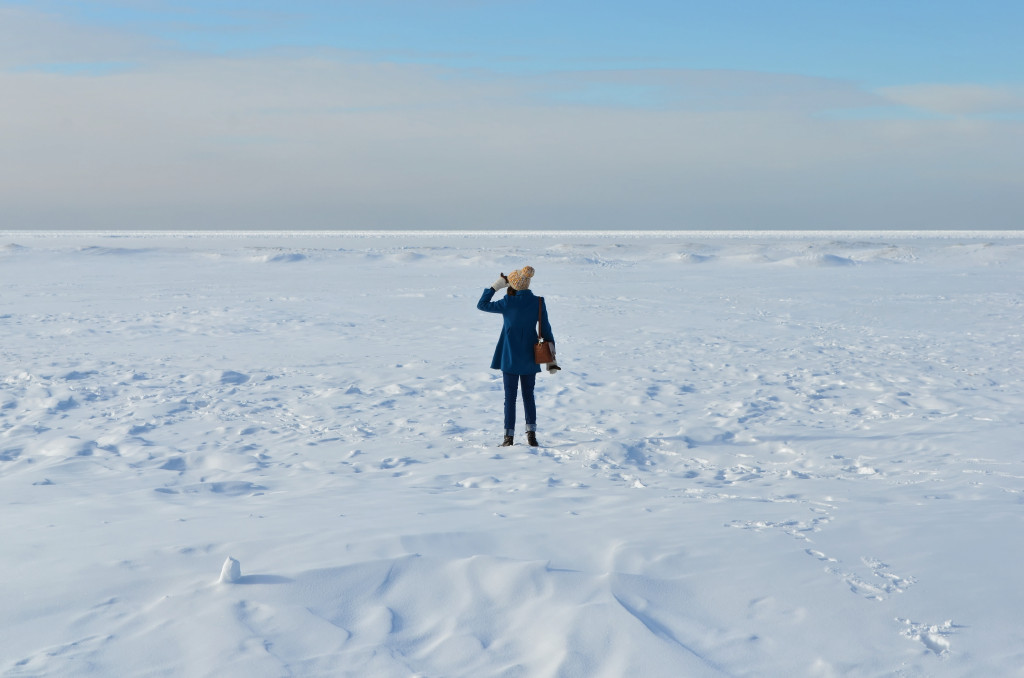
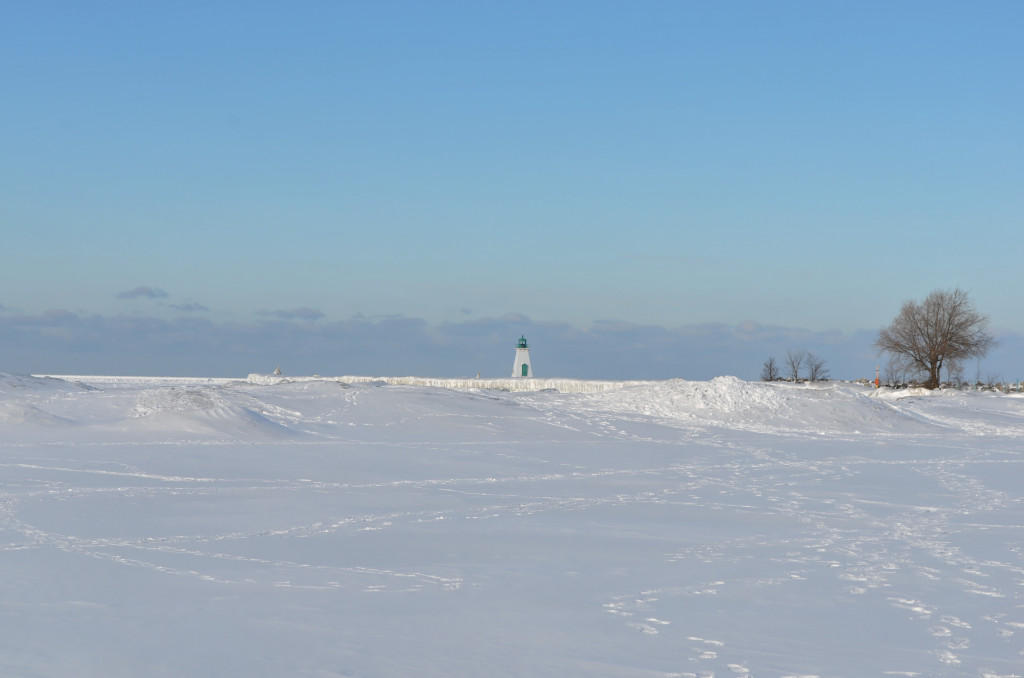
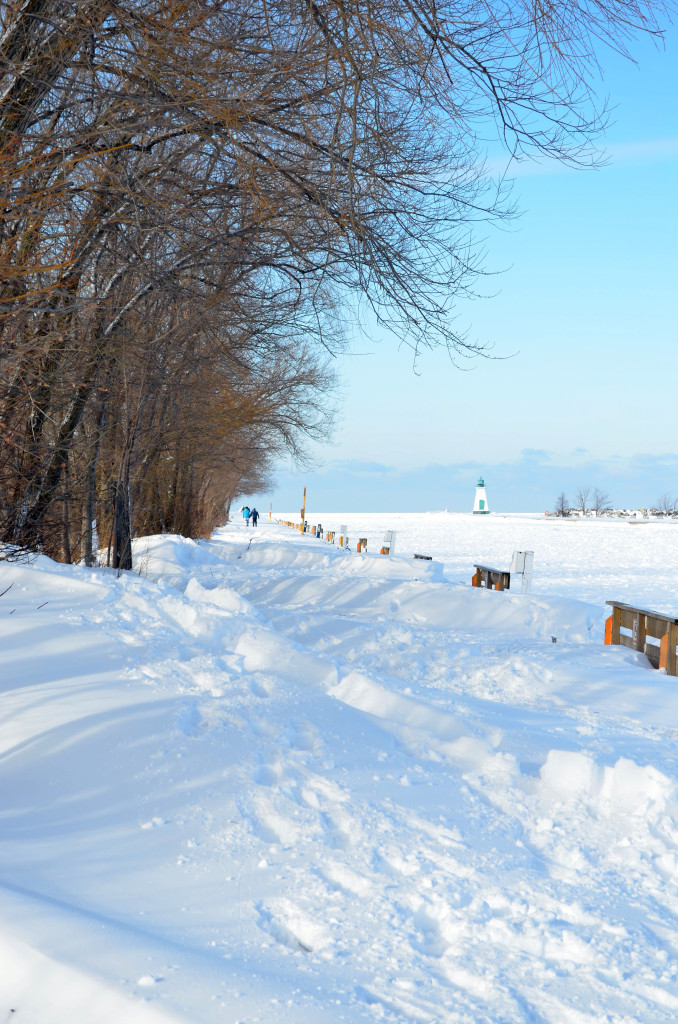
Beach in Winter Winter Beach - Port Dalhousie, St. Catharines

I didn’t grow up near the beach so driving across the city just to see some frozen water was quite novel and exhilarating for me. My friends couldn’t understand why I would do such a thing.

Port Dalhousie Beach in Winter - St. Catharines, Ontario, CanadaEnjoy WinterWalking on Lake OntarioFrozen Waves at the Port Dalhousie Lighthouse

It was quiet. The carousal was boarded up for winter, the obnoxiously buff volley ball guys were gone and there wasn’t a single family reuniting over hot dogs. It was just us, the birds, a few people playing hockey out on the ice and a handful of other couples in the know. It was cold, otherworldly and beautiful.

Pier and Marina in Winter

Valentine’s Day Birthday, Part II

At 27 years old, I still get excited about growing up and getting older. I’m the only adult I know who celebrates every added year with the enthusiasm and anticipation of a child still counting the years on one hand. I make sure all of my friends are seriously aware of my continued aging.

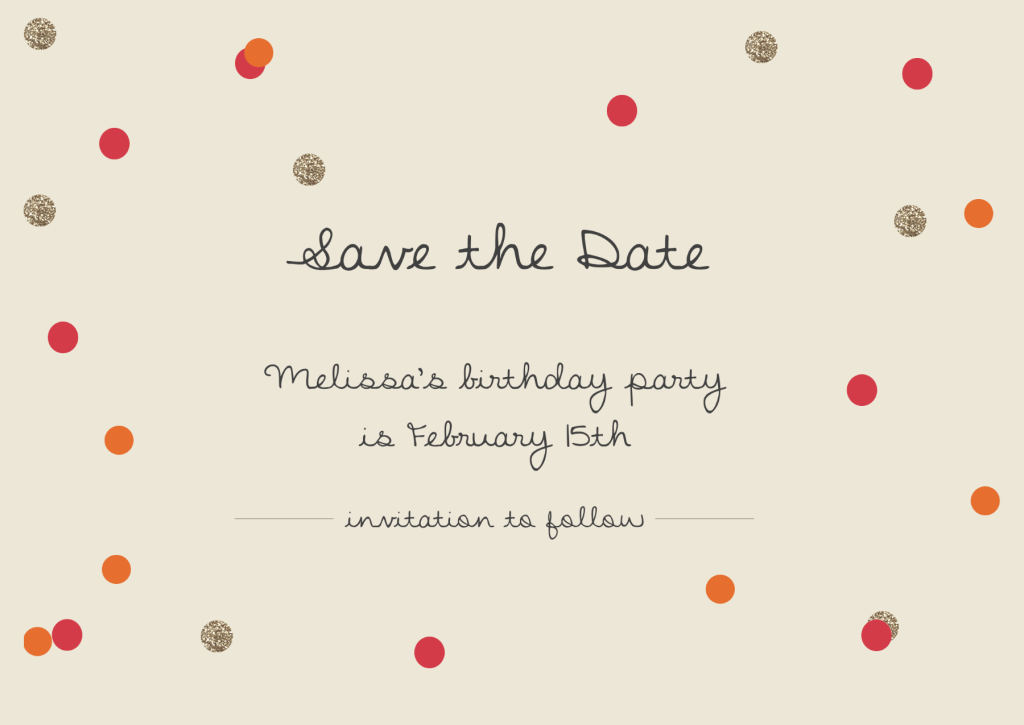
Save the Date

These go out in January, by the way.

I plan a party with enough food, games and long-distance guests to get my friends out of their homes and into mine on a cold night in the middle of February, when there’s almost always some sort of weather advisory (this year it was an extreme cold warning, what fun!).

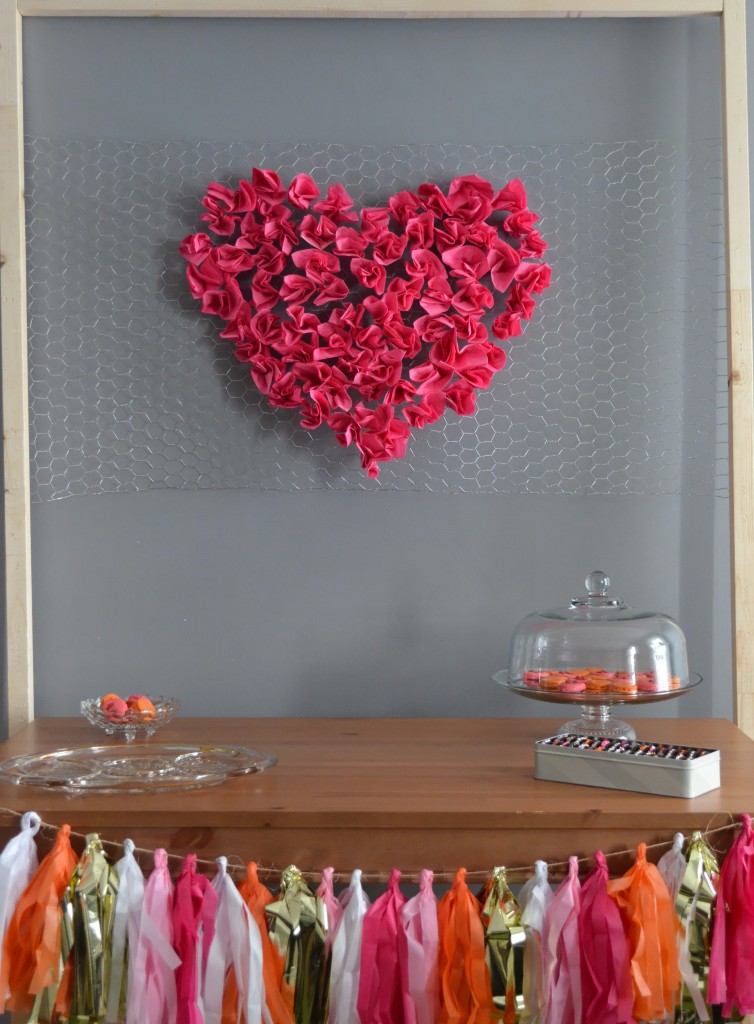
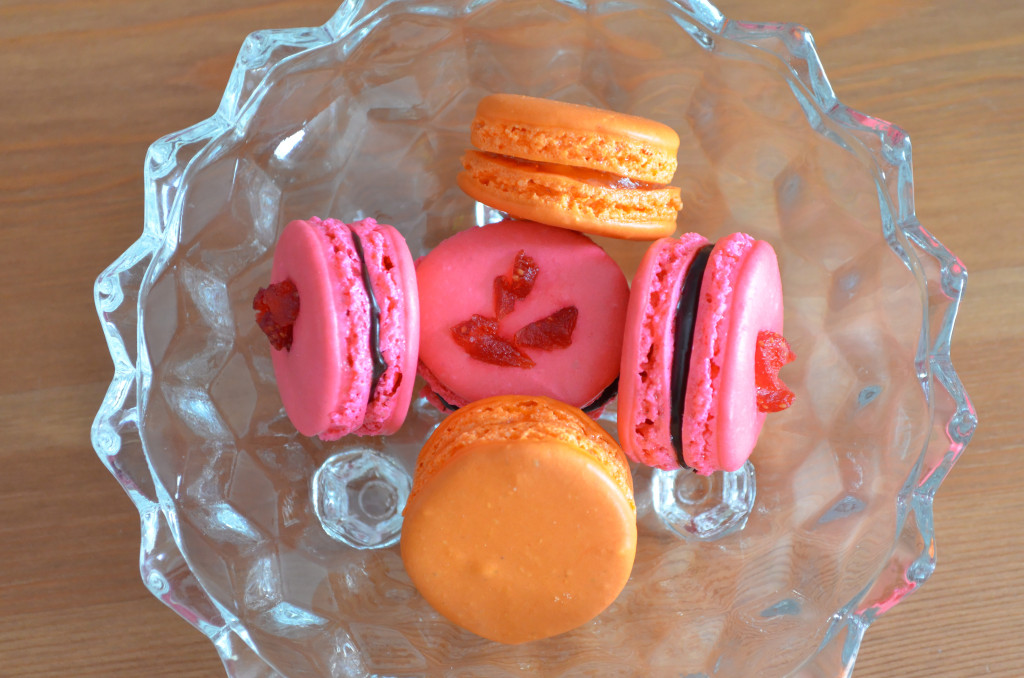
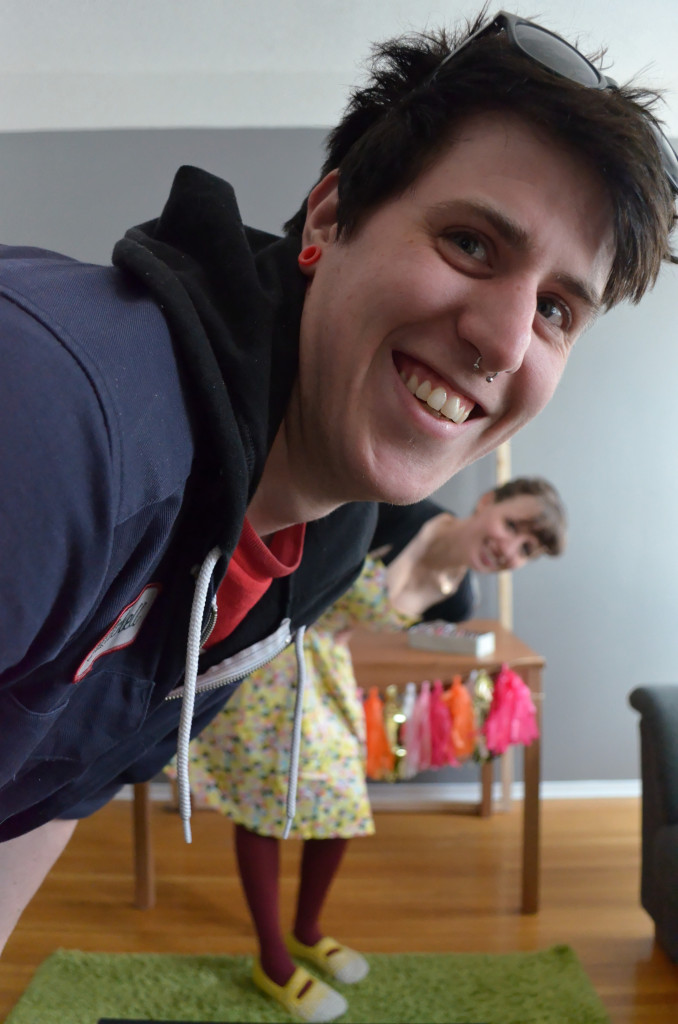
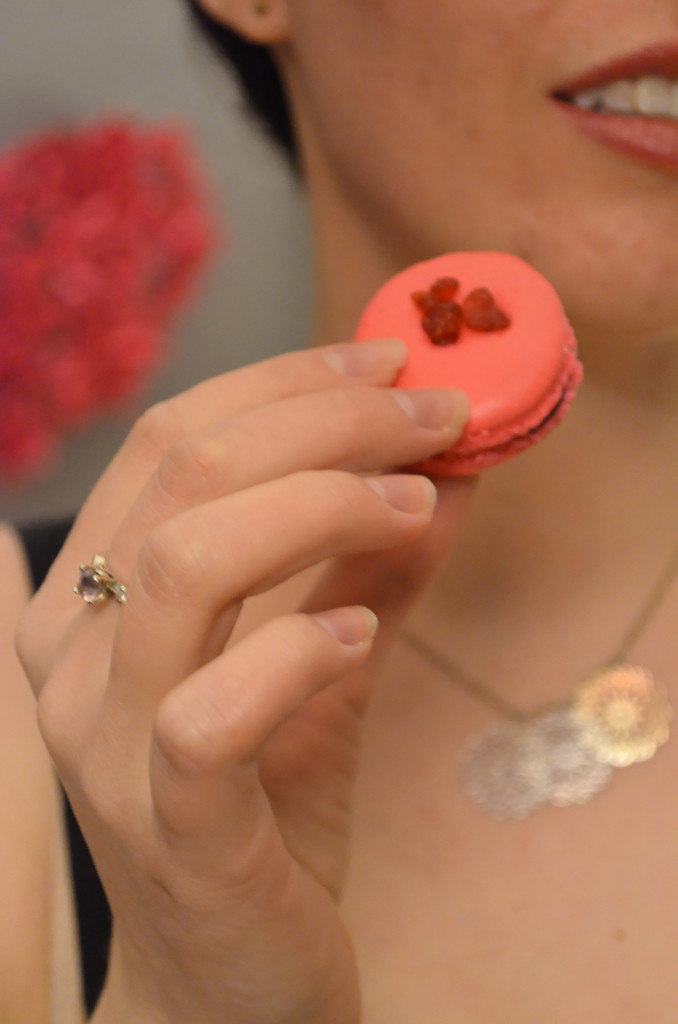
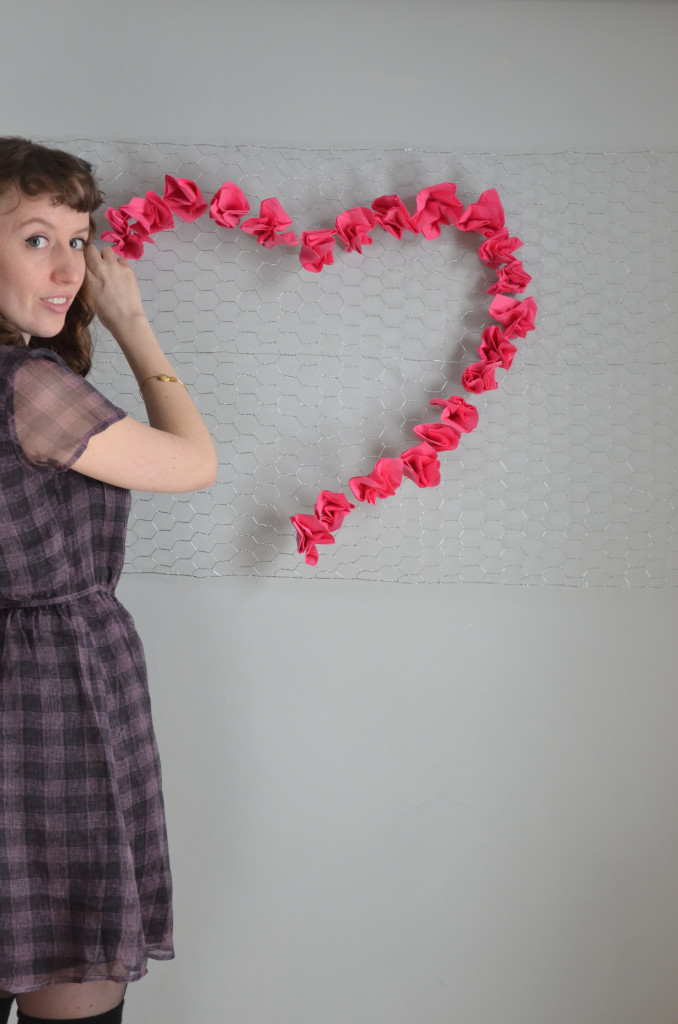
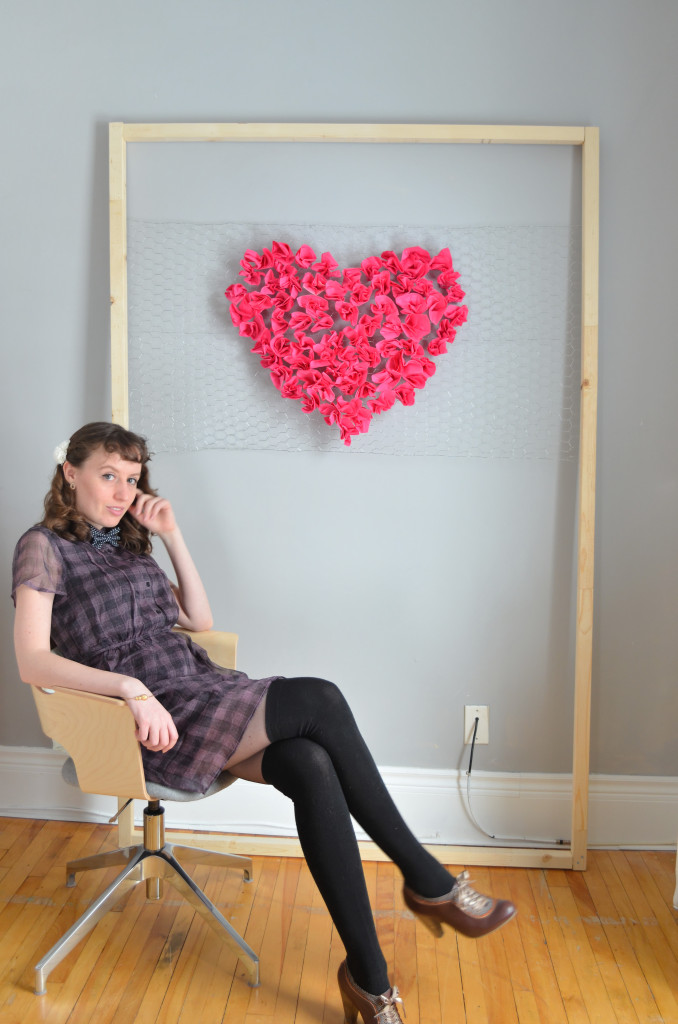
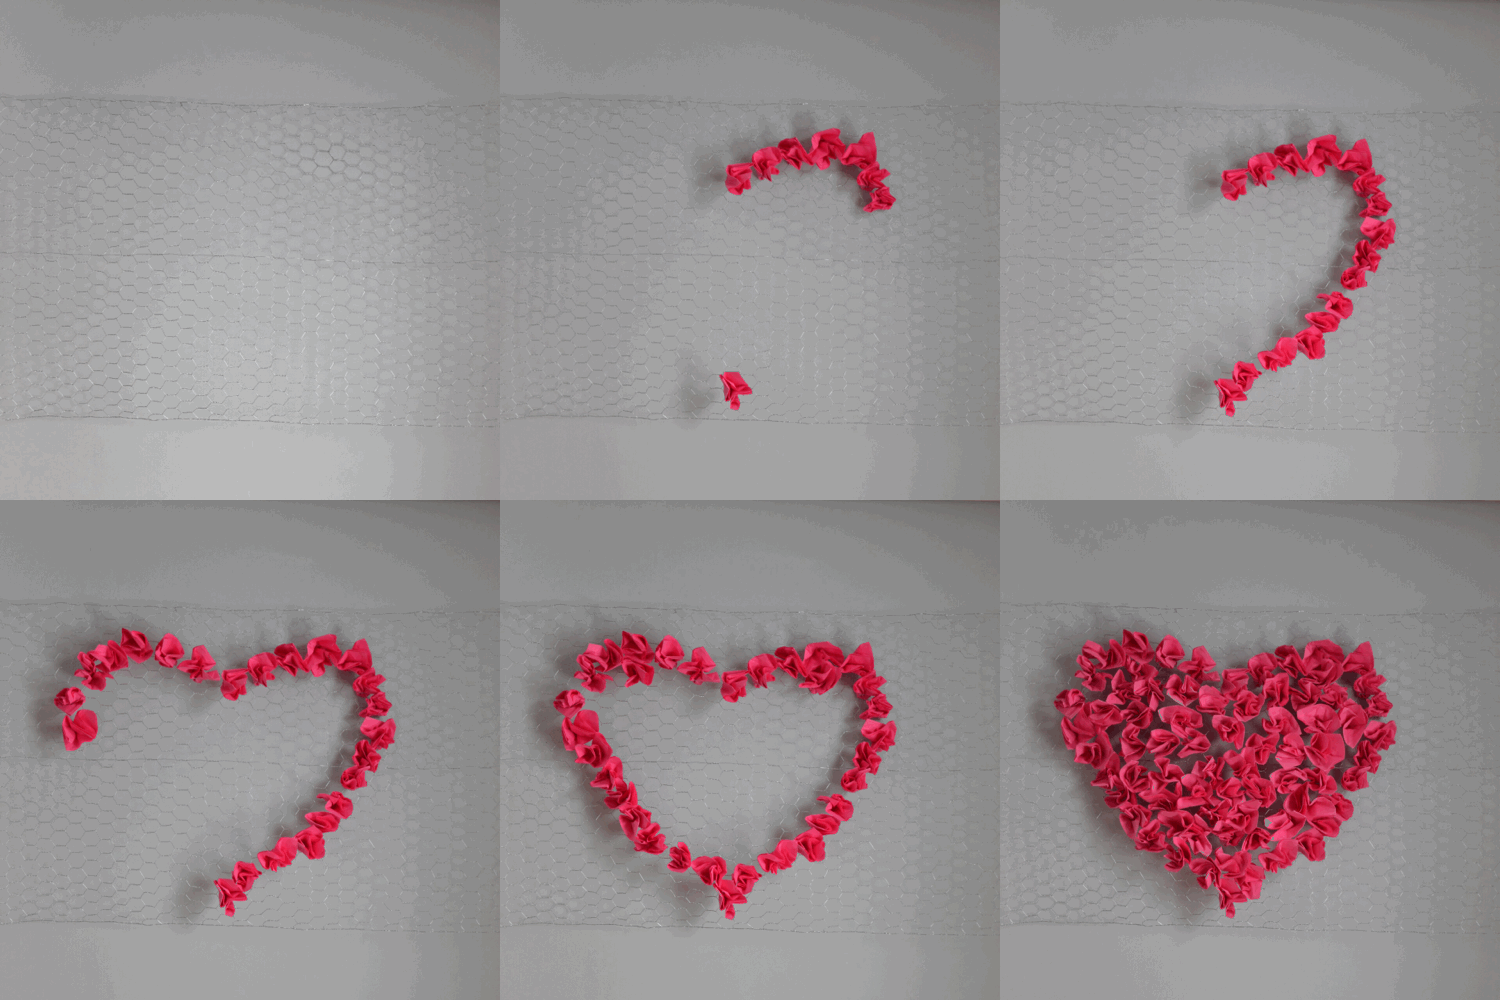
Valentine's Day Birthday Party Decorations Valentine's Day Birthday Party Pink and Orange Macarons Brother and Sister

My brother drove up from back home.

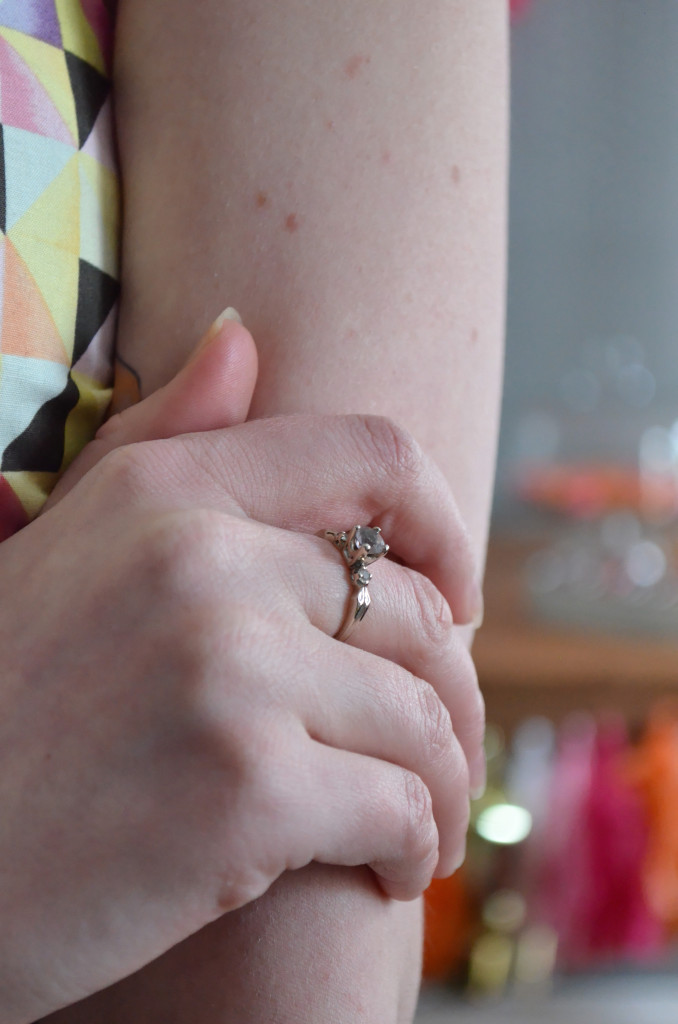
Vintage Amethyst Ring Party Oreos

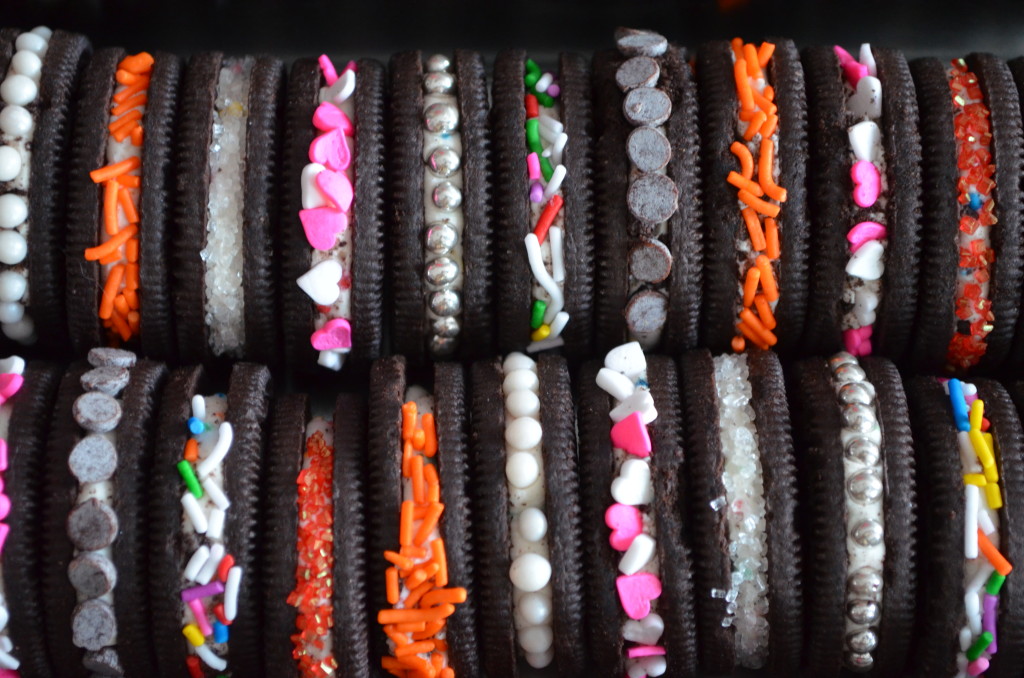
I found birthday cake flavoured Oreos while browsing the liquidation sales at the ill-fated Target Canada. I bought a whole bunch and made these not-so-quick but very easy Party Oreos. I only decorated half of the cookie, my friends thought I was being lazy, I thought I was being artistic.

Valentine's Day Birthday Party

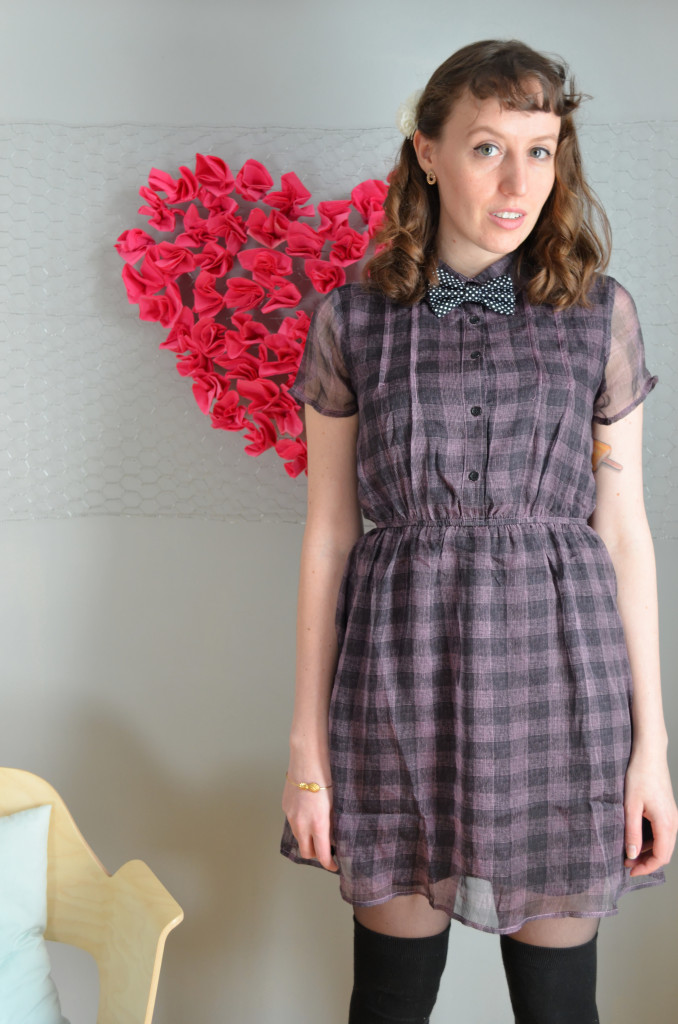
Dress: Modcloth // Cardigan: H&M (old) // Tights: Target // Slippers: White Noise Maker // Necklace: Modcloth (old) // Earrings: gift, received them for my 5th birthday // Ring: a family heirloom 

Strawberry & Sweet Ganache Macaron  Party Food

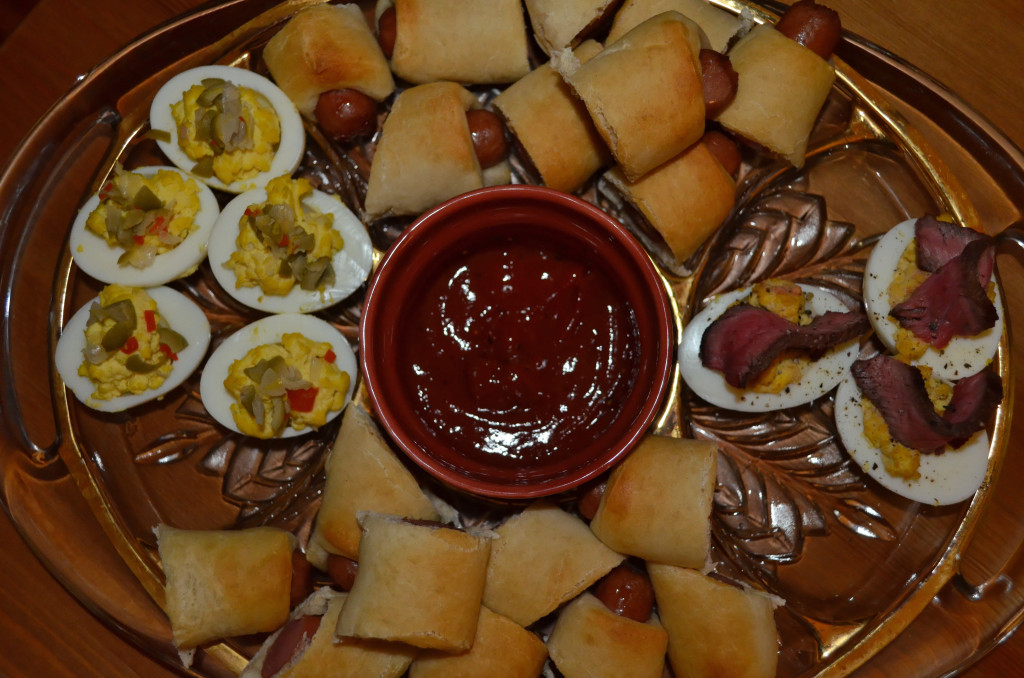
Because I was unofficially elected to be the party food maker of my friend group, I knew that if I wanted anything fancier than a bag of chips, I would have to make it myself.  I decided to not overwork myself, for once, and only make easy stuff, hence the charmingly campy pigs in a blanket. My friend told me, with three days’ notice, that he would be very upset if someone didn’t make my famous steak & egg devilled eggs, so I whipped some up along with some dirty martini devilled eggs, for good measure.

Birthday Cake

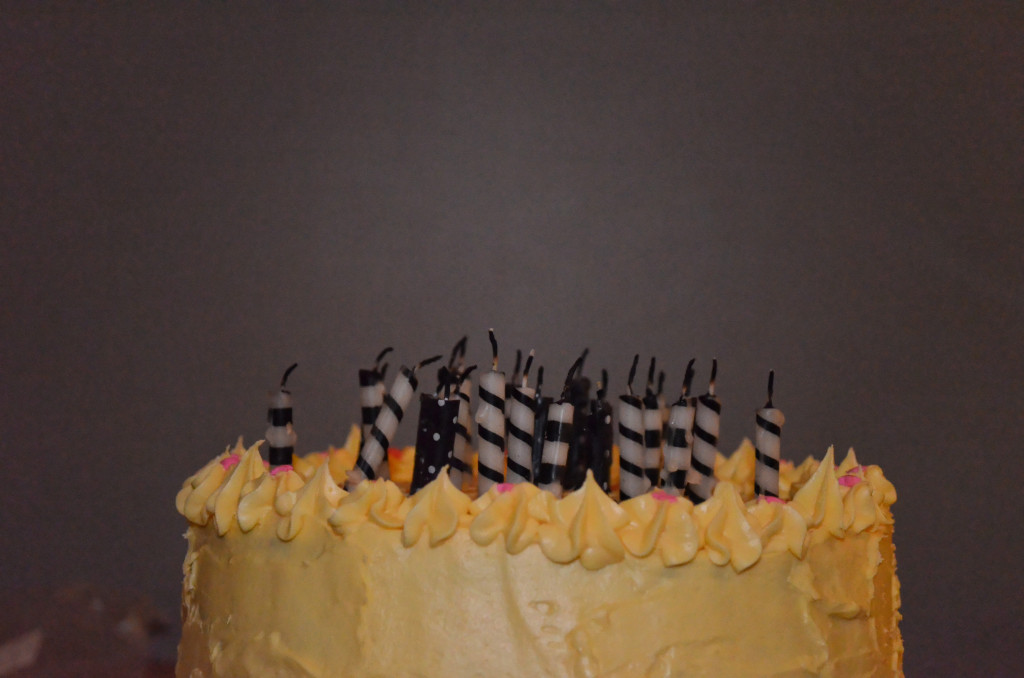
My friend Sarah has made my birthday cake every year since I moved to the Niagara Region. This year I asked for either citrus or a tangy chocolate. She brought this happy yellow cake that I discovered, when I plunged my 9″ chef knife into it, was actually chocolate! I blew out all the candles on my first try.