Category Archives: Food & Recipes

Butternut Squash & Ginger Soup

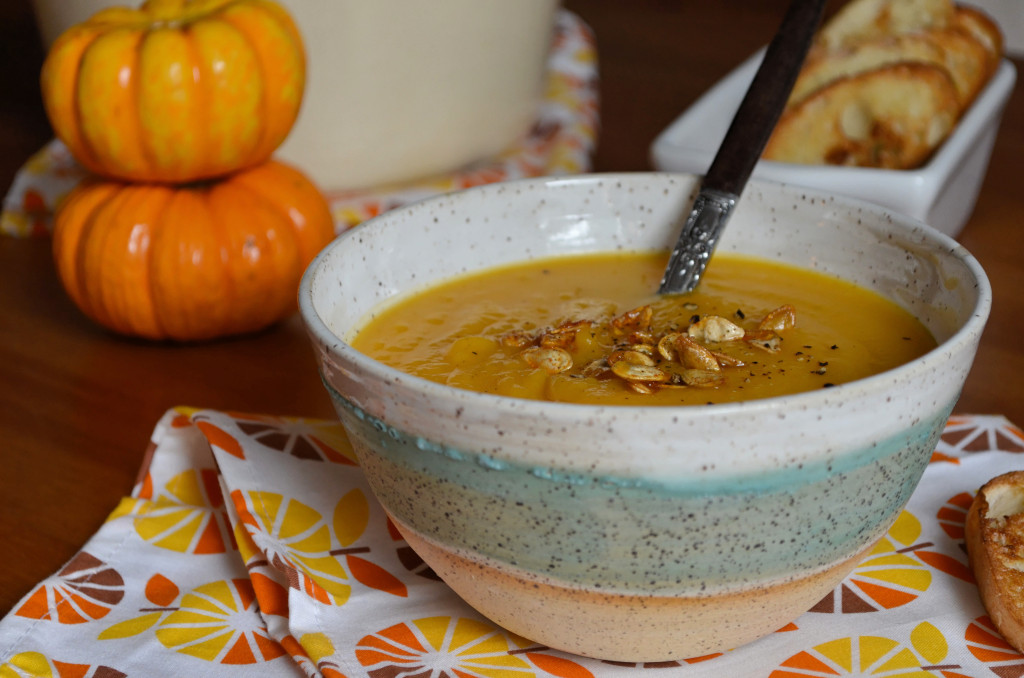
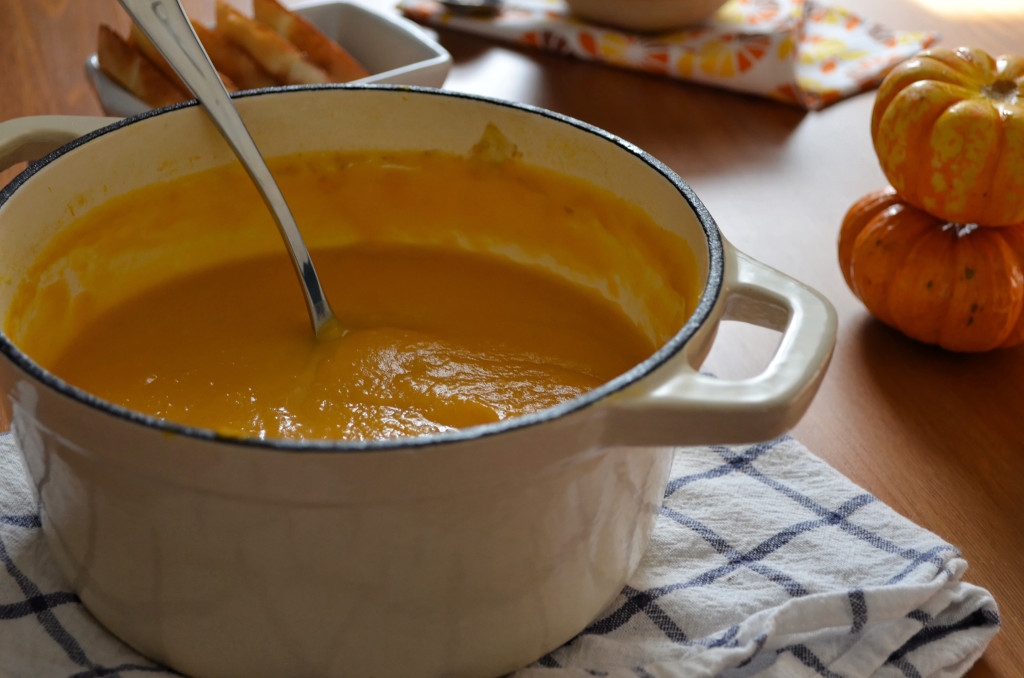
Butternut Squash and Ginger Soup \\ Sophster-Toaster Blog

I love making soup, and this butternut squash soup is probably the best that I make. I originally found the recipe in Joy of Cooking and have been adapting, tweaking and making it my own over the years. The great thing about this soup is that it can easily be made vegan-friendly with one small substitution.

Butternut Squash and Ginger Soup \\ Sophster-Toaster BlogButternut Squash and Ginger Soup \\ Sophster-Toaster Blog

Ingredients

For the Soup

1 medium to large butternut squash
3 tbsp olive oil
½ large sweet onion, chopped
4 tsp fresh ginger, peeled and minced
3 cups low sodium chicken broth (or vegetable broth to make it vegan)
pinch of kosher salt

For the Garnish

2 tsp olive oil
½ tsp kosher salt
¼ tsp cayenne pepper
Butternut Squash and Ginger Soup \\ Sophster-Toaster Blog

Method

  1. Preheat the oven to 375º and place a rack in the centre of the oven.
  2. Split the squash in half length-wise on a cutting board with a wet cloth underneath the board for added stability. Use a large, sharp knife and keep your fingers well out of the way. Remove the strings and seeds with a spoon, keep the seeds.
  3. Place the squash halves (or quarters if it is quite large) cut side up on a sheet pan lined with parchment paper or a silicone baking mat, brush lightly with olive oil and season with salt.
  4. Bake for 30-45 minutes or until the squash is soft and easily pierced with a knife.
  5. While the squash is baking prepare the seeds by rinsing them in water, trying to remove as much of the squash strings as possible – you won’t be able to get them completely clean, and that’s fine.
  6. Place the seeds on a paper towel and rub them gently to clean them up a little bit more. Remove them from the paper towel and leave them on the cutting board to dry. They can become stuck to the paper towel and be quite difficult to remove if left to dry on it.
  7. When the squash is done baking, remove it from the oven and leave it to cool. Turn the oven down to 325º.
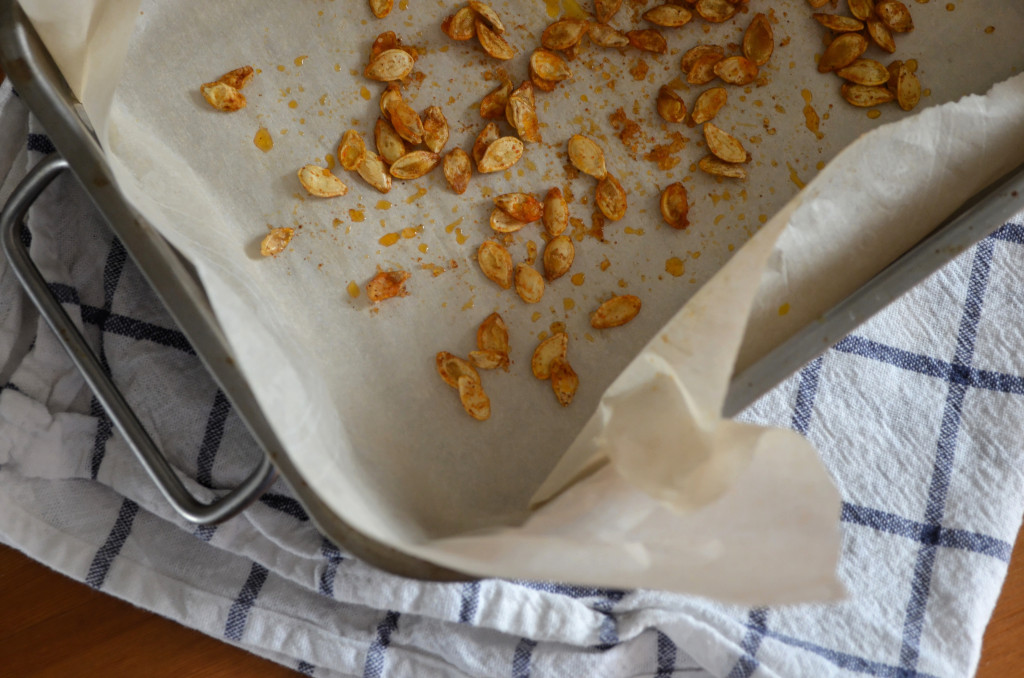
  8. Mix the olive oil, salt and cayenne pepper in a small bowl and toss with the seeds. Spread out on a baking sheet lined with parchment paper. Roast in the over for 10 minutes – I like to stir them up half way through to separate any that may have been stuck together.
  9. While the seeds are roasting, heat your olive oil in a large pot or dutch oven over medium-low heat, chop your onion and mince your ginger.
  10. Add the onion and ginger to the pot and cook, stirring often, until the onion is soft but not browned.
  11. Remove the skin from the cooled squash – I like to peel it like I would a celeriac – and chop the flesh into large chunks. Add the squash to the pot along with the chicken or vegetable broth.
  12. Bring to a simmer and cook, uncovered, for 20 minutes, stirring often and breaking up the squash.
  13. Puree the soup with a stick blender (or in a regular blender or food processor) until beautifully smooth. Season with salt. If the soup is too thick for your taste, add an addition 1-2 cups of broth and heat through.
  14. Serve garnished with the roasted seeds and some fresh ground black pepper.

Butternut Squash and Ginger Soup \\ Sophster-Toaster BlogButternut Squash and Ginger Soup \\ Sophster-Toaster Blog

All photos by me.

Grilled Breakfast Pizza

Pizza is probably the best thing in the world. It’s always the second thing I miss when I’m at the cottage, right after my cat. Luckily, my years of working in the family pizzeria, where we made everything from scratch, has left me with the ability to make any kind of pizza, anywhere and in any situation.

During my recent trip to the cottage, I found a way to combine my favourite meal with one of my top five favourite foods. I made breakfast pizza.

Grilled Breakfast Pizza \\ Sophster-Toaster Blog

I woke up in a forest by the lake, grated some cheese, stretched some dough I had made at home a few days earlier, sauced it, tossed on some breakfast-y toppings, placed it on the barbecue, cracked some eggs on top and ate fresh pizza on the deck with friends as we watched the September sun climb higher over the pines.

Ingredients

Makes two 8″ pizzas.

For the Dough

2½ tsp sugar
1½ tsp salt
¼ tsp baking soda
¼ tsp baking powder
1 cup warm water
1 tsp yeast
3½ cups all-purpose flour
2 tsp olive oil

For the Toppings

pizza sauce (store bought or homemade)
shredded mozzarella cheese
potato, thinly sliced
tomato
poblano pepper
caramelized onion (leftover from previous night’s dinner)
spinach
bacon (cooked)
eggs

Additional Toppings

fresh mozzarella
shredded cheddar cheese
feta
goat cheese
mushroom
green pepper
jalapeno pepper
onion
shallot
asparagus
avocado
sausage
smoked salmon
ham

What else? Suggest it in the comments!

Grilled Breakfast Pizza \\ Sophster-Toaster Blog

Method

For the Dough

Prepare at least one day before.

  1. Add the sugar, salt, baking soda and baking powder to the work bowl of a stand mixer.
  2. Activate yeast by adding it to a small bowl of lukewarm water (should feel about the same temperature as your hand) and mix it gently with your hand until the yeast has dissolved.
  3. Add the yeast and water mixture to the stand mixer. Mix by hand until everything has dissolved.
  4. Cover the bowl with a clean towel and leave to rise for about half an hour.
  5. Once the mixture has bubbled and left a bit of a yeast-coloured foam on top, add 3 cups of the flour and partially mix in by hand.
  6. With the dough hook attached, turn the mixer on at low speed. Add the olive oil as the hook begins to move.
  7. Once the dough starts coming together, turn the speed up to where the hook starts grabbing and kneading the dough (3 or 4 on a Kitchenaid stand mixer). If the weather is humid and the dough looks wet, add the remaining ½ cup of flour now. Knead until a ball forms and the sides of the bowl are mostly clean.
  8. Remove the dough from the bowl, divide it into two equal portions and form them into balls. Leave on a floured surface and cover with a clean towel to rise for an hour or two before storing in the refrigerator or freezing.  (I froze mine to get it to the cottage and started a slow thaw in the refrigerator once I got there.)

This takes practice, so don’t be discouraged if your dough doesn’t come out right. I might not stretch or rise as well but it will still taste the same.

For the Toppings
  1. Remove dough from the refrigerator and let warm up on the counter while you prep all your toppings and create your mise en place.
  2. When all of your toppings are ready, scatter a small handful of flour on your work surface and quickly roll your dough ball in flour.
  3. Place the dough ball on your work surface and with moderate force punch it town with your fists or fingertips. You are trying to remove any trapped air bubbles.
  4. Then pick up the down and work it with your fingers, pinching and stretching the edges of the dough and you rotate it. I have seen people beautifully stretch the dough with only this method, but I like to alternate between this and draping the dough over my fists and moving them outwards from the middle as I rotate and gently toss the dough.
  5. Once the dough is stretched to the size of your 8″ pizza pan, lightly flour the surface of the pan and place your stretched dough on top. Try to make the dough circular again if it took on a strange and exciting shape during the stretching. Close up any holes ripped in the dough (don’t worry, they happen) by stretching the thickest spot bordering the hole over top and pressing it down lightly on the other side. Now comes the easy part.
  6. Using a large spoon, spread the sauce in a thin layer over the dough, getting as close as possible to the edges.
  7. Scatter your desired cheese over the pizza, holding some back for the top. You will need slightly less than you think, there should still be sauce showing through. (When using cheeses with strong flavours or low melting capacities, I recommend still using a bit of shredded mozzarella as a base.)
  8. Scatter your desired fruit, veg and meat toppings over the pizza but don’t over do it. Keep in mind that loading it with wet fruit and veg with make for a very soggy pizza. Decrease the amount of each topping you add as the number of toppings increases.
  9. Toss a thin layer of cheese over top to hold everything together.
  10. Place the pizza on a barbecue preheated to as hot as it will go with side burners on high and middle burners on low and close the lid. (I cooked two pizzas, one at a time.)
  11. Once the dough has started to rise and the cheese has started to melt but neither have started to brown, about 2 minutes in, crack 3 eggs (if using large eggs) on top and season with salt and pepper. (Place them towards the middle because the whites will migrate.)
  12. Once the egg whites have stopped jiggling and the cheese and crust have browned (takes about 10 minutes total) remove the pizza from the barbecue and from the pan onto a heat safe surface. Once the eggs have gathered themselves to about medium boil yolks, slice the pizza into eight and serve.

Grilled Breakfast Pizza \\ Sophster-Toaster Blog

Pairs well with coffee stout or smoked porter.

Black Lemonade

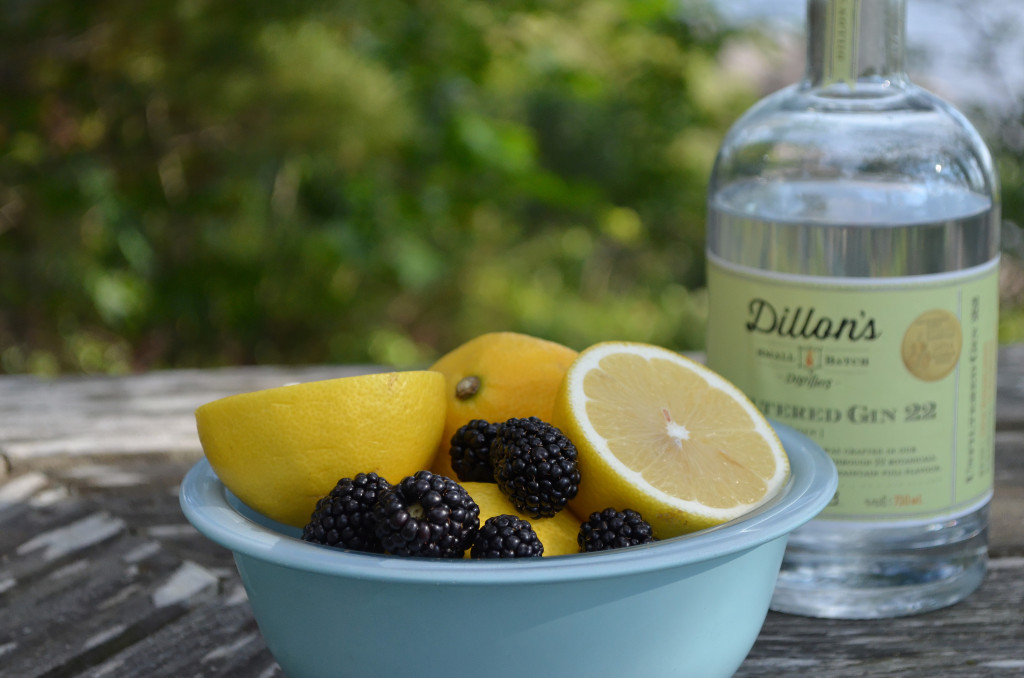
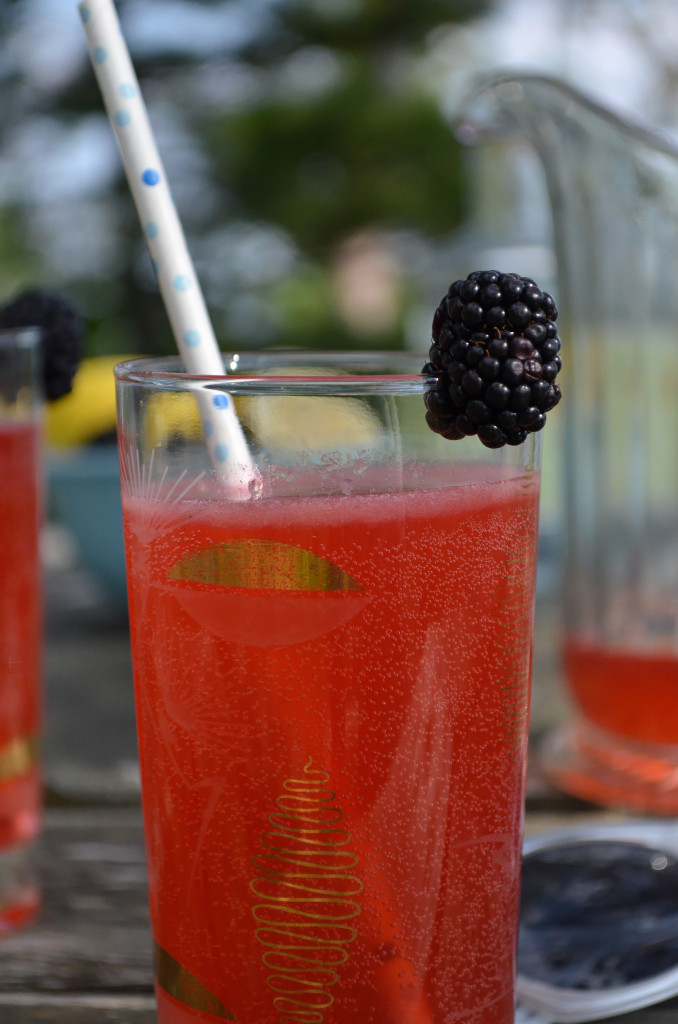
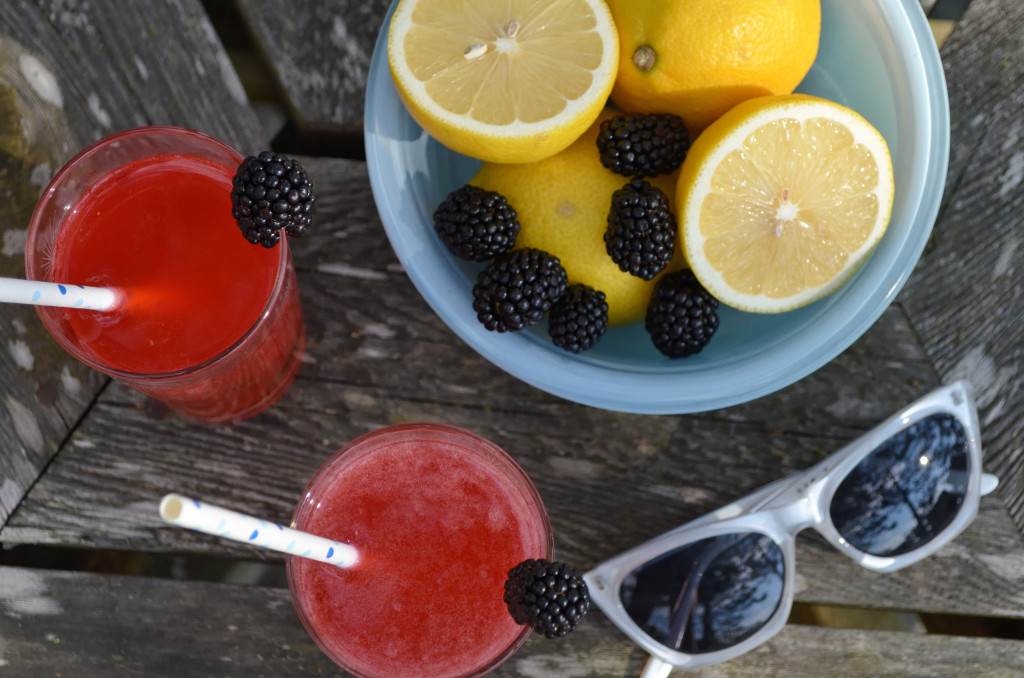
I may love lemonade to an unhealthy degree, especially on hot summer days. On a recent trip up to the cottage, I whipped up a recipe I had been thinking about since the first turned warm: Black Lemonade.

Black Lemonade \\ Sophster-Toaster Blog

I’ve never really liked pink lemonade. Possibly due to the fact that during my first encounter with it, I got a mouthful of artificial “pink” flavours instead of the sweet and sour raspberries I had assumed to expect. I was so put off by this pink lemonade from a package that I thought I disliked all lemonade for an irrevocably long amount of time – somewhere in the 15 year range. But now I’m making up for lost time with this wonderfully refreshing, boozy blackberry lemonade recipe.

Ingredients

1 cup sugar
1 cup water
½ pint of blackberries
2 oz gin
juice of 1 lemon
sparkling water

Method

For the blackberry simple syrup
  1. Add equal parts sugar and water to a small saucepan (use 1 cup for quite a lot of syrup) plus a ¼ pint of blackberries – the remainder will be used for garnish.
  2. Bring the mixture to a simmer over low heat, stirring continuously.
  3. When the sugar has melted, which may happen long before the simmer is reached, abuse the blackberries by (carefully) pressing them against the side of the pan with a wooden spoon or heatproof spatula until they’ve given up all their juice.
  4. Then stir slowly and continuously (there’s a reason chefs call this sort of thing liquid napalm) until the mixture has thickened to your liking.
  5. Once thoroughly cooled, pour through a fine mesh sieve to remove the seeds and blackberry chunks before transferring to a squeeze bottle.
For the cocktail
  1. Place a few ice cubes in the bottom of an old fashioned glass.
  2. Add 2 oz gin (or vodka, if you prefer).
  3. Add 1 oz of the blackberry simple syrup.
  4. Squeeze the juice of 1 lemon into the glass, being careful to catch the seeds.
  5. Stir and top up with sparkling water.
  6. Garnish with a whole blackberry, if you want to be fancy, and serve.

I made this recipe to my lemon-loving taste for lemonade, which my husband describes as “this lemonade would be great if it weren’t for the sugar”, so don’t be afraid to tweak the simple syrup, lemon and water ratios to make this cocktail your own.

Black Lemonade \\ Sophster-Toaster Blog Black Lemonade \\ Sophster-Toaster Blog Black Lemonade \\ Sophster-Toaster Blog Black Lemonade \\ Sophster-Toaster Blog

Feeling saucy enough to make this for a group at your next backyard get together? Lucky you! It scales wonderfully to a pitcher recipe. Be sure to serve in a clear pitcher to let the gorgeous colour show through.

For a pitcher (serves 4)
  1. Place a handful of ice cubes in a pitcher.
  2. Add 8 oz gin.
  3. Add 4 – 4½ oz simple syrup (I find a little extra sweetness is needed if the ice will have time to melt and dilute the beverage).
  4. Squeeze, or ream, the juice of 4 lemons into the pitcher, being sure to catch the seeds.
  5. Stir and top up with sparkling water, at least enough to match the amount of lemon juice.
  6. Toss a few whole blackberries into the pitcher and serve.

Cookies and Cream Cookies

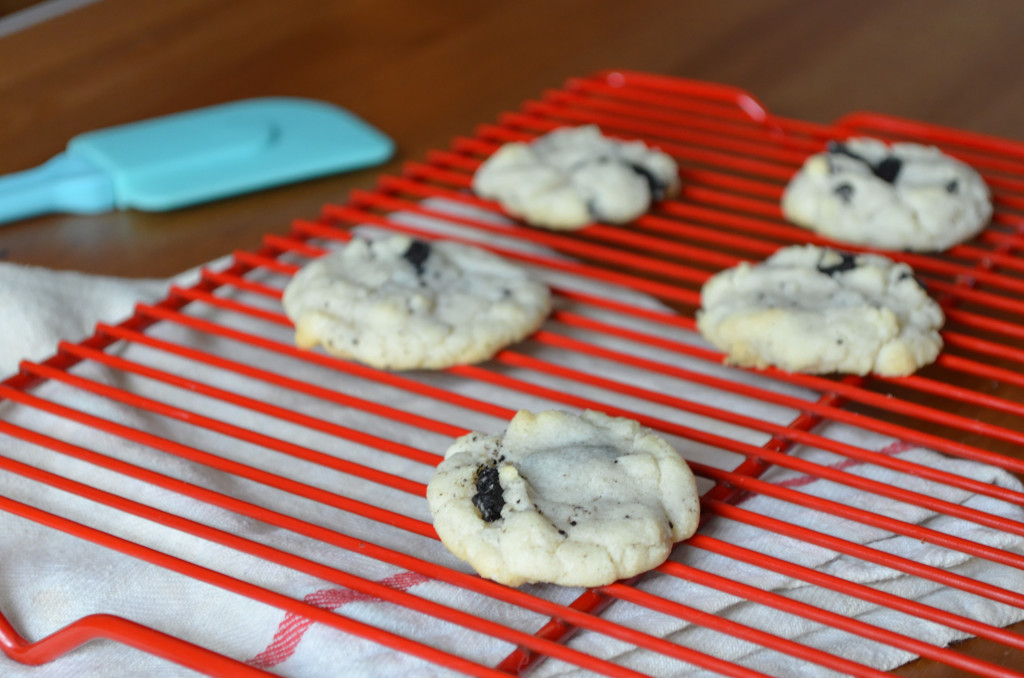
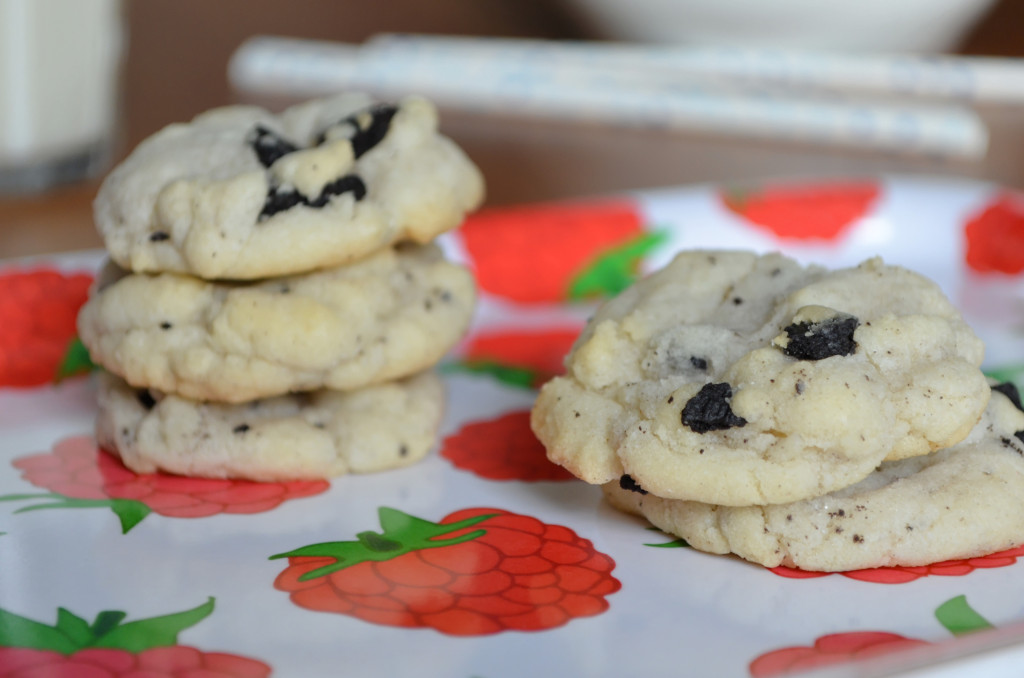
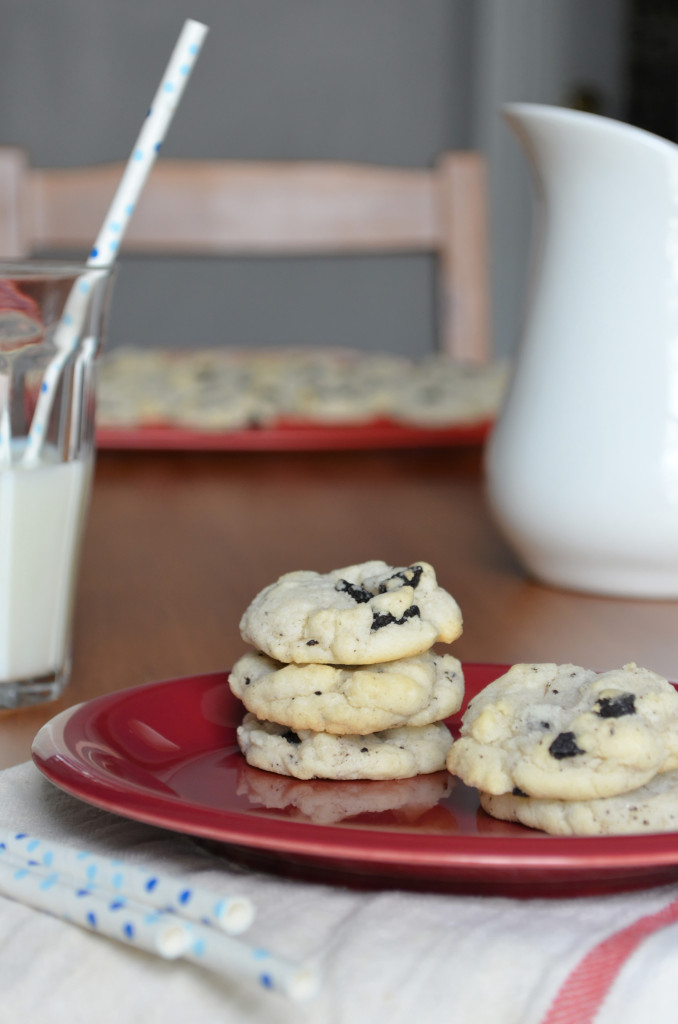
Cookies and Cream Cookies \\ Sophster-Toaster Blog

I’ve always thought cookies and cream was one of the best flavours in the world. I love cookies and cream ice cream, cookies and cream chocolate bars, and, most of all, ice cream sandwiches – which are basically just reconstructed cookies and cream ice cream. I love cookies and cream so much, I’ve been trying to convince my husband that the Great Dane he wants should have a “cookies and cream” merle coat, just because it looks so delicious. So of course I created these soft, chewy cookies and cream cookies for a barbecue I attended this weekend. I wanted to get some pictures of my friends enjoying them for this recipe but I wasn’t quick enough.

Cookies and Cream Cookies \\ Sophster-Toaster Blog

Ingredients

1 cup vegetable shortening
1 ½ cup sugar
2 eggs, beaten
1 tsp. baking soda
1 tsp. hot water
2 ¼ cups flour
1 tsp. kosher salt
1 cup broken Oreo-type cookies

Method

  1. Preheat oven to 375°F.
  2. Cream shortening and sugar until light and fluffy.
  3. Add beaten eggs. Dissolve baking soda in hot water and add along with the eggs. Mix in well.
  4. Add the flour and salt, stir until half-mixed.
  5. Break Oreo cookies by hand and add. Finish mixing.
  6. Form teaspoon sized cookies and place on a baking sheet lined with parchment paper.
  7. Bake 8-12 min.

Cookies and Cream Cookies \\ Sophster-Toaster BlogCookies and Cream Cookies \\ Sophster-Toaster Blog