
I love wearing my hair in milkmaid braids since growing it out. It’s one of the best ways to hide unwashed (and overgrown) hair. It’s great for camping and cottage trips where you can’t always wash or even wet your hair and don’t want to carry a lot of products. Before this fall, the only thing keeping it from being my perfect go-to hairstyle was all the tucking, pinning and pulling needed to pull off that charming trying-really-hard-to-look-like-I’m-not-trying look. Since then, I’ve found the secret to making milkmaid braids the quick and easy, lazy day style they deserve to be!

I was inspired by a horror movie I watched around Halloween. I noticed that in the beautiful but not very exciting, The Witch, the 17th century New England women were wearing their hair in milkmaid braids, held together only by long pieces of ribbon. The next morning, I sauntered out of bed, as eagerly as one can, to see if this ribbon only method could really work. I found that I couldn’t do away with a couple of small hair elastics, to keep the ribbons from slipping off the ends of the braids, but was quite pleased when everything stayed in place without a single pin. They held tight for the rest of the day, captured by the light tension of ordinary ribbons I found laying around in my sewing stash.
Those women were on to something. With a bit of practice, these no pin milkmaid braids only take about 10 minutes to create and are comfortable worn all day. Here’s how I do it:
How-to:
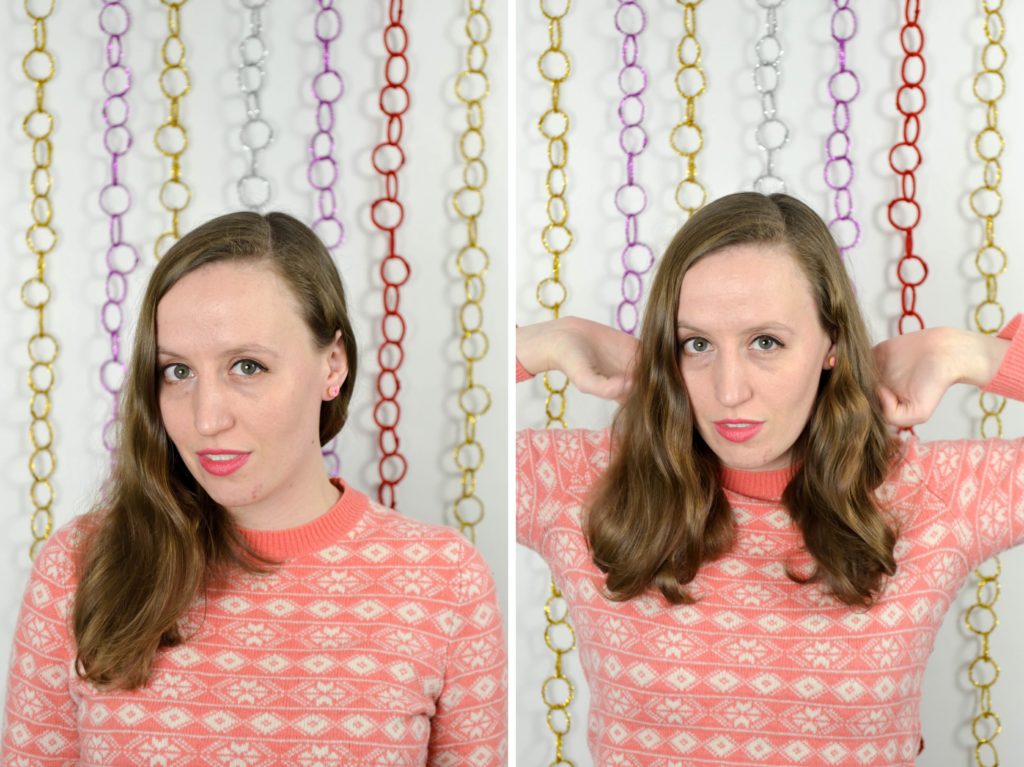
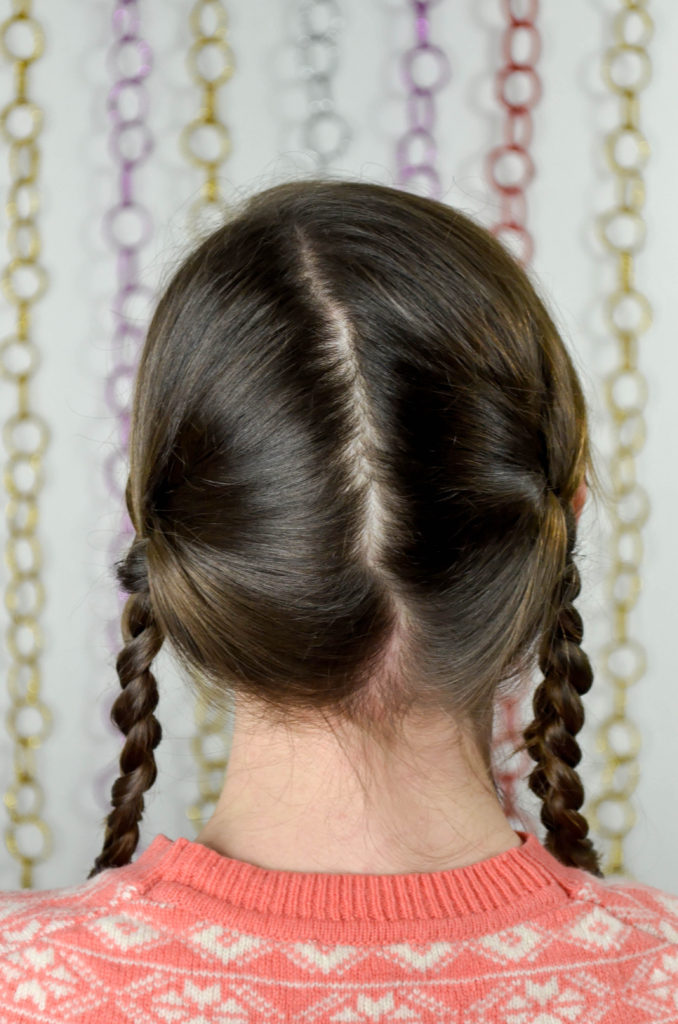
- Start with brushed and moisturized hair. Split into two sections, down the middle, using a comb (or fingers for a messier look).
2. Starting high up, near the top of the ear, braid each section leaving as short a tail as you can at the end.
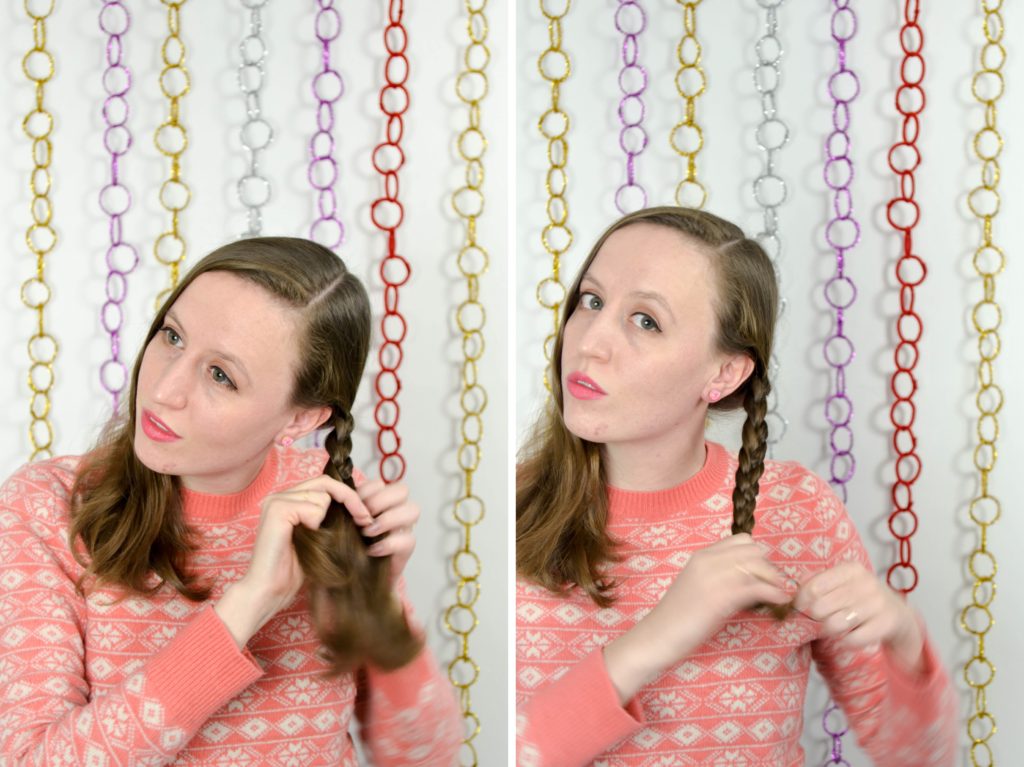
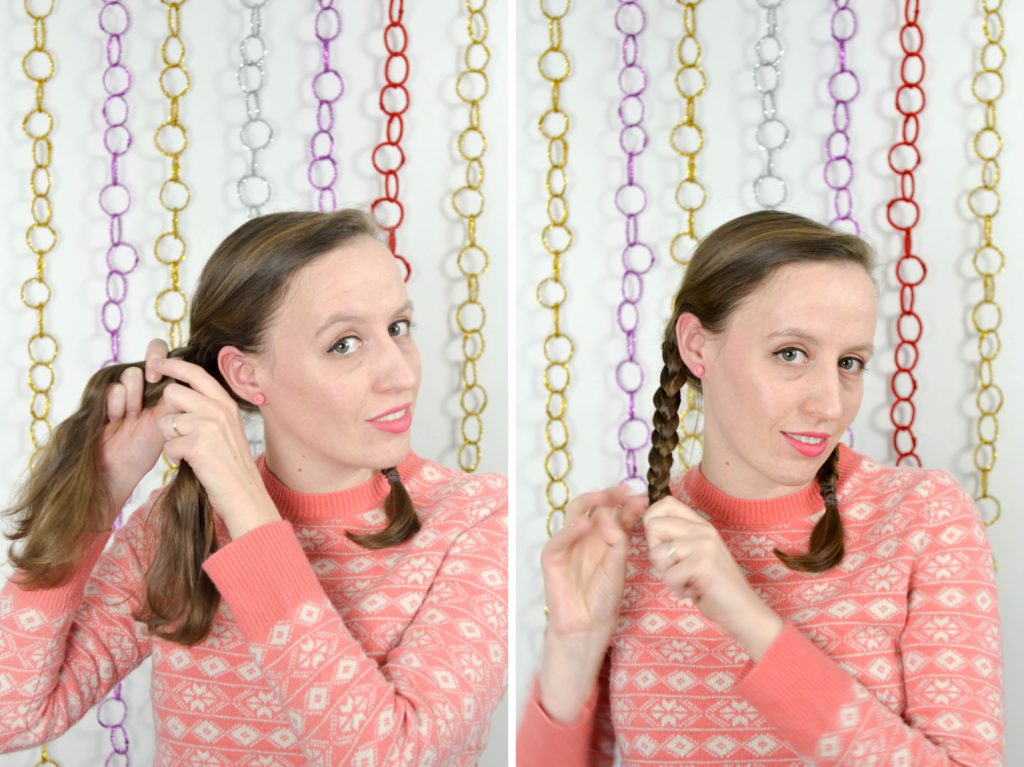
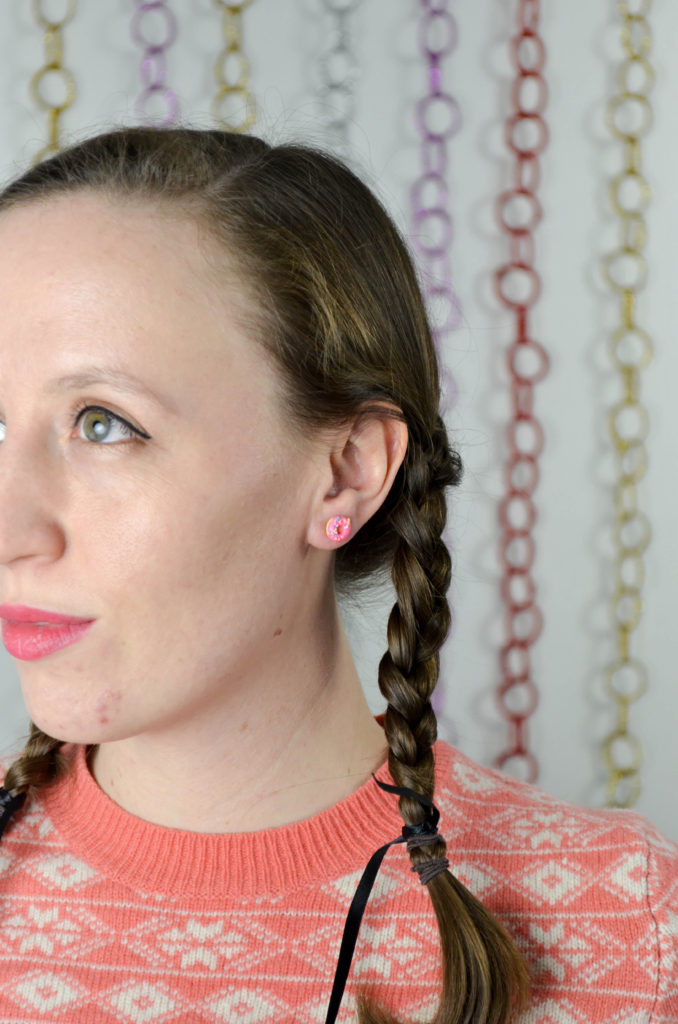
3. Cut two matching lengths of ribbon long enough to tie to the end of each braid, wrap around to the nape of the neck and tie in a bow. Tie each ribbon securely to the end of each braid, just above the elastic. I like to tie a basic knot, then wrap the ribbon around to the other side and tie another knot.

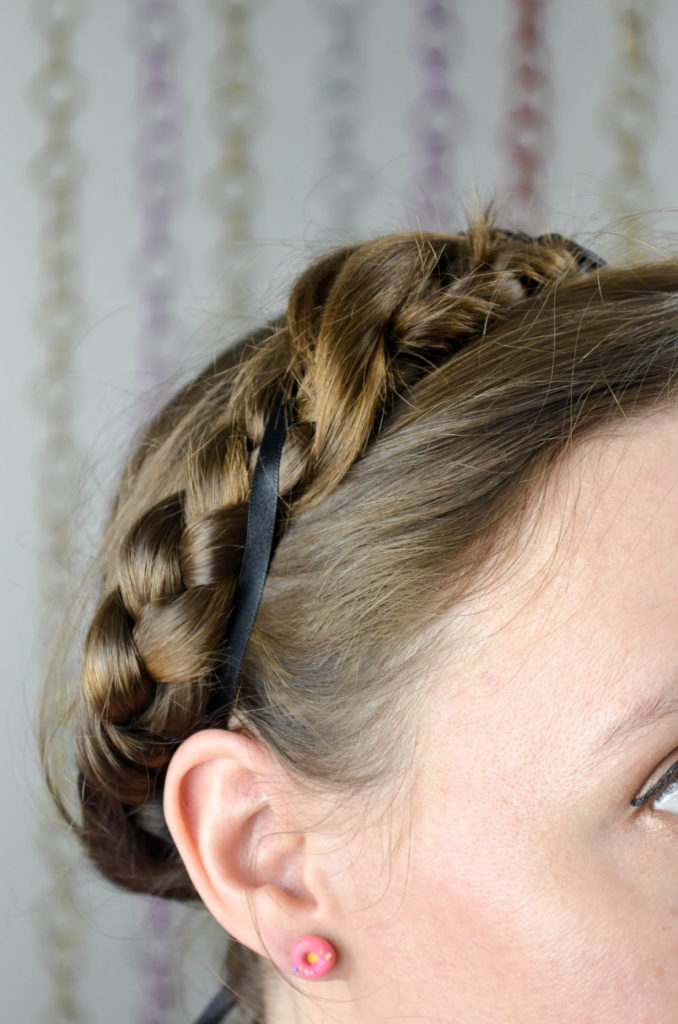
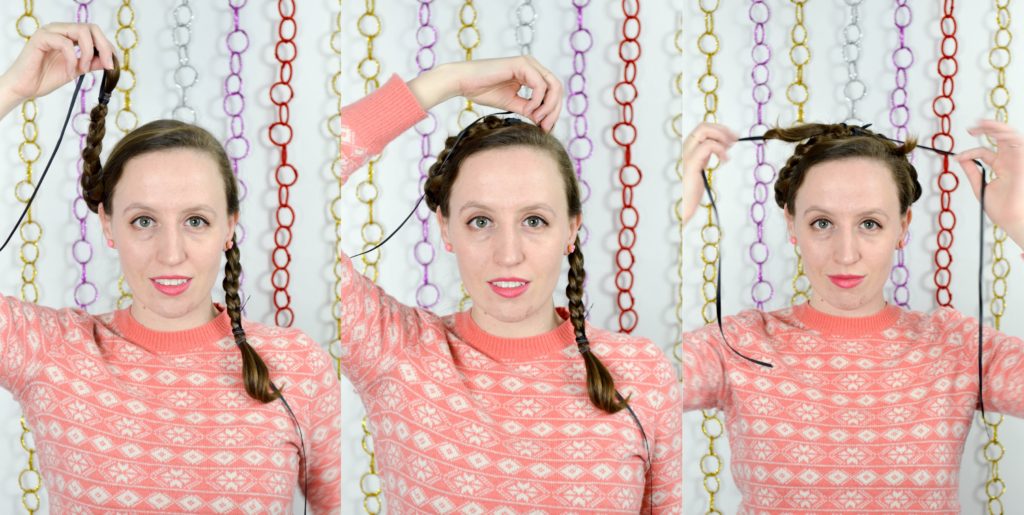
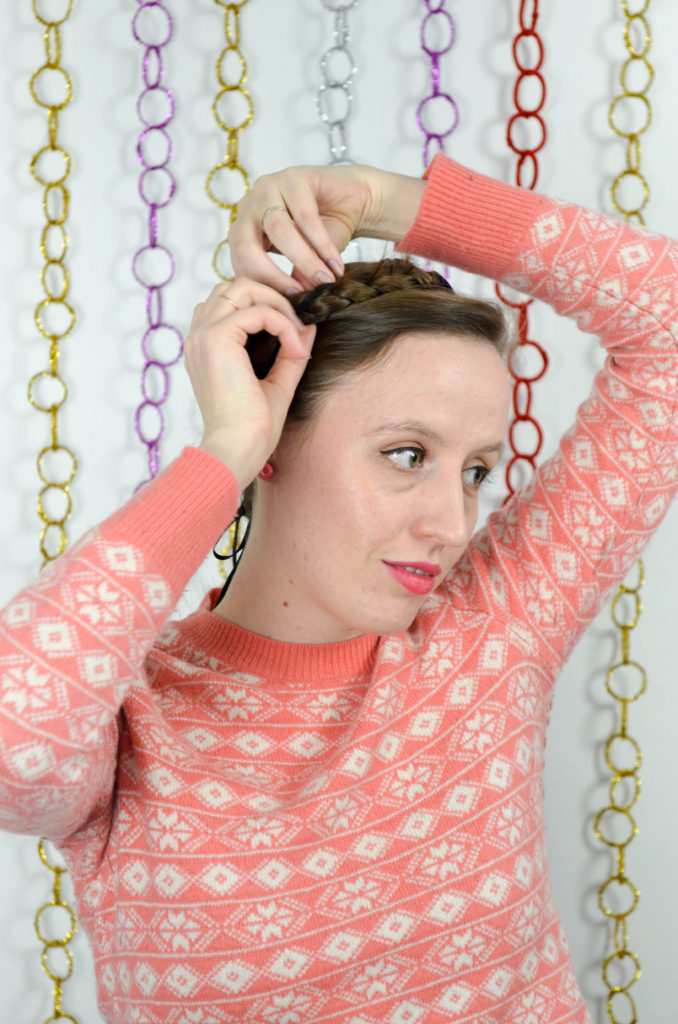
4. Next, pick each braid up and place it over the top of your head. Hold each ribbon and pull them tightly across to hold the braids in place.
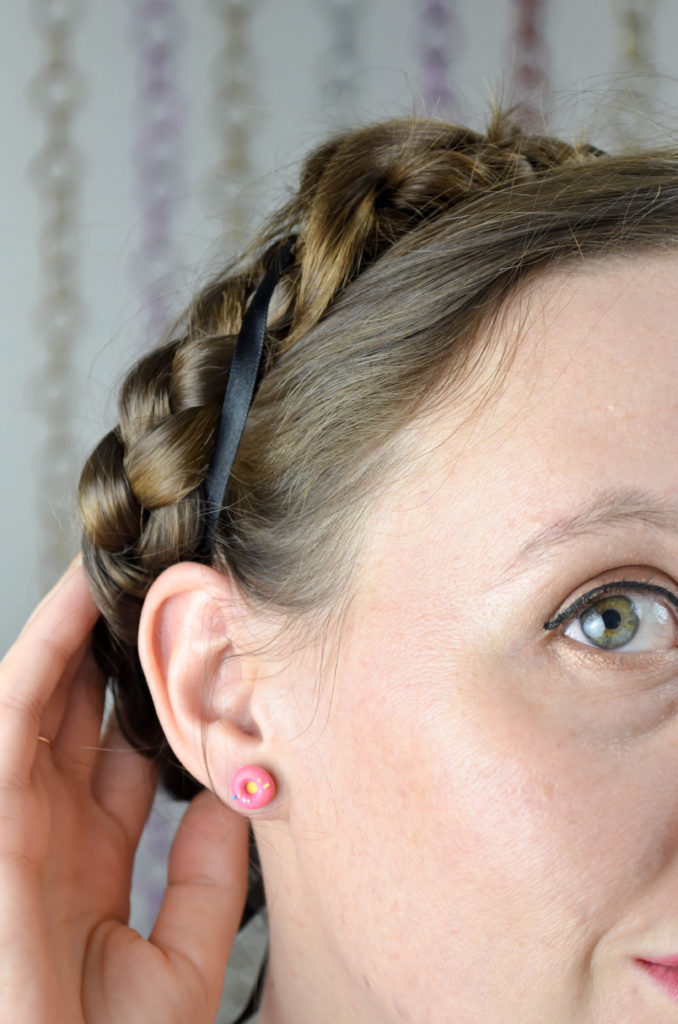
5. Pull the ribbons around to the nape of your neck and tie in a bow. Tip you head back slightly to make sure the braids don’t slip off the back. It they do slide off, try placing them further forward, towards your hairline.
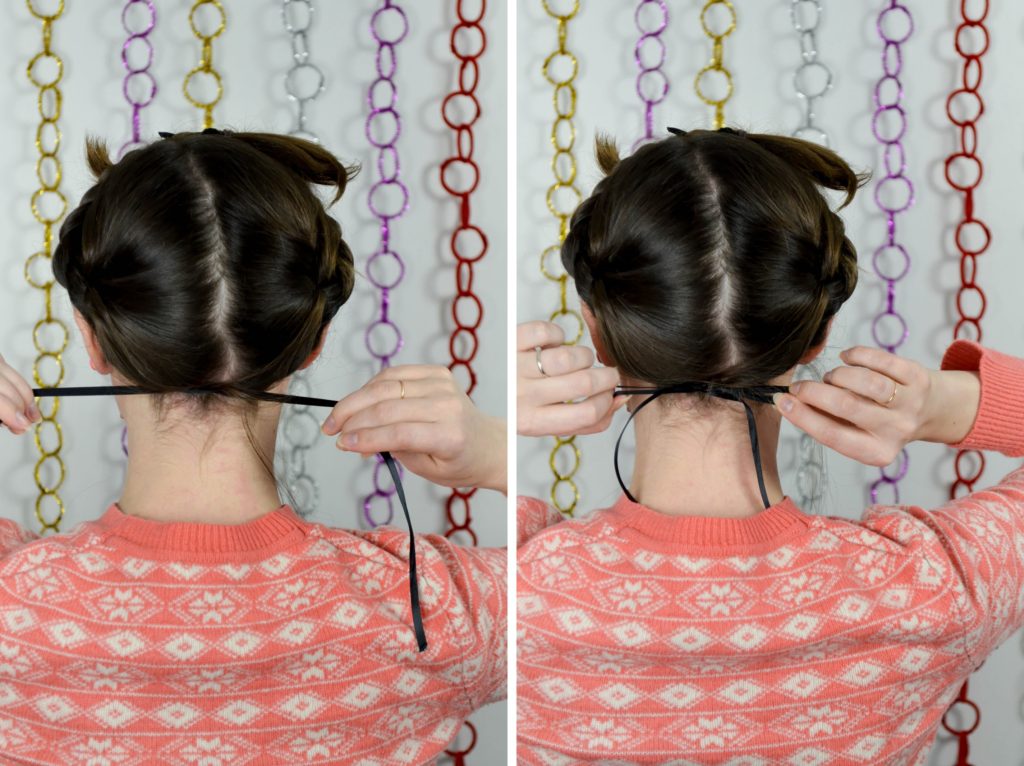
6. Tuck in the ends of the braids, the ends of the ribbons and any other loose pieces of hair and you’re done!

I find this method works especially well for medium length hair that isn’t quite long enough for any meaningful braid overlap to be pinned together.
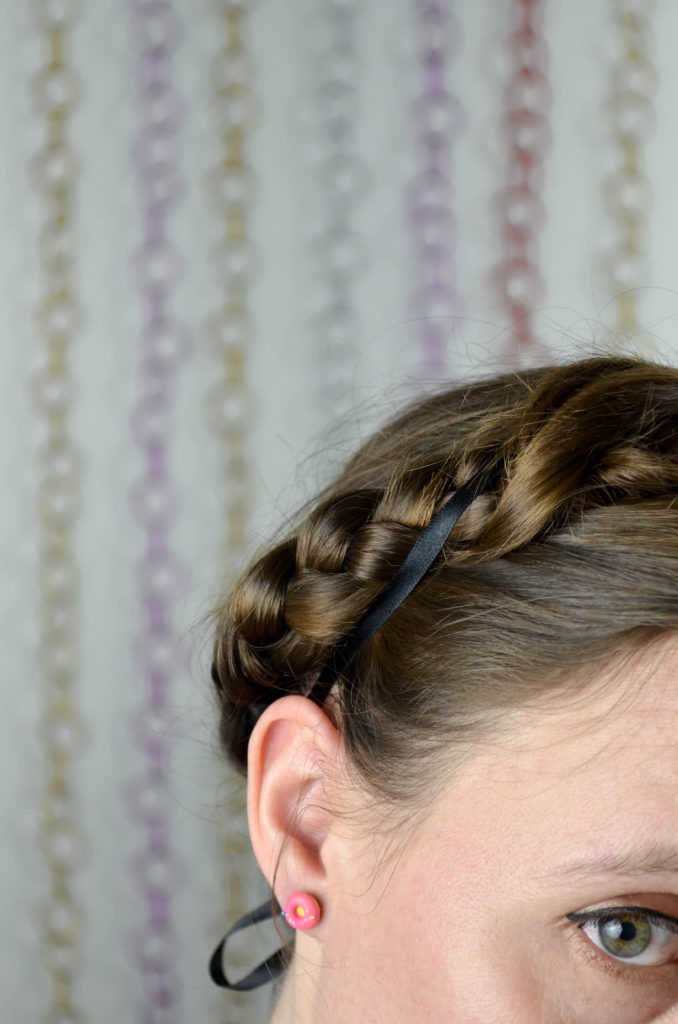
I like to use dark ribbon that blends into my hair colour but it might be fun to use brightly coloured ribbons and wrap them around the braids for a festive party look!
All photos by me.