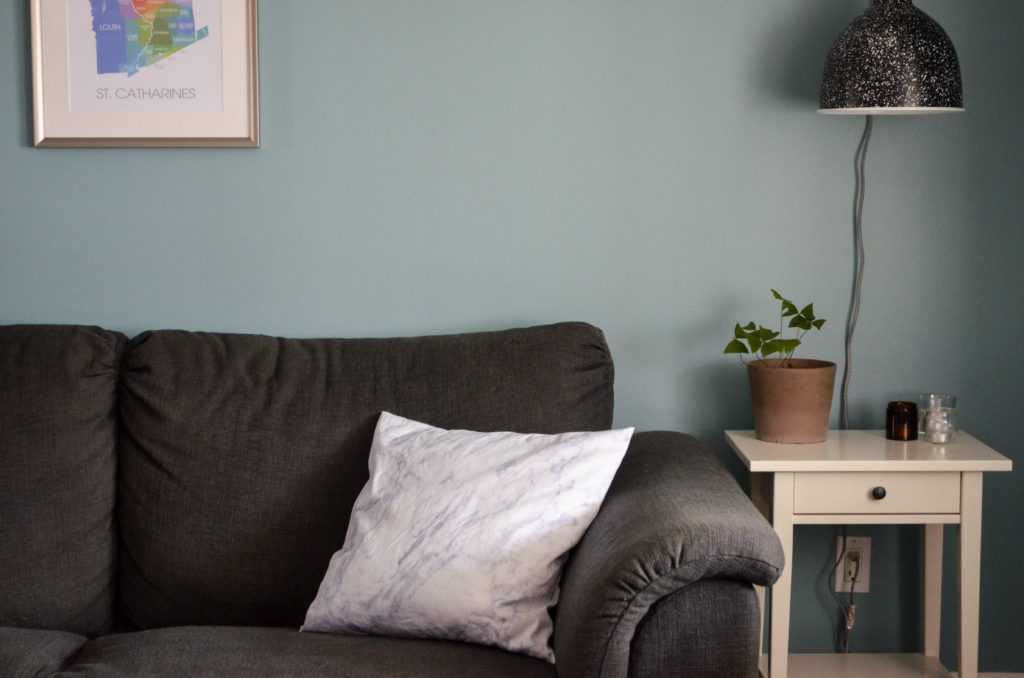
A cushion cover takes a lot of fabric but not a lot of tools, practice or patience. It takes less than half an hour to complete and doesn’t require much skill, so it’s a good introductory project for anyone just learning how to sew. With an envelope style cushion cover like this, there are no zippers, buttons or button holes to sew in, making it a nice, relaxing project with a nap-ready result.
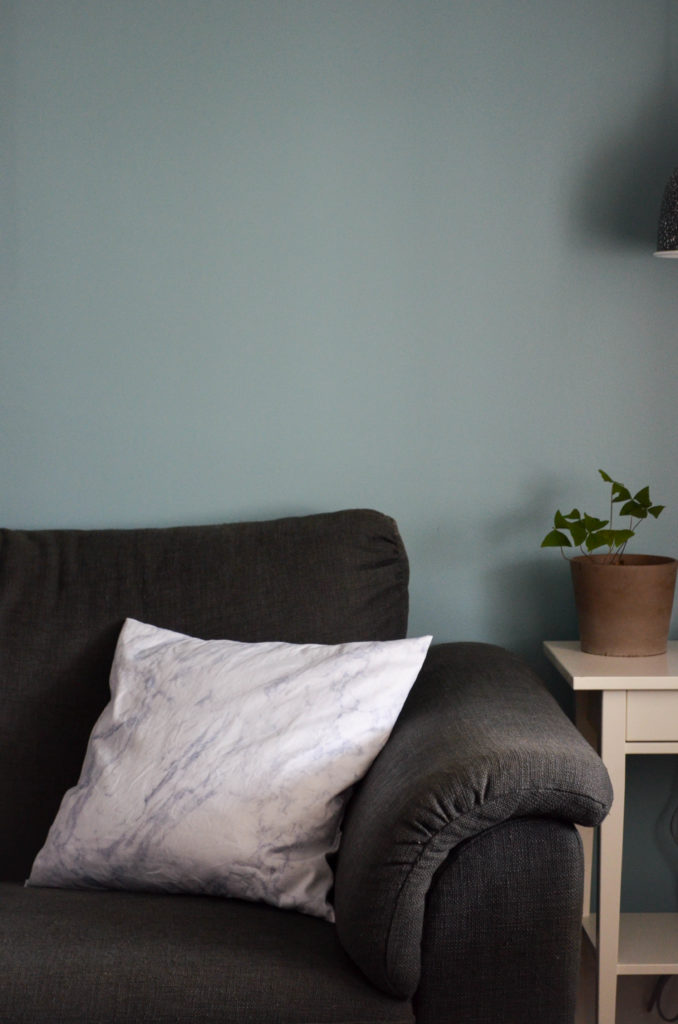
Fits snugly on a 20 x 20 Ikea cushion.
Tools Needed
- fabric scissors
- chalk pencil (or something for marking)
- long ruler
- pinking shears (or serger)
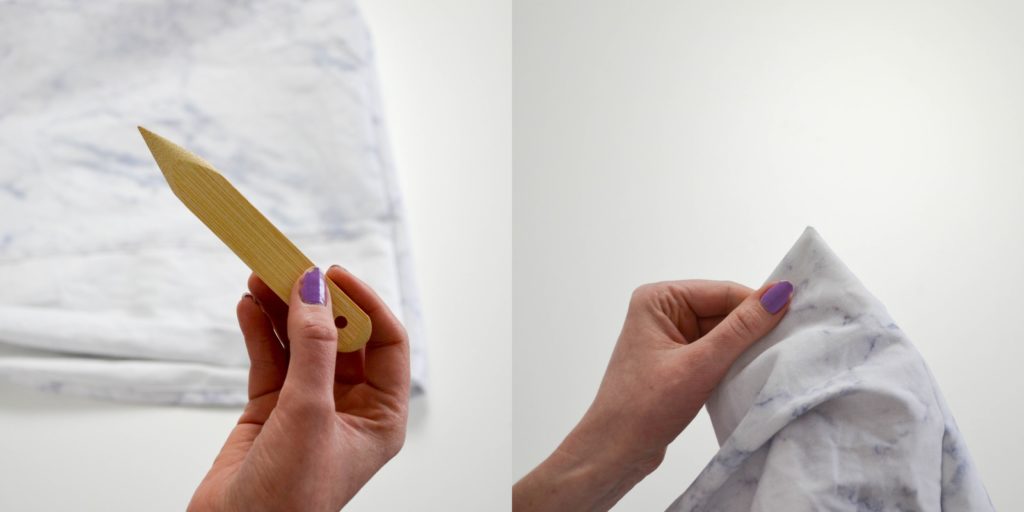
- point turner (or similarly shaped object)
- 1 yard or metre of a sturdy, woven fabric like twill or canvas for one pillow (1.5 yards for two). I will be using lightweight cotton twill from Spoonflower.
How to
Step 1
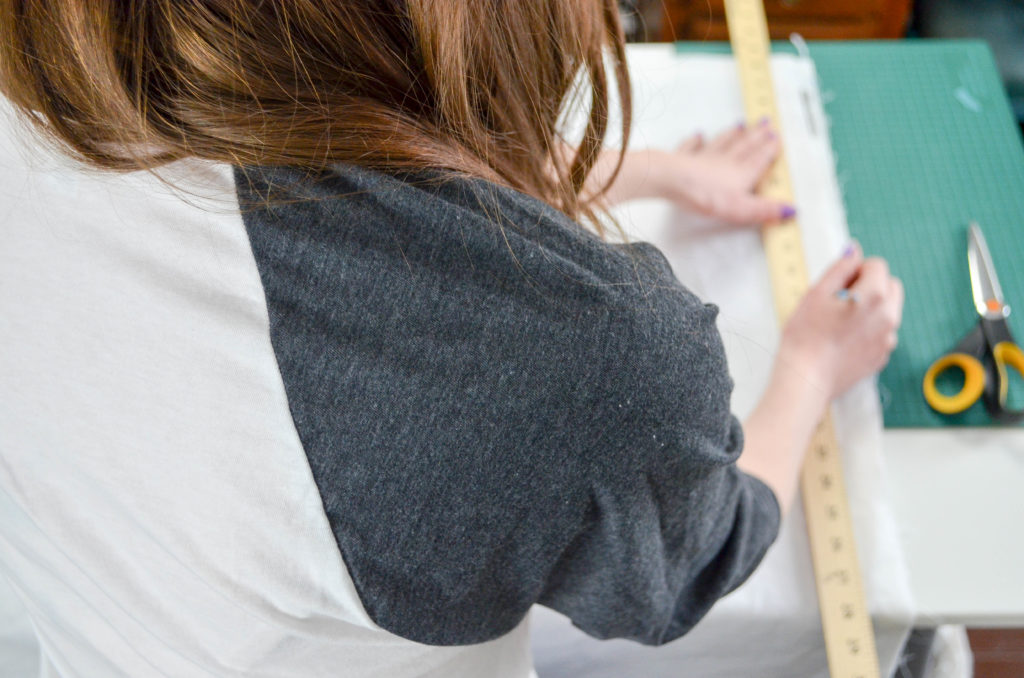
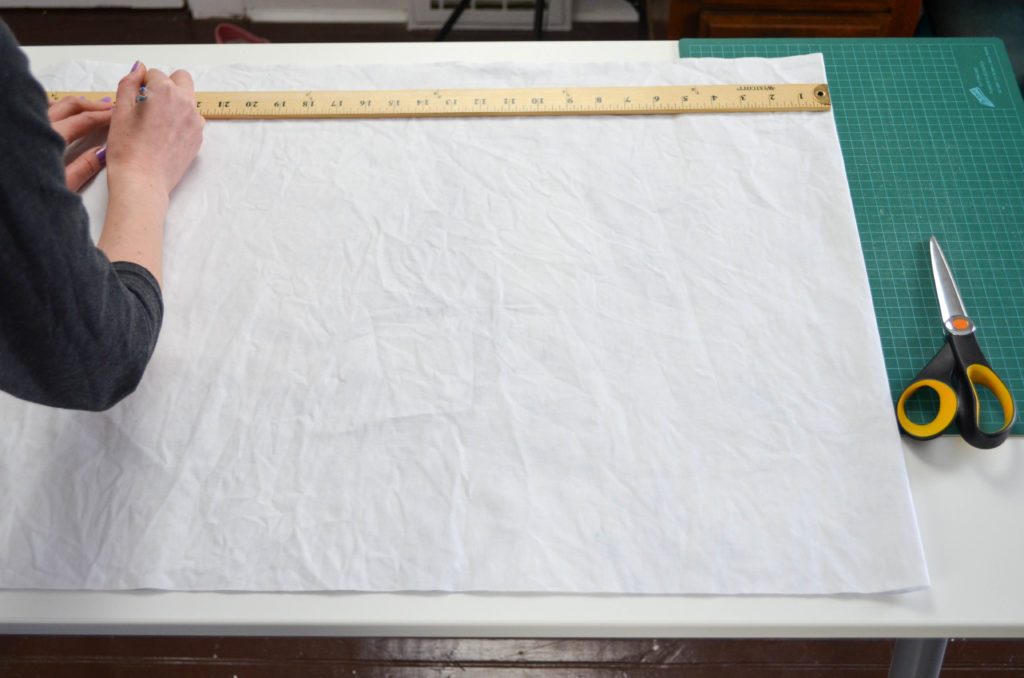
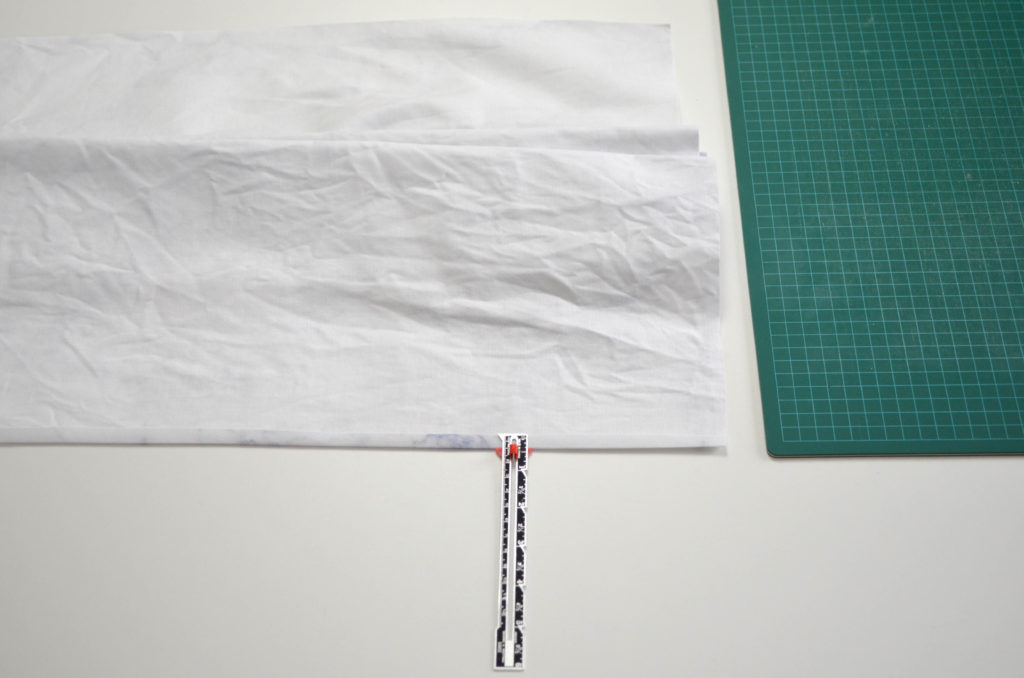
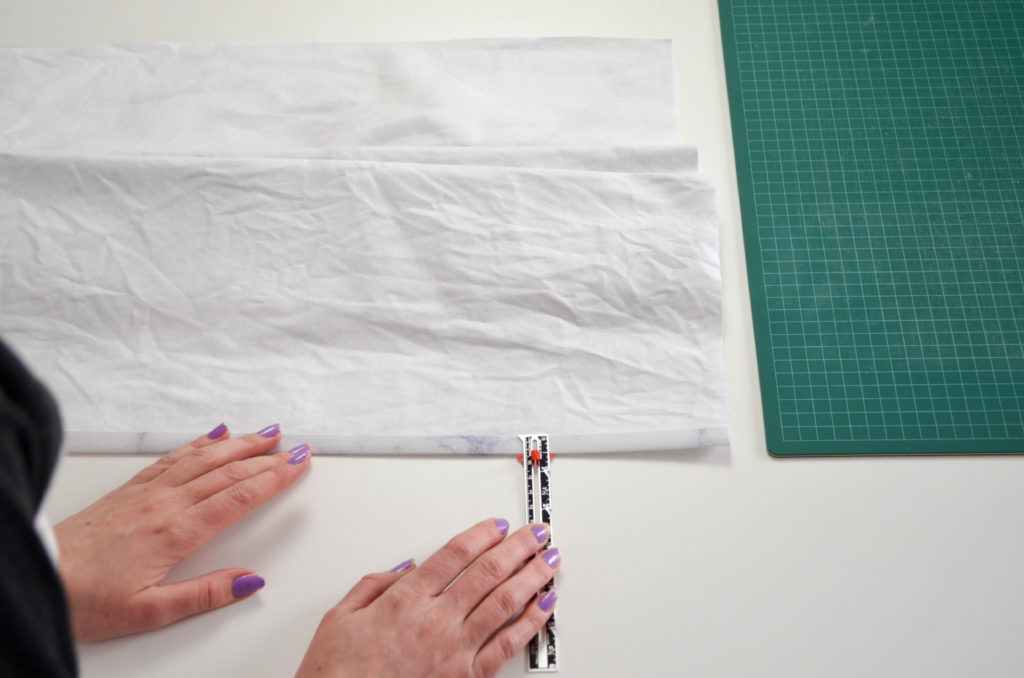
- With fabric running lengthwise and folded in half so selvage sides are together, use a ruler and chalk pencil to draw a straight line to trim up the cut end of your fabric.
Step 2
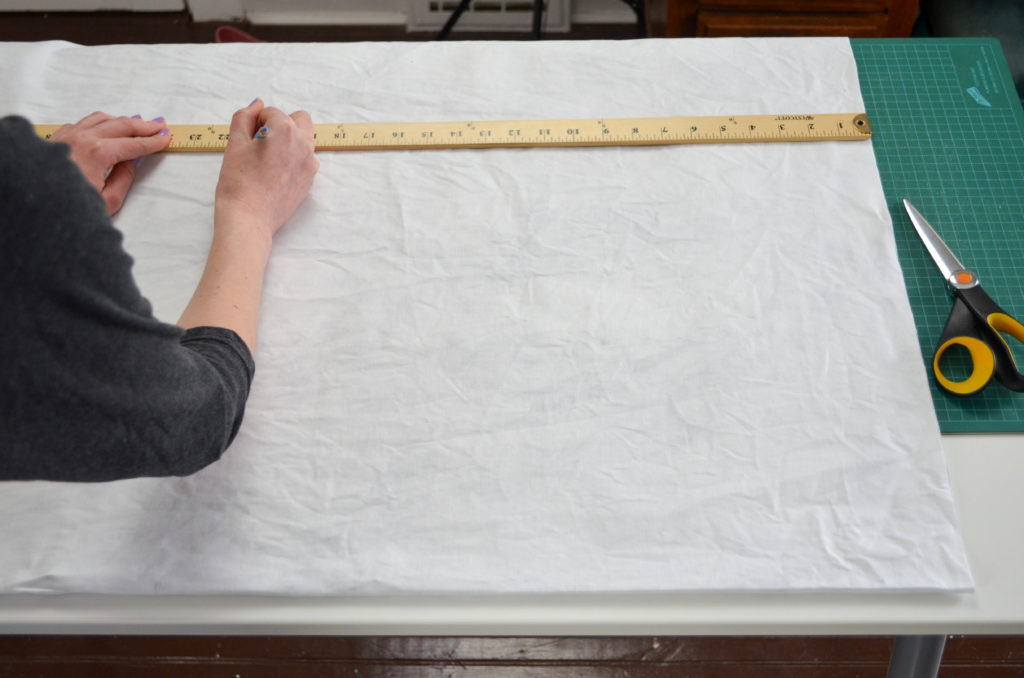
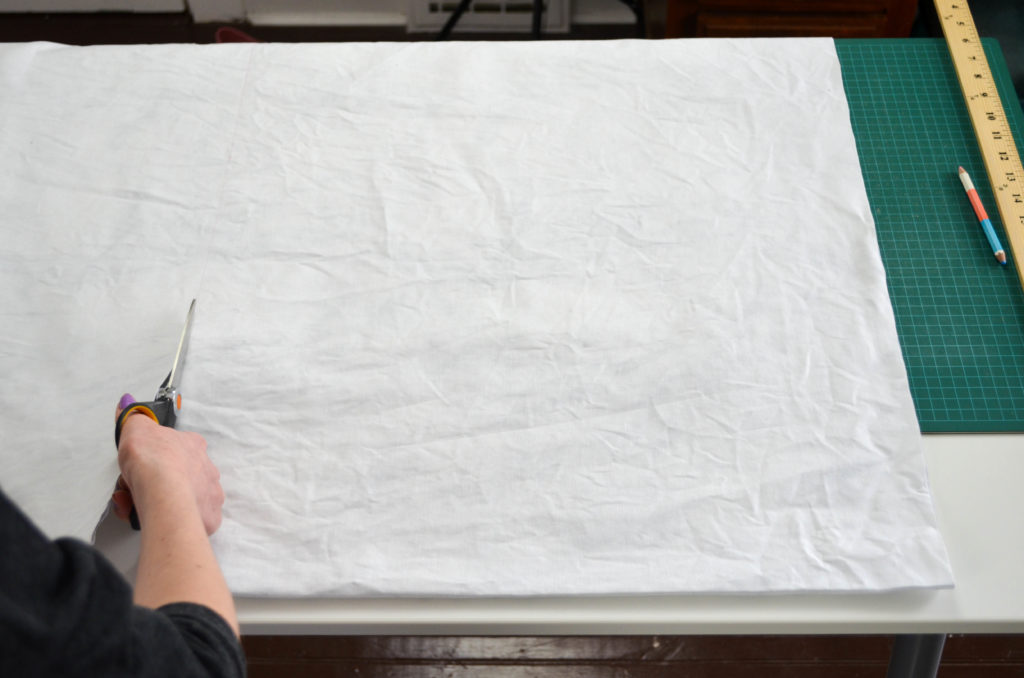
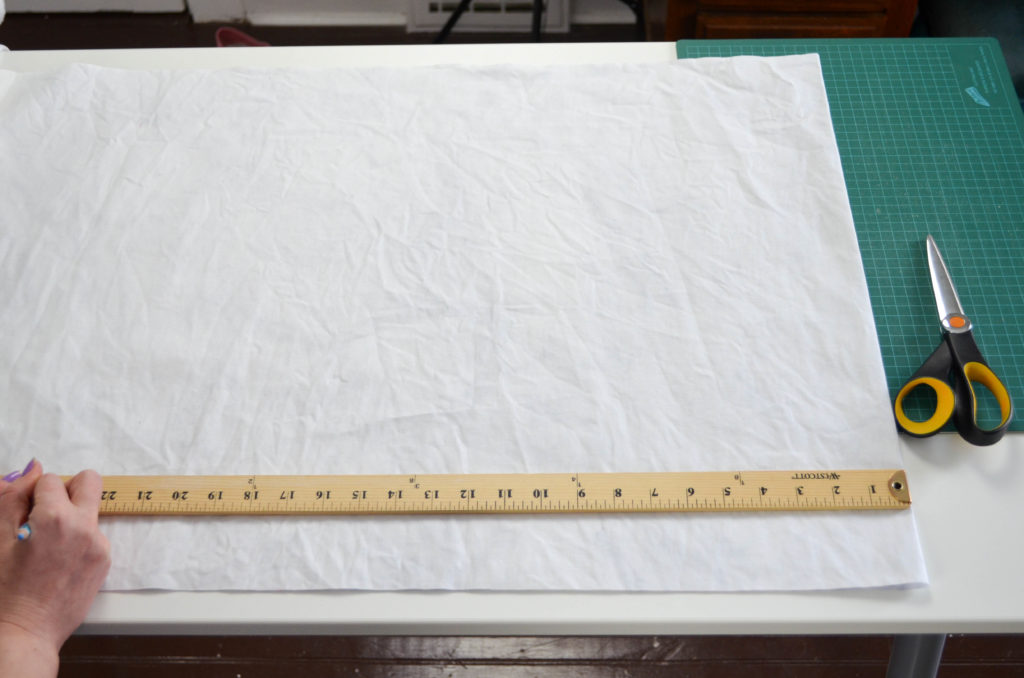
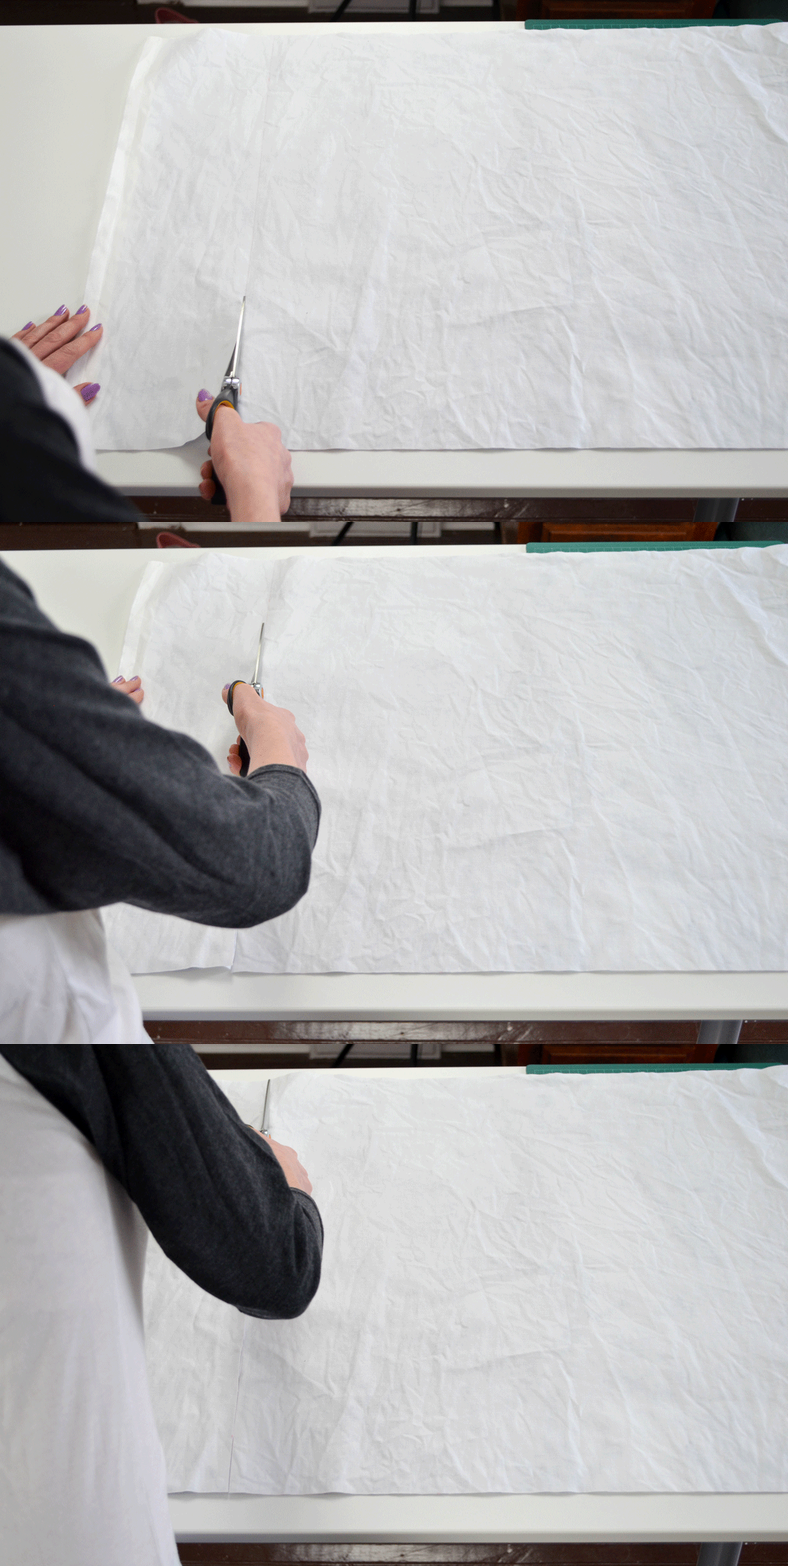
- Measure 21¼” from your first cut and draw a straight line. Cut.
Step 3
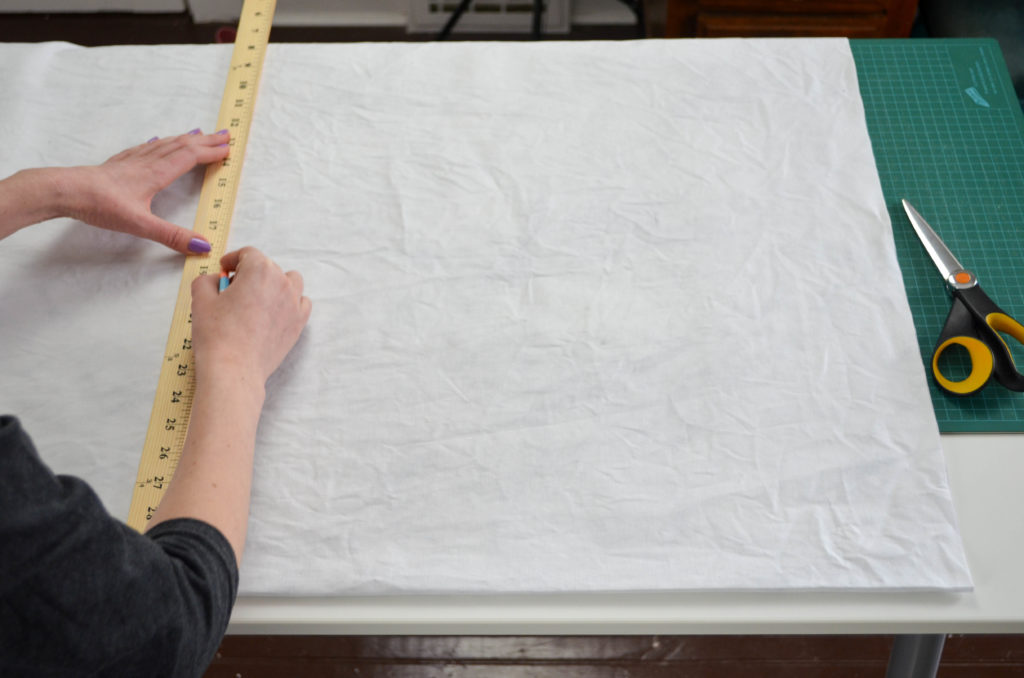
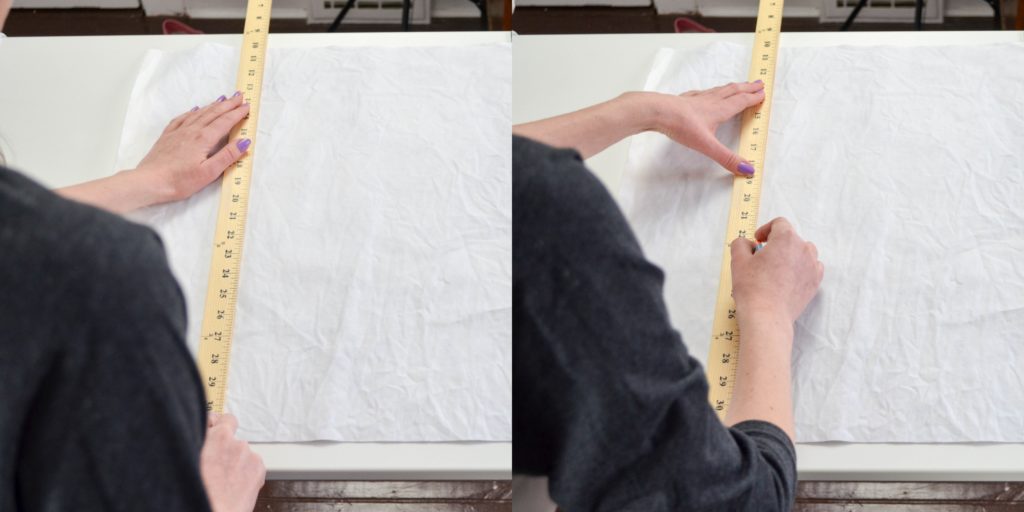
- Rotate the fabric so you are measuring from the one folded side. Measure 24″, draw a straight line and cut. (Save the cut away piece for your next quilt.) You should now have a long rectangle.
Step 4
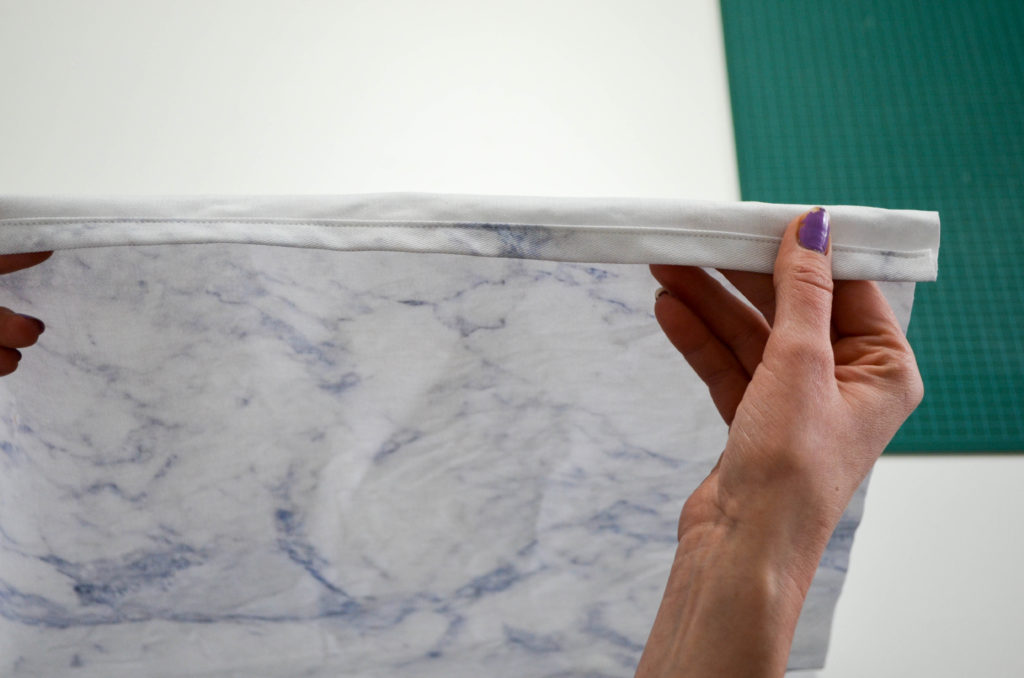
- Hem the two shorter sides of your lovely new rectangle by folding the edge over 3/8″, pressing with your iron, folding over again ½”, pressing again and sewing at the 3/8″ guideline on your sewing machine.
Step 5
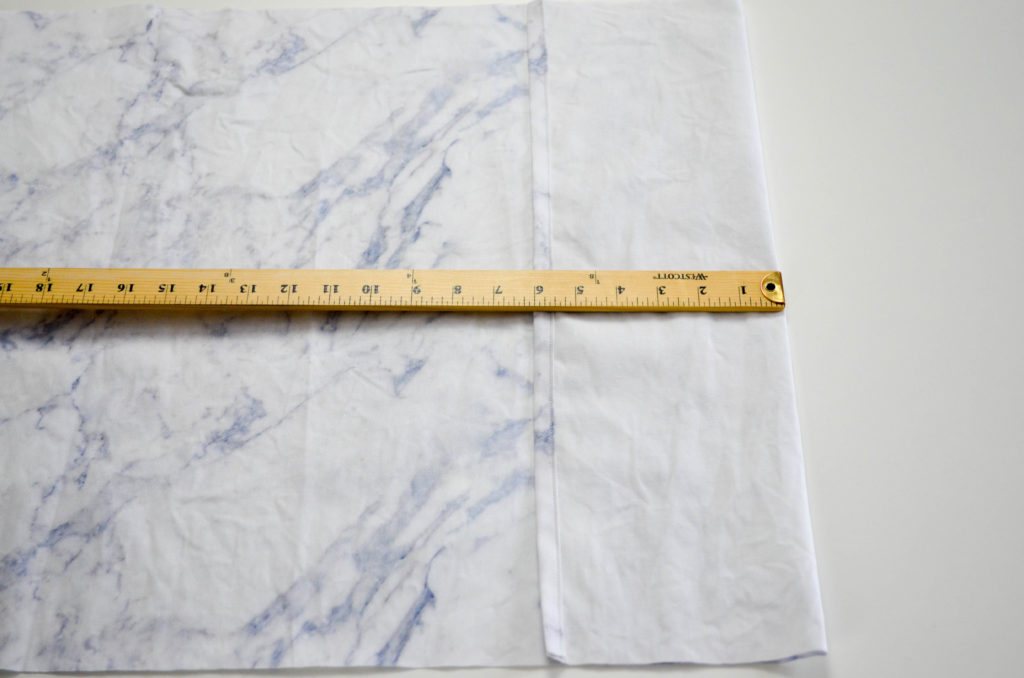
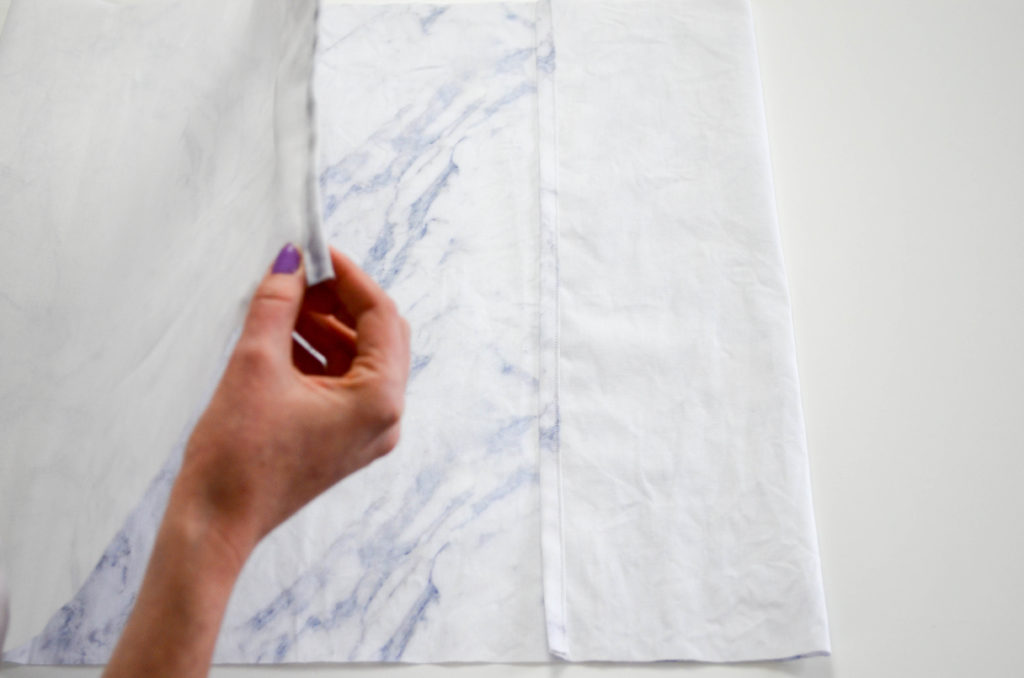
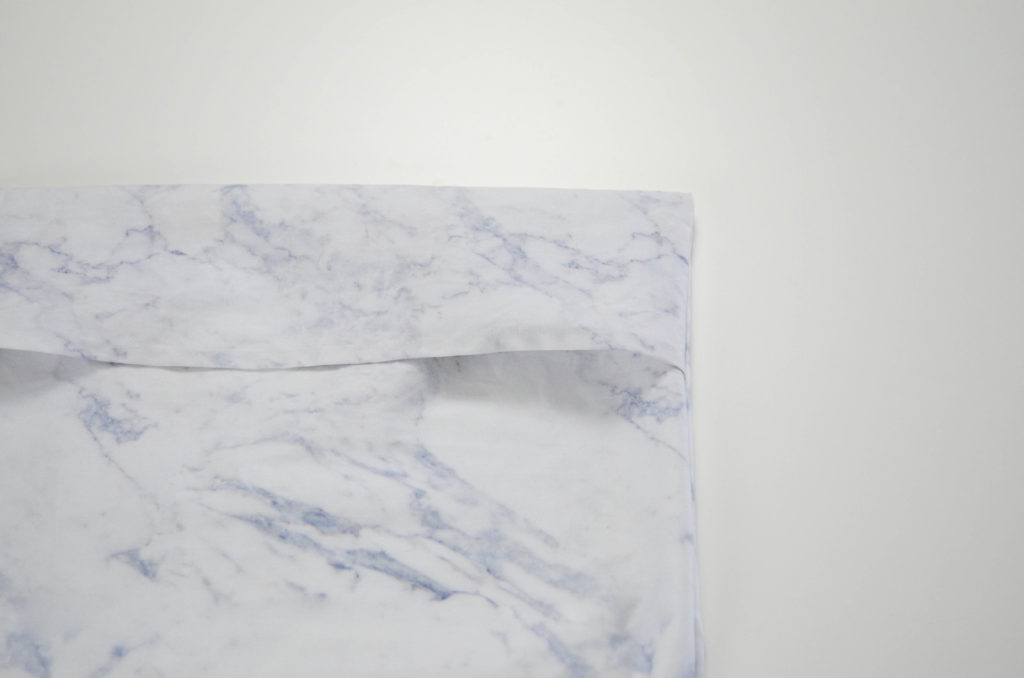
- Fold one of the hemmed short sides over by 6″ with wrong (printed) sides together.
Step 6
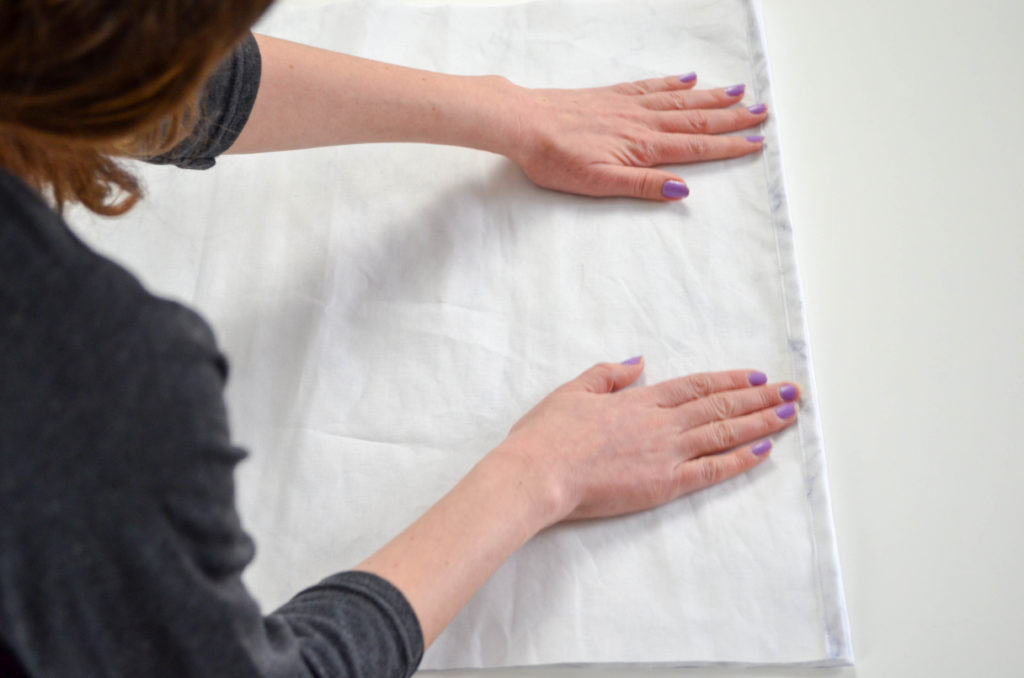
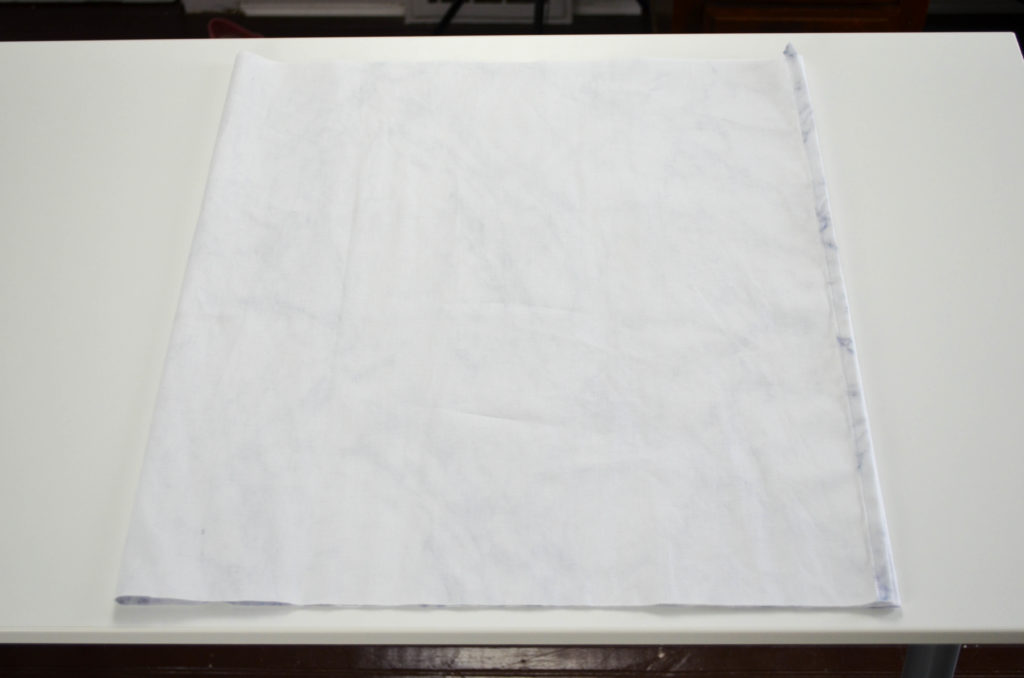
- Fold the other side over to meet the folded edge. Press folds to hold them in place while you sew.
Step 7
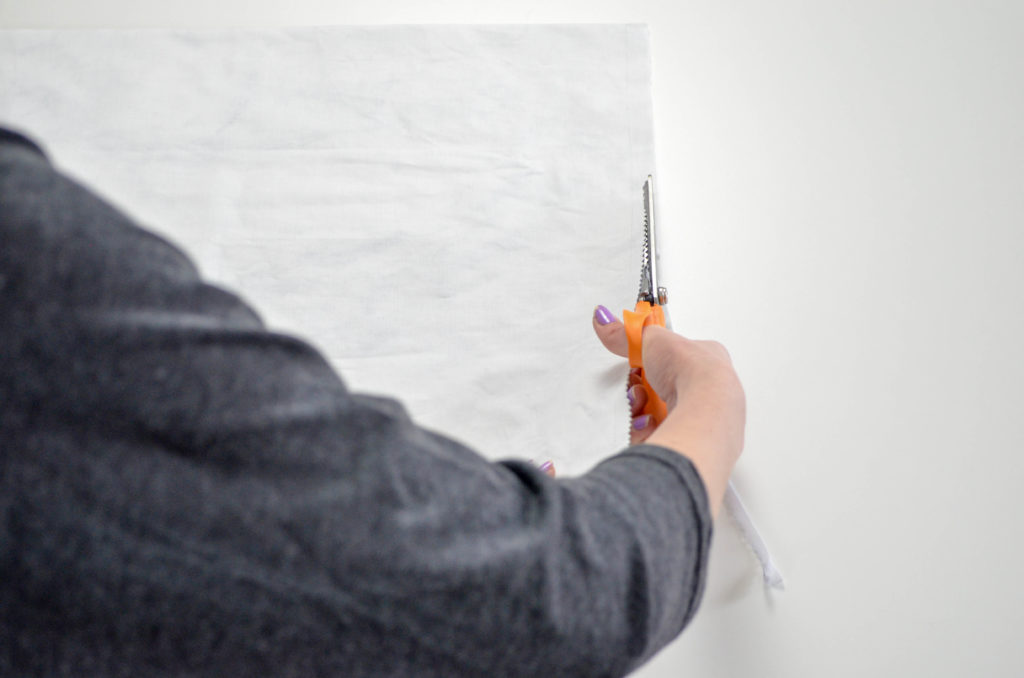
- Sew along entire open side with 5/8″ seam allowance. Finish the seams with pinking shears or a serger, if you have one. Trim the corners close to the stitching so they will turn out neatly.
Step 8
- Turn your new cushion cover right side out. Using a point turner (or similarly shaped object) work the fabric into the right places for a nice, crisp corner. Press to remove any wrinkles.
Don’t forget to wash and line-dry fabric before starting to prevent your finished project from shrinking. Give it a quick ironing, on reverse side of print, for more accurate measuring and straighter cuts.
All photos by me.

