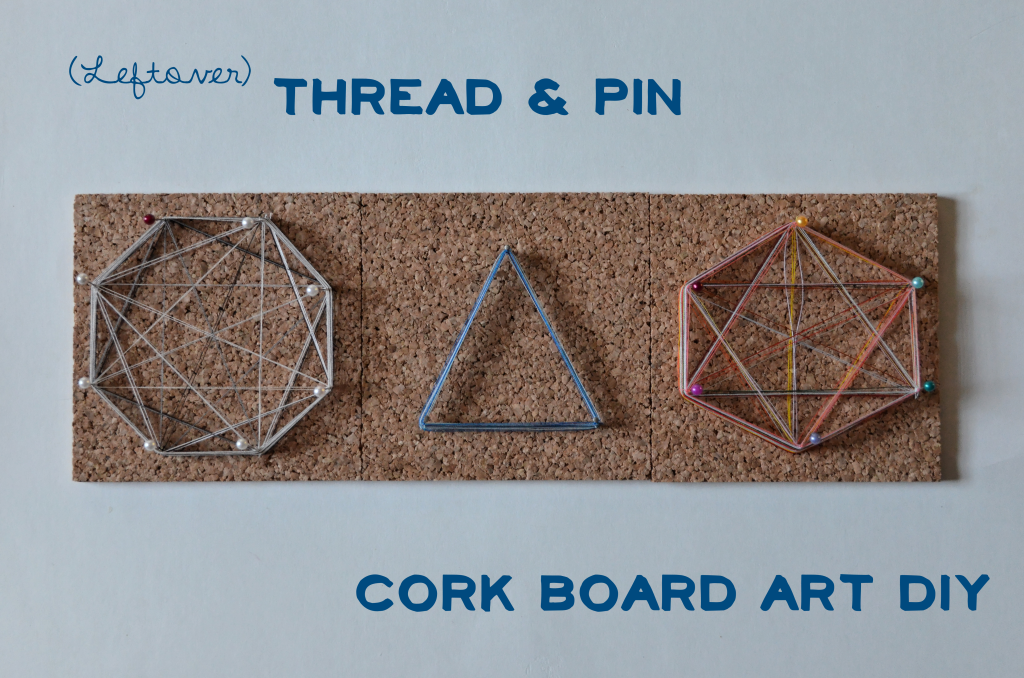
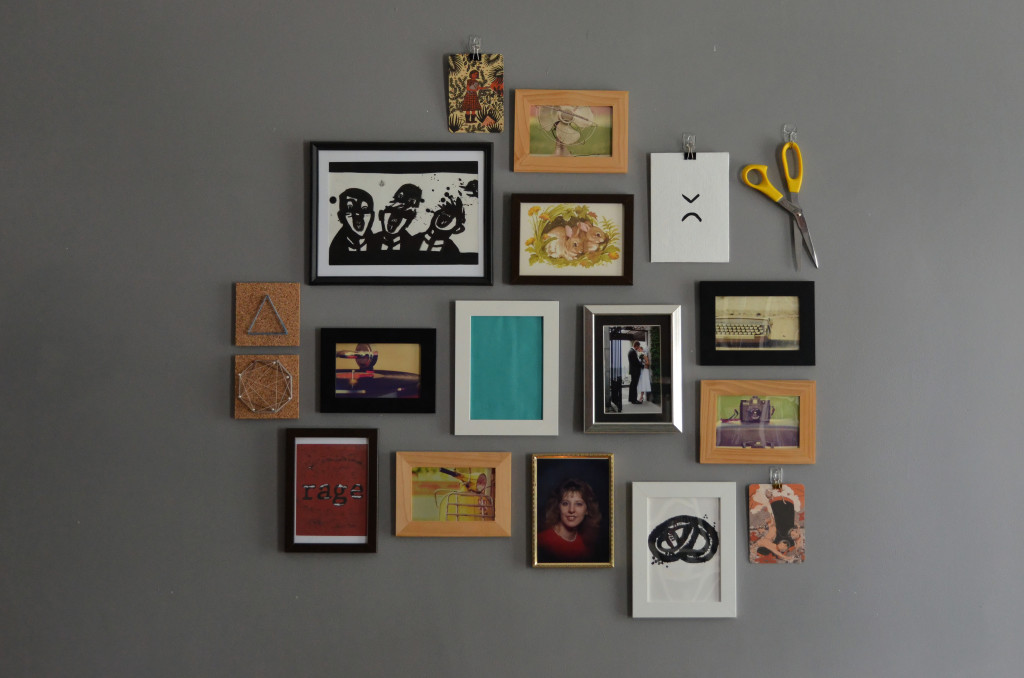
I’m always looking for uses for leftover thread. There are a few ways to reuse it while sewing, like using it for basting stitches, but after a few years of frequent sewing, it really starts to fill up the drawers and boxes you’ve been tossing it into. I had quite a lot of thread matching fabrics that I used up years ago, so I came up with a creative way to use it up: Thread and Pin Art.
It’s also a good way to reuse old, dull pins.
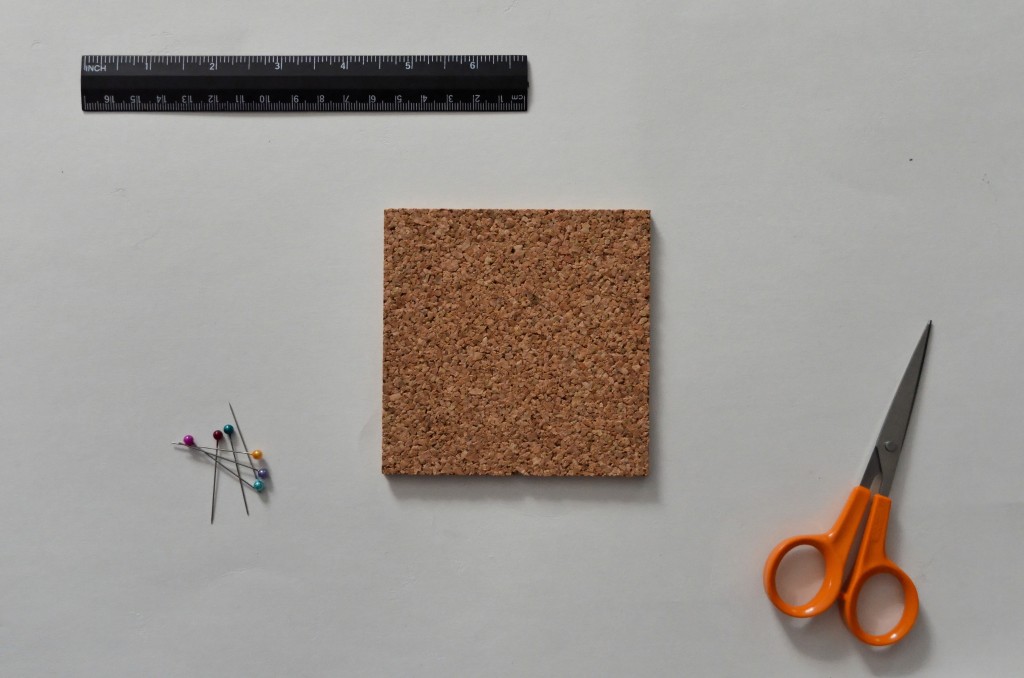
The Supplies
Cork Tile – I got mine here
Leftover Thread
Pins
Ruler
Scissors
How-to
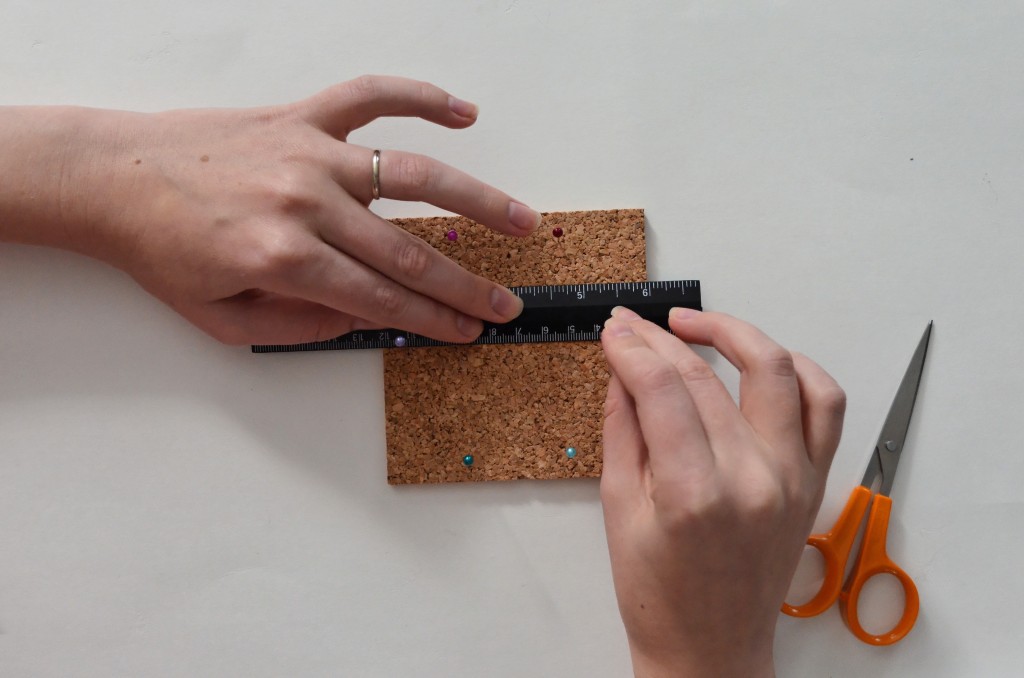
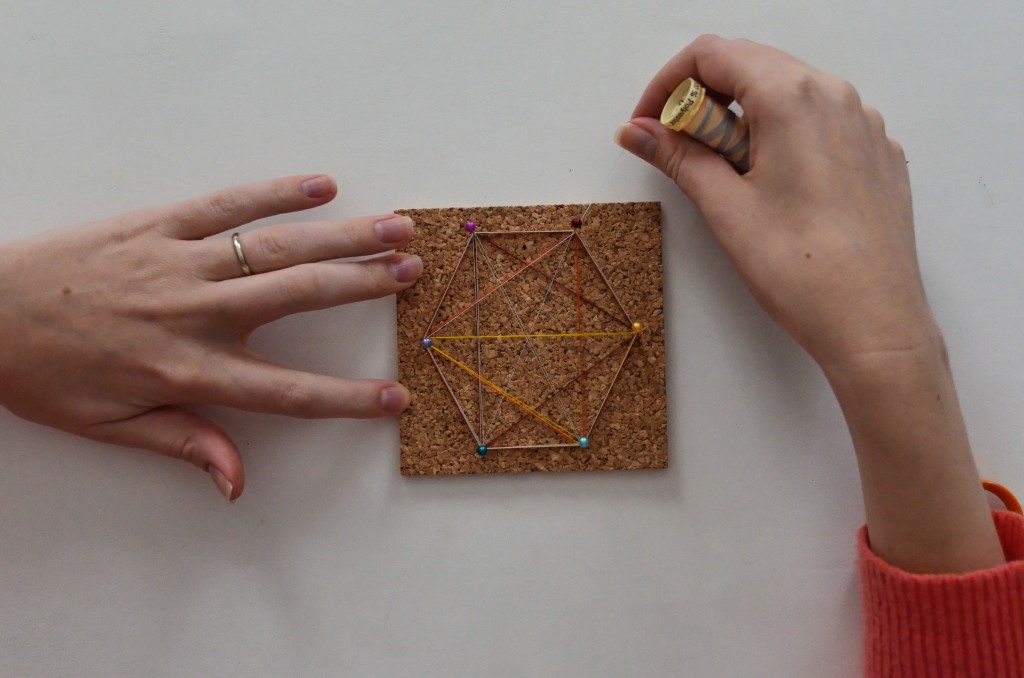
Start by forming a geometric shape with the pins in the cork tile. When you like the shape, use a ruler to measure all of your points to make sure they are equal and symmetrical. I placed my pins 1 cm in from the edge of the tile.
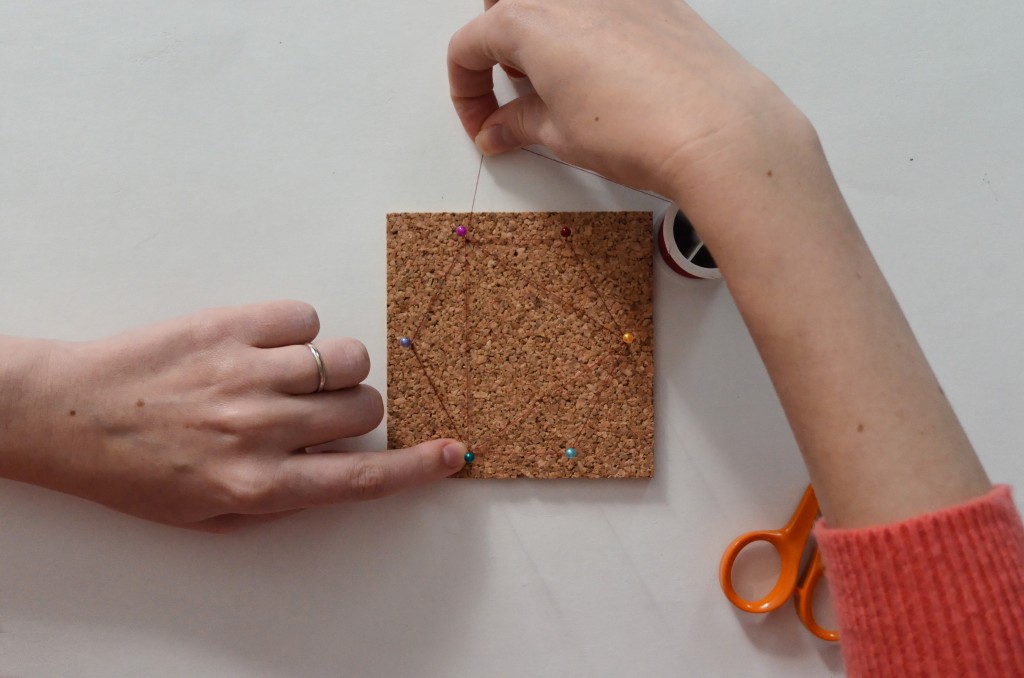
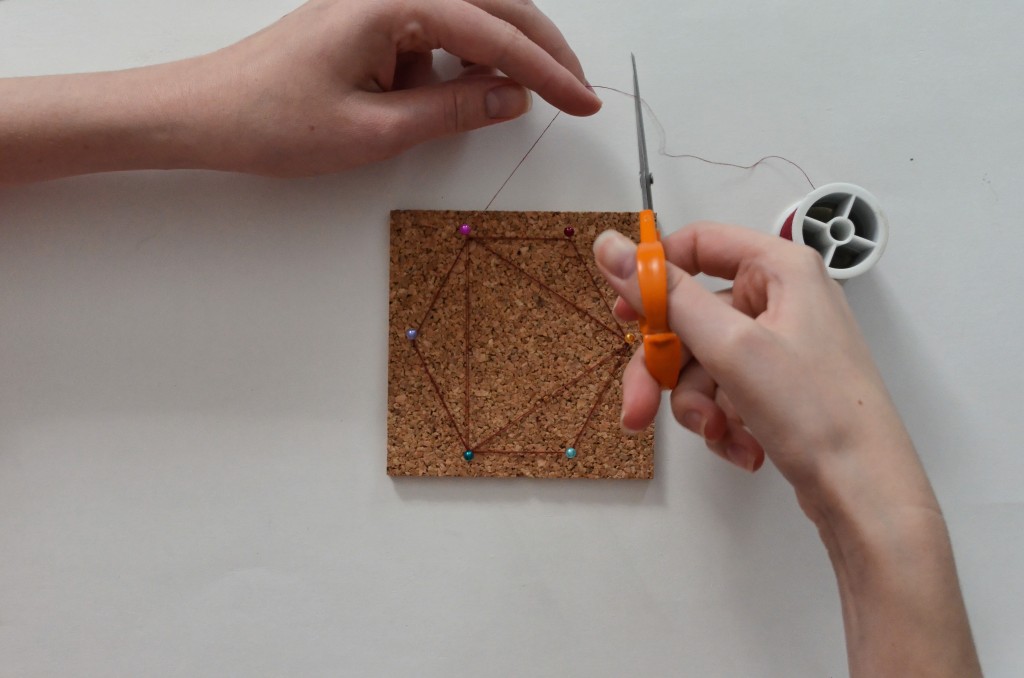
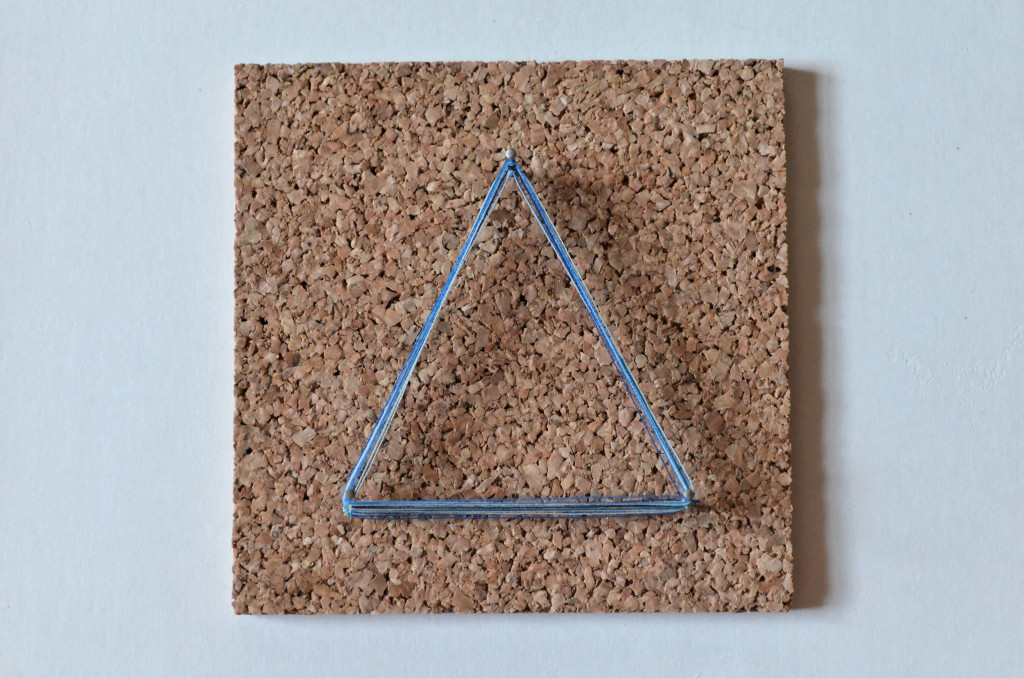
Then choose a starting point and tie the end of the thread around the pin with a double knot. Trim the excess thread. Gently push the knot down the pin until it is touching the cork tile. Now you can start wrapping the thread around the pins, doing a loop around each pin you pass, to form geometric shapes as you go. I find that wrapping the thread around the outside of the shape once before crossing through the inside works best. When you have encircled the outside and made one shape in the middle, repeat your steps so that each line you made is doubled. You should finish at the same pin as you started. Tie the thread around that pin in another double knot and trim the end.
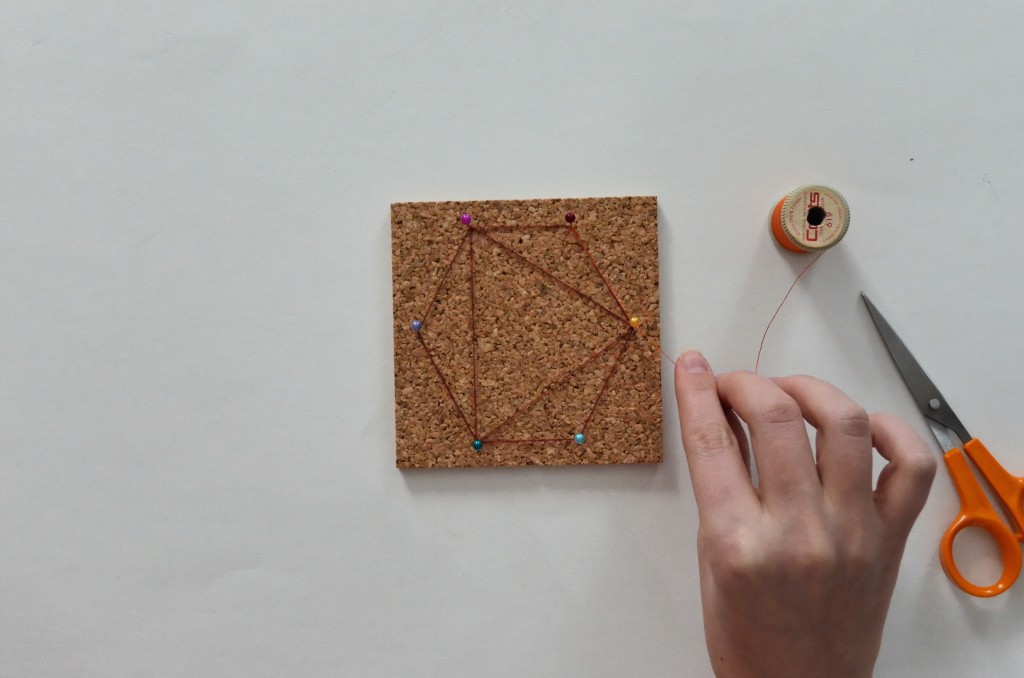
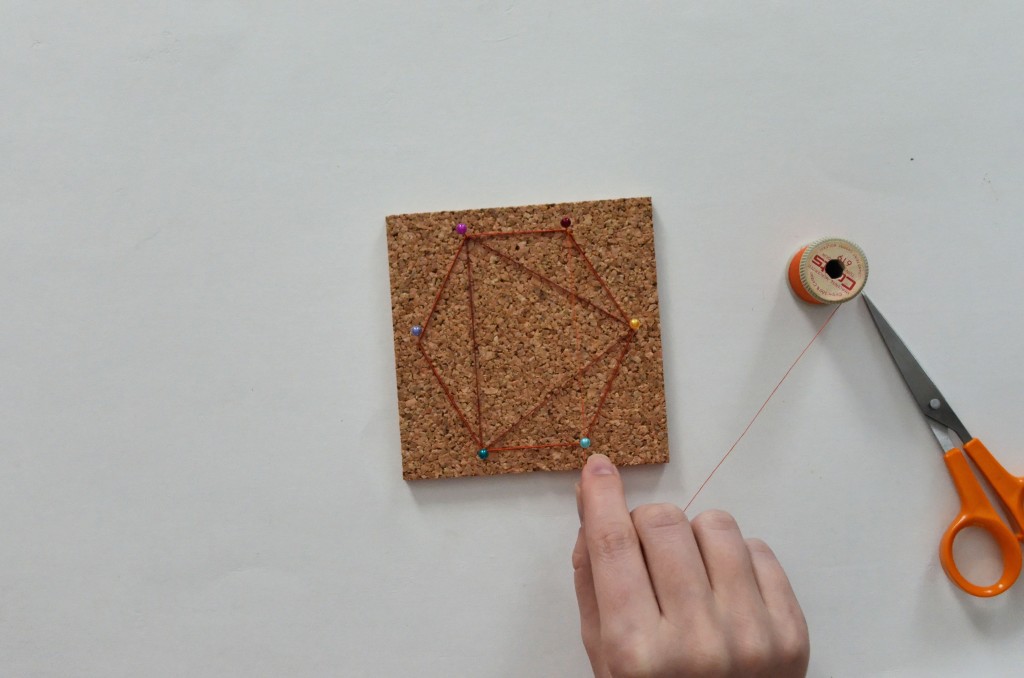
Next, choose a different colour of thread and start at the next pin over. You can make the same shape you did the first time or try a different one. I like to keep making the same shape until the lines start repeating. Some shapes will be redundant after two or three iterations and others can make it all the way around the shape before they lap over each other – memories of elementary school geometry will come flooding back.
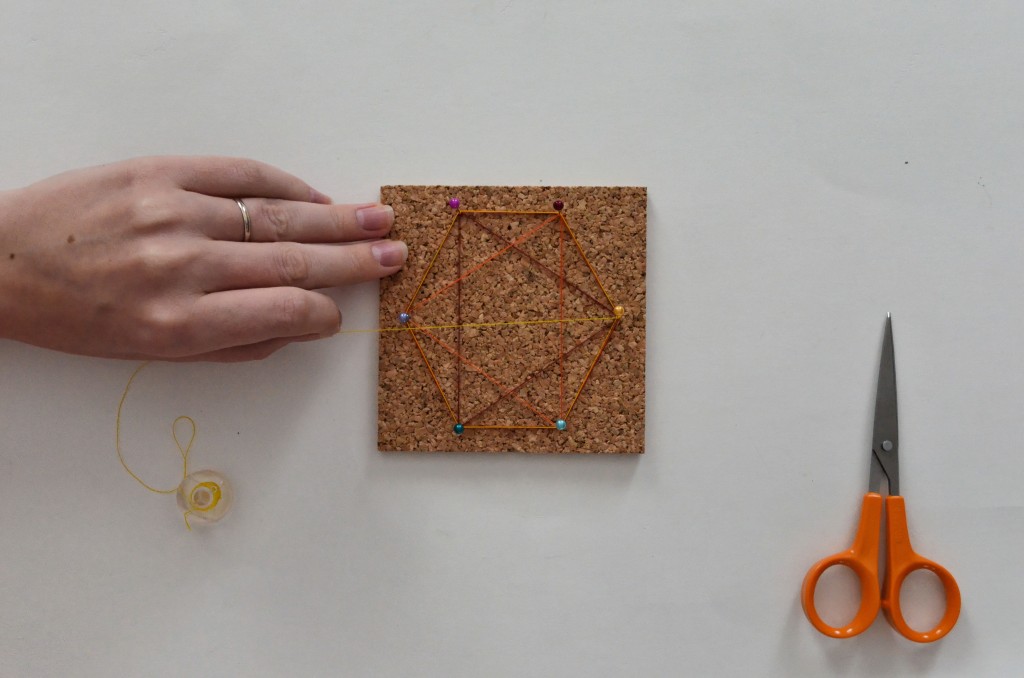
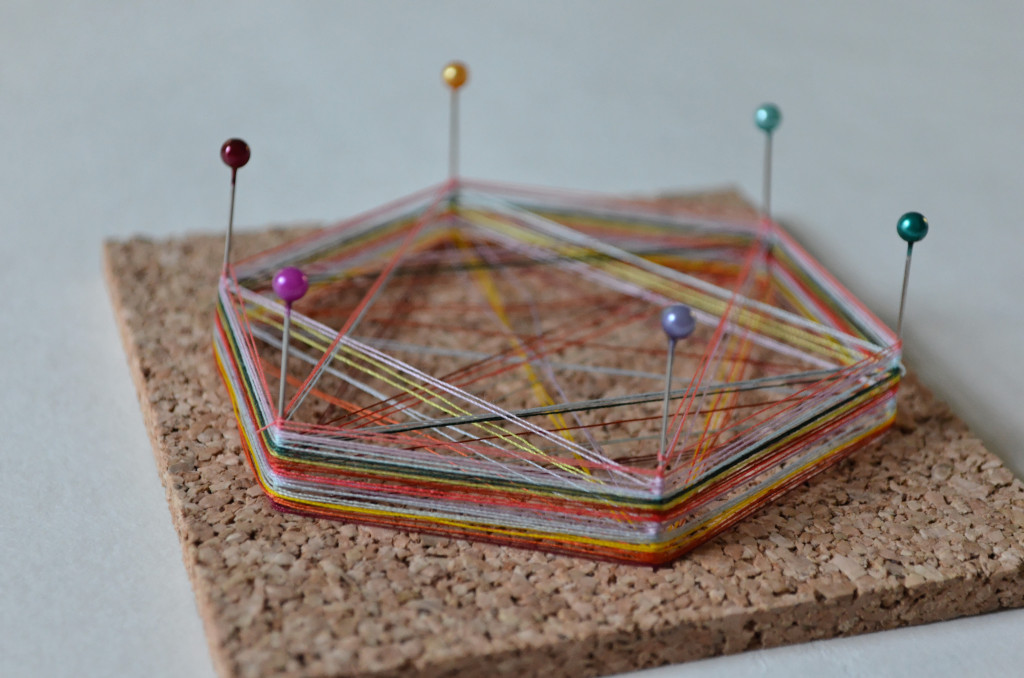
Keep repeating this process until you’ve made it back to your starting pin a few times and you are happy with your shapes and colours.
When you’re done, you’ll have something that looks like this:
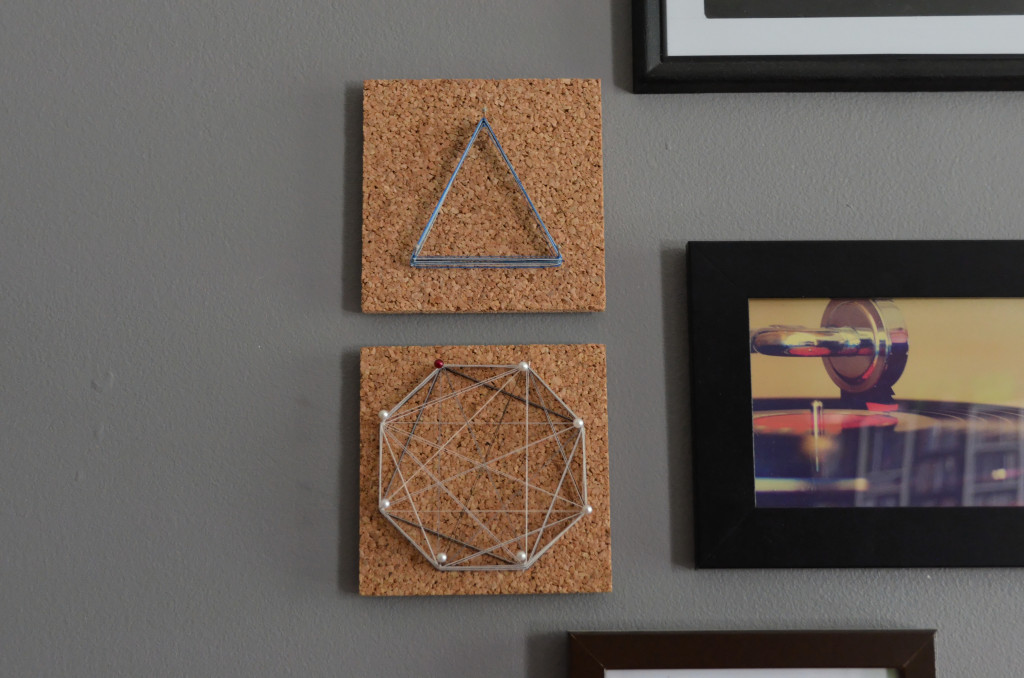
Then you can give them to friends are hang them on your wall with Command Strips.
All photos by me.

