My Dog Ate It

My Dog Ate It | Sophster-Toaster

Pepper has always been quite the little troublemaker. We were lucky enough to survive both of the puppy chewing phases without too much damage to our house or anything we love. We lost most of our cardboard coasters, a few water glasses that got in the way of her forbidden coaster love, and we need to repaint some trim and windowsills but we managed to through it without her destroying anything major. The one thing she did get, however, was a book I forgot to put away one day – and it broke my heart.

My Dog Ate It | Sophster-Toaster

It wasn’t a rare or vintage book, just a pretty, hardcover copy of Jane Austen’s Emma, but I was still upset by the lost. Pepper got a hold of it while I was working upstairs, roughed the covers up pretty badly, chewed all the pages and ripped some of them out. I couldn’t bring myself to throw it away and it was in no condition to be donated to anything other than an art project.

My Dog Ate It | Sophster-Toaster

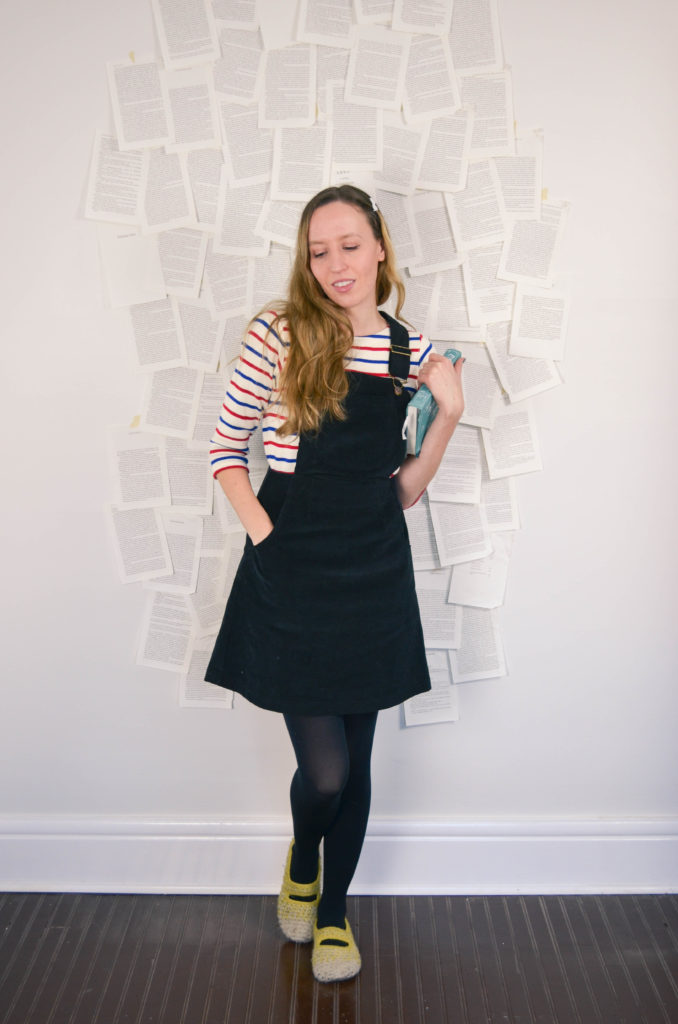
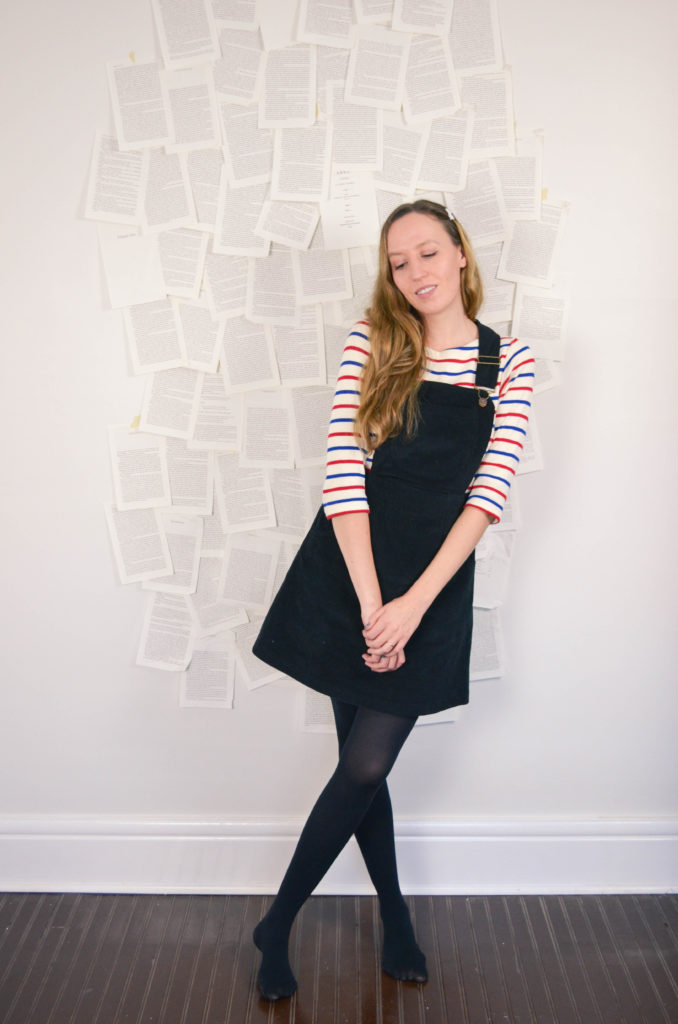
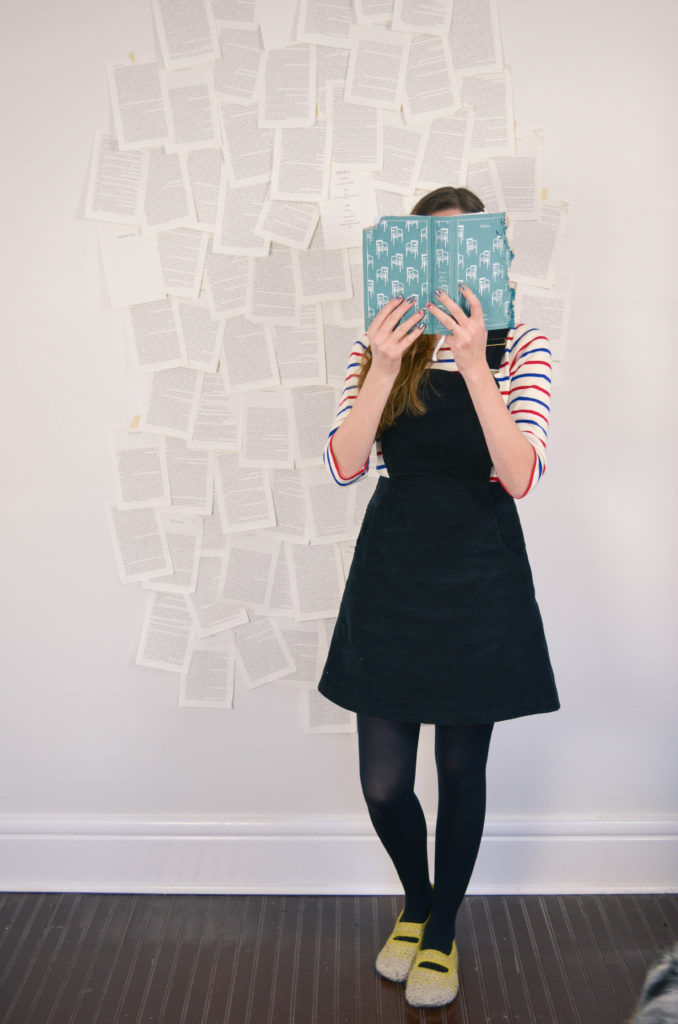
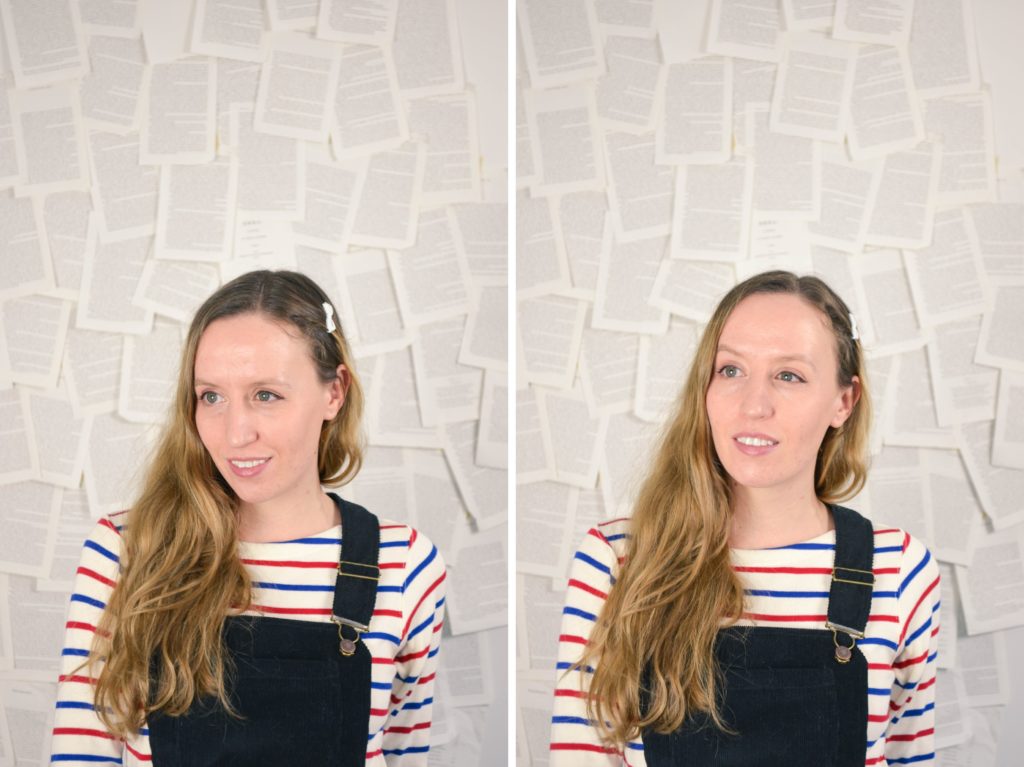
I replaced the book when I saw it on sale and held onto the destroyed version with the hope that I could use it for something. The other day I finally found a project. I pulled some of the remaining pages out and taped them up in my work room to use as a backdrop for pictures. I’m really happy with how it turned out and so pleased that the book has lived on in another form.
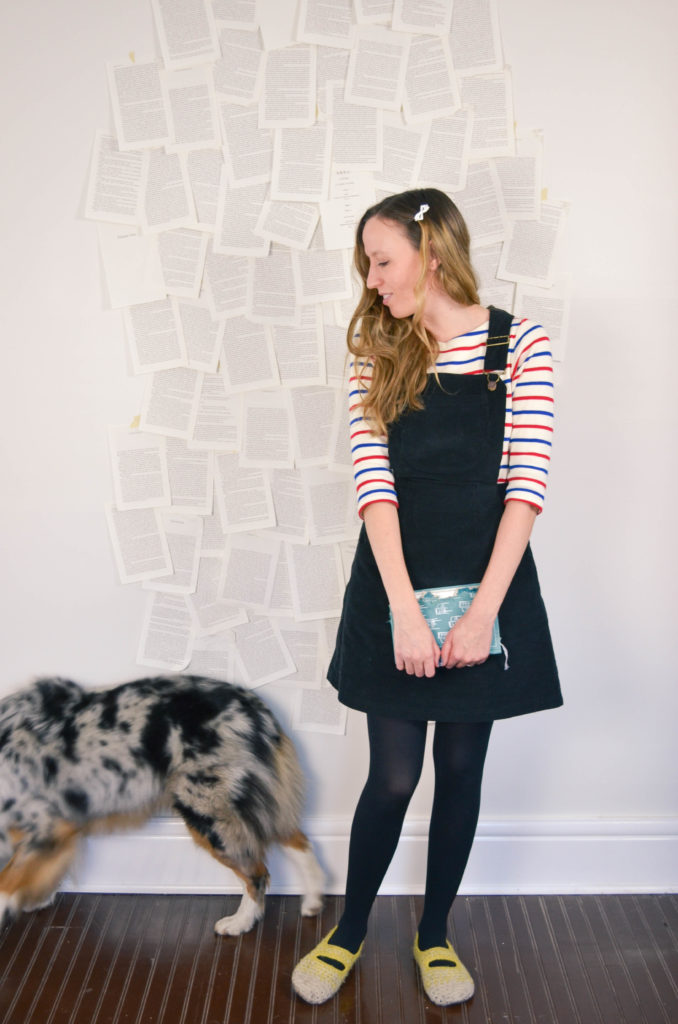
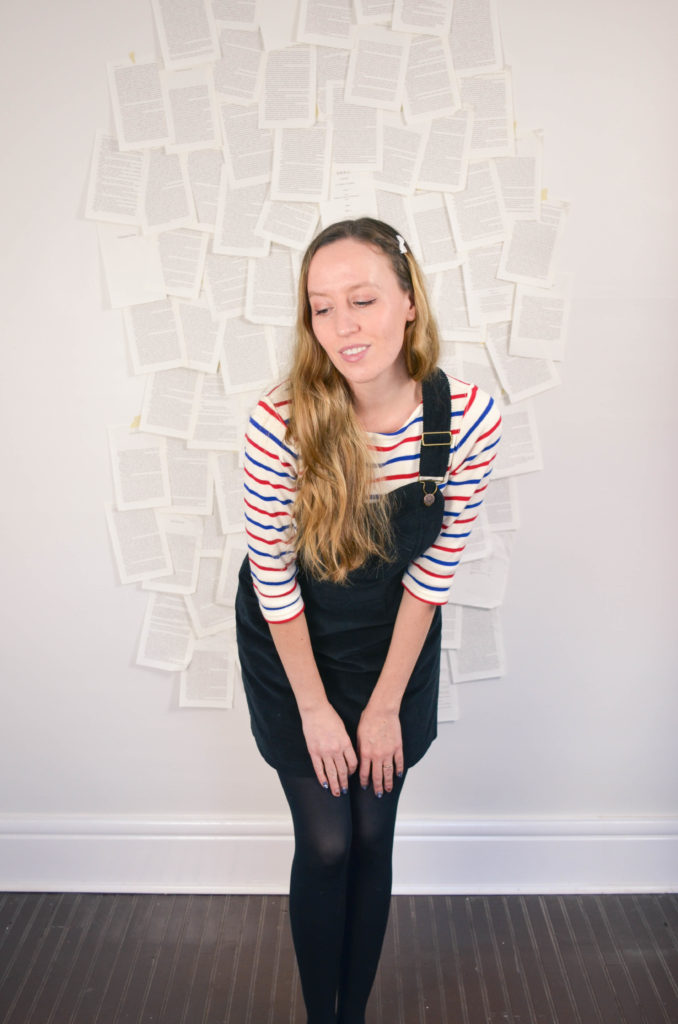
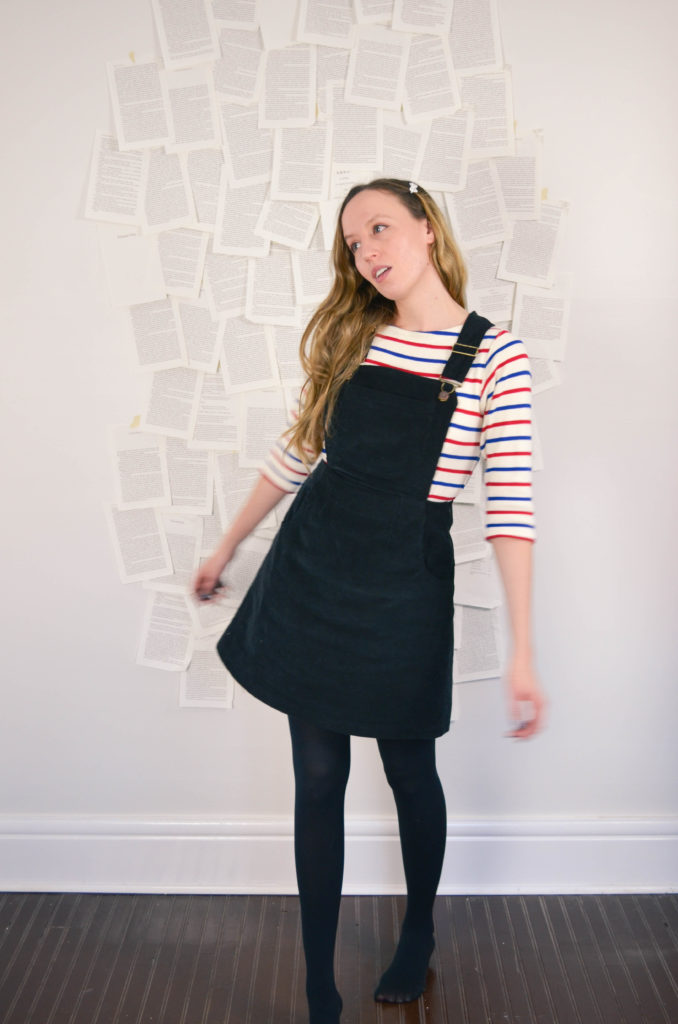
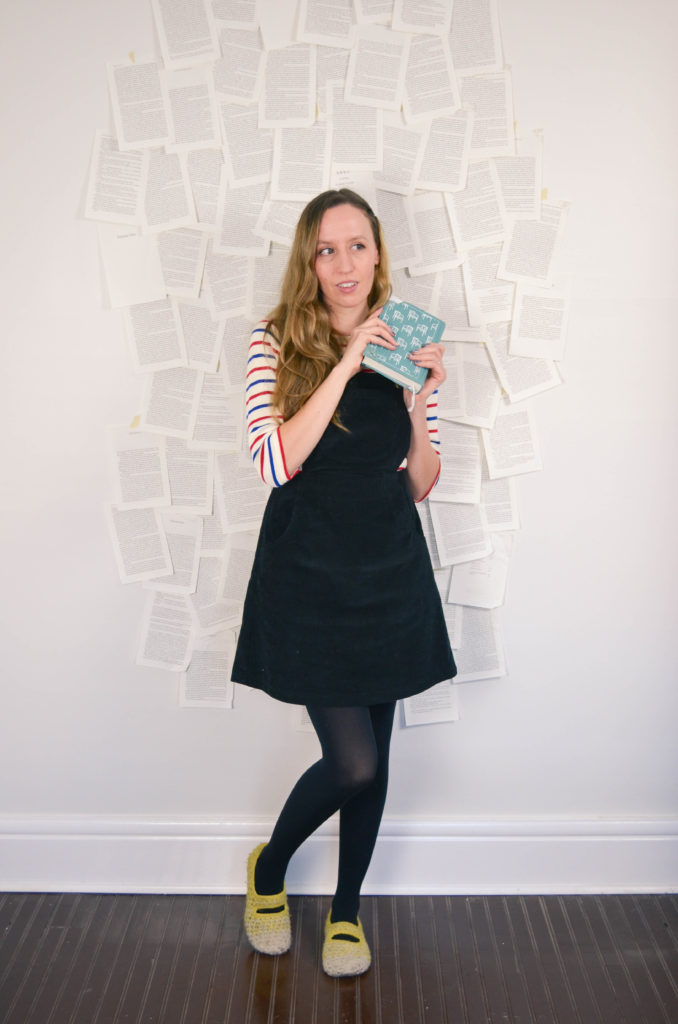
My Dog Ate It | Sophster-Toaster My Dog Ate It | Sophster-Toaster My Dog Ate It | Sophster-Toaster My Dog Ate It | Sophster-Toaster My Dog Ate It | Sophster-Toaster My Dog Ate It | Sophster-Toaster

Jumper Mod Dolly
Sweater L.L.Bean
Nylons Target
Slippers White Noise Maker
Barrette old

All photos by me.


Handmade Holiday Gift Guide

I hope you like these products as much as I do! Just so you know, I may collect a commission or other compensation from the links provided on this page.

1. Unique holiday greeting cards everyone (especially mom) will love.

Handmade Holiday Gift Guide | Sophster-Toaster

Get them from The Critter Co for $6 each.

2. A dreamy necklace for the girl with her head in the clouds.

Handmade Holiday Gift Guide | Sophster-Toaster

Get it from Curious Oddities for $75.20.

3.  A deceivingly warm corduroy jumper for the girl who’s always cold.

Handmade Holiday Gift Guide | Sophster-Toaster

Get it from Mod Dolly for $92.92.

4. A cross stitch kit for your crafty friend with bare walls.

Handmade Holiday Gift Guide | Sophster-Toaster

Get it from Diana Watters Handmade for $35.

5. The cutest little polar bear necklace for the animal lover in your life.

Handmade Holiday Gift Guide | Sophster-Toaster

Get it from Swimming Fox Studio for $23.

6. An effortlessly cool shelf for the new homeowner.

Handmade Holiday Gift Guide | Sophster-Toaster

Get it from Stained Lace for $36.

7. A checklist map of Canada’s National Parks for your most adventurous friend.

Handmade Holiday Gift Guide | Sophster-Toaster

Get it from Ello There for $45.50+, with lots of add-on options.

8. A subtly festive pinecone necklace for the friend who never wants Christmas to end.

Handmade Holiday Gift Guide | Sophster-Toaster

Get it from Emery & Opal for $27.34.

9. A fuzzy friend for your littlest friend.

Handmade Holiday Gift Guide | Sophster-Toaster

Get it from Miso Handmade for $20.51.

All photos courtesy of product makers.

Thrifty Hike

Thrifty Hike | Sophster-Toaster

They don’t make them like they used to. My husband and I discovered, a few years ago, that the best place to buy warm, well-made and affordable sweaters is at thrift stores. He’s been lucky enough to find some great vintage pieces from the 70’s and 80’s while I’m still kicking myself for leaving without a matching set of classic 80’s ski sweaters (because my arms were already full of other cute sweaters). We’ve found the luxuriously thick, double knit, wool blend, not-quite Cosby sweater my husband wore today, cashmere cardigans, and the not vintage but classic cable knit + pom pom wool blend sweater I’m wearing with my (also thrifted) flannel. We just can’t find sweaters warm and hearty enough to hike in single digit temperatures like this at the mall or online, and certainly not for $6-10 a pop!

Thrifty Hike | Sophster-Toaster Thrifty Hike | Sophster-Toaster Thrifty Hike | Sophster-Toaster Thrifty Hike | Sophster-Toaster Thrifty Hike | Sophster-Toaster Thrifty Hike | Sophster-Toaster Thrifty Hike | Sophster-Toaster Thrifty Hike | Sophster-Toaster

Sweater thrifted
Flannel thrifted
Jeans Modcloth
Boots old
Hat ModCloth

Thrifty Hike | Sophster-Toaster Thrifty Hike | Sophster-Toaster Thrifty Hike | Sophster-Toaster

All photos by me and Matt.

Absinthe Macarons

Absinthe Macarons | Sophster-Toaster

Everyone tastes absinthe a touch differently. I taste licorice, black cherry and freshly ground nutmeg in this absinthe from Dillon’s that I’m using today, while my husband describes flavours of anise and marzipan. Absinthe is fairly strong on its own. When preparing a glass of absinthe to drink, one dilutes it with cool water slowly poured over a sugar cube.  When used as a flavouring in baking, it acts more like an extract. Just like the water and sugar in the glass, the unique, bewitching flavours of the absinthe are tempered and diluted in the sweet buttercream. When paired with a classic almond and vanilla flavoured macaron shell, it creates a mysteriously timeless treat.

Absinthe Macarons | Sophster-ToasterAbsinthe Macarons | Sophster-Toaster Absinthe Macarons | Sophster-Toaster Absinthe Macarons | Sophster-Toaster Absinthe Macarons | Sophster-Toaster Absinthe Macarons | Sophster-Toaster Absinthe Macarons | Sophster-Toaster

Ingredients

for the macaron shells

  • 1 cup ground almonds (as finely ground as you can find)
  • 1½ cup icing sugar
  • 3 large egg whites, at room temperature
  • 1/3 cup sugar
  • 1 tsp vanilla
  • black gel food colouring

for the buttercream filling

  • 7 tbsp unsalted butter, softened
  • 3 tbsp water
  • 3 tbsp sugar
  • 1 egg, at room temperature
  • 2 tbsp absinthe
  • green food colouring

Absinthe Macarons | Sophster-Toaster

Method

for the macaron shells

  1. Prepare your parchment sheets by drawing 1″ circles, ½” apart across the entire sheet (or using silicon baking mats with the circles already printed on them) and placing them on a large flat surface suitable for drying your batter, like a dining table. You will need 2-3 half sheet pan size pieces.
  2. Sift ground almonds and icing sugar together, twice. Set aside.
  3. In a large stainless steel mixing bowl, beat egg whites with a hand or stand mixer on high speed until you have a foam with no liquid remaining.
  4. Slowly add the sugar while continuing to beat the egg whites. Beat on high speed until the egg whites reach stiff peaks. You’ve made meringue!
  5. Add vanilla and gently beat in.
  6. Add food colouring and gently beat in. The batter will darken as you work it and the cookies will come out darker still, so don’t worry about getting a true black right now.
  7. Fold your almond and icing sugar mixture into the meringue in two parts.
  8. Here’s the part that takes practice: it’s time for the macaronnage! With a spatula, spread the batter, with some force, against the side of the bowl. Then scoop it up by running the spatula along the side of the bowl again and try to flip it all over and sort-of lightly smack it back into the bottom of the bowl. Gather the batter up again and repeat 15 times. It takes some time to figure out the best way to do this, don’t be afraid to play around with it. When doing the macaronnage correctly, repeating more than 20 times can result in oily, blotchy macarons, but I’ve found that doing it incorrectly doesn’t count towards this limit. If you are doing it right, the batter will take on a noticeable and somewhat sudden change in consistency, this means you are about half-way to that limit. When finished, the batter should be thickened and drip slowly from the spatula. You will have to pipe it onto your baking sheets/mats and it won’t work if the batter is too runny. This is the technique that defines macarons, this is what makes mastery of them impressive.
  9. For perfectly round macarons, use a large, 0.4″ plain tip with a pastry bag, or do it the lazy way and cut a corner off a zip top bag for mostly round macarons. Twist (or don’t yet cut) the bag at the tip and place it, tip side down, in a tall glass. Fill with your batter and twist, close or clip the other end to help keep the messy batter moving in the right direction. Pipe the batter into the centre of the circles on your sheets/mats and stop before reaching the edges as the batter will spread out a bit.
  10. Once finished piping, carefully pick the sheets/mats up and drop them back on to the table from a height of a couple of inches. The theory is that this helps the cookies keep their round shape and form the little bubbles around the bottom (the pied) when you put them in the oven.
  11. Leave the cookies on the table, uncovered, for 15-30 minutes to dry (or more on a humid day). This is a good time to preheat your oven to 350°F. You will know the macarons are dry when they look smooth and are no longer sticky to the touch.
  12. Place an oven rack in the centre of your oven. Place a sheet of macarons on two stacked sheet pans (this will stop the bottoms from getting too hot, resulting in cracked macarons) and bake for about 15 minutes. Rotate the pan half way through baking. It can be hard to tell when the macaron are done. I pull them out when the kitchen smells sweet and the cookies look crisp, have just started to brown, and don’t look blotchy in the middle.
  13. As soon as the parchment sheet/baking mat is cool enough to handle, take it out of the pan with all the cookies on top and place it on a cooling rack. The macarons will be too sticky to remove from the sheet/mat now; once cooled, they should peel off easily. I usually wait a few minutes for the pans to cool a bit and for the oven to come back to a steady temperature before moving the next sheet to the pans and baking the next round.

for the buttercream

  1. Warm the butter in a double boiler or in the microwave until it is soft but not melted and beat until creamy.
  2. Break the egg into a large heat-resistant mixing bowl and beat lightly with a hand mixer. Set aside.
  3. Add water and sugar to a small saucepan and place over medium-low heat. Bring to a simmer and stir until thick and syrupy, about 7 minutes. You’ve made simple syrup!
  4. Slowly pour your simple syrup into the beaten egg while beating with a hand mixer on as high a speed as you can without flinging syrup everywhere, remember it is hot and sticky. Once all the syrup is in, beat the mixture on high speed, slowly reducing speed until it is thick, light in colour and the bowl is no longer hot.
  5. Add the butter to this mixture in two or three parts and beat on medium speed until fully incorporated and creamy. If the buttercream splits and continuing to beat doesn’t bring it back together, it has likely become too cold. Pop it in the warm oven for 30 seconds and try beating it again. Continue doing this until it comes together.
  6. Add the absinthe and beat until mixed in.
  7. Add food colouring

Once everything has cooled, place your buttercream in a piping or zip-top bag and pipe onto half of your shells. Then place another similarly sized shell on top and gently press them together.

Absinthe Macarons | Sophster-Toaster

All photos by me.