My Current Obsessions: September

The leaves are still green but the days are getting shorter and the nights are getting cooler. It’s September and I can no long hide my love for fall. Here are my current obsessions:

1. Velvet dresses and skirts

ModCloth's My Usual Haunt Dress \\ Sophster-Toaster Blog: My Current Obsessions

ModCloth’s My Usual Haunt Dress

2. A warm cup of pumpkin tea

David's Tea's Pumpkin Chai \\ Sophster-Toaster Blog: My Current Obsessions

David’s Tea’s Pumpkin Chai

3. Cozying up the apartment

Sea and Lake's Nap Hard Print \\ Sophster-Toaster Blog: My Current Obsessions

Sea and Lake’s Nap Hard Print

4. Planning my Friendsgiving cottage trip outfits, food and tablescape, in that order

Oh My Clumsy Heart's Mable (Gold Pinecone Necklace) \\ Sophster-Toaster Blog: My Current Obsessions

Oh My Clumsy Heart’s Mable (Gold Pinecone Necklace)

5. Everything plaid

Le Bomb Shop's Autumn Essential Skirt in Red Buffalo Plaid \\ Sophster-Toaster Blog: My Current Obsessions

Le Bomb Shop’s Autumn Essential Skirt in Red Buffalo Plaid


Grilled Breakfast Pizza

Pizza is probably the best thing in the world. It’s always the second thing I miss when I’m at the cottage, right after my cat. Luckily, my years of working in the family pizzeria, where we made everything from scratch, has left me with the ability to make any kind of pizza, anywhere and in any situation.

During my recent trip to the cottage, I found a way to combine my favourite meal with one of my top five favourite foods. I made breakfast pizza.

Grilled Breakfast Pizza \\ Sophster-Toaster Blog

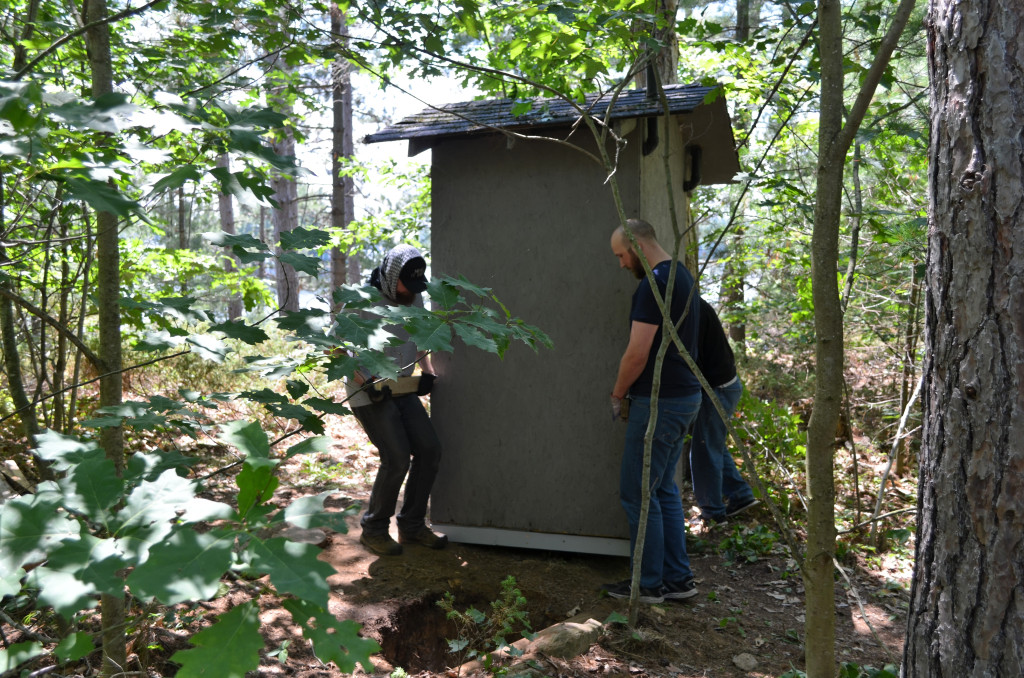
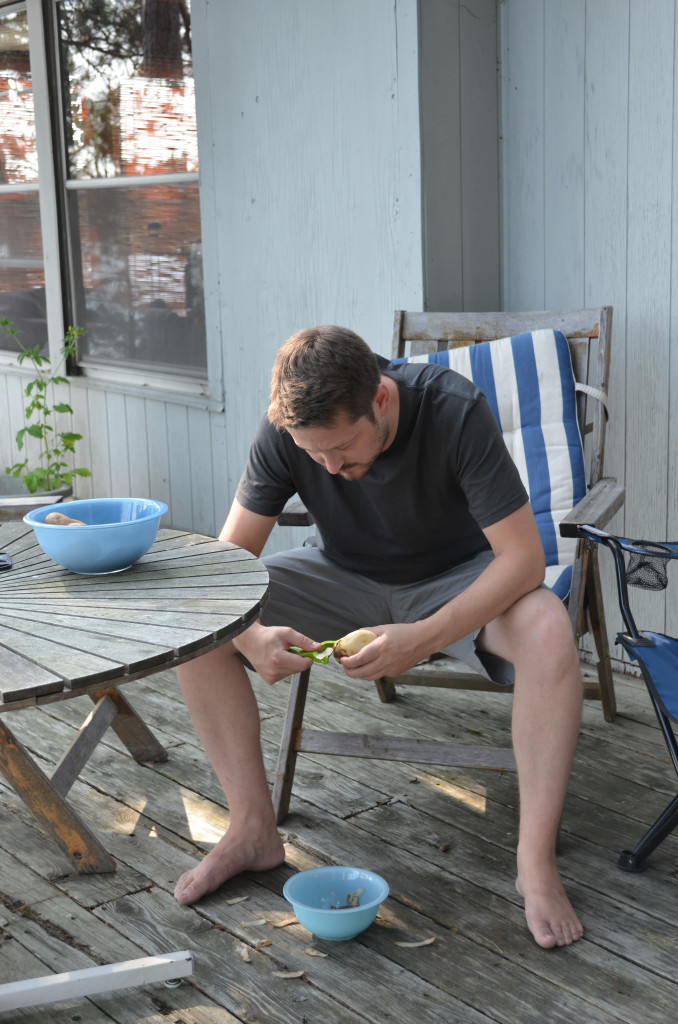
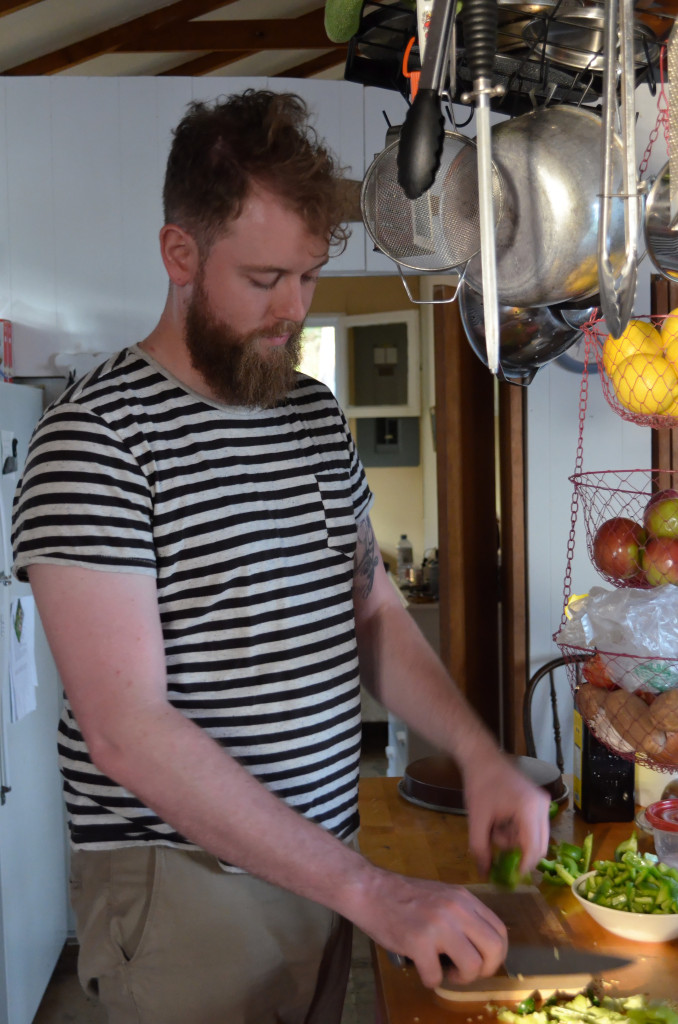
I woke up in a forest by the lake, grated some cheese, stretched some dough I had made at home a few days earlier, sauced it, tossed on some breakfast-y toppings, placed it on the barbecue, cracked some eggs on top and ate fresh pizza on the deck with friends as we watched the September sun climb higher over the pines.

Ingredients

Makes two 8″ pizzas.

For the Dough

2½ tsp sugar
1½ tsp salt
¼ tsp baking soda
¼ tsp baking powder
1 cup warm water
1 tsp yeast
3½ cups all-purpose flour
2 tsp olive oil

For the Toppings

pizza sauce (store bought or homemade)
shredded mozzarella cheese
potato, thinly sliced
tomato
poblano pepper
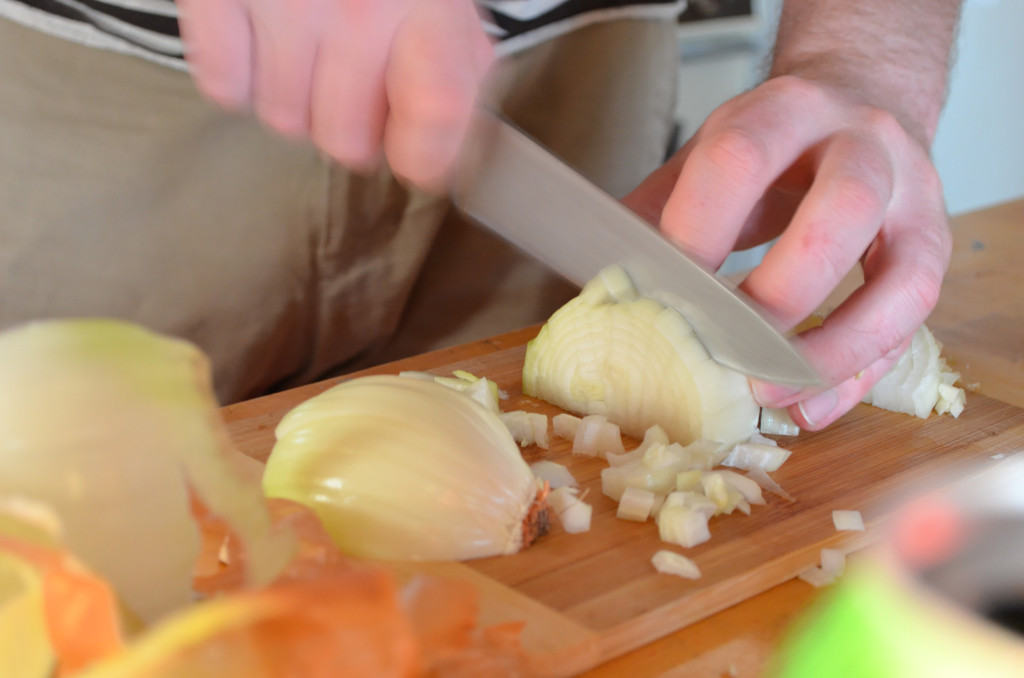
caramelized onion (leftover from previous night’s dinner)
spinach
bacon (cooked)
eggs

Additional Toppings

fresh mozzarella
shredded cheddar cheese
feta
goat cheese
mushroom
green pepper
jalapeno pepper
onion
shallot
asparagus
avocado
sausage
smoked salmon
ham

What else? Suggest it in the comments!

Grilled Breakfast Pizza \\ Sophster-Toaster Blog

Method

For the Dough

Prepare at least one day before.

  1. Add the sugar, salt, baking soda and baking powder to the work bowl of a stand mixer.
  2. Activate yeast by adding it to a small bowl of lukewarm water (should feel about the same temperature as your hand) and mix it gently with your hand until the yeast has dissolved.
  3. Add the yeast and water mixture to the stand mixer. Mix by hand until everything has dissolved.
  4. Cover the bowl with a clean towel and leave to rise for about half an hour.
  5. Once the mixture has bubbled and left a bit of a yeast-coloured foam on top, add 3 cups of the flour and partially mix in by hand.
  6. With the dough hook attached, turn the mixer on at low speed. Add the olive oil as the hook begins to move.
  7. Once the dough starts coming together, turn the speed up to where the hook starts grabbing and kneading the dough (3 or 4 on a Kitchenaid stand mixer). If the weather is humid and the dough looks wet, add the remaining ½ cup of flour now. Knead until a ball forms and the sides of the bowl are mostly clean.
  8. Remove the dough from the bowl, divide it into two equal portions and form them into balls. Leave on a floured surface and cover with a clean towel to rise for an hour or two before storing in the refrigerator or freezing.  (I froze mine to get it to the cottage and started a slow thaw in the refrigerator once I got there.)

This takes practice, so don’t be discouraged if your dough doesn’t come out right. I might not stretch or rise as well but it will still taste the same.

For the Toppings
  1. Remove dough from the refrigerator and let warm up on the counter while you prep all your toppings and create your mise en place.
  2. When all of your toppings are ready, scatter a small handful of flour on your work surface and quickly roll your dough ball in flour.
  3. Place the dough ball on your work surface and with moderate force punch it town with your fists or fingertips. You are trying to remove any trapped air bubbles.
  4. Then pick up the down and work it with your fingers, pinching and stretching the edges of the dough and you rotate it. I have seen people beautifully stretch the dough with only this method, but I like to alternate between this and draping the dough over my fists and moving them outwards from the middle as I rotate and gently toss the dough.
  5. Once the dough is stretched to the size of your 8″ pizza pan, lightly flour the surface of the pan and place your stretched dough on top. Try to make the dough circular again if it took on a strange and exciting shape during the stretching. Close up any holes ripped in the dough (don’t worry, they happen) by stretching the thickest spot bordering the hole over top and pressing it down lightly on the other side. Now comes the easy part.
  6. Using a large spoon, spread the sauce in a thin layer over the dough, getting as close as possible to the edges.
  7. Scatter your desired cheese over the pizza, holding some back for the top. You will need slightly less than you think, there should still be sauce showing through. (When using cheeses with strong flavours or low melting capacities, I recommend still using a bit of shredded mozzarella as a base.)
  8. Scatter your desired fruit, veg and meat toppings over the pizza but don’t over do it. Keep in mind that loading it with wet fruit and veg with make for a very soggy pizza. Decrease the amount of each topping you add as the number of toppings increases.
  9. Toss a thin layer of cheese over top to hold everything together.
  10. Place the pizza on a barbecue preheated to as hot as it will go with side burners on high and middle burners on low and close the lid. (I cooked two pizzas, one at a time.)
  11. Once the dough has started to rise and the cheese has started to melt but neither have started to brown, about 2 minutes in, crack 3 eggs (if using large eggs) on top and season with salt and pepper. (Place them towards the middle because the whites will migrate.)
  12. Once the egg whites have stopped jiggling and the cheese and crust have browned (takes about 10 minutes total) remove the pizza from the barbecue and from the pan onto a heat safe surface. Once the eggs have gathered themselves to about medium boil yolks, slice the pizza into eight and serve.

Grilled Breakfast Pizza \\ Sophster-Toaster Blog

Pairs well with coffee stout or smoked porter.

Wedding Day Remix

When I got married, over four years ago, I was adamant about not over-spending. I didn’t want to cheap out, I wanted everything to be high quality, eco-friendly and ethically produced, like everything I buy, I just didn’t want anything to be over-the-top, over budget or unnecessary. I asked that my bridesmaids pay for their own dresses, so we found some $50 dresses from ModCloth that were actually re-wearable – I bought one for myself in a different colour a few months later. They were also responsible for their own shoes and accessories so they chose their own shoes and I gave each of them a necklace as a bridesmaid gift during the rehearsal dinner. I thought I was a fair and just ruler.

The bridesmaids’ dresses were one of the first choices and purchases made during the wedding planning process and set the trend of reusability. I still have some of the vases we bought for the centrepieces, I have some flowers in one of them right now. I keep sewing supplies in the little jars we used for our wedding favours (and I spotted my mother-in-law using them for spices). I wear my wedding day shoes all the time in the spring and summer, they are starting to get a bit shabby actually.

Wedding Day Remix \\ Sophster-Toaster Blog

I was quite concerned with the one-time-wear aspect of my wedding dress. Before I made the big choice, I researched the traditions and tricks for re-wearing wedding dresses throughout history. I learned that Queen Victoria repurposed her wedding lace and wore it to special occasions. She even got two more wears out of her wedding veil! Some women were able to dye their dress a different colour and get a few more wears out of it, but that was before the time of extravagant, somewhat anachronistic, dresses. Today, traditional wedding dresses are pretty obvious. There aren’t many opportunities for the average woman to wear sparkly, tulle laden, floor length gowns these days. So I chose a relatively inexpensive dress (my dad was paying so I didn’t want to stress him out with a large bill) and passed it on to another bride on a tight budget after I’d had time to say a proper goodbye.

Wedding Day Remix \\ Sophster-Toaster Blog

All of my wedding day jewellery fit in to the something old or something borrowed categories. I chose my favourites, so of course I still get lots of daily use out of them.

Wedding Day Remix \\ Sophster-Toaster Blog

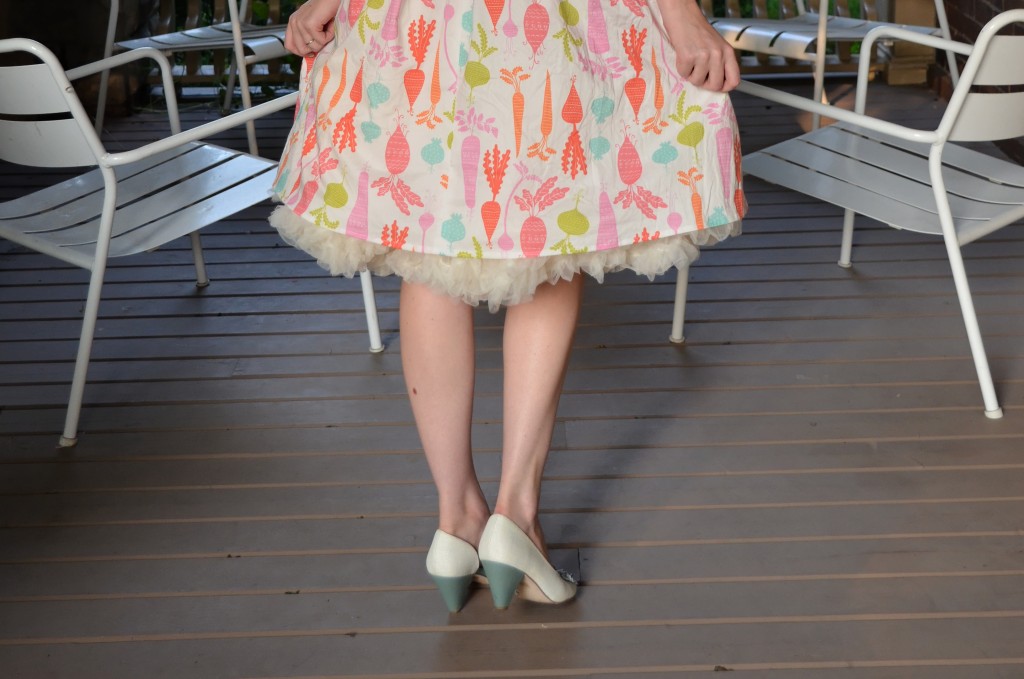
The shoes were my one big splurge. My dad, knowing I had been a shoe lover all my life, offered to pay for them and was the one who told me to “go for it” and get the shoes of my dreams. When I showed up on the day in a tea length dress that really showcased these not-an-obvious pick shoes, my granny was happy to inform me that everyone was quite pleased with how I had managed to stay true to myself with my wedding day style. If I had gone with what was popular at the time I was married – super expensive silver satin shoes with giant blue rhinestones and “I DO” written on the soles – I’d look quite the fool attempting to wear them in the produce aisle.

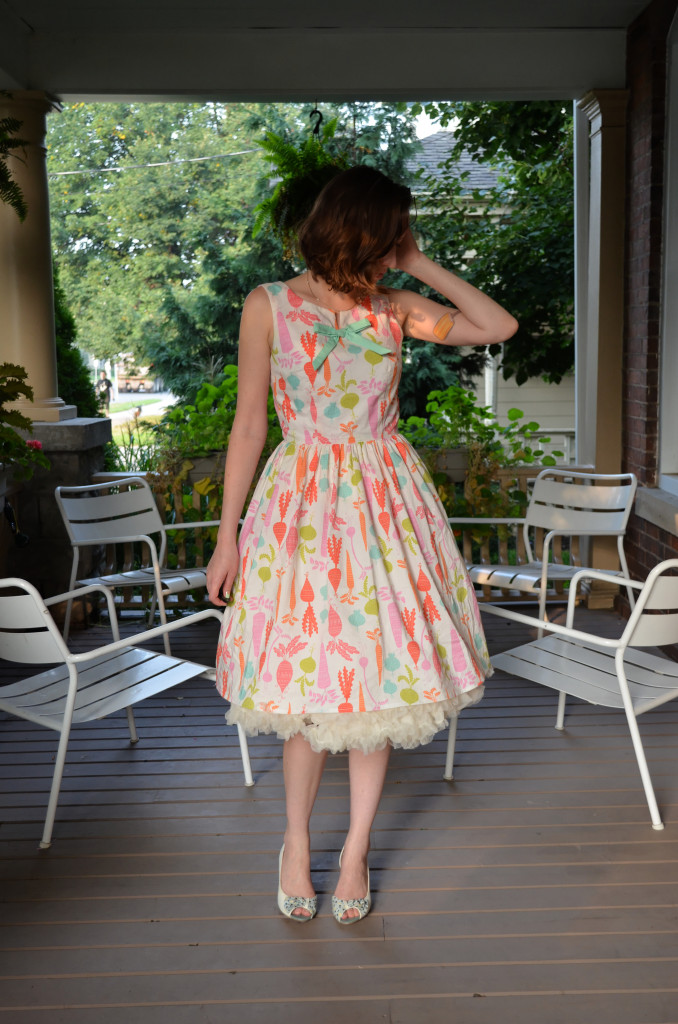
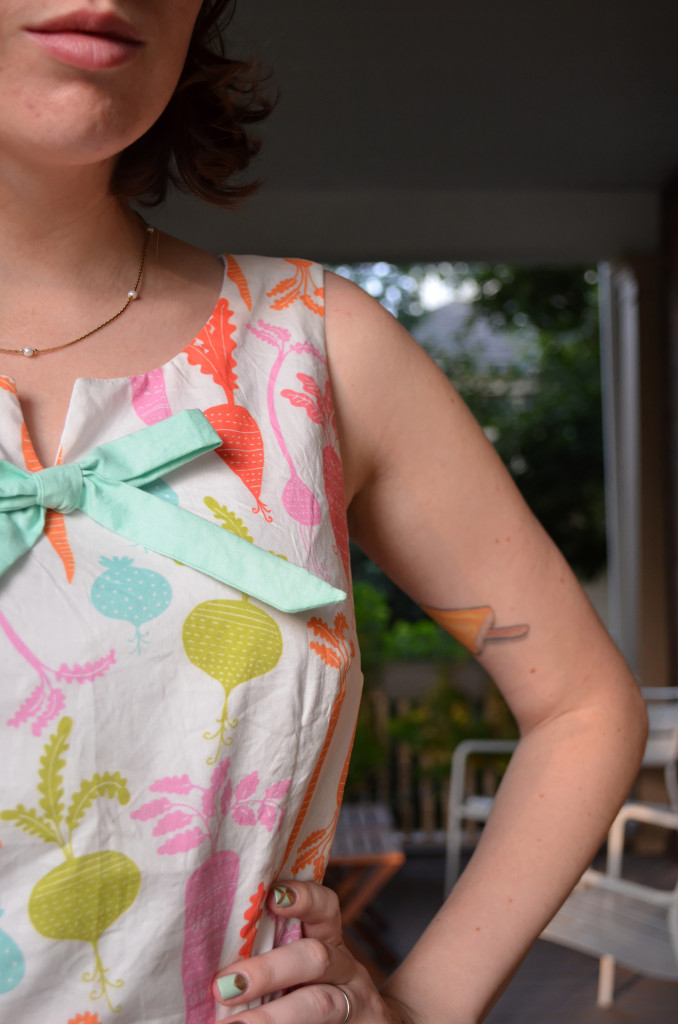
Dress Sophster-Toaster
Petticoat ModCloth (similar)
Shoes ModCloth (old)
Jewellery very old

That First Maxi Dress

It’s been a summer of firsts. I bought my first maxi dress after years of not understanding why women reserve long dresses and skirts for the hot summer months. I became one of those people who owns more than one handbag and frequently switches between them depending on which better matches my outfit, for the first time. I started wearing my hair without bags for the fist time in about five years. I even bought my first summer hat, but it looked weird with this dress.

That First Maxi Dress \\ Sophster-Toaster Blog

I didn’t really know what to pair with this dress when I first got it. I tried it on with every pair of shoes I owned. Strappy shoes were clearly better than close-toed and heels worked better than flats, but still, nothing I owned seemed to look right. Neither of my two purses matched very well. That hat was a no-go. I have a pearl necklace that sat perfectly, neither too high nor too low on the neckline, but made the look much too formal for the poutine dinner I was on my way to pick up. Then, just as my hunger overcame my patience, I stopped trying so hard. That’s when the look came together.

That First Maxi Dress \\ Sophster-Toaster Blog That First Maxi Dress \\ Sophster-Toaster Blog That First Maxi Dress \\ Sophster-Toaster Blog

Dress ModCloth
Shoes ModCloth
Handbag ModCloth (old)
Sunglasses ModCloth
Earrings Claire’s (old)

Maxi dresses had eluded me since college. I didn’t know why the hemlines got lower as the sun rose higher. I still don’t, really. Sure, it’s fun to waltz around the house feeling fancier than I really am and the extra fabric did keep the hot sun off my legs but this isn’t a Bedouin robe, there’s no convection cooling going on under this thing. That being said, there’s just something special about a maxi dress. Pulling it out again next year, after waiting all winter, is going to feel good.

Photo credit Matt Harrison