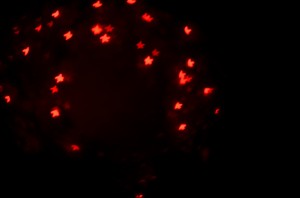
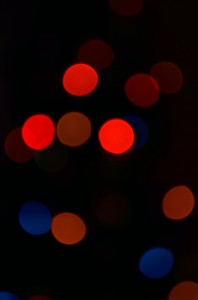
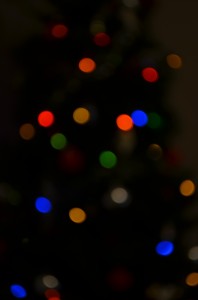
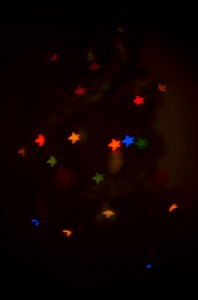
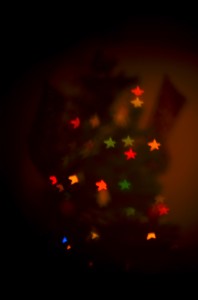
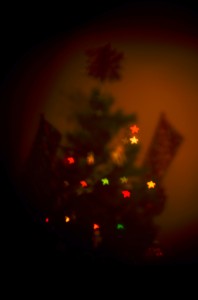
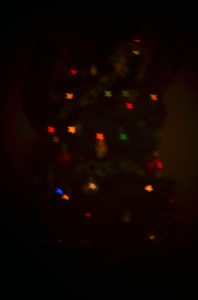
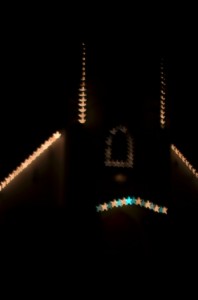
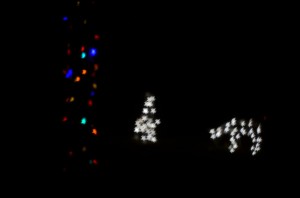
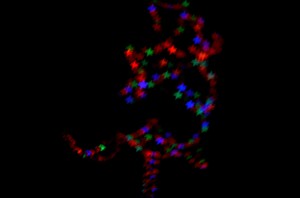
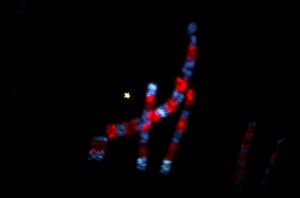
All you need to take neat pictures like this,
are a DSLR camera, a piece of cardboard and scissors.
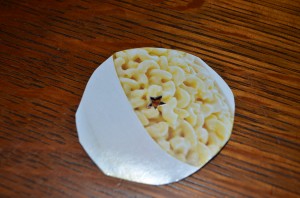
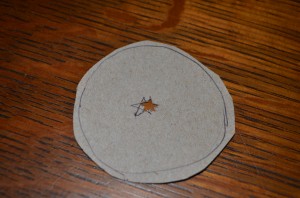
First you cut a circle, roughly the size of your lens (I recommend doing this with a uv filter attached) out of a thin cardboard.
You then cut out any shape you like, I found a star to be the easiest. I first drew the shape I wanted then cut it out with a cutting mat and a craft scalpel.
Next, with auto-focus off and all other auto-settings on the camera programming off, set the focal length to between 50 – 55 mm, set the shutter speed to bulb and set the aperture to be as large as possible. With the bulb setting, you can hold the shutter open as long as you like, but since I can’t hold still to save my life, I found the best results with a fast shutter (manual) speed and lots of ambient light.
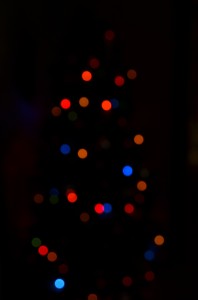
Now, point your camera at some pretty Christmas lights and adjust the lens so that the lights are out of focus. Hold the cardboard right up against the lens filter and change your pictures from this:
to this:
As you can see by the last few shots, there is a bit of a learning curve to go through before you’ll get some really intriguing pictures , so get out there and start experimenting with your own holiday bokeh photography.

